To narrow my focus down I more I spent some time deciding exactly what I want to focus on, starting with blurring the line of what is real and what is fake.
With the abundance of technology in today’s society and ease of access to the internet, the vast amount of false information that is accessible on the internet is huge to a point where it is scary, also seeing what it can do to sway the opinions of the masses is very worrying especially when it comes to politics and people’s lives.
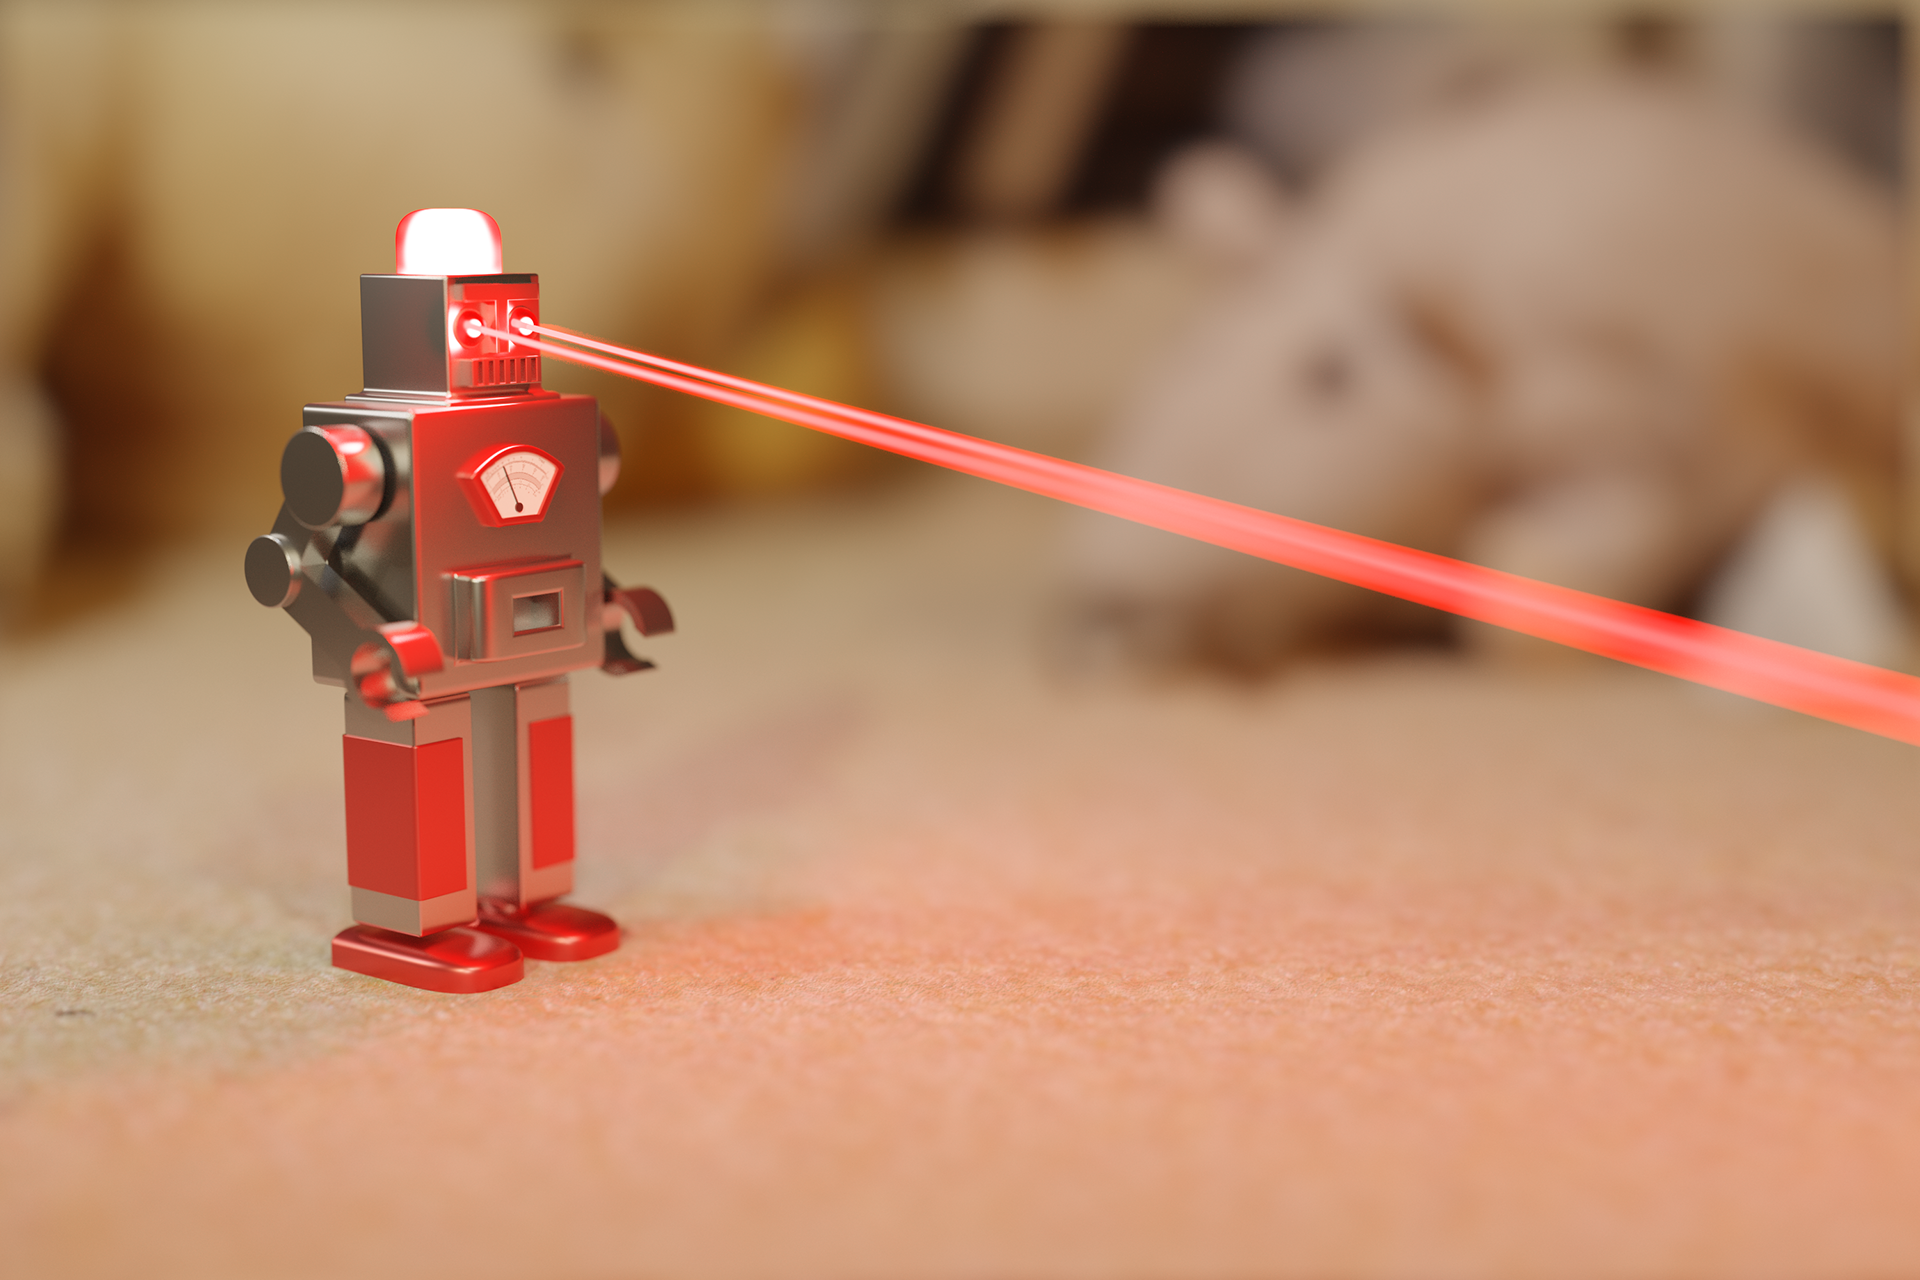
With my pieces I wish to display this blurred line and show how the truth can be misinterpreted; however, I also want to do this in a way that is either unnerving and scary, or to show off futuristic scenes in which demonstrate what our would could be in some years; but I still want it to feel real and be something that could exist, having that be what makes it scary.
With the abundance of technology in today’s society and ease of access to the internet, the vast amount of false information that is accessible on the internet is huge to a point where it is scary, also seeing what it can do to sway the opinions of the masses is very worrying especially when it comes to politics and people’s lives.
With my pieces I wish to display this blurred line and show how the truth can be misinterpreted; however, I also want to do this in a way that is either unnerving and scary, or to show off futuristic scenes in which demonstrate what our would could be in some years; but I still want it to feel real and be something that could exist, having that be what makes it scary.


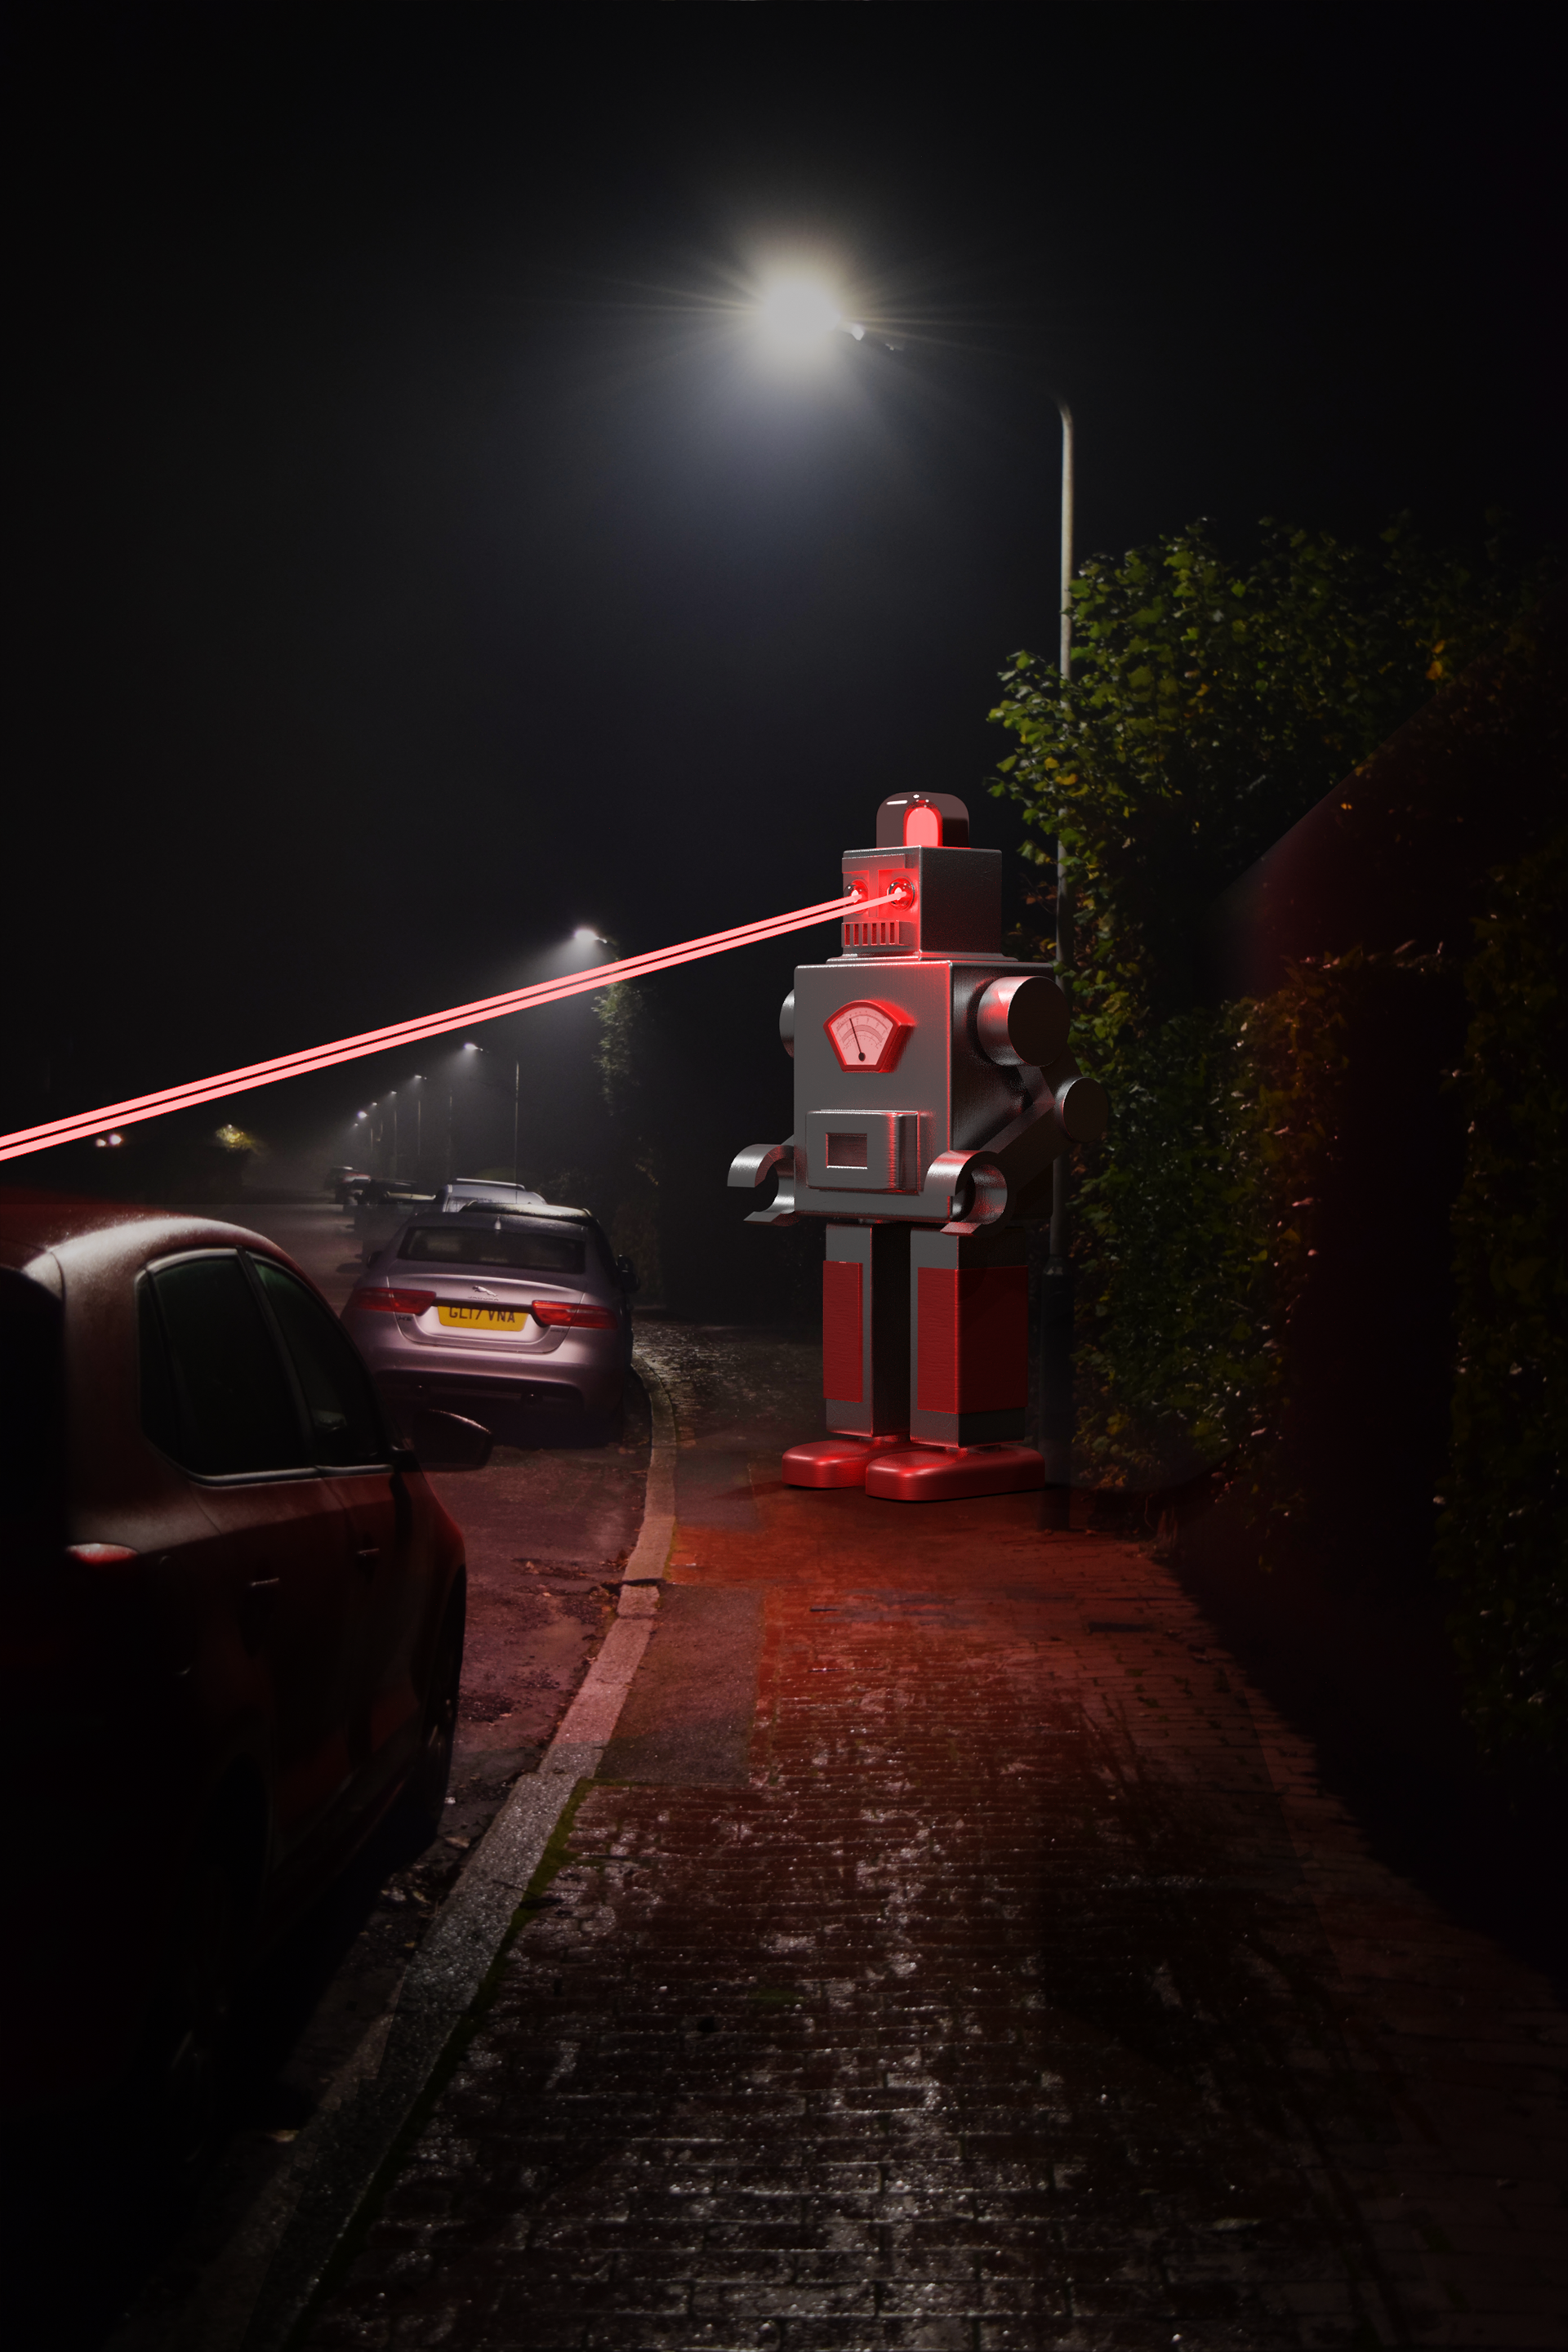
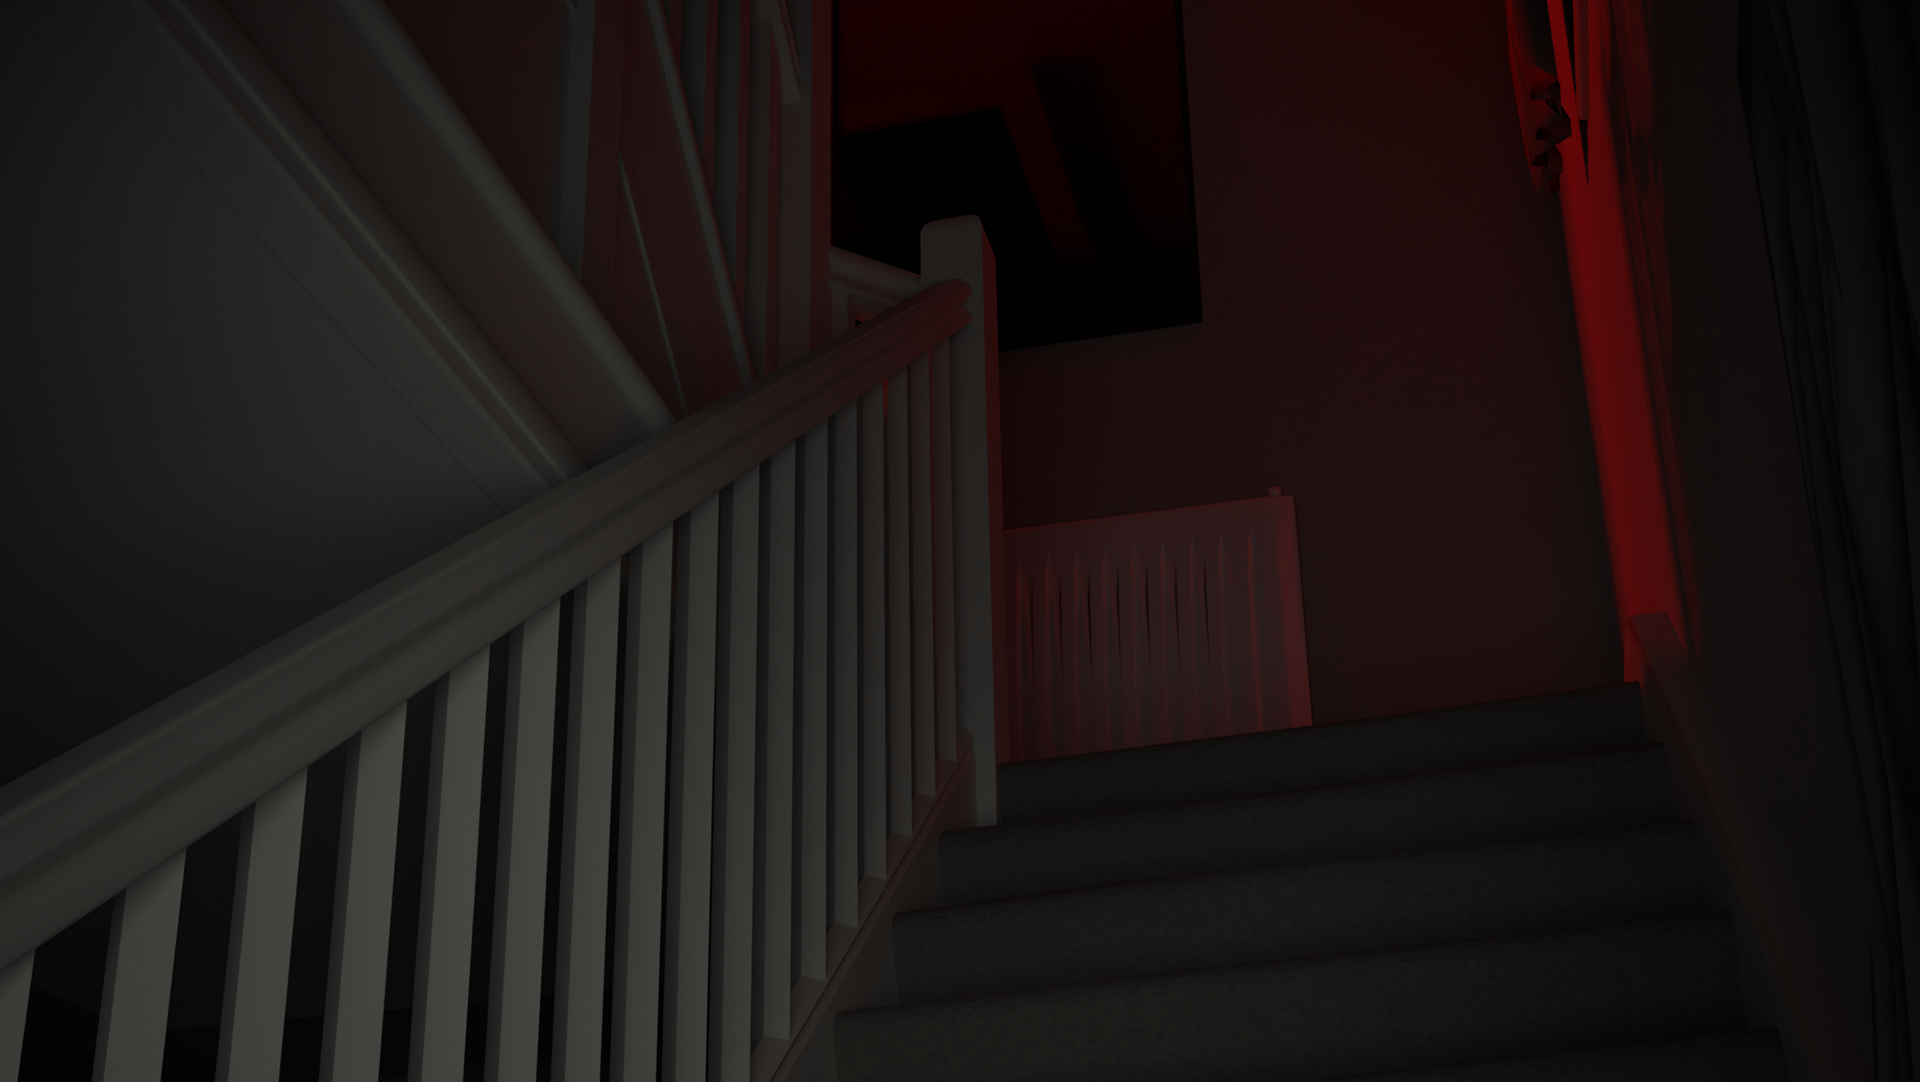
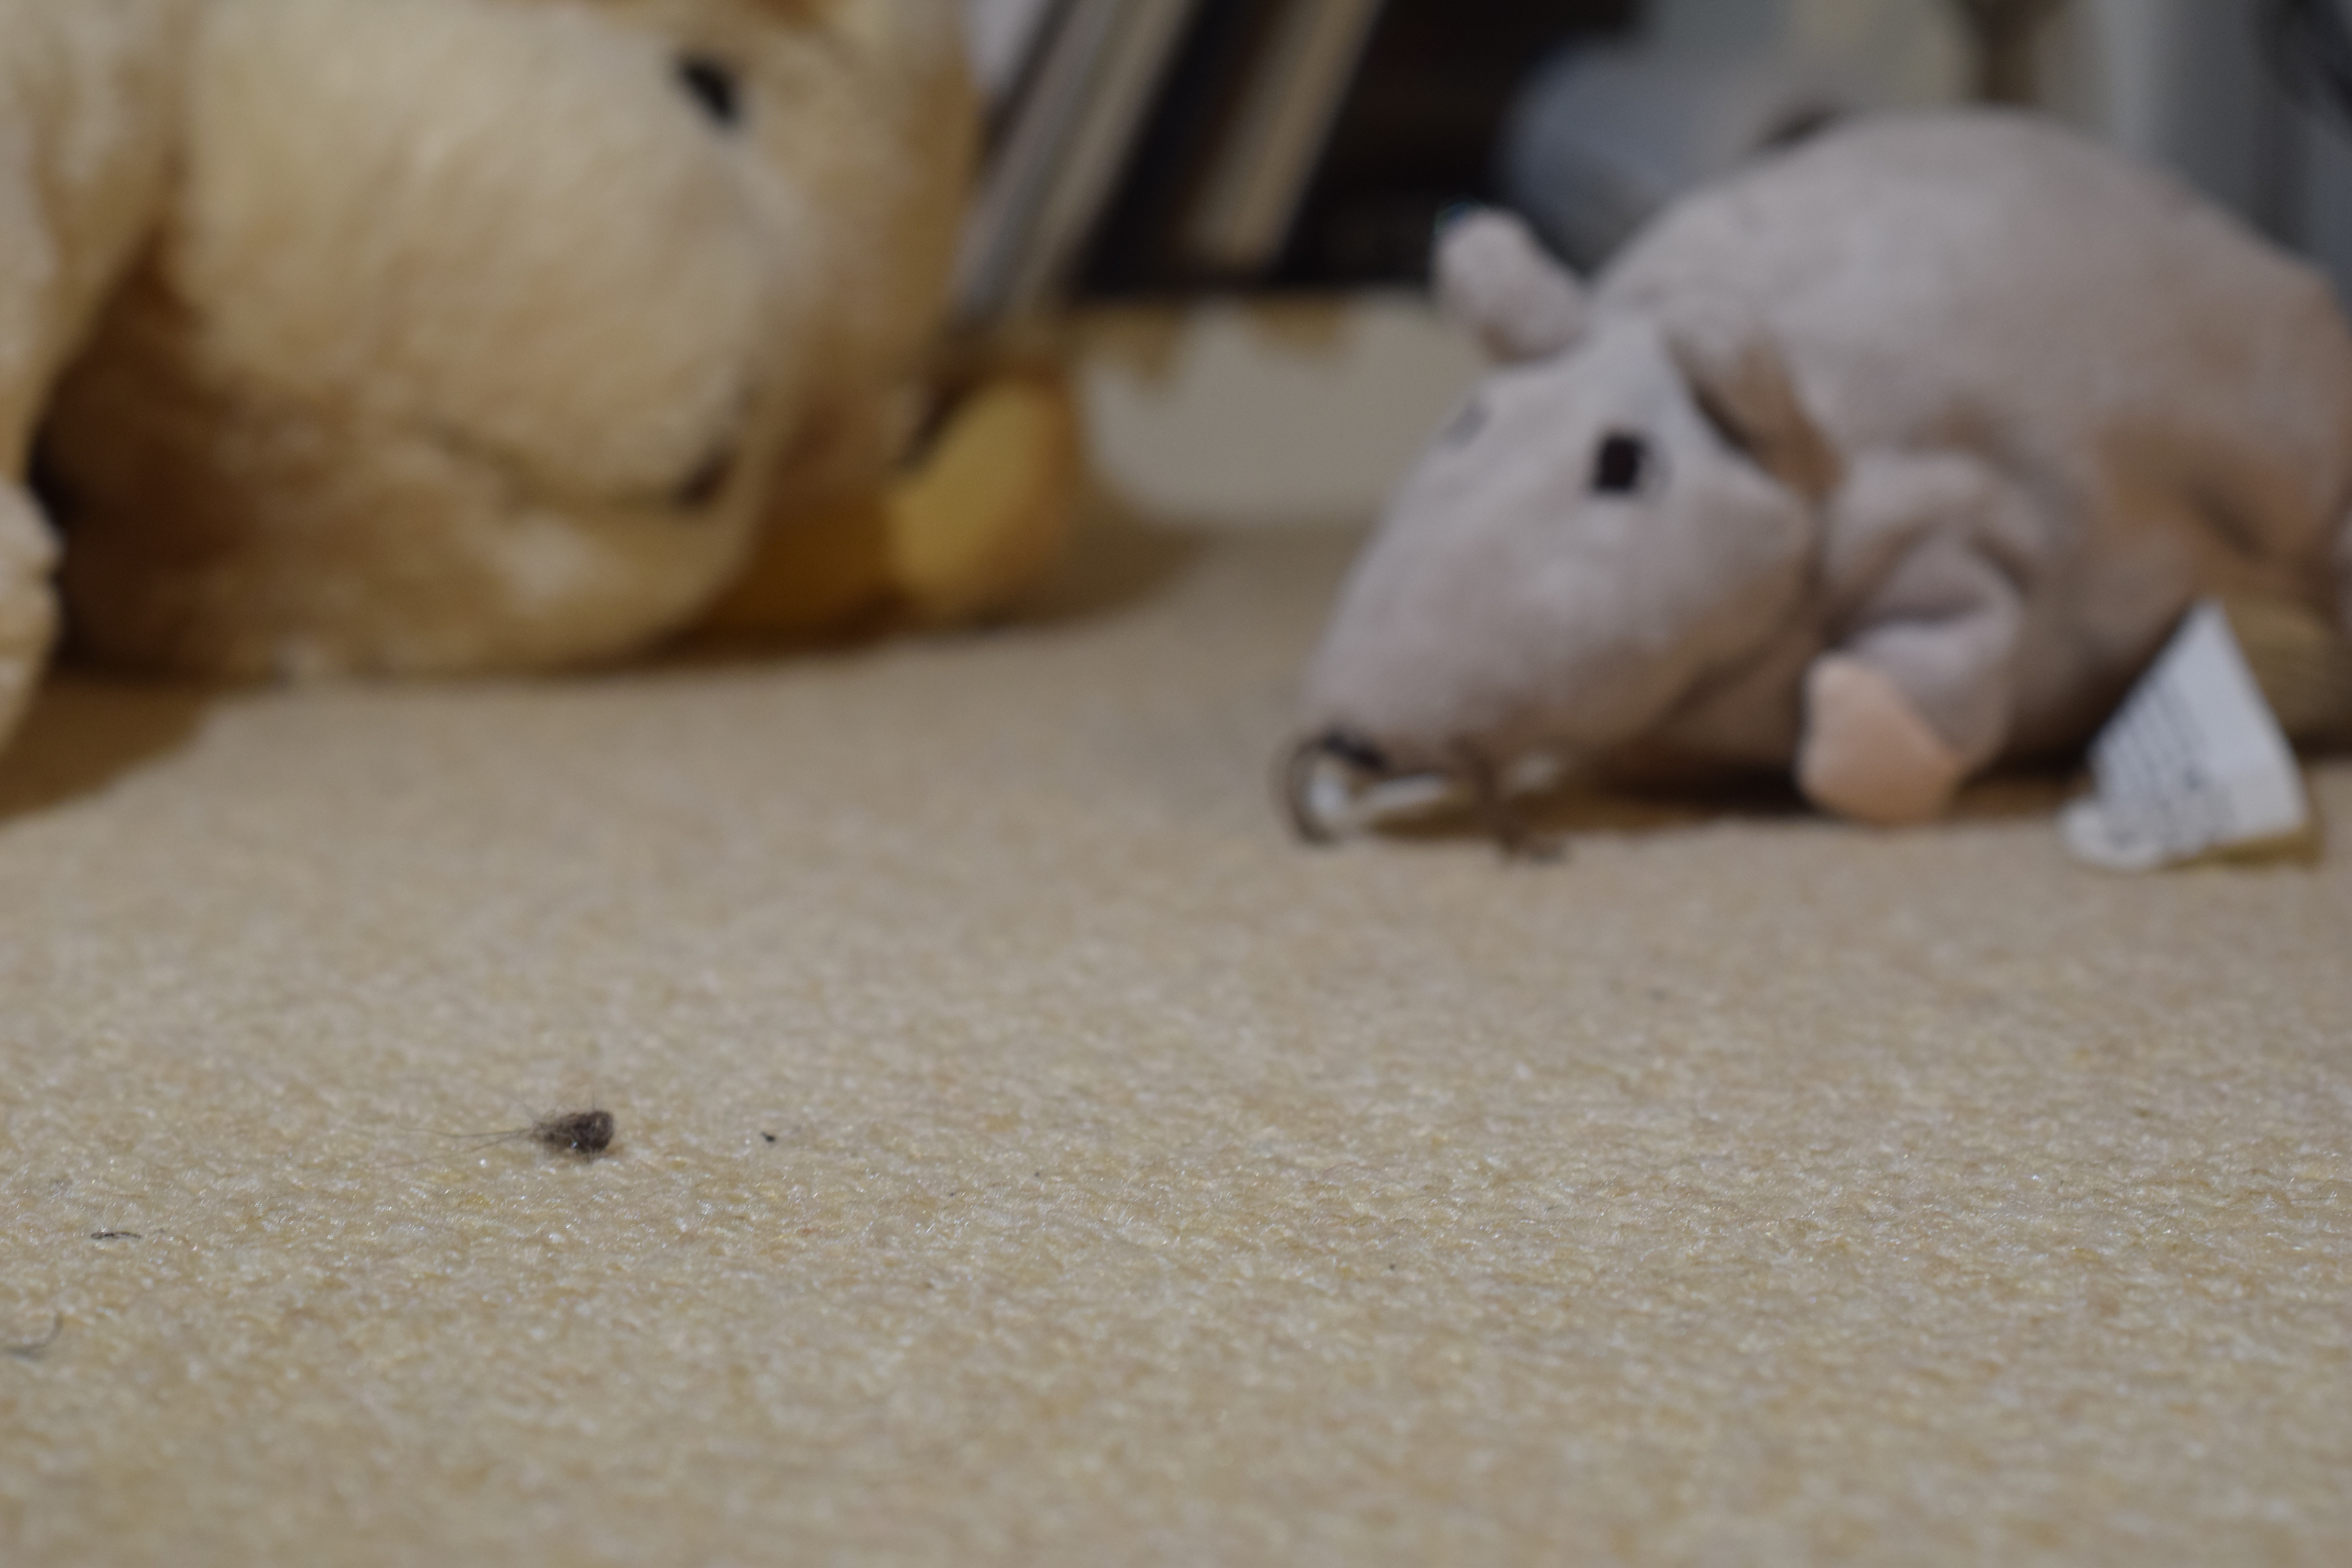
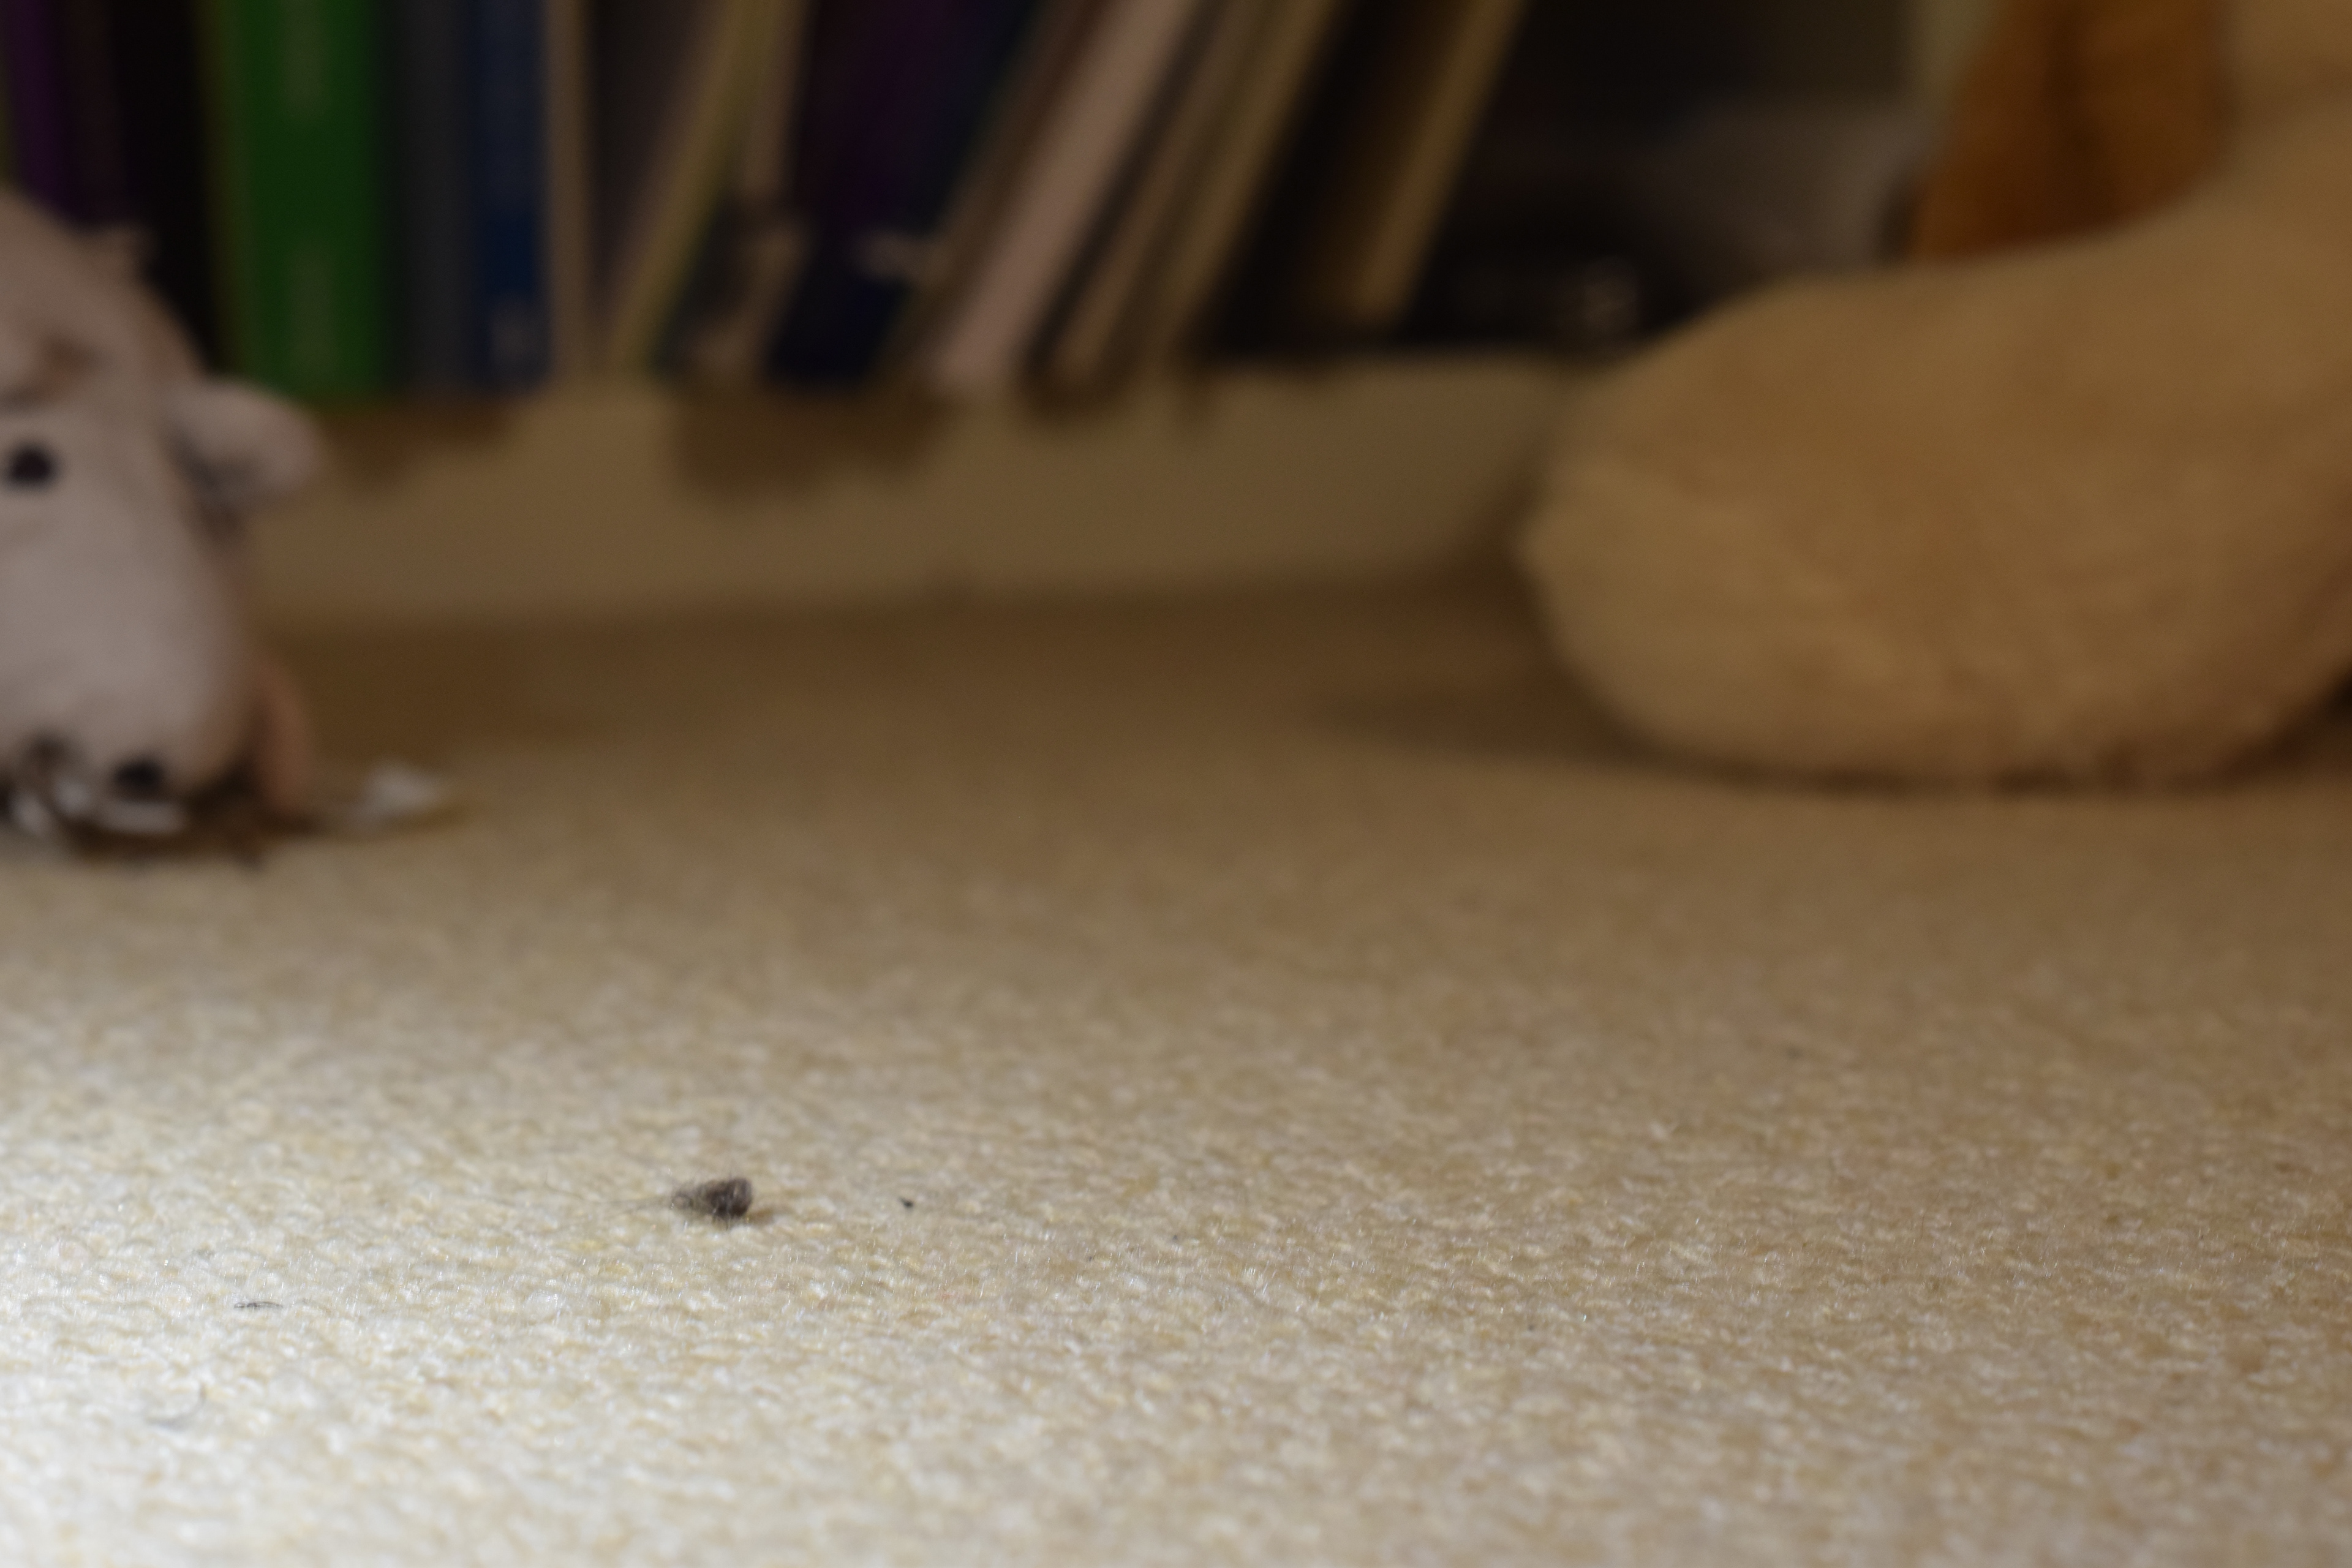
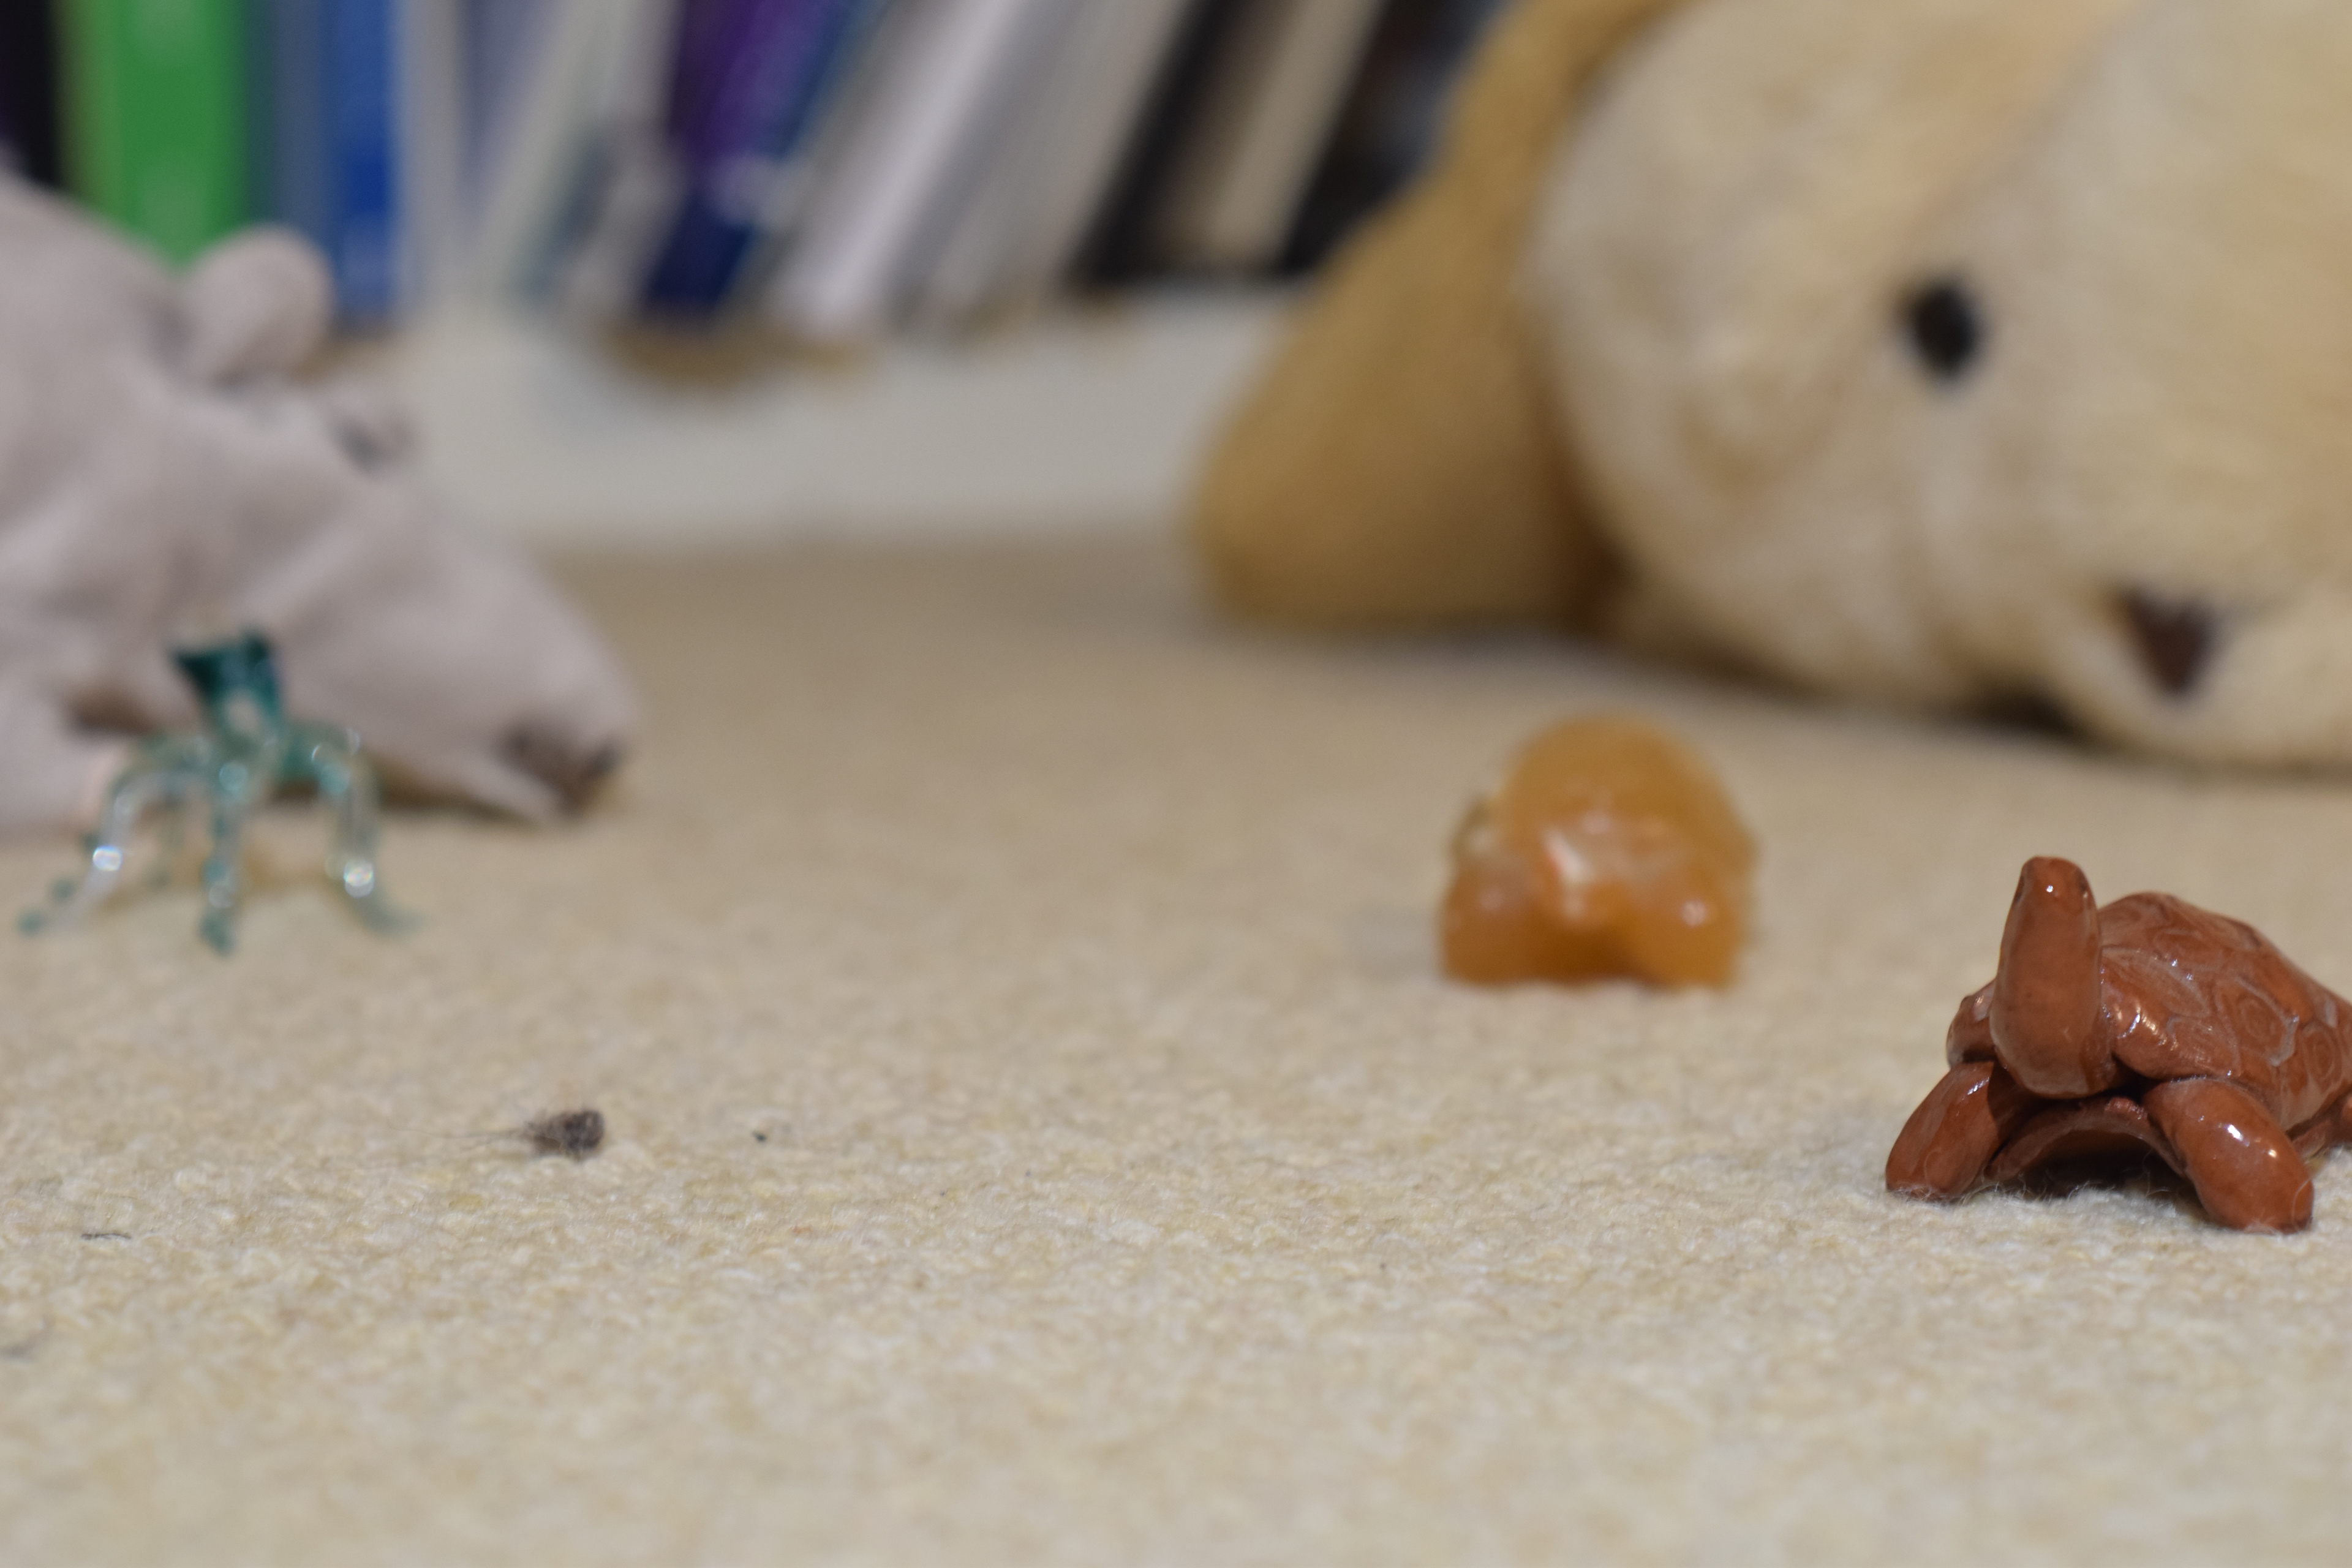
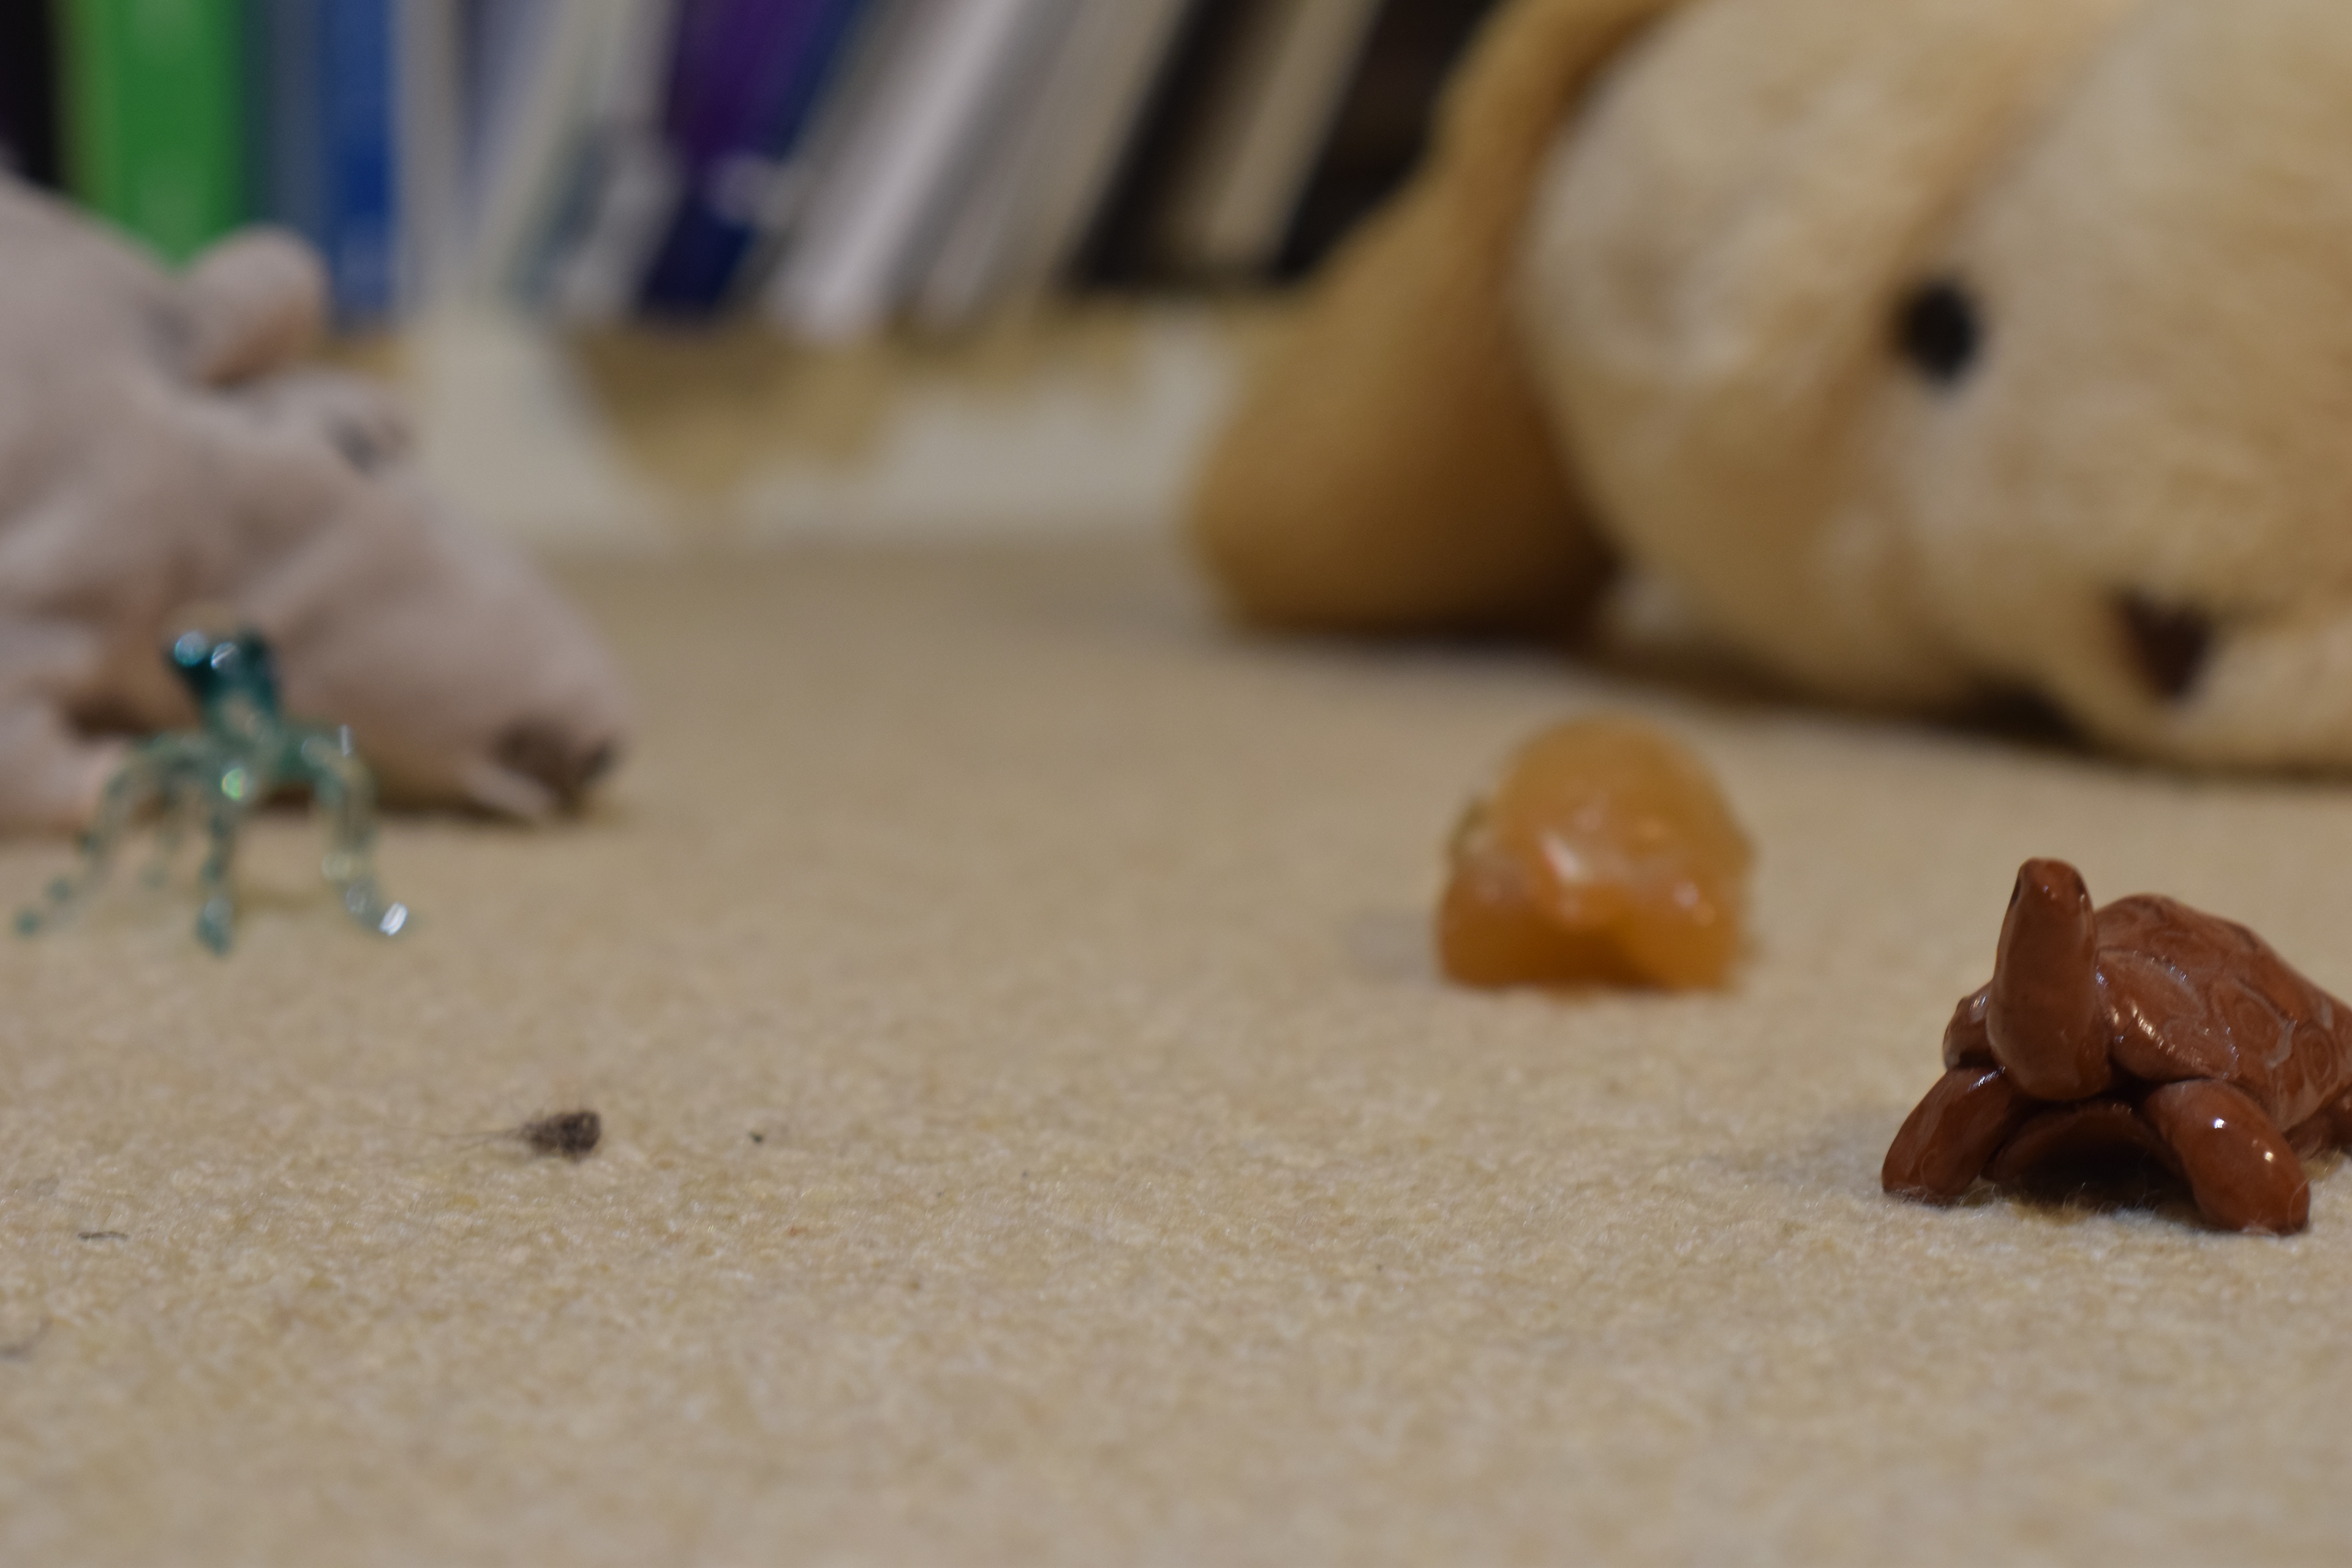
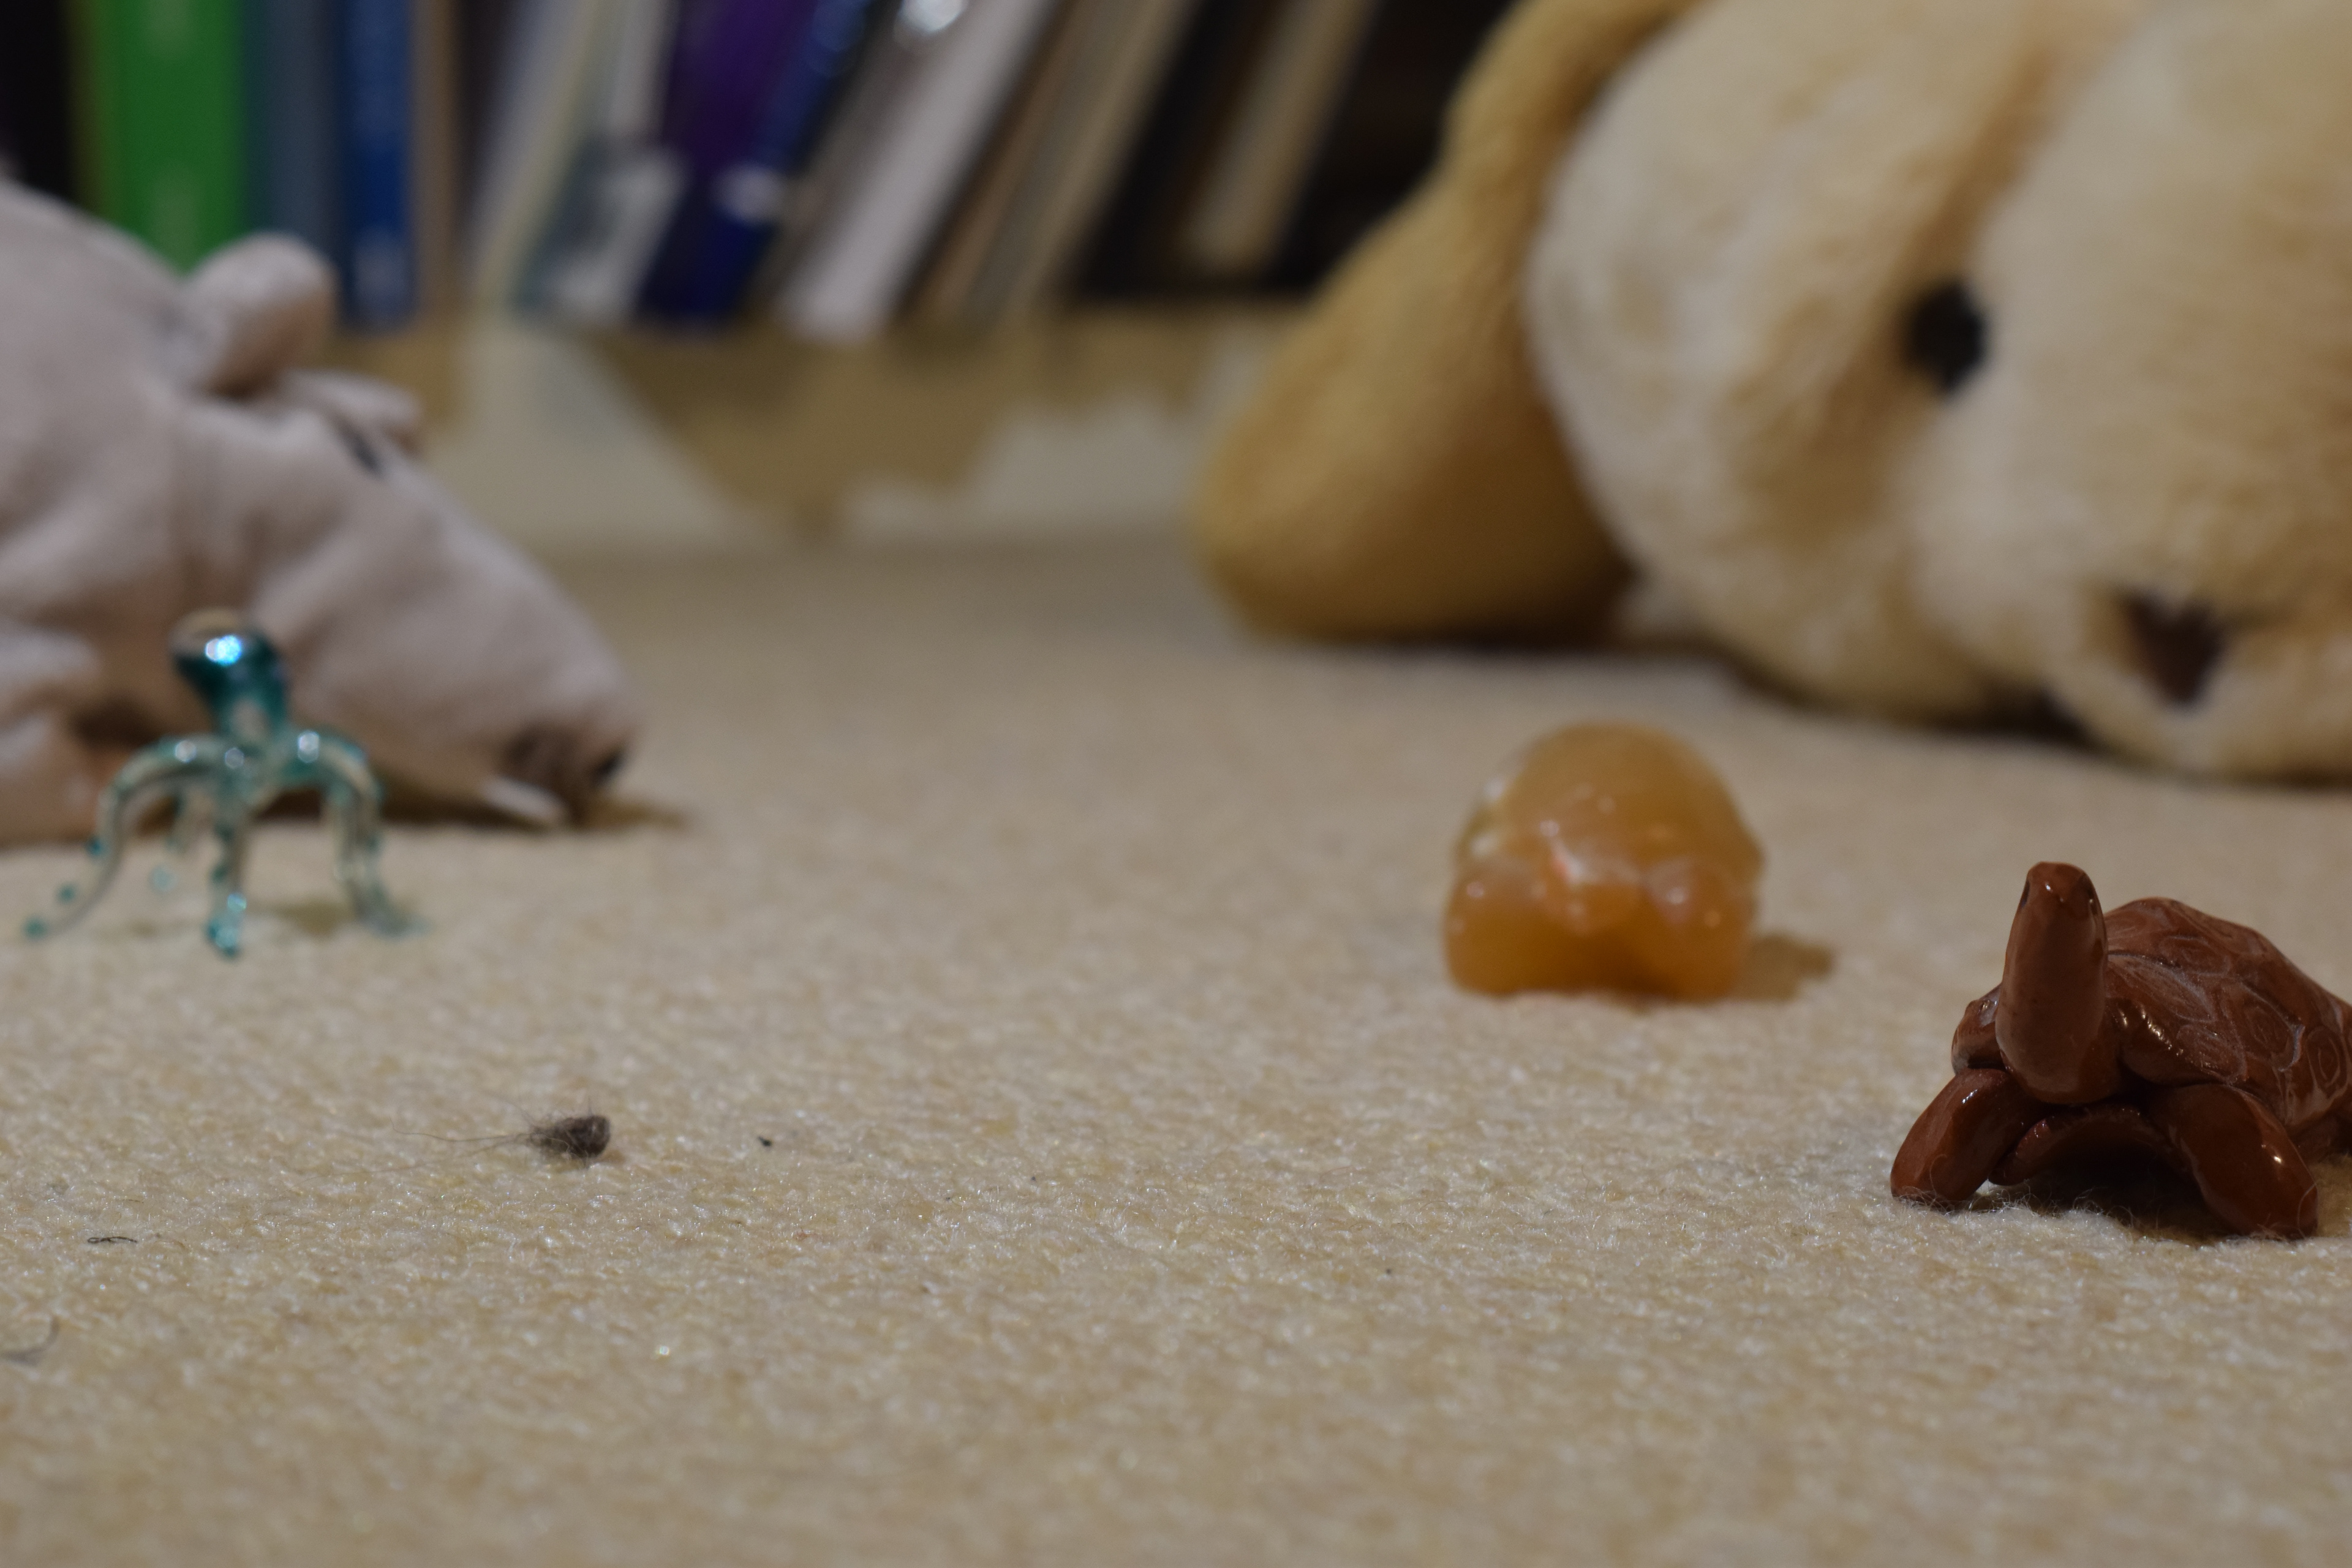
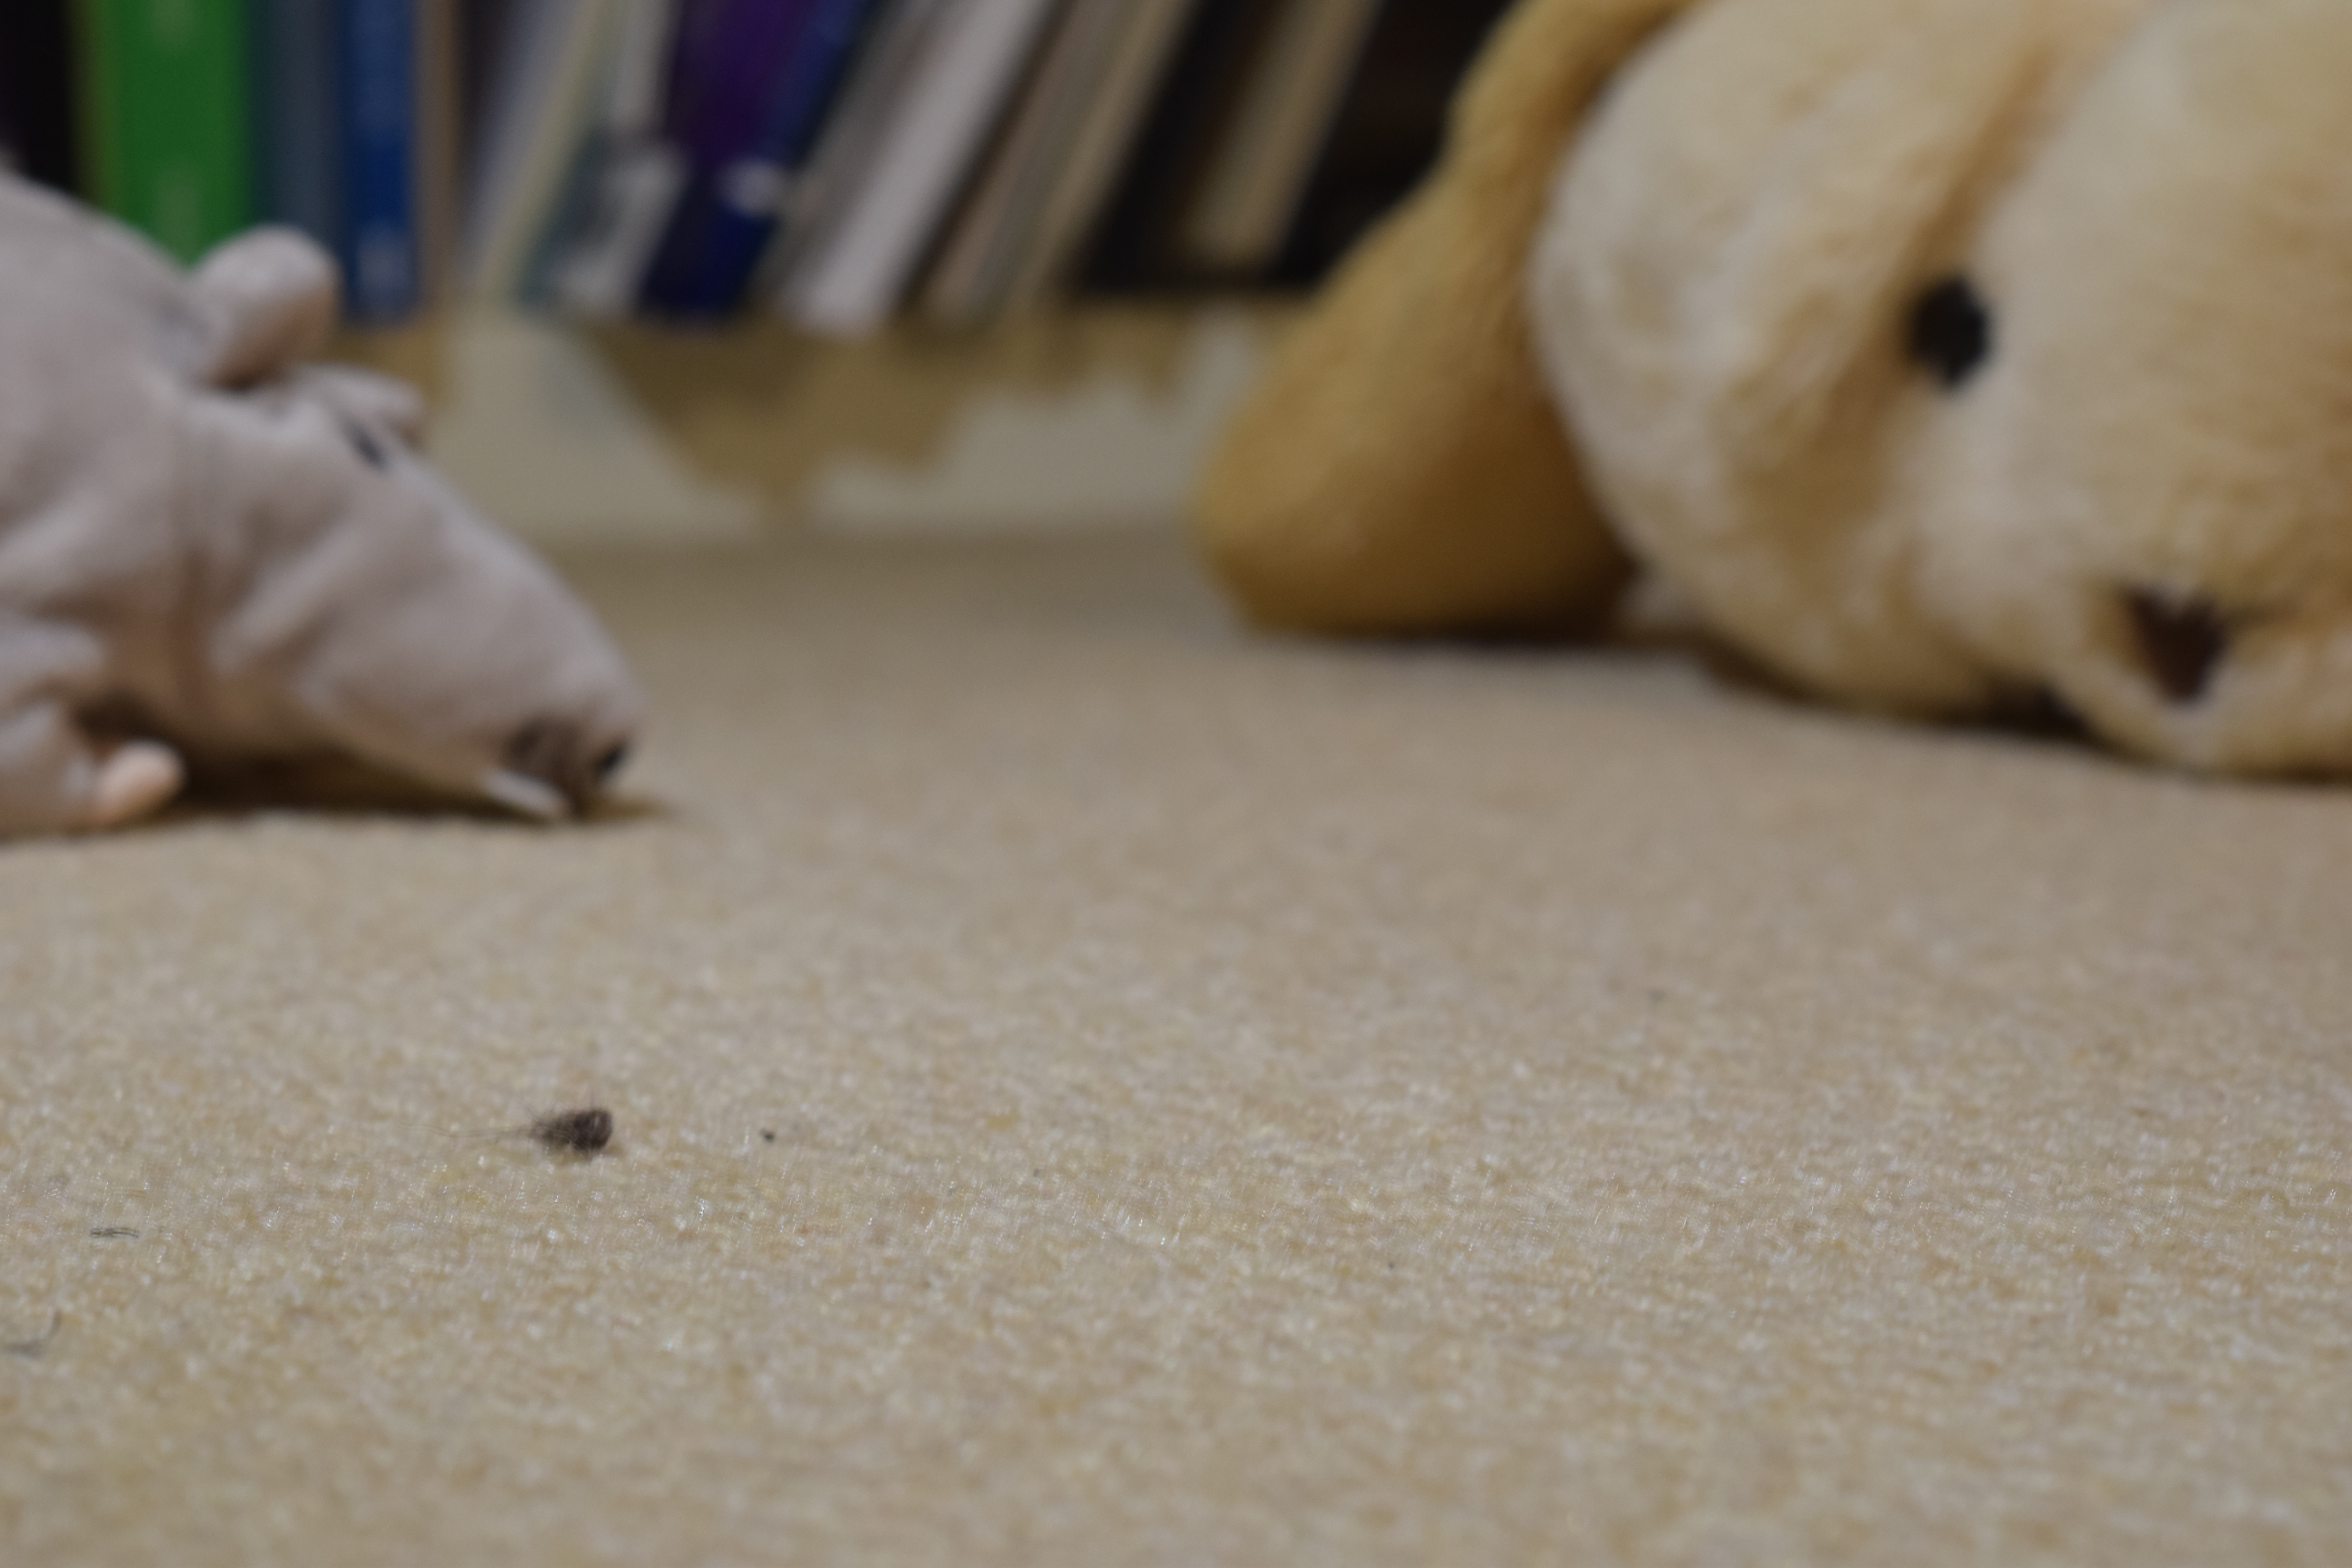
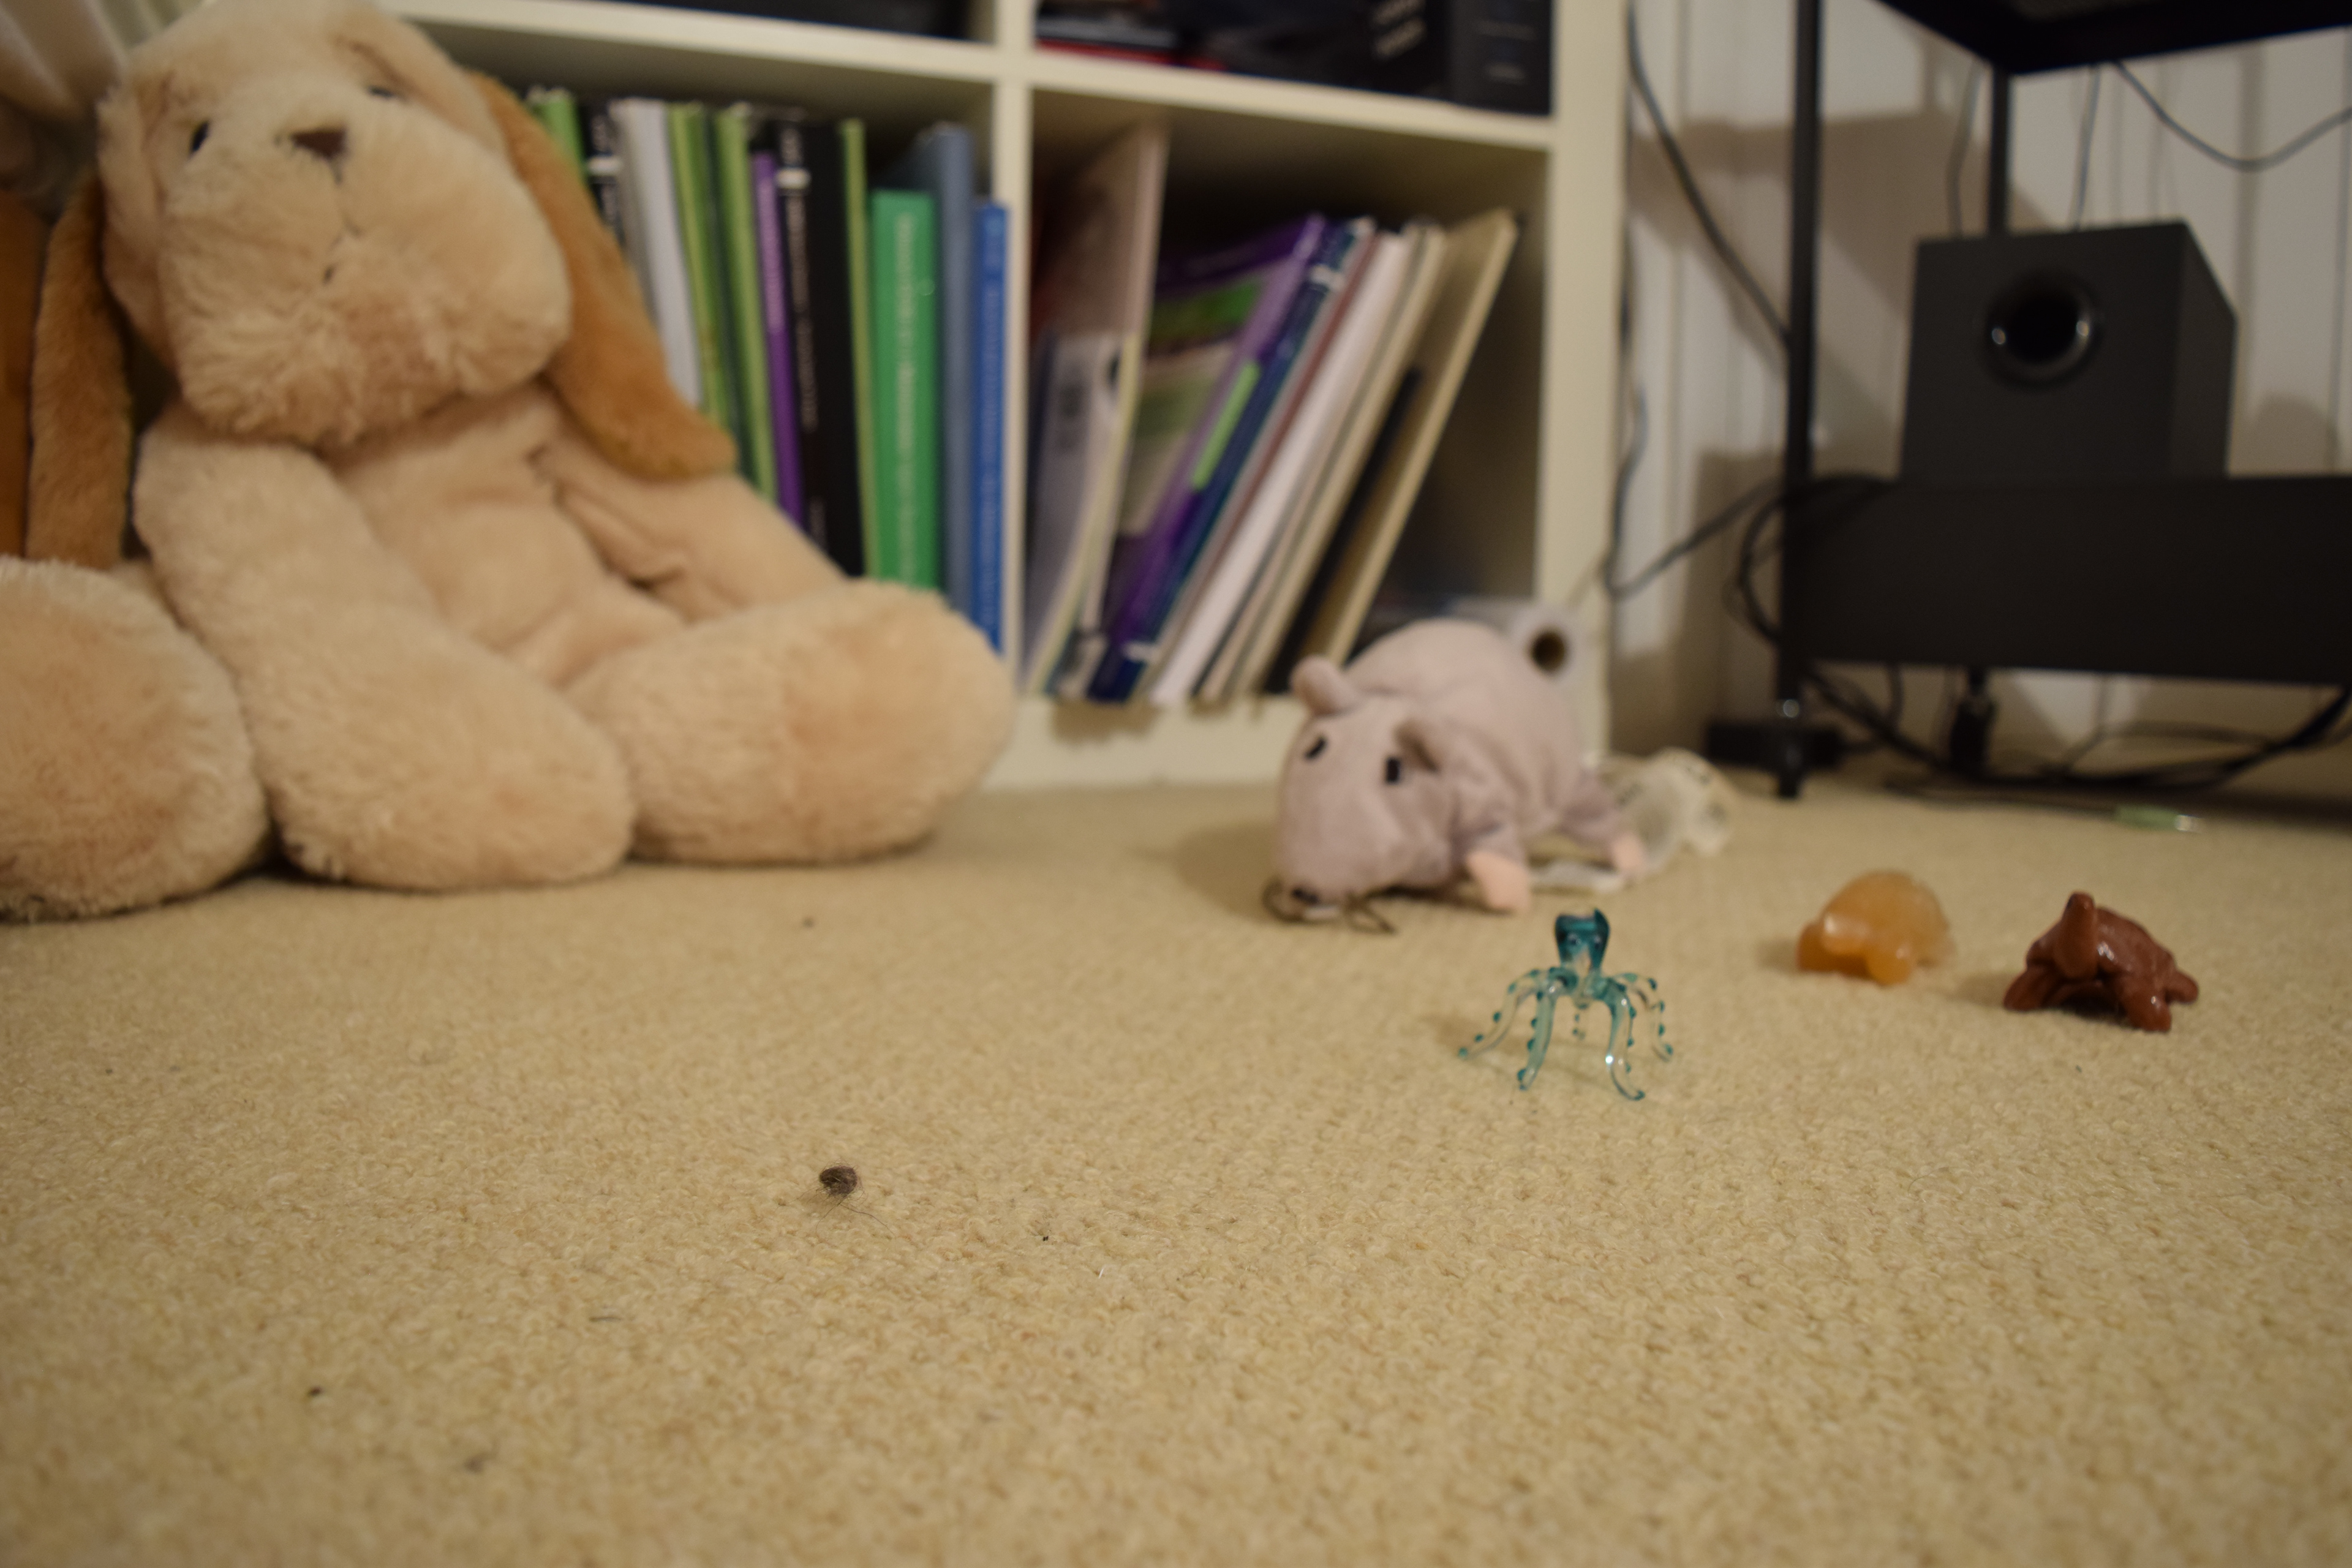
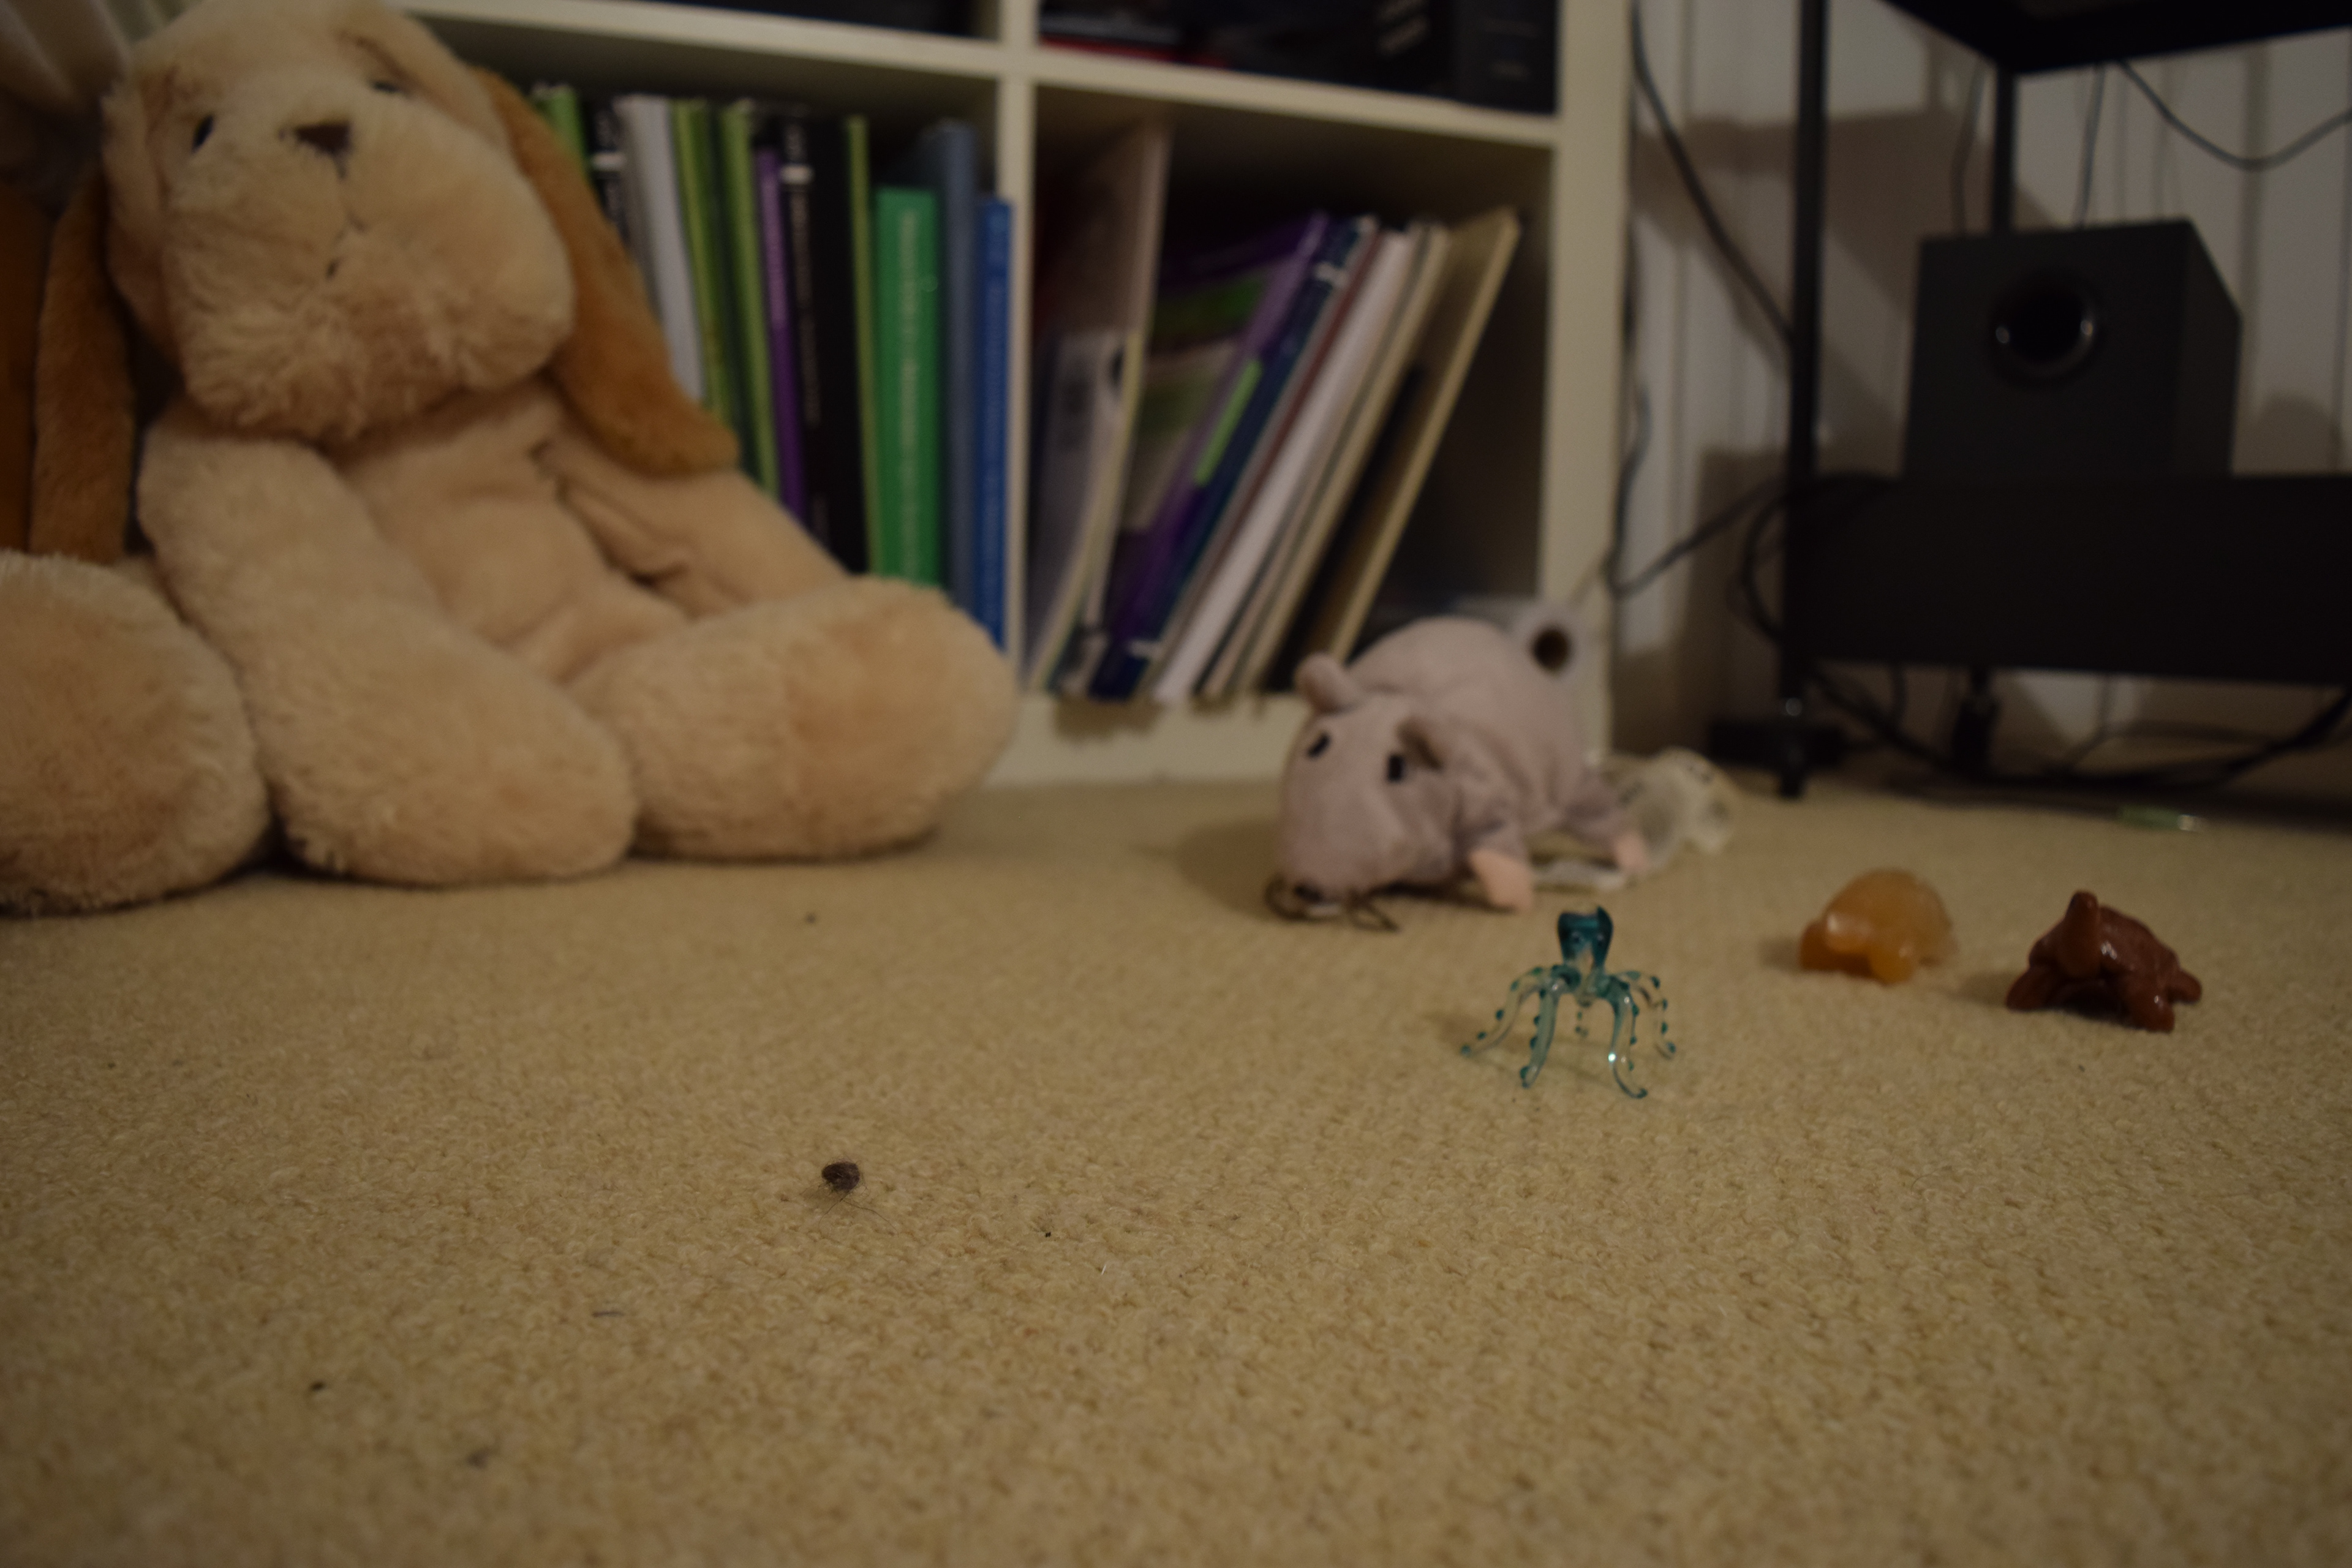
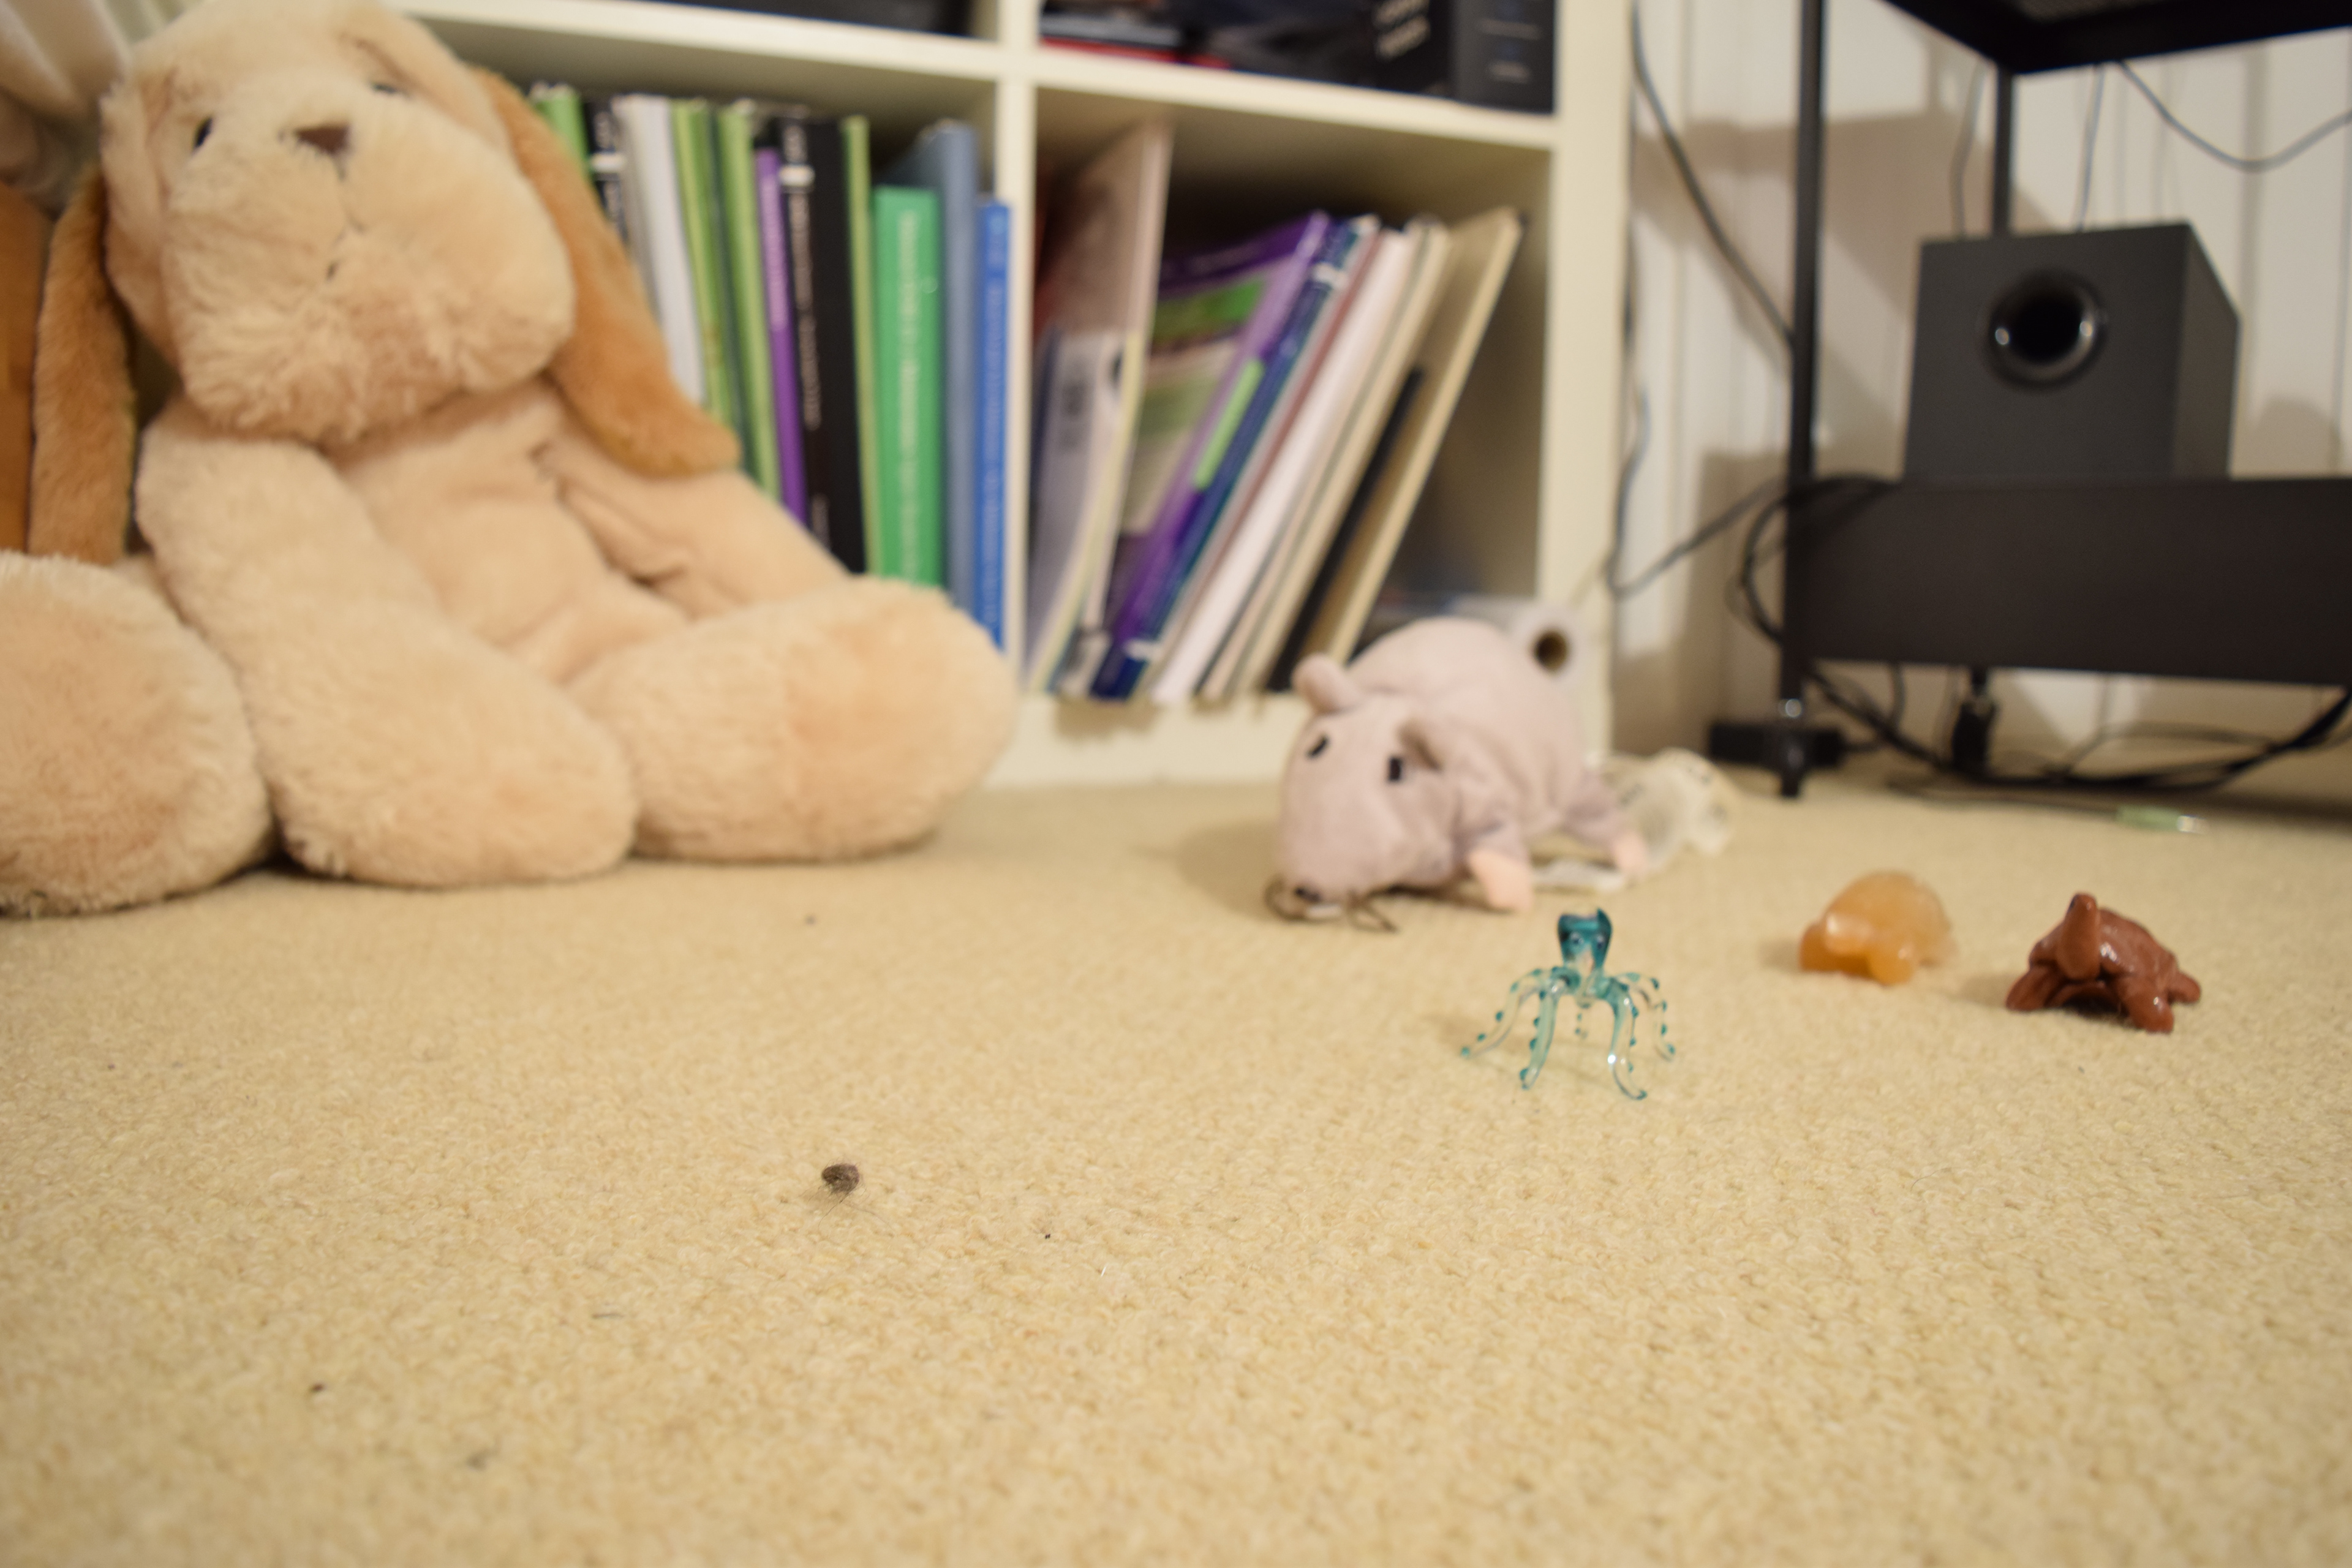
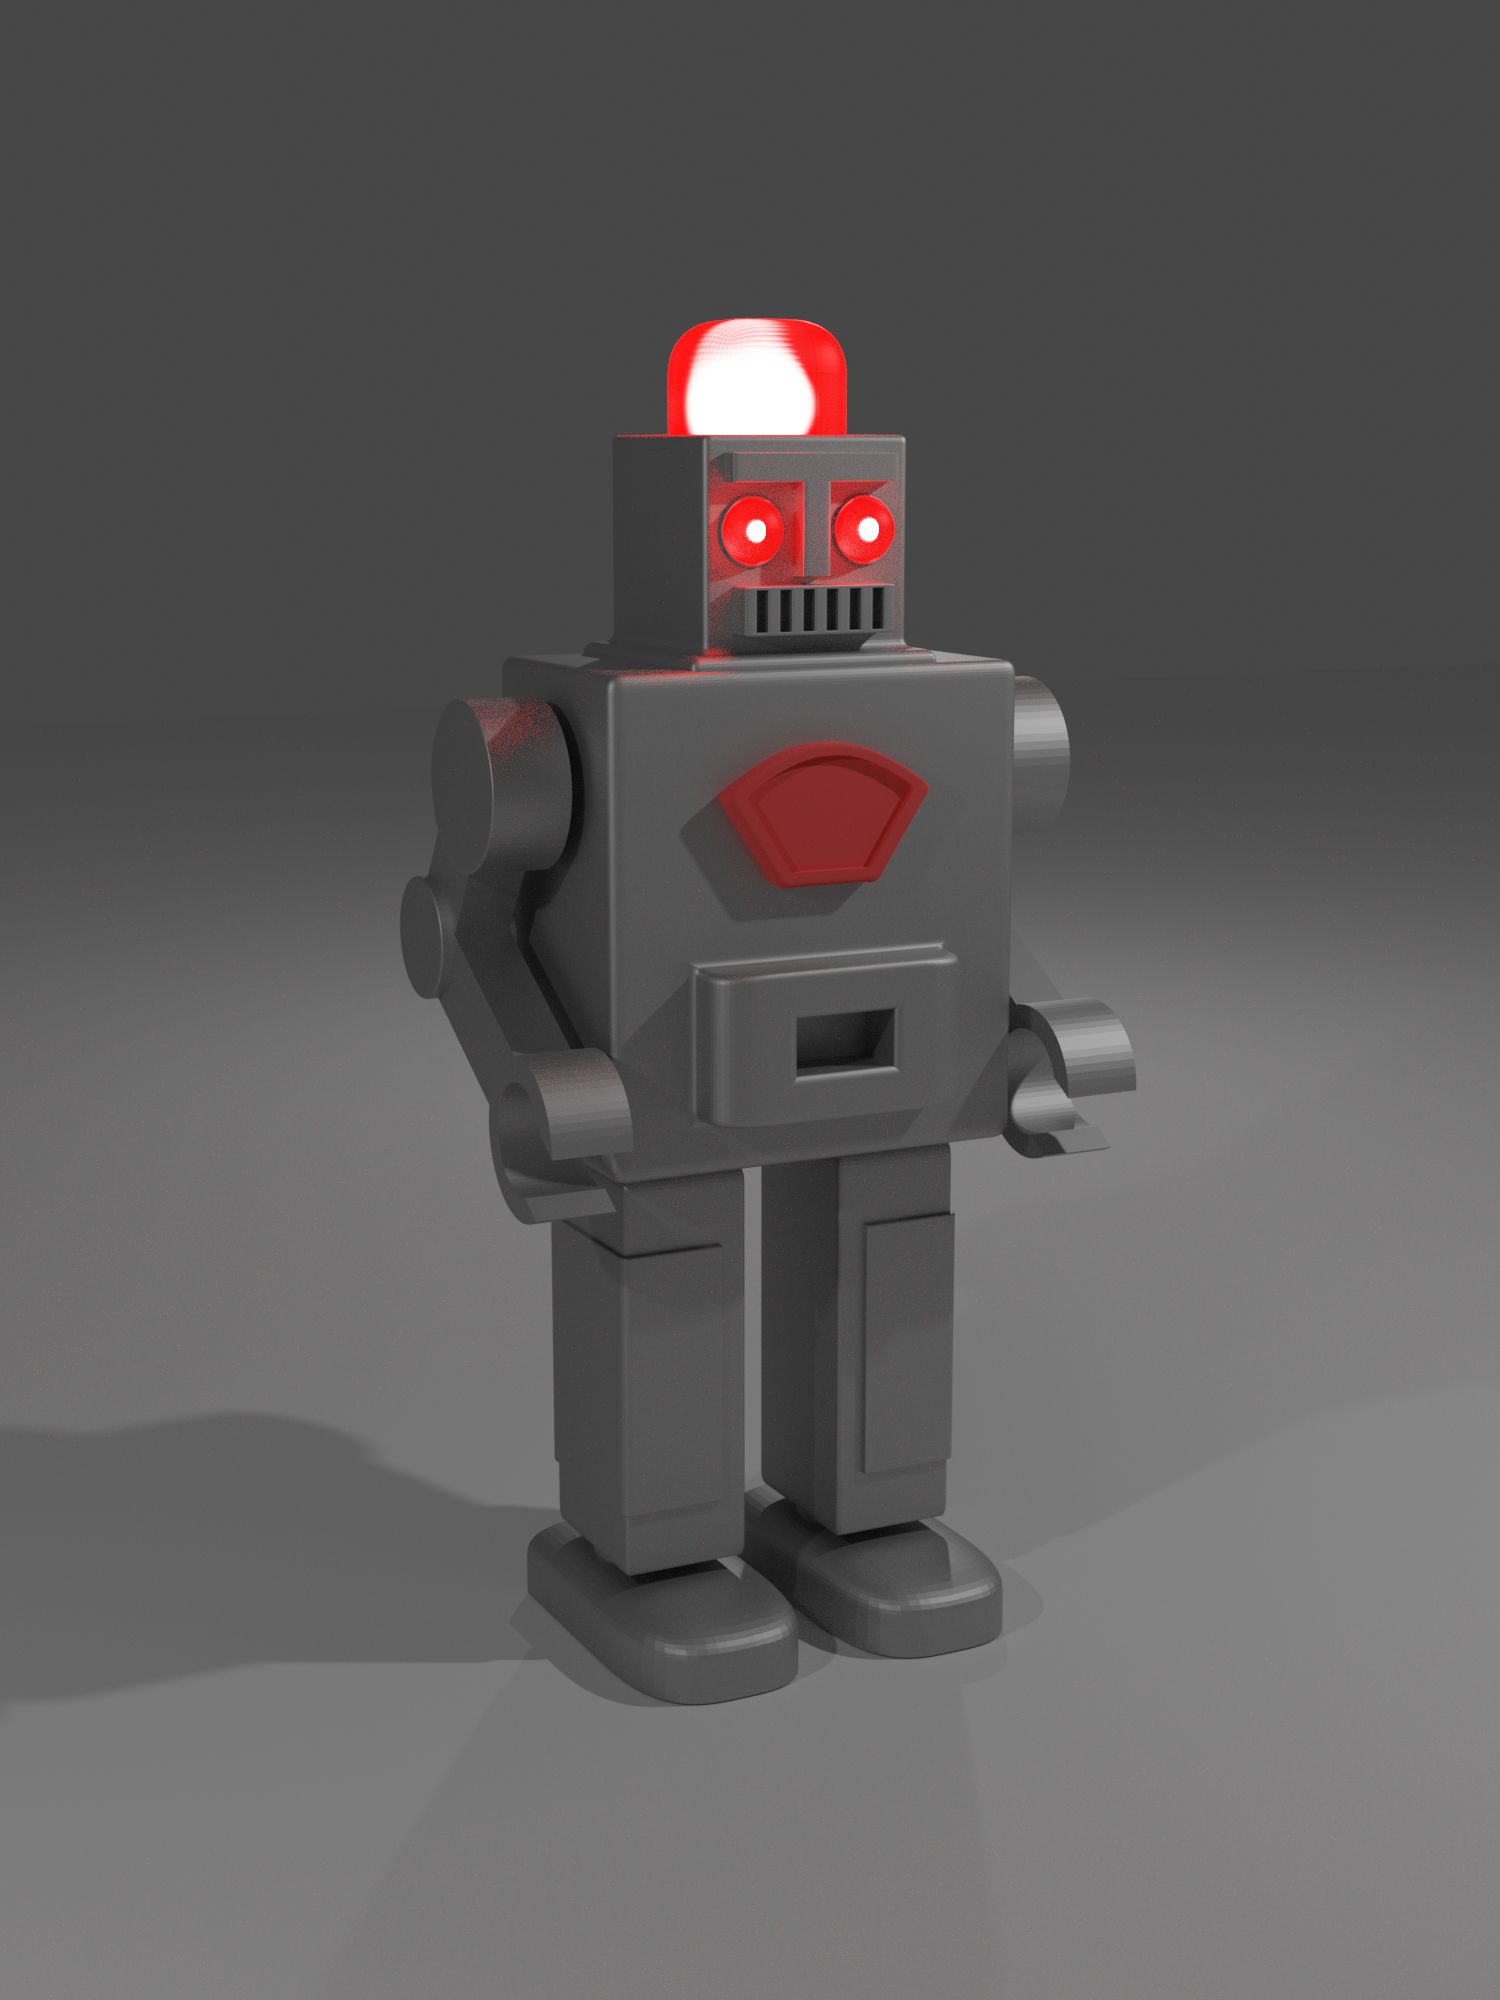
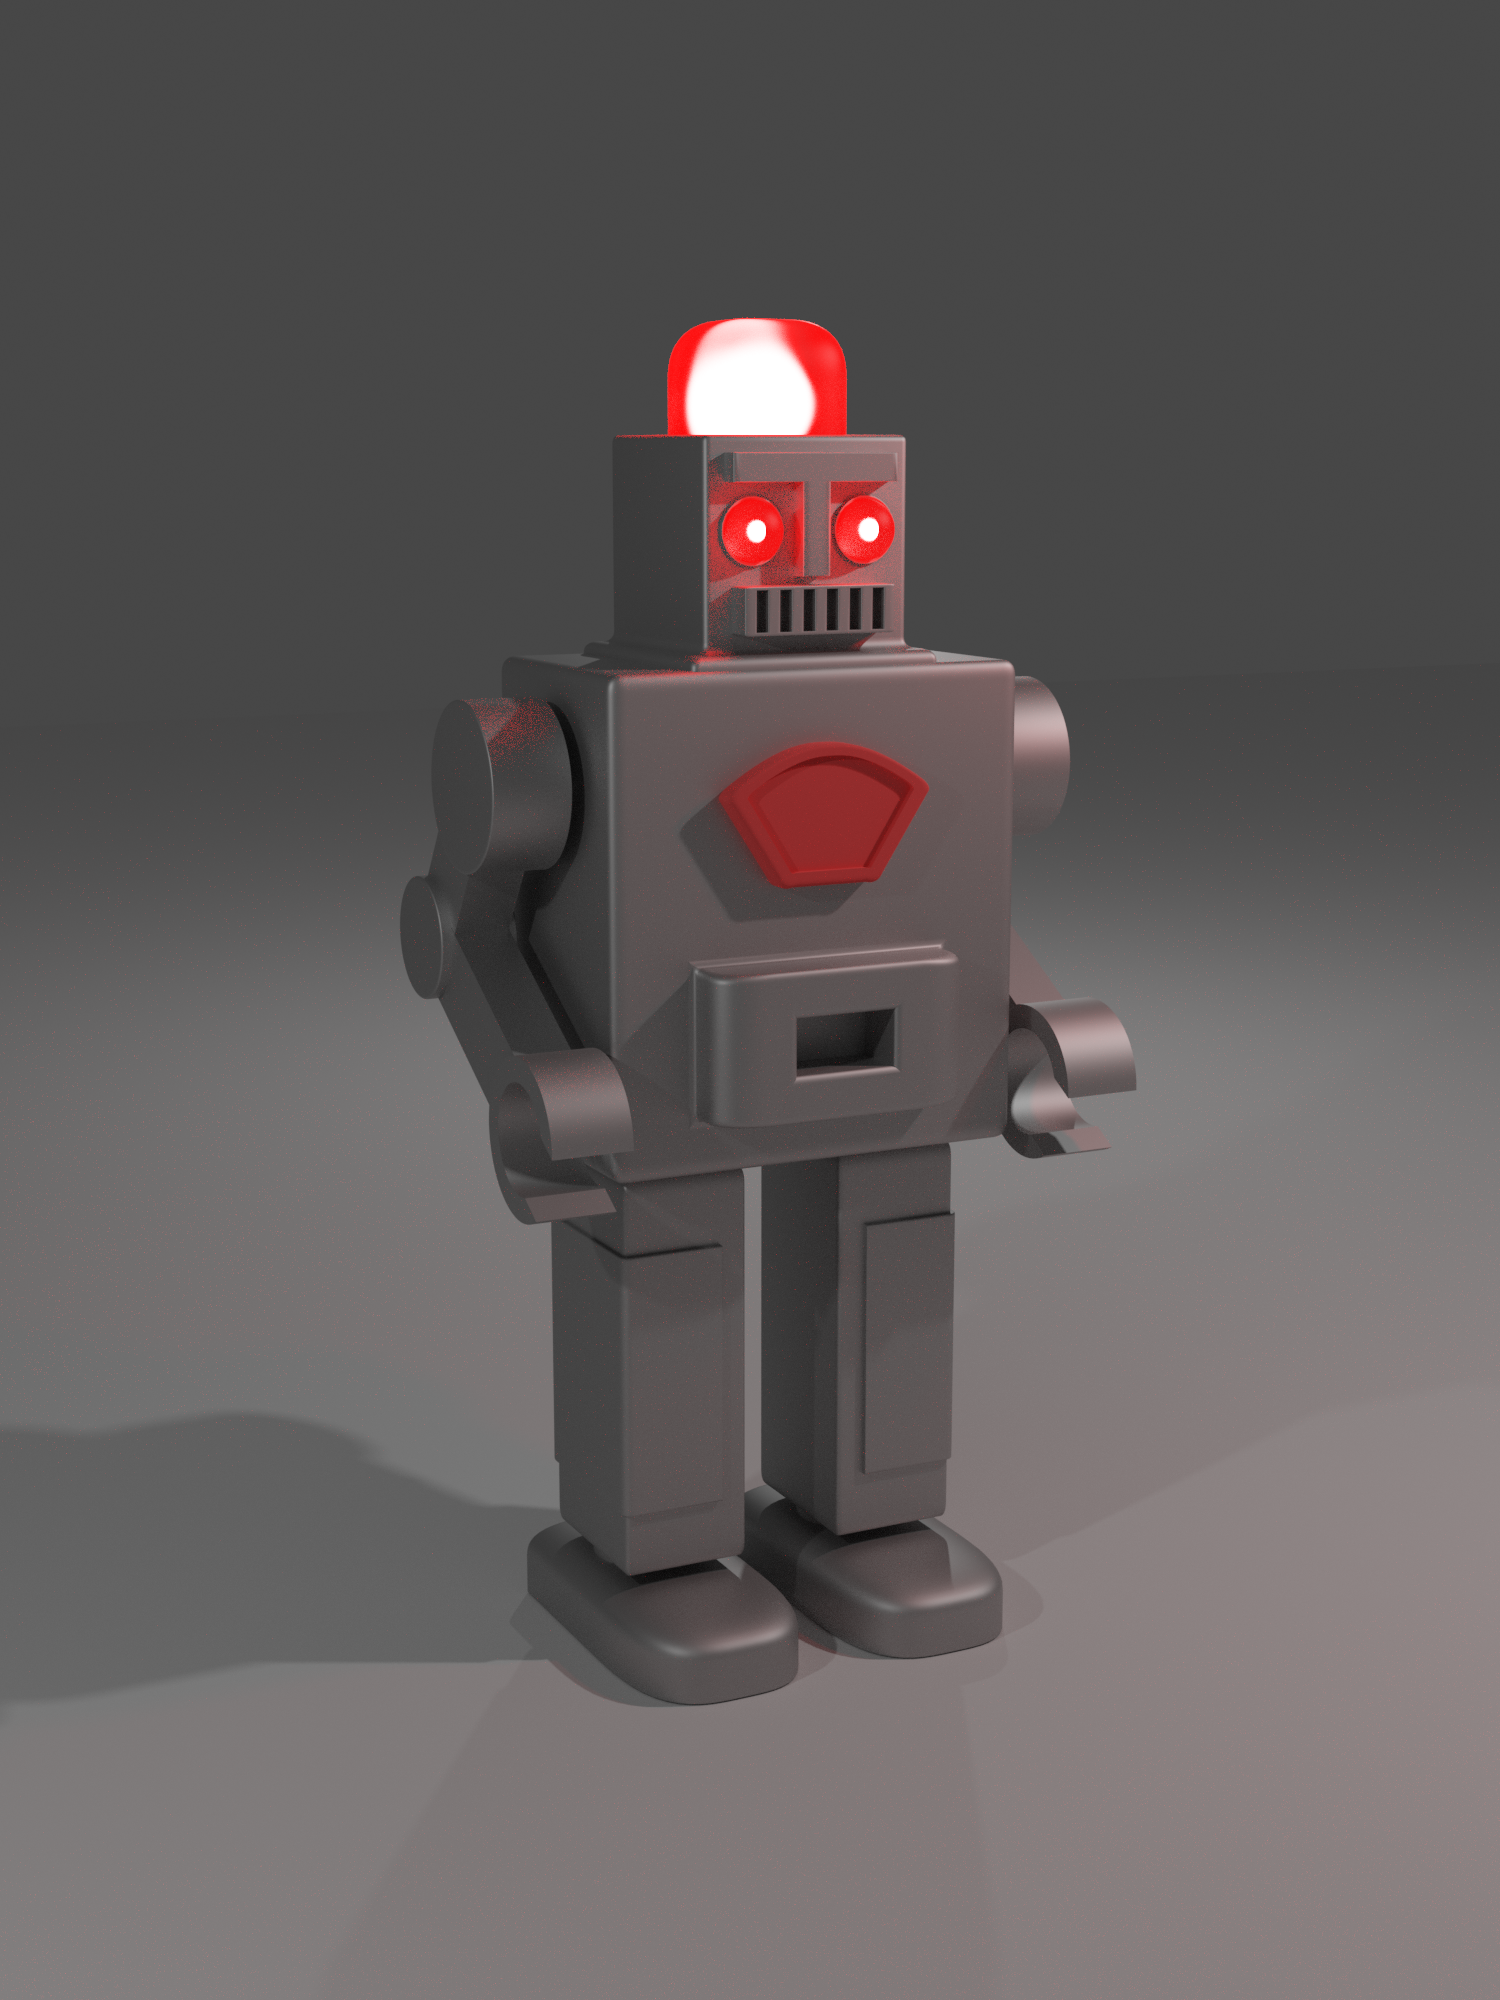
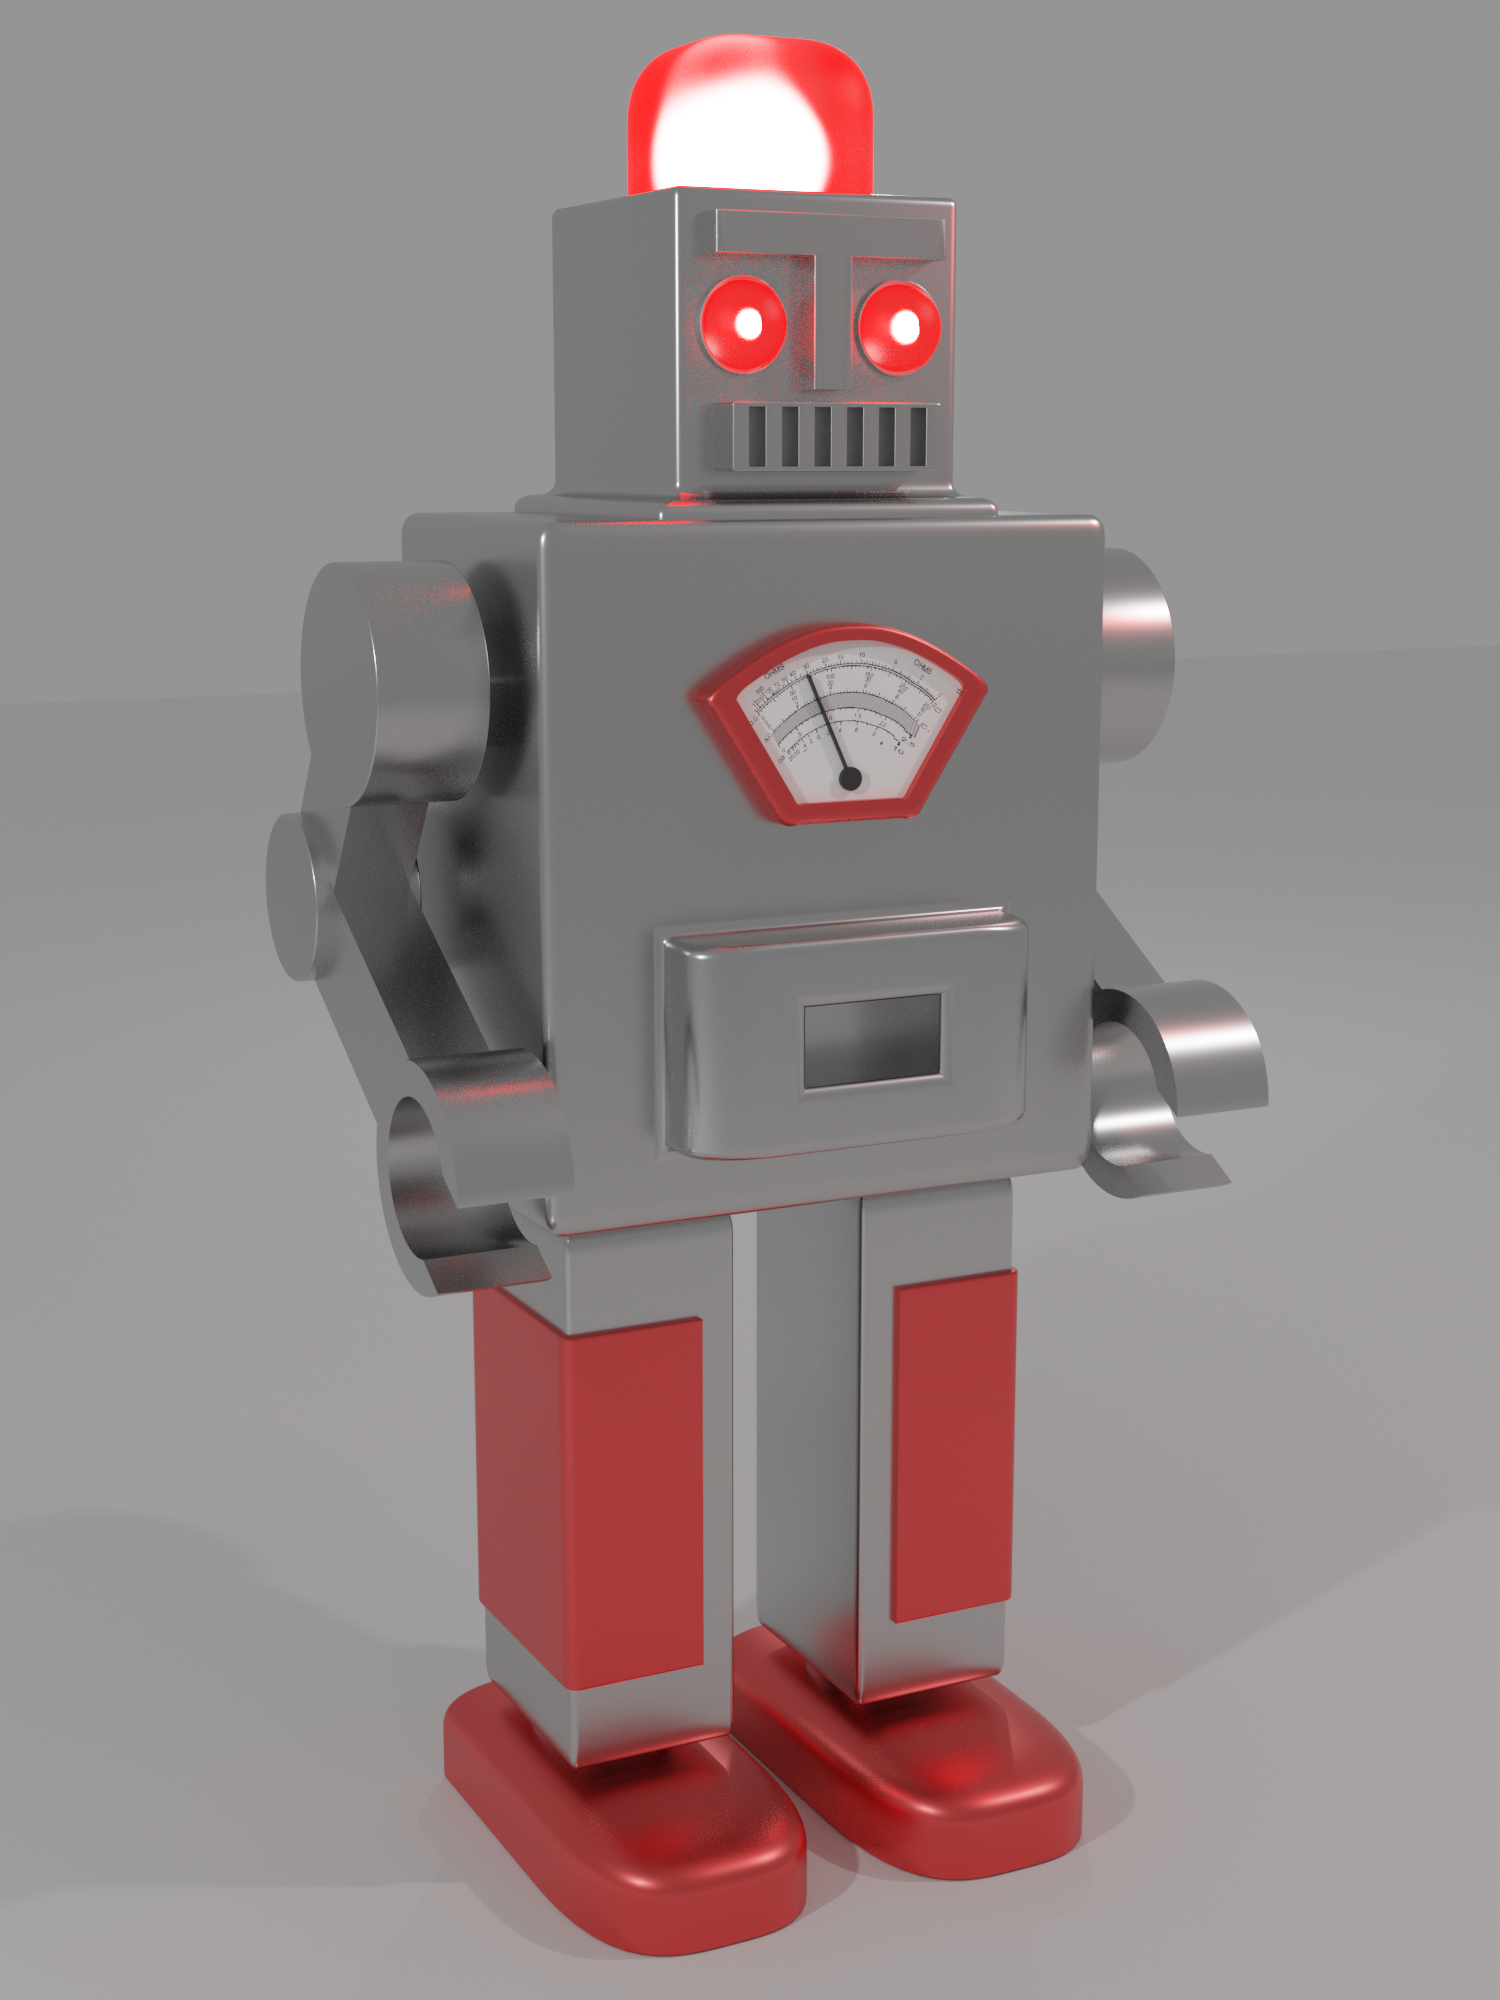
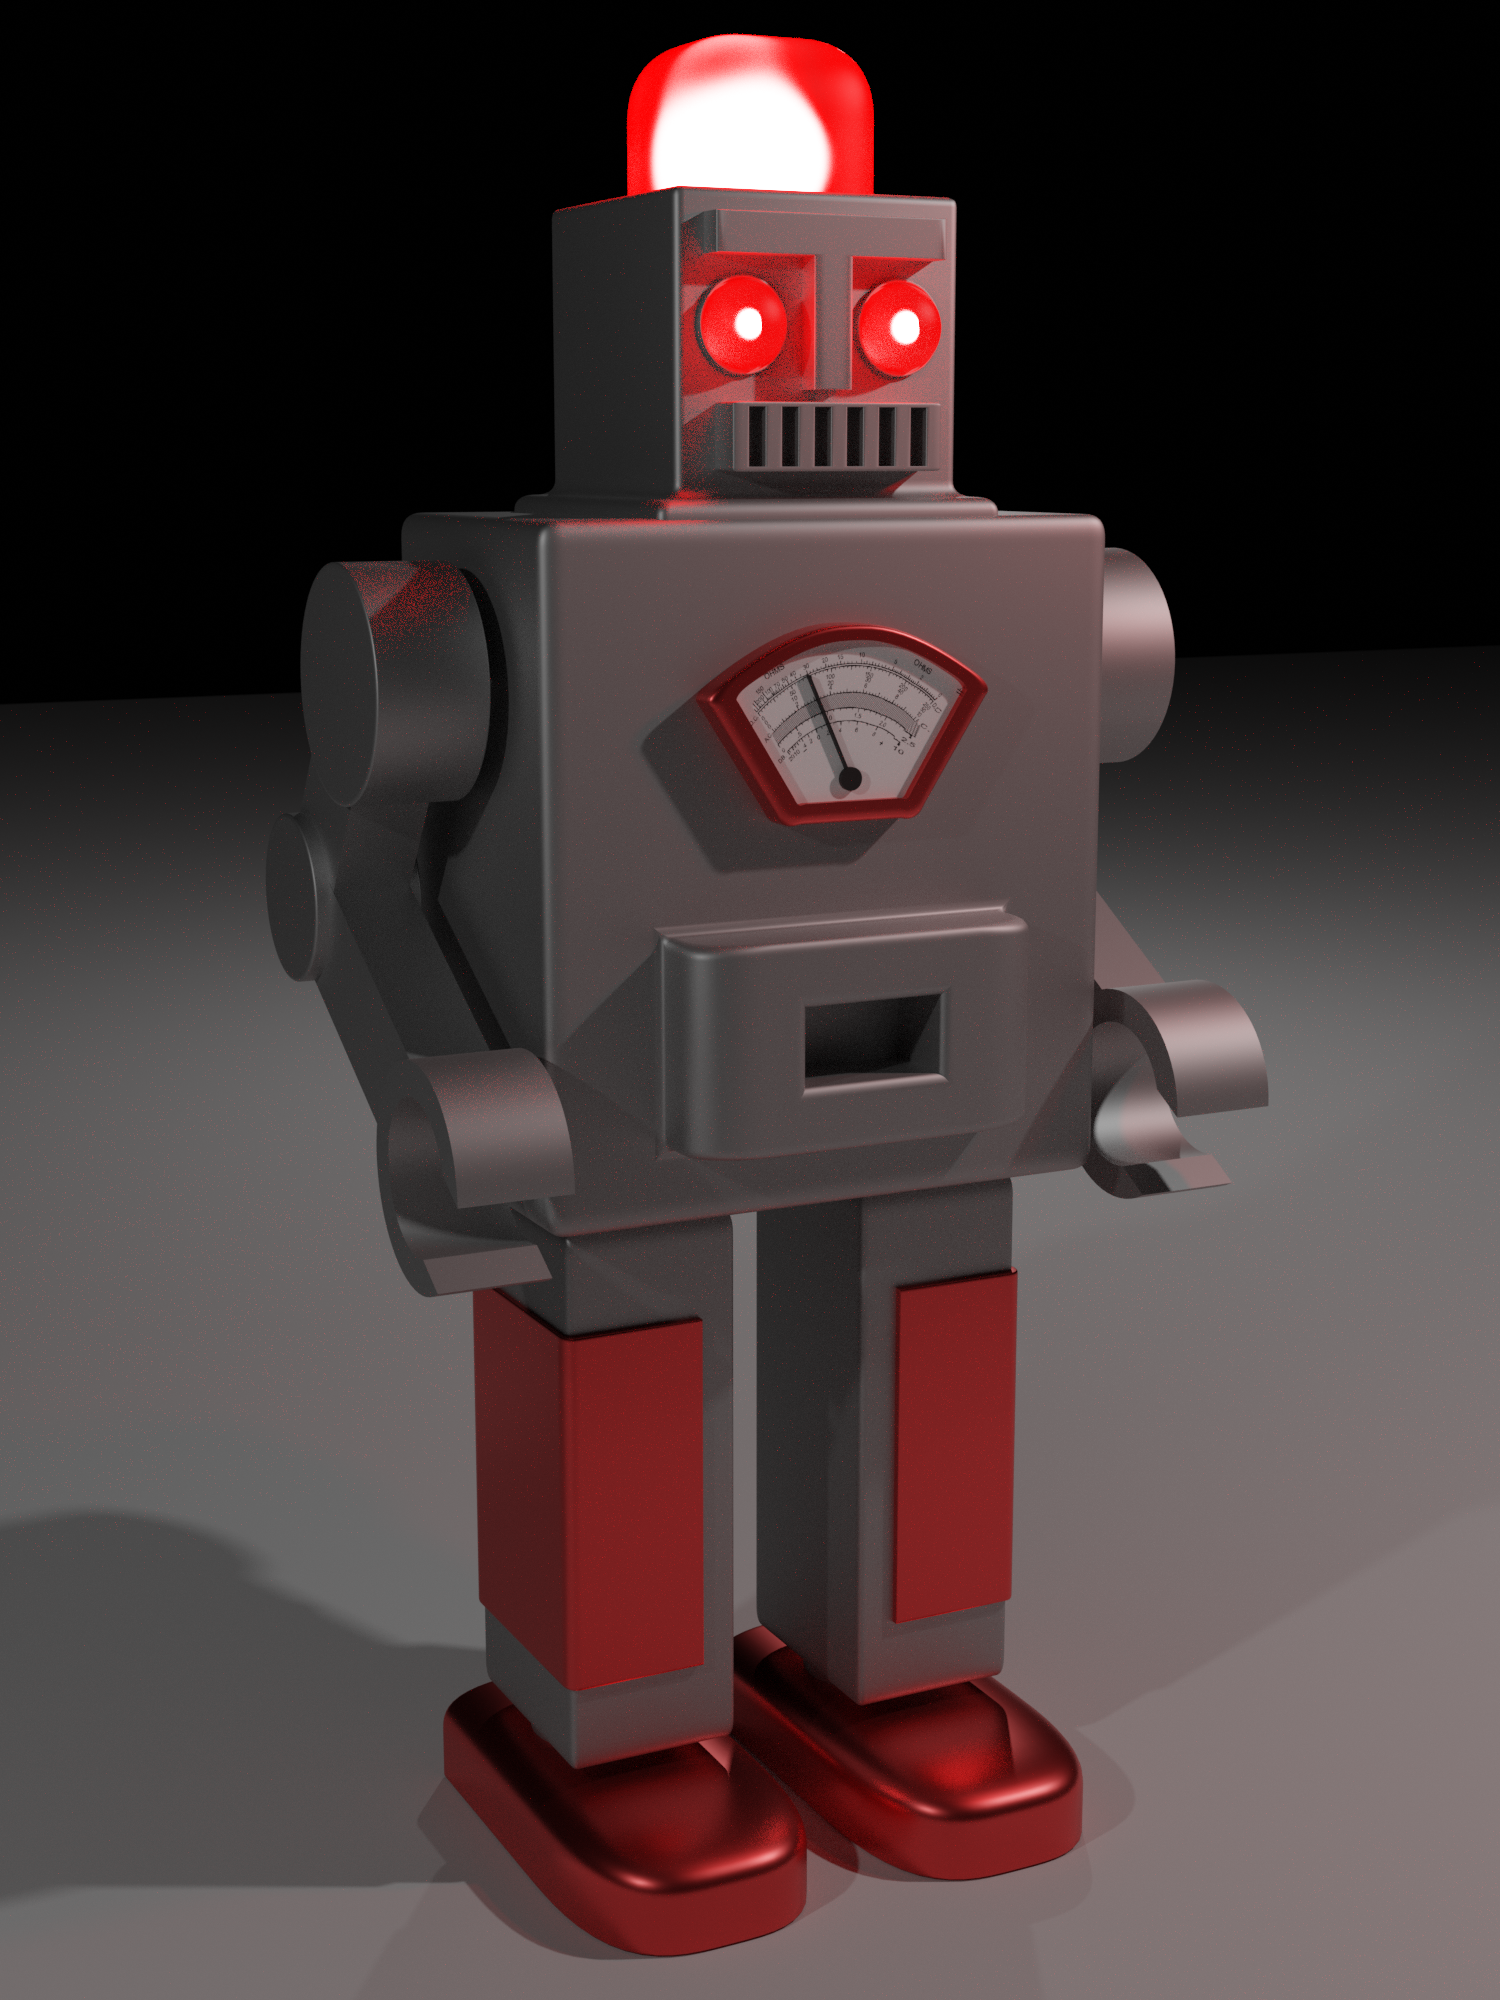
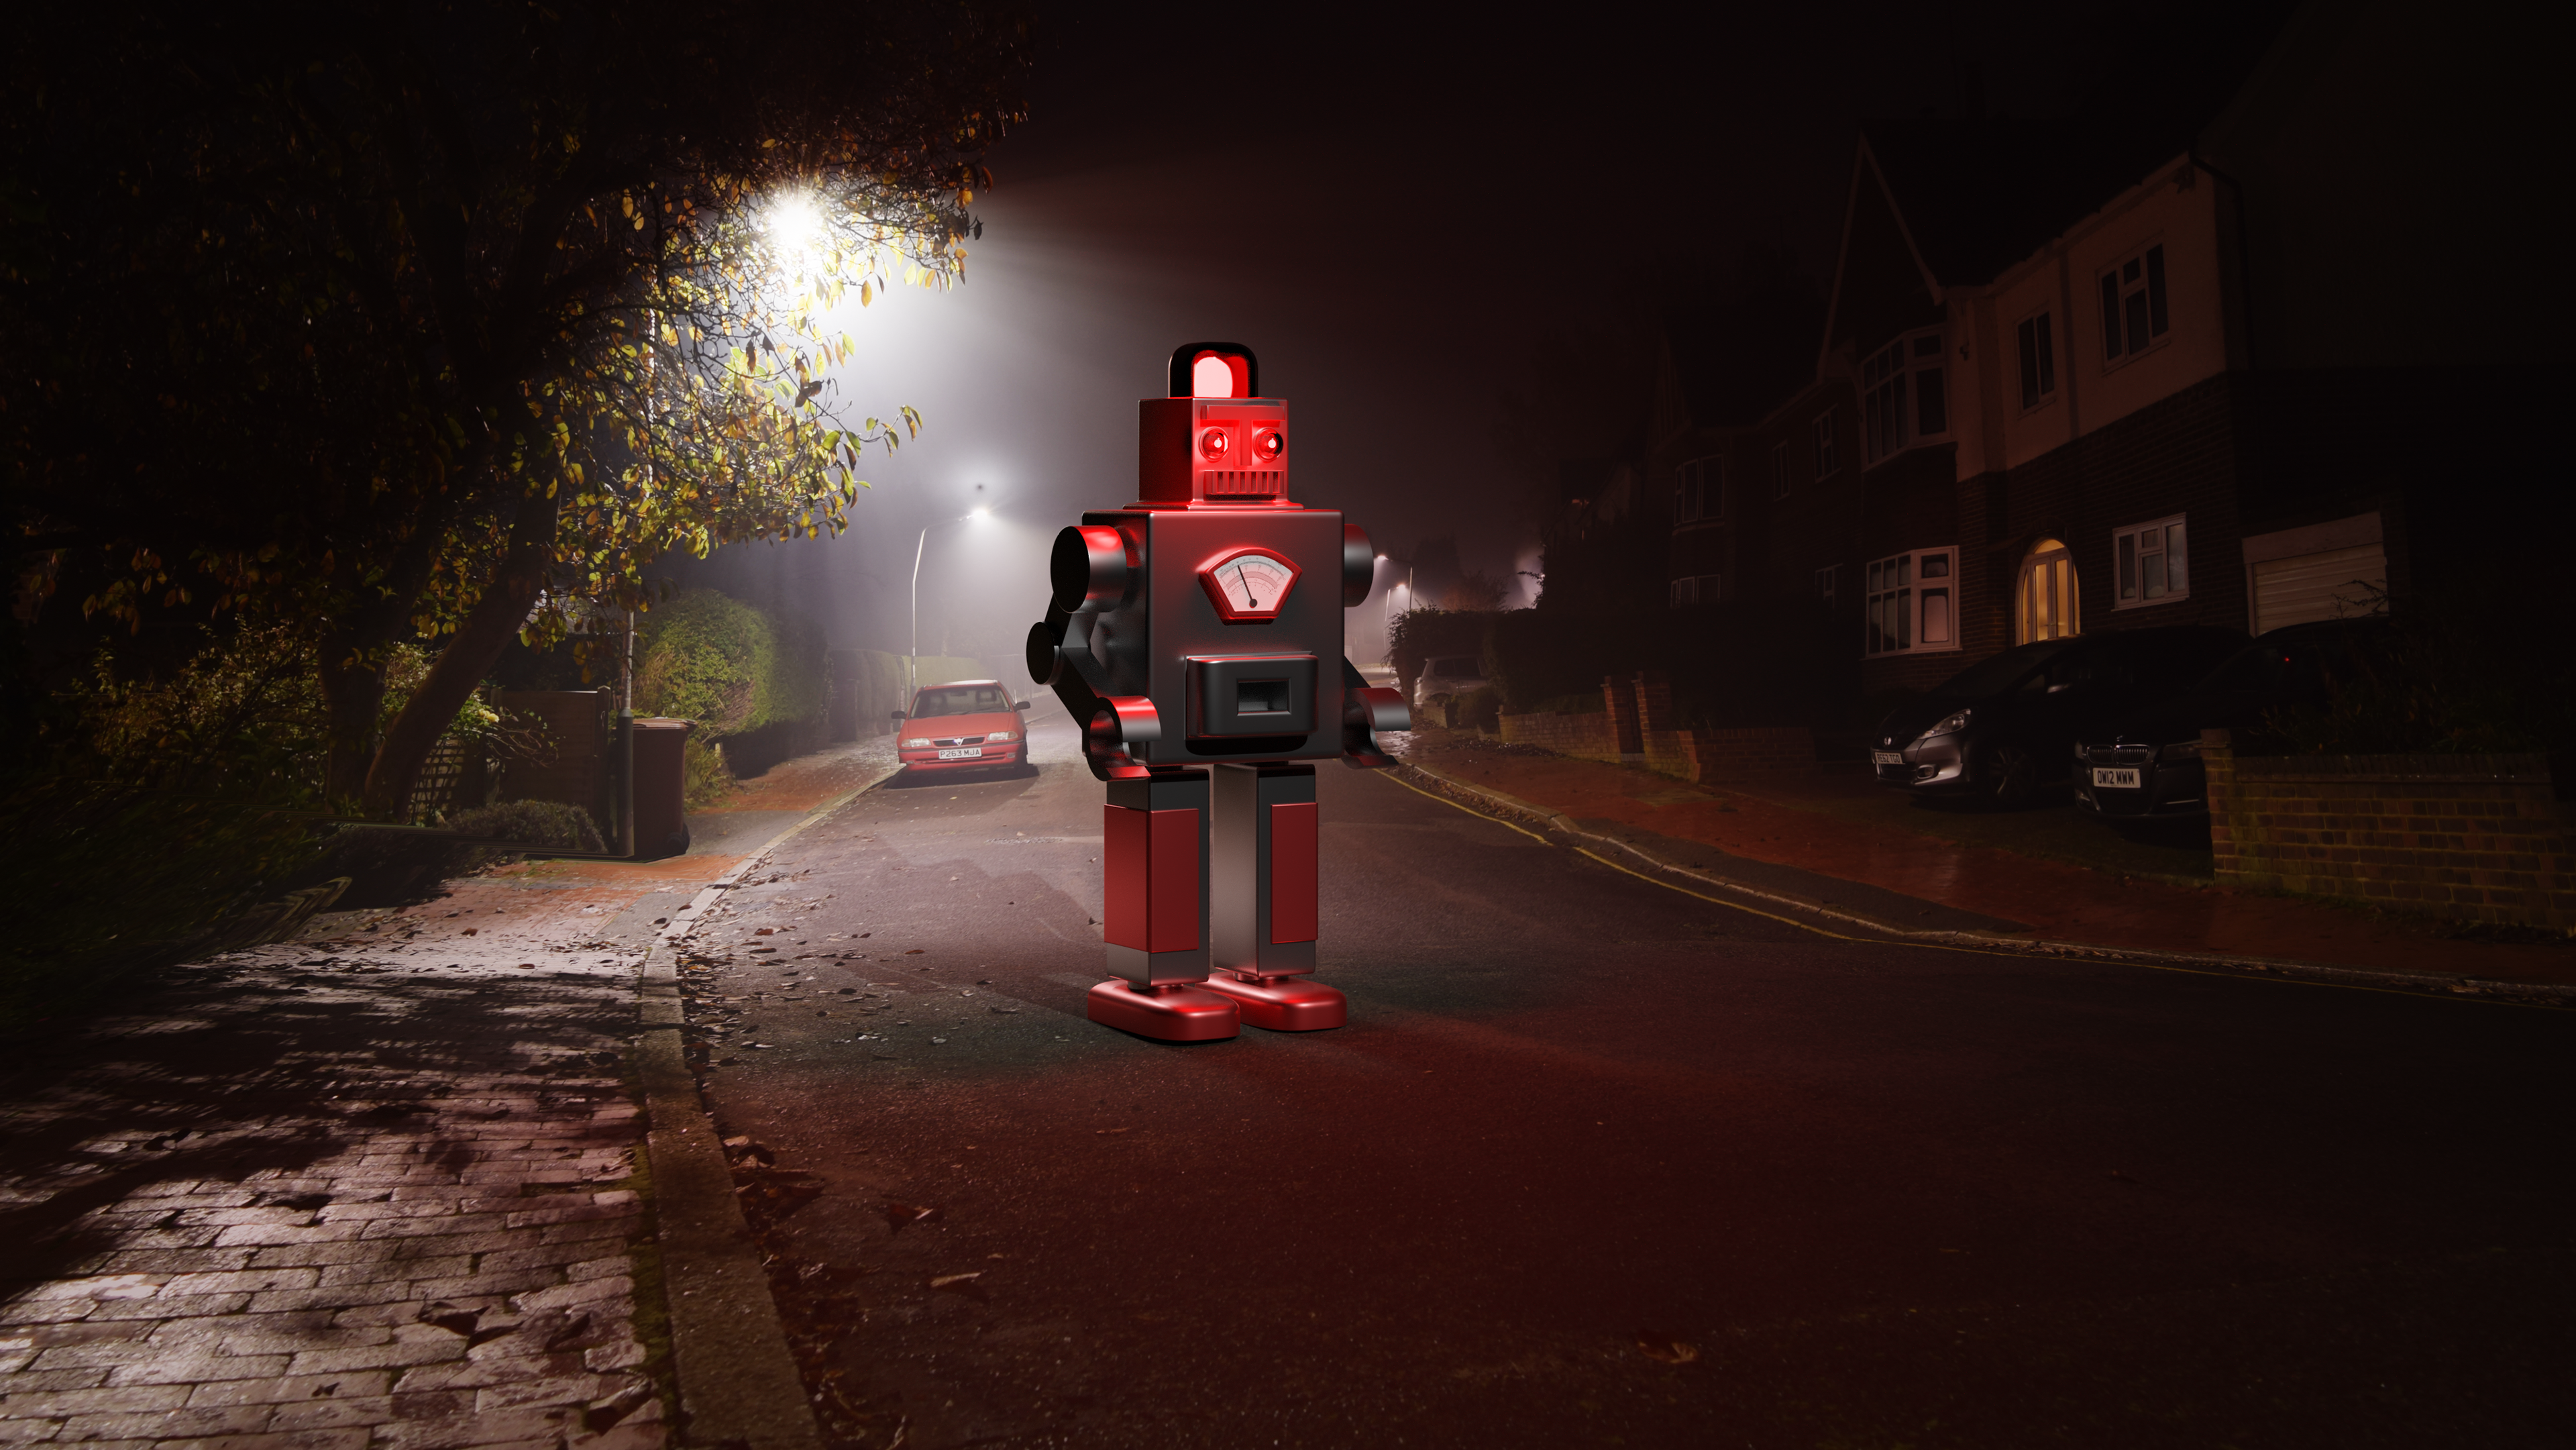
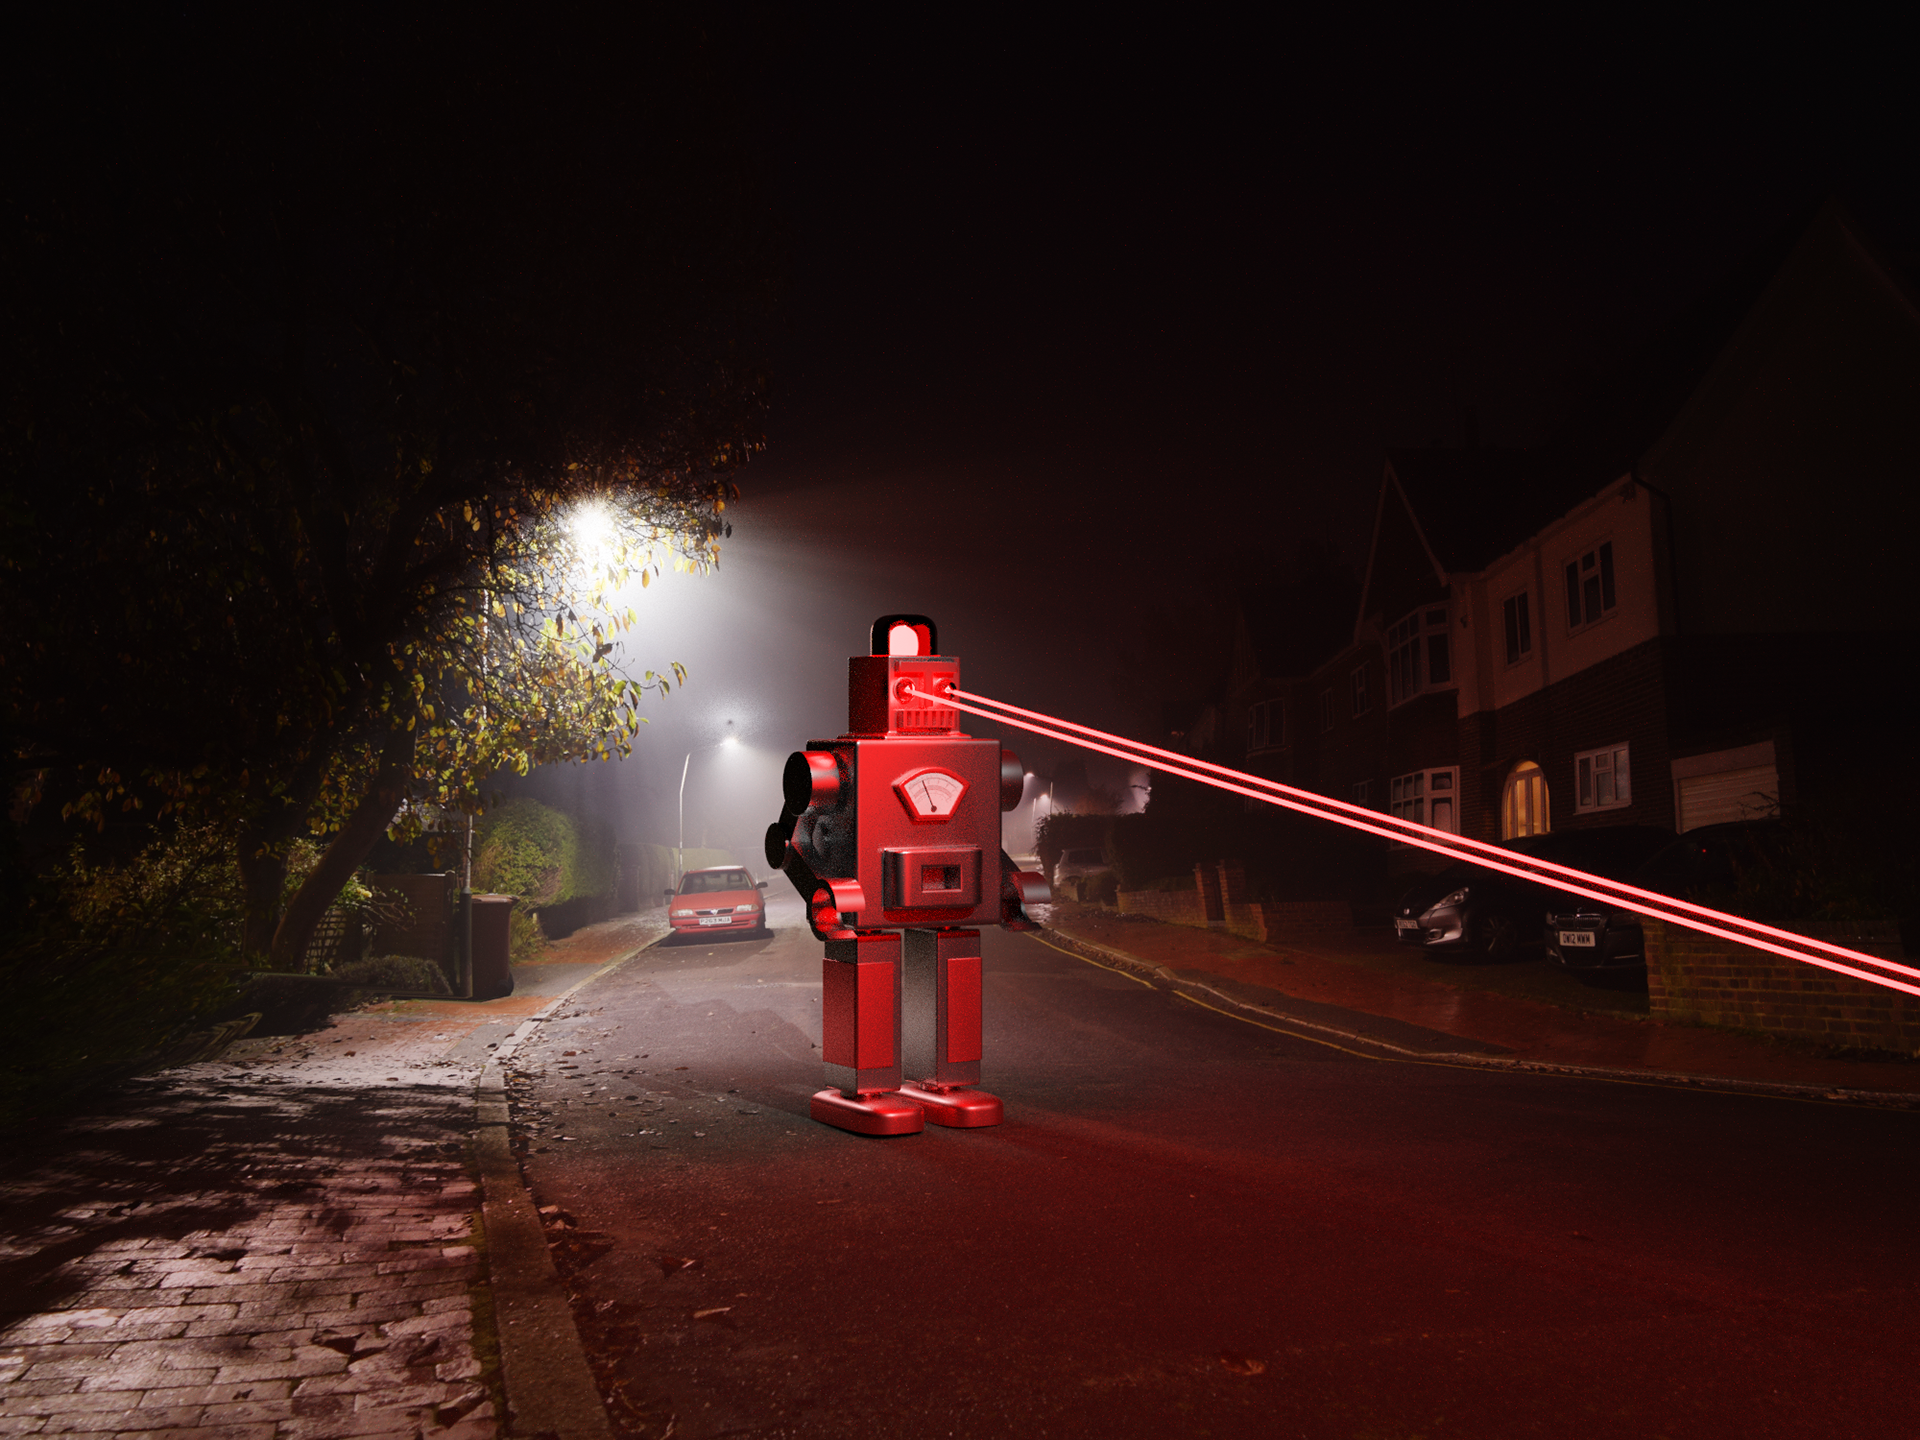
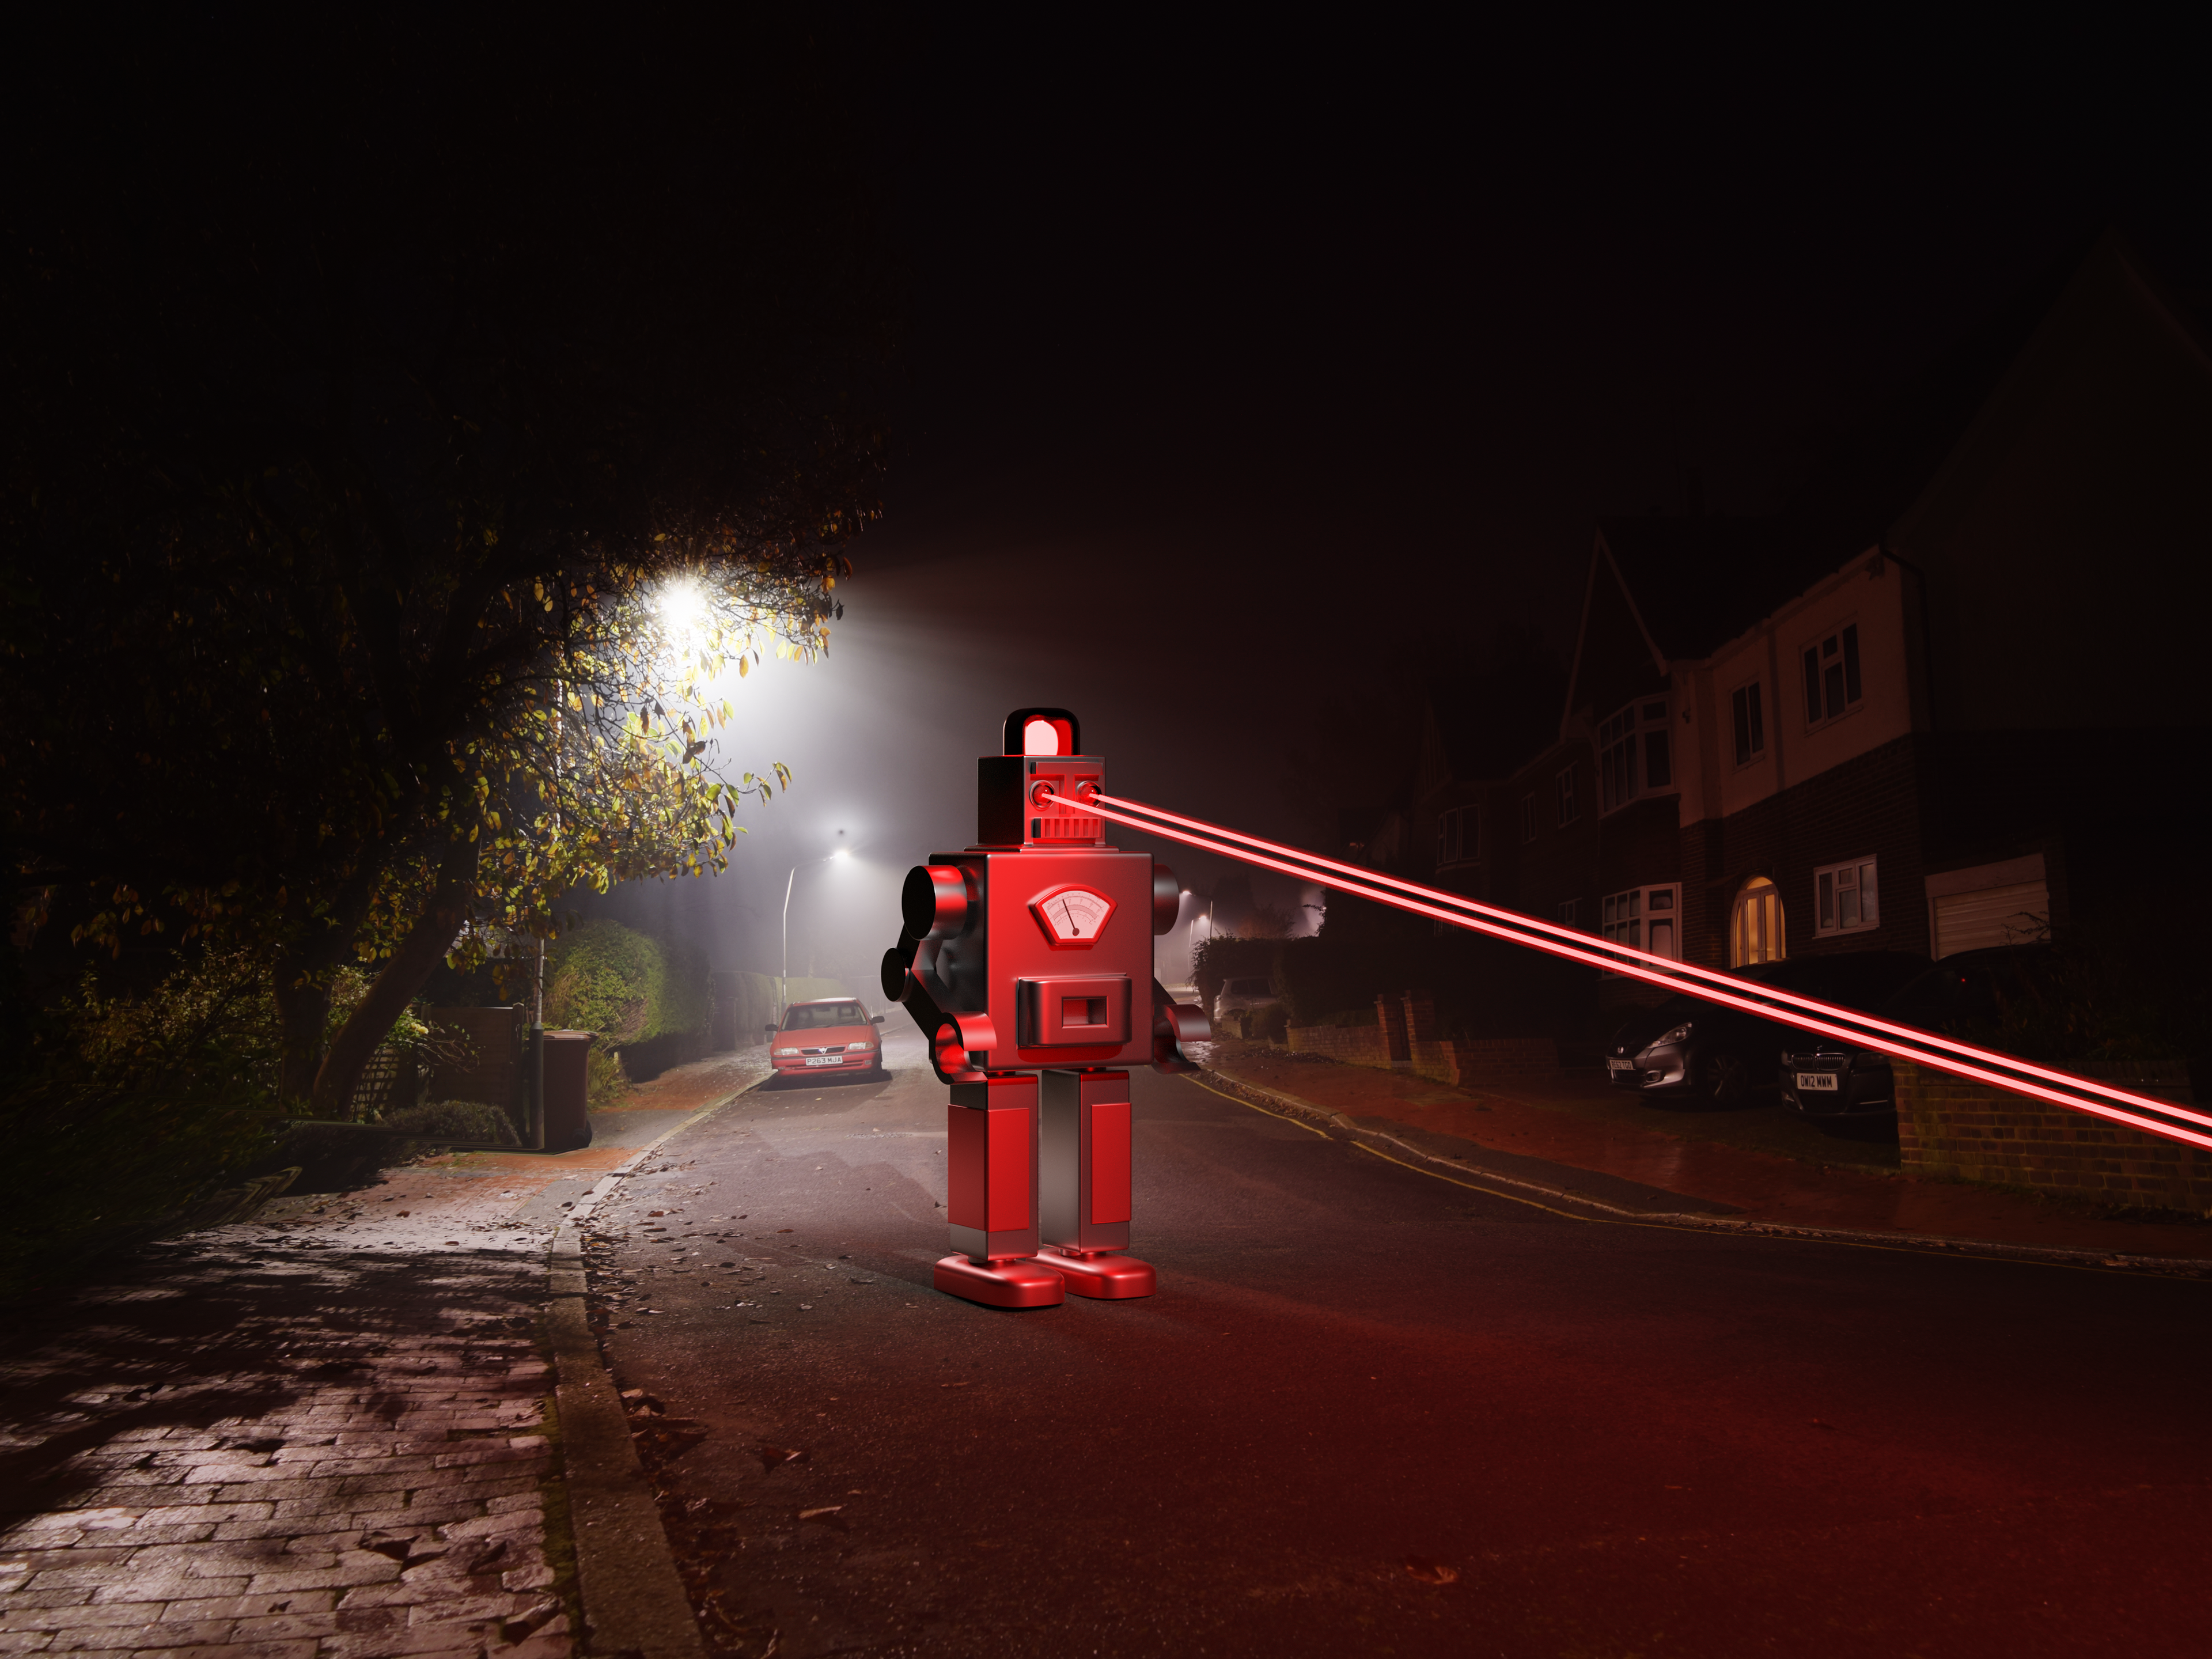
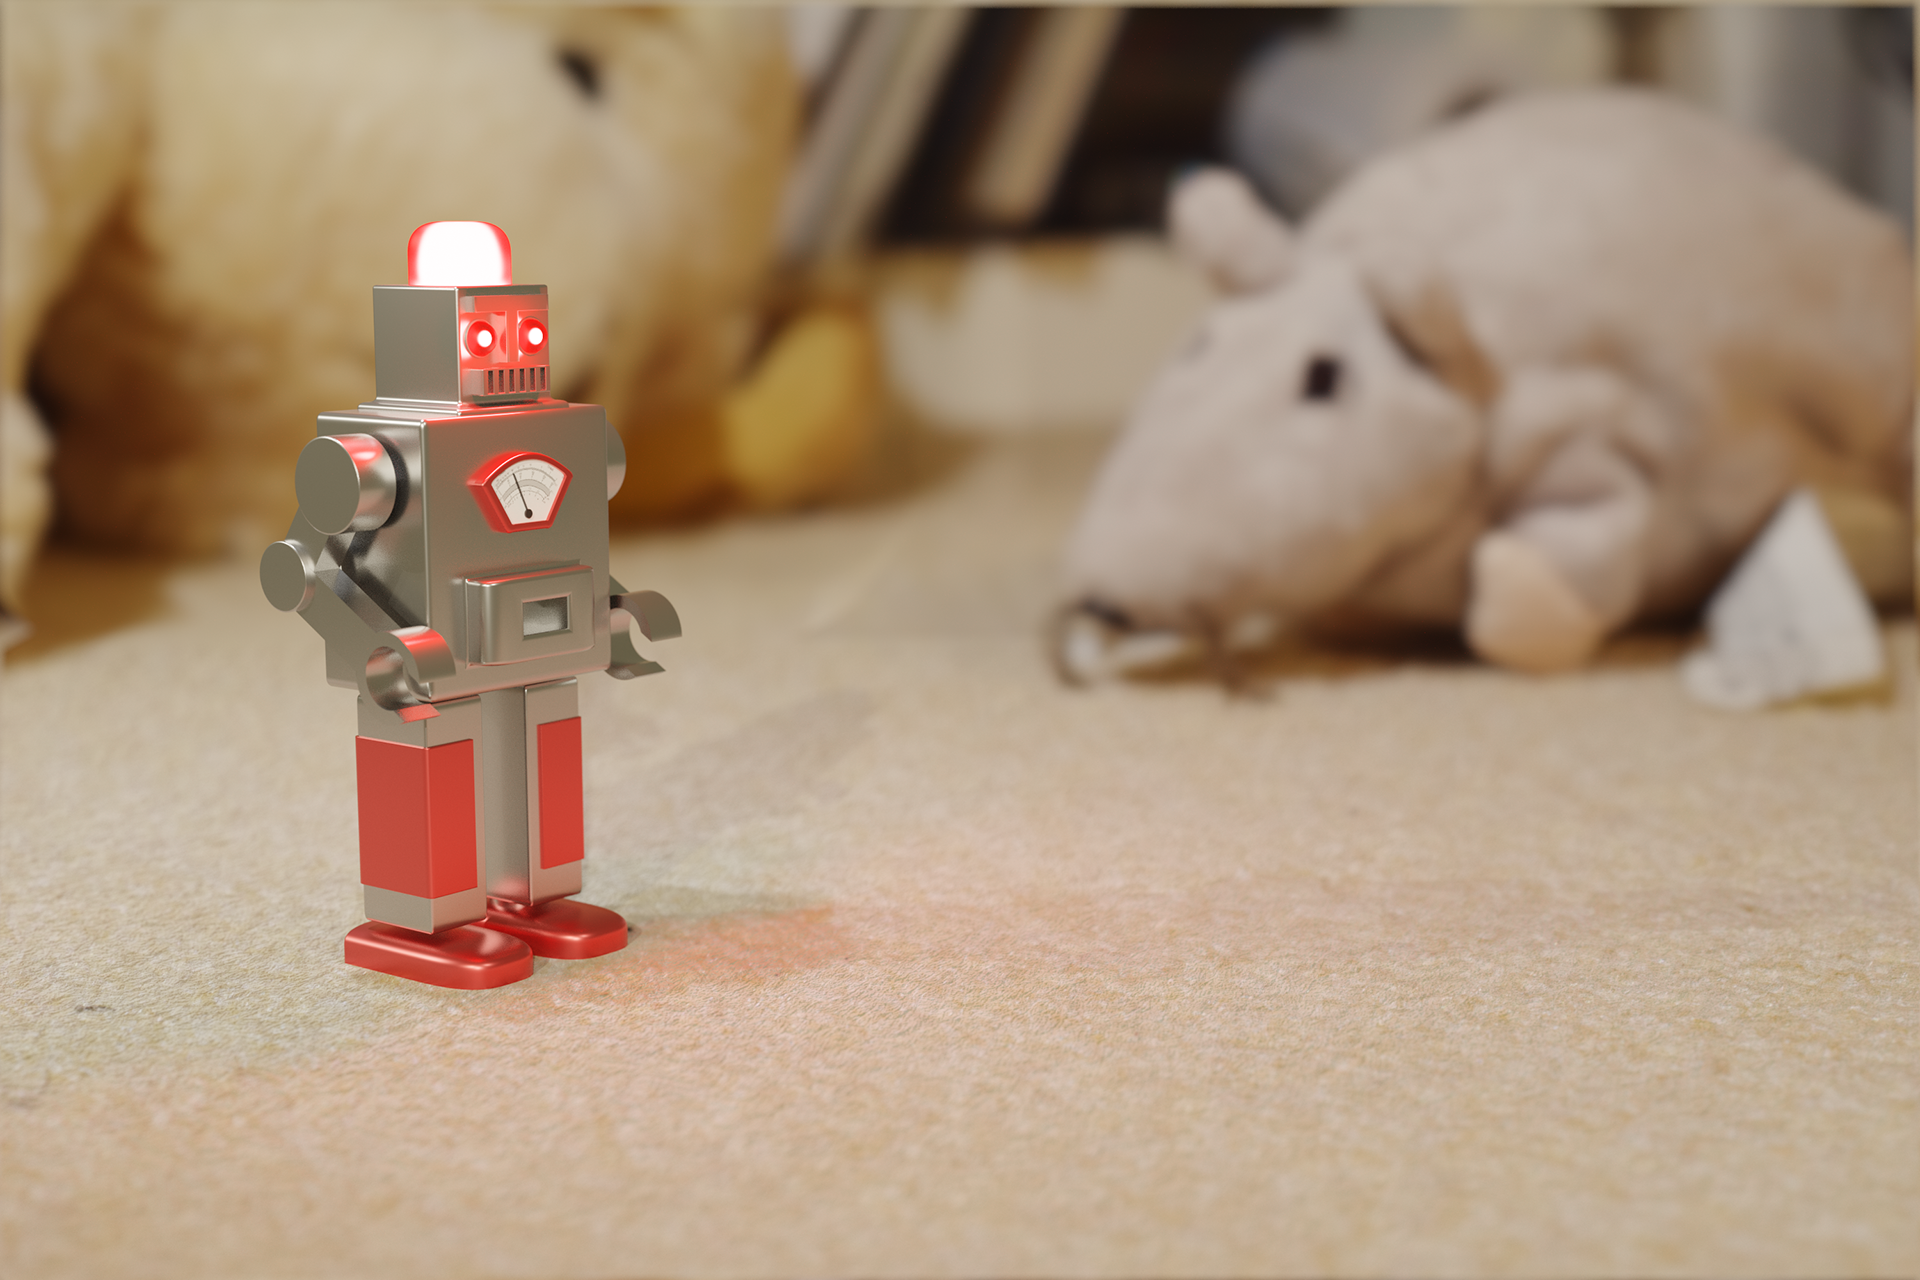
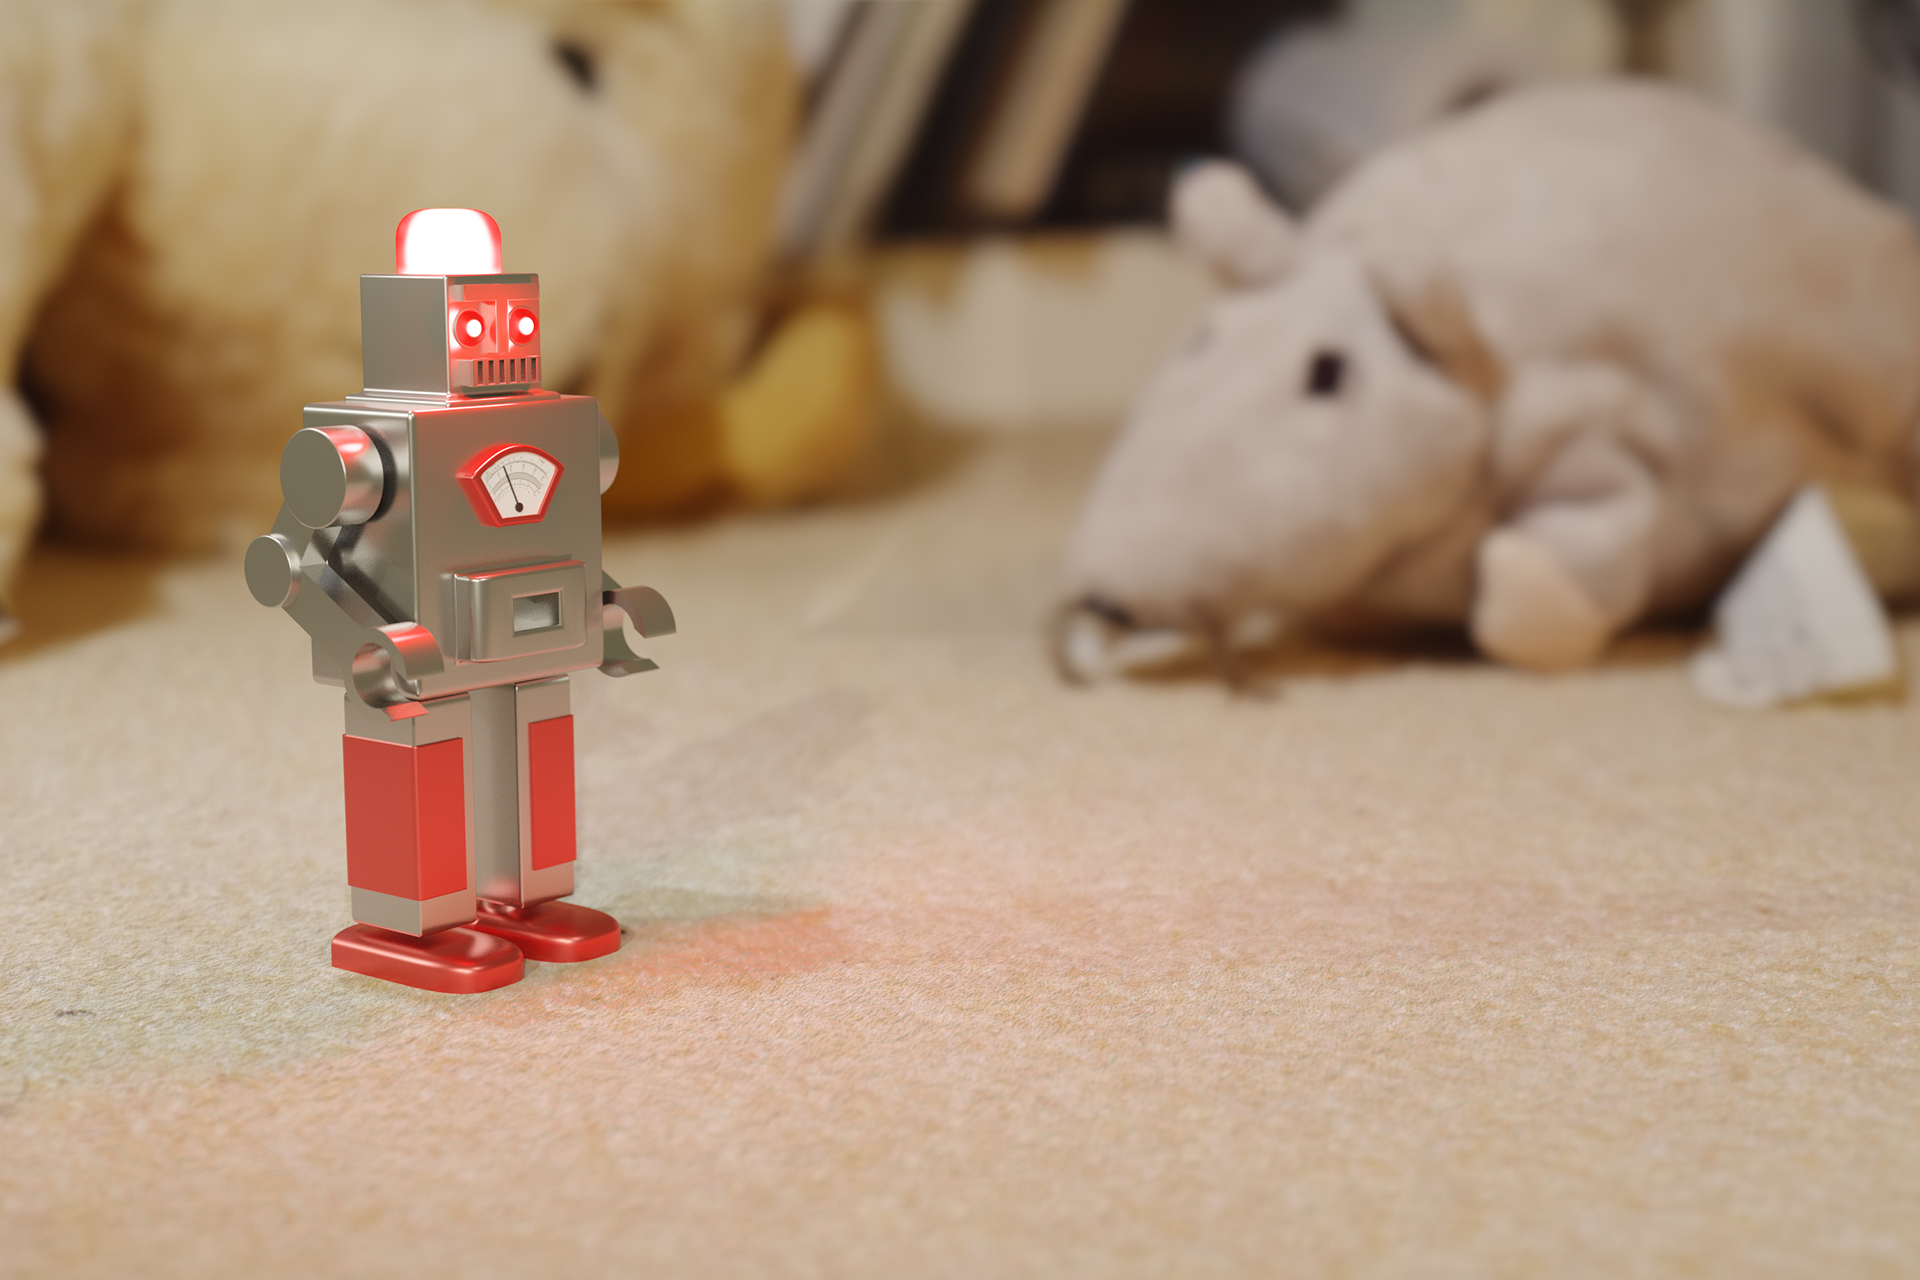
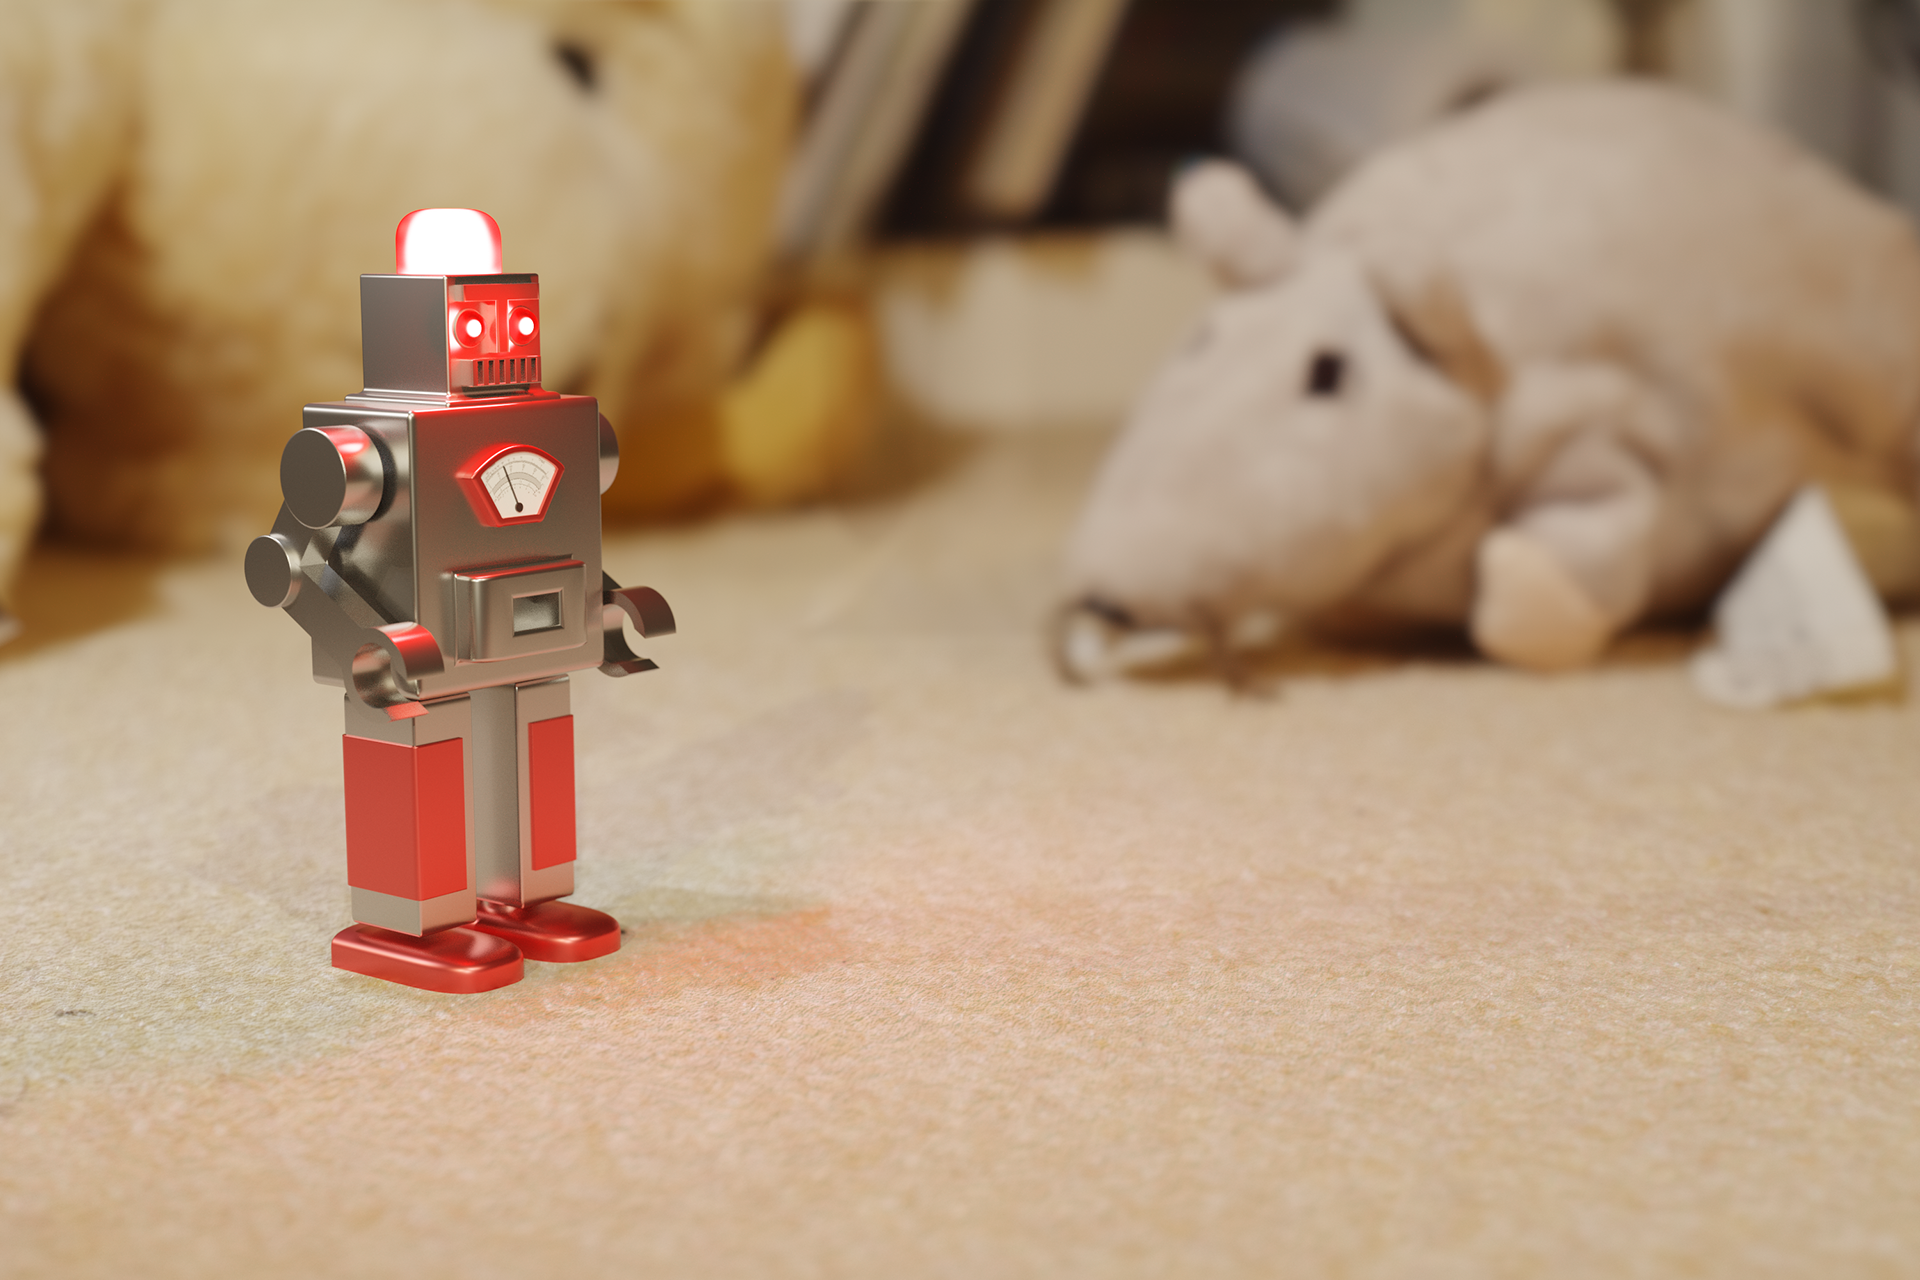
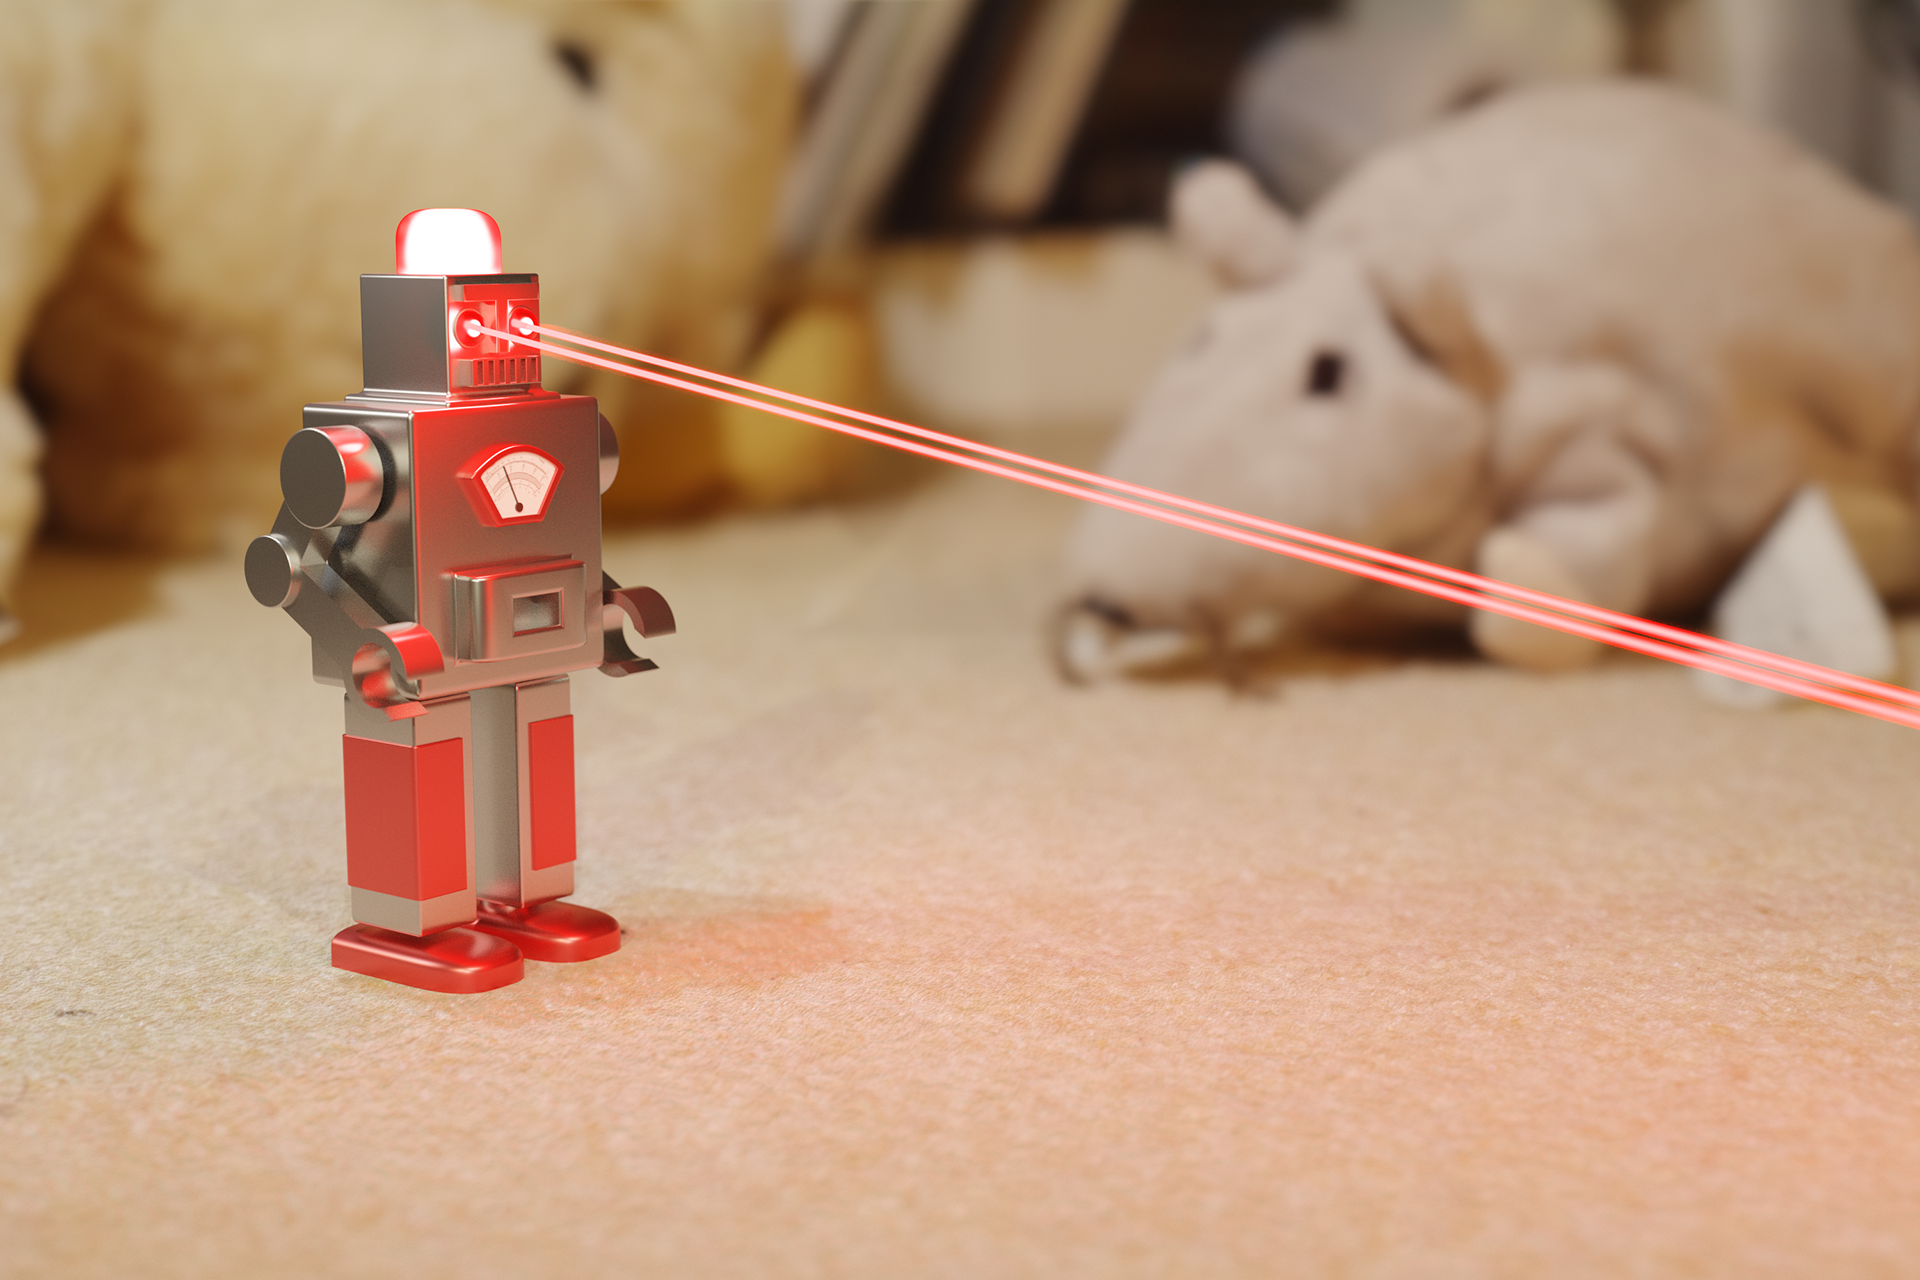
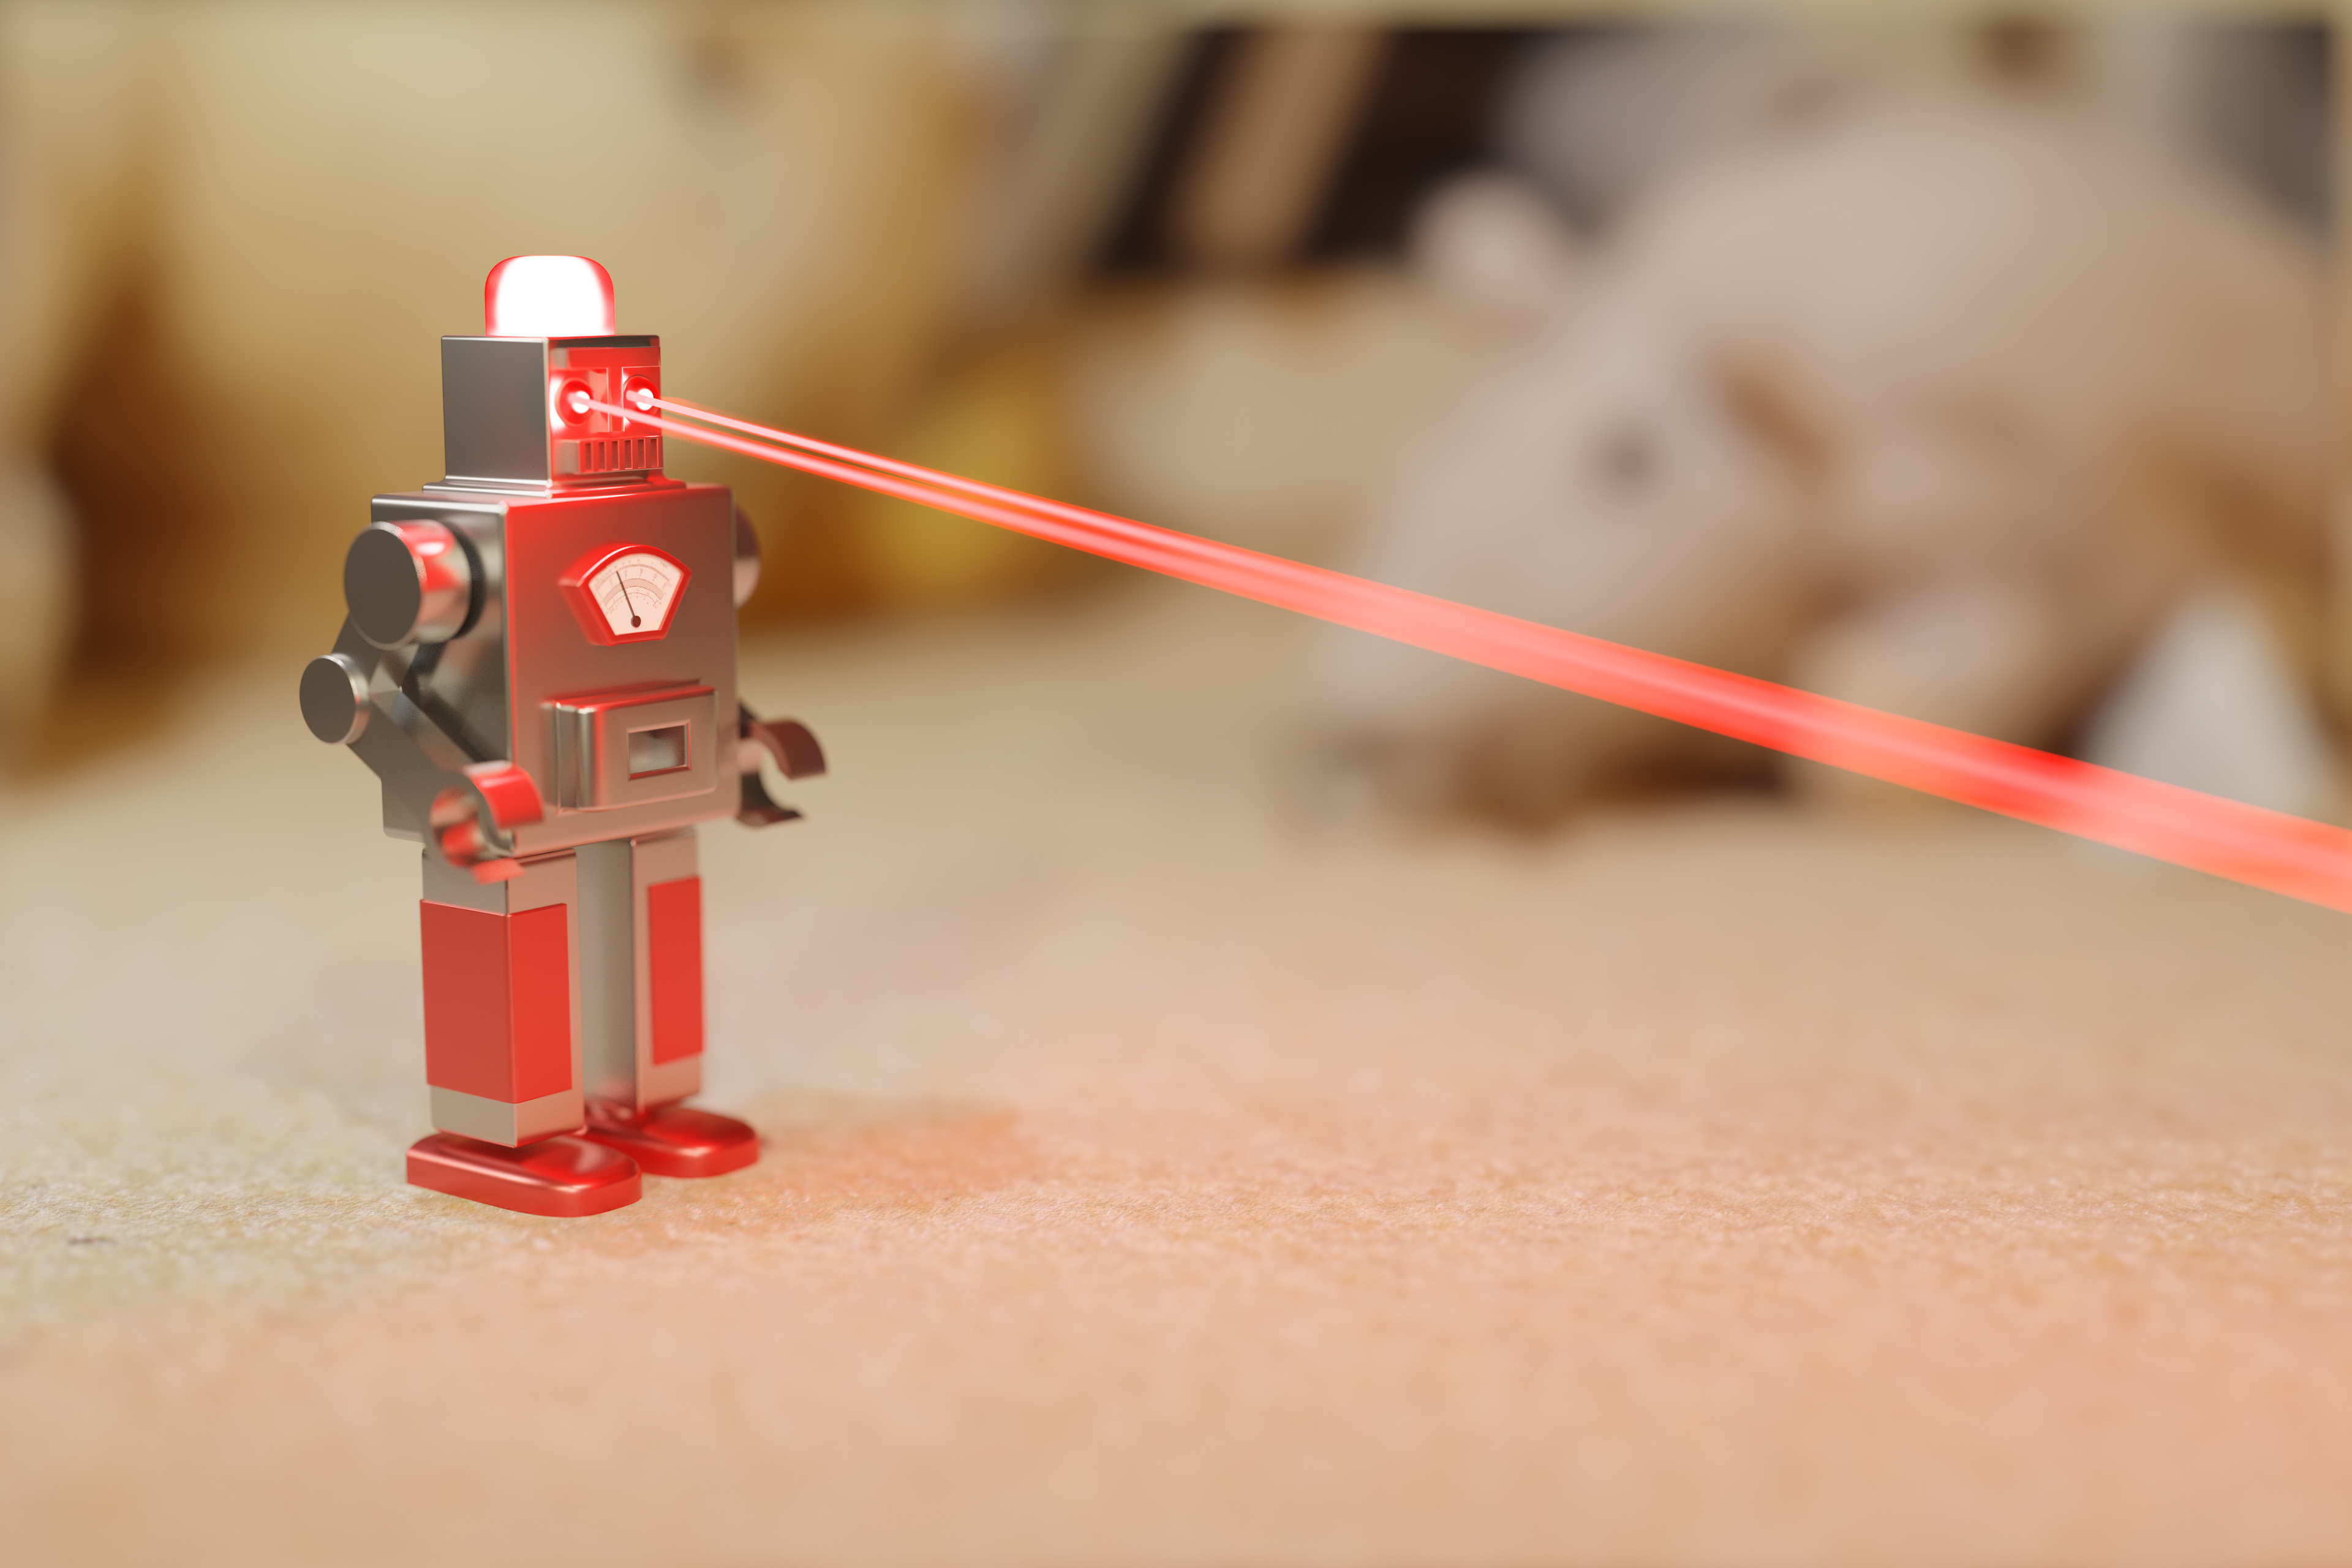
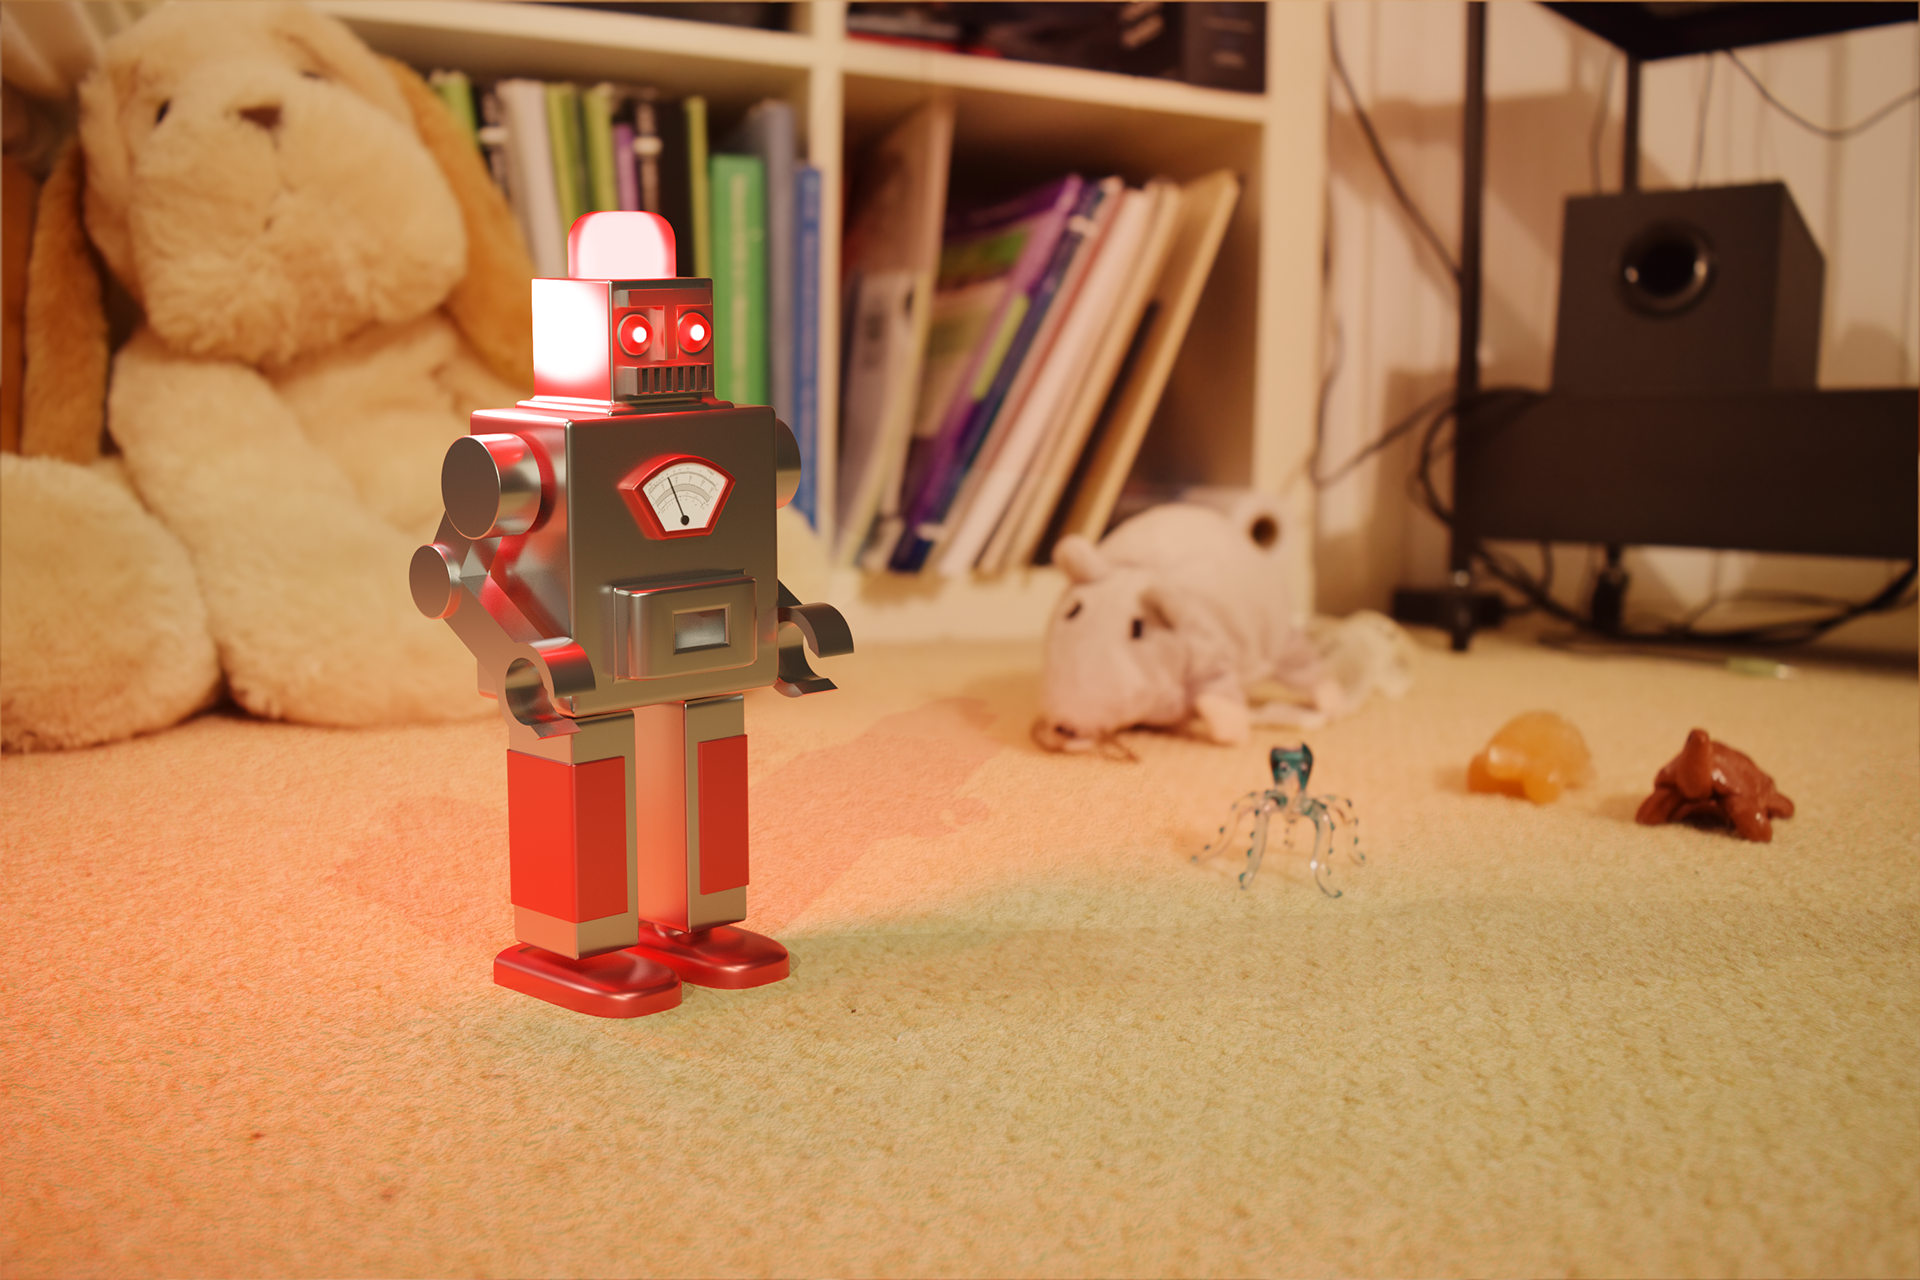
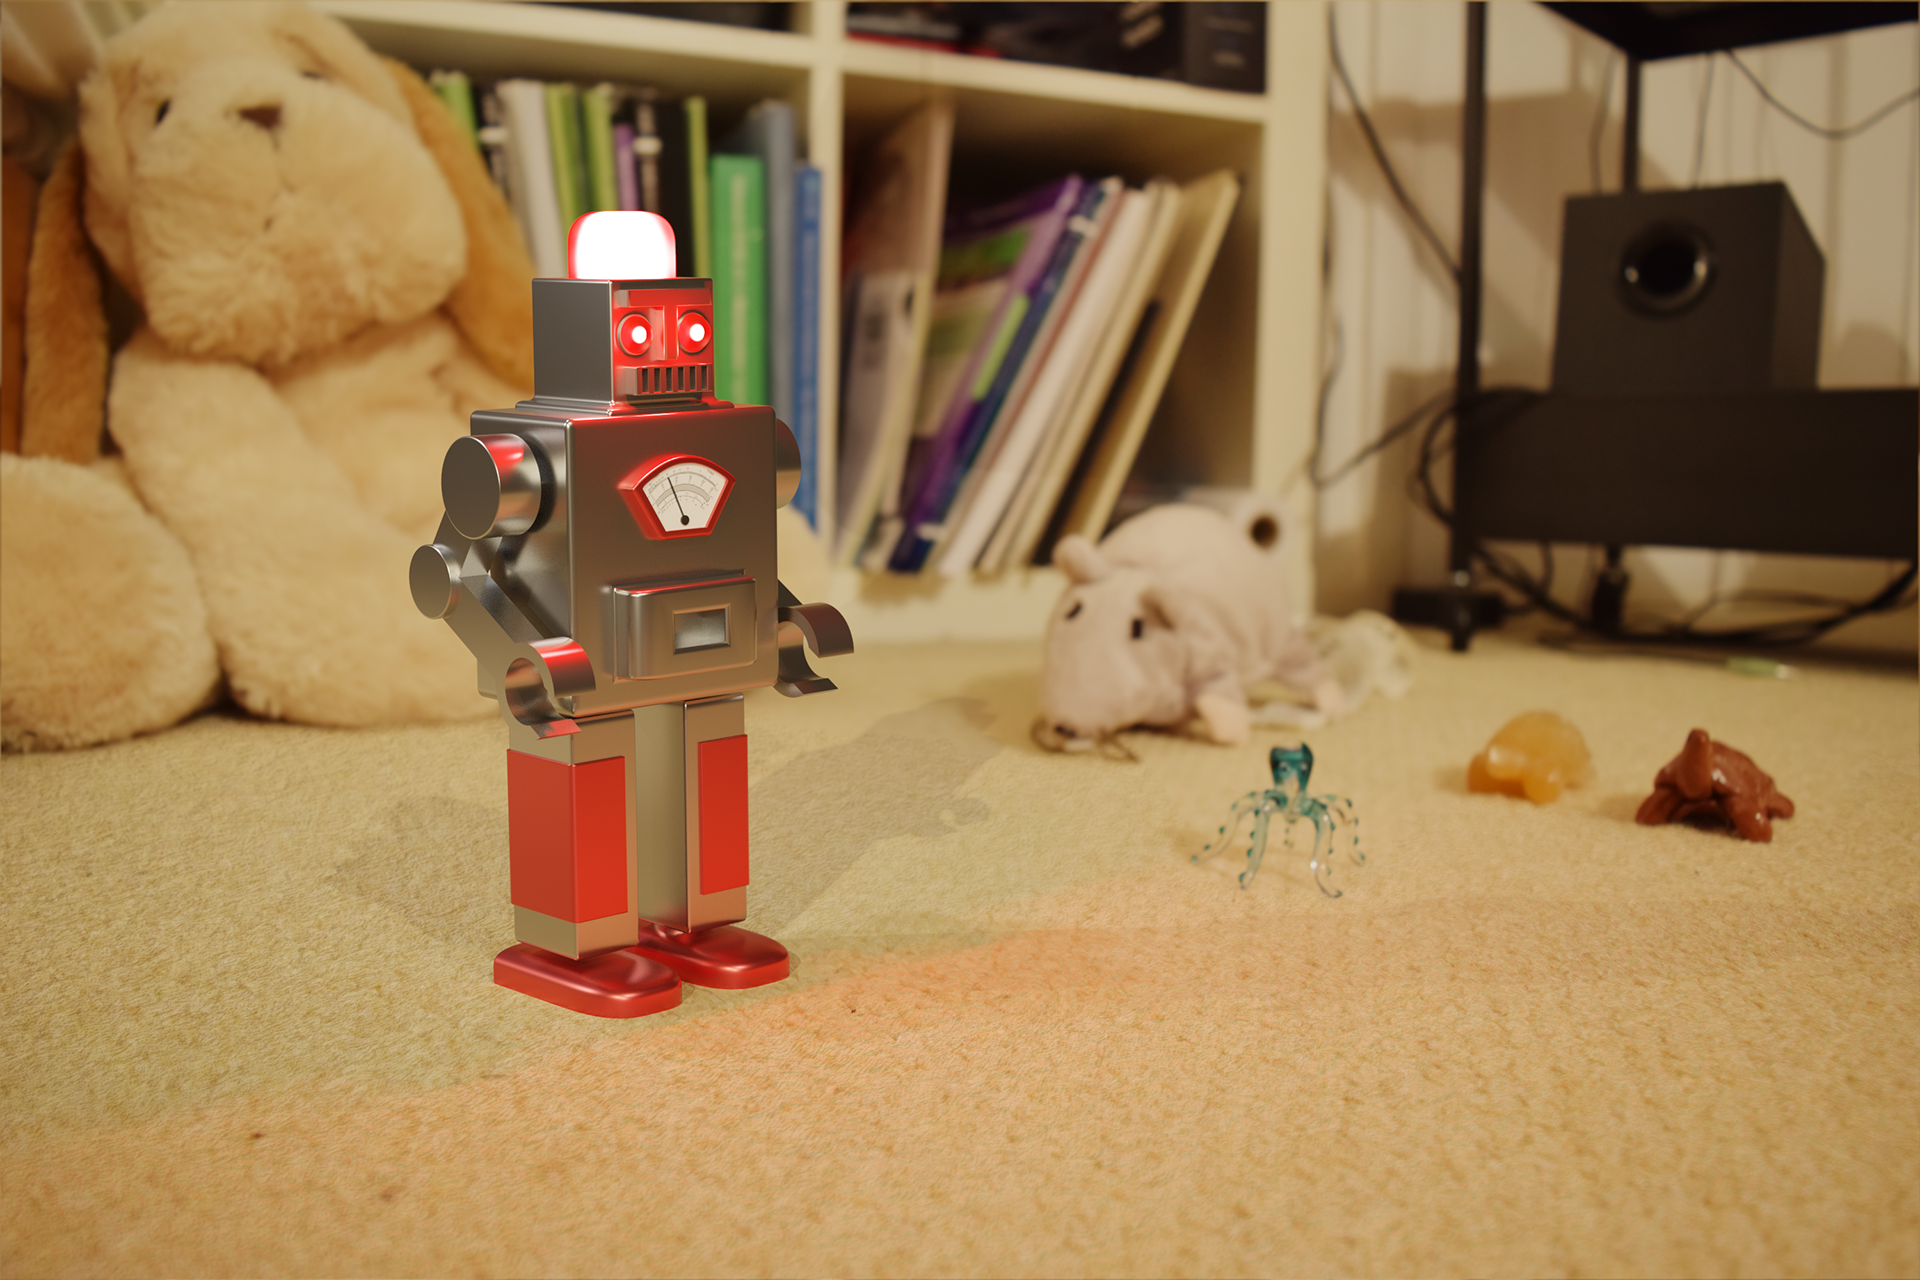
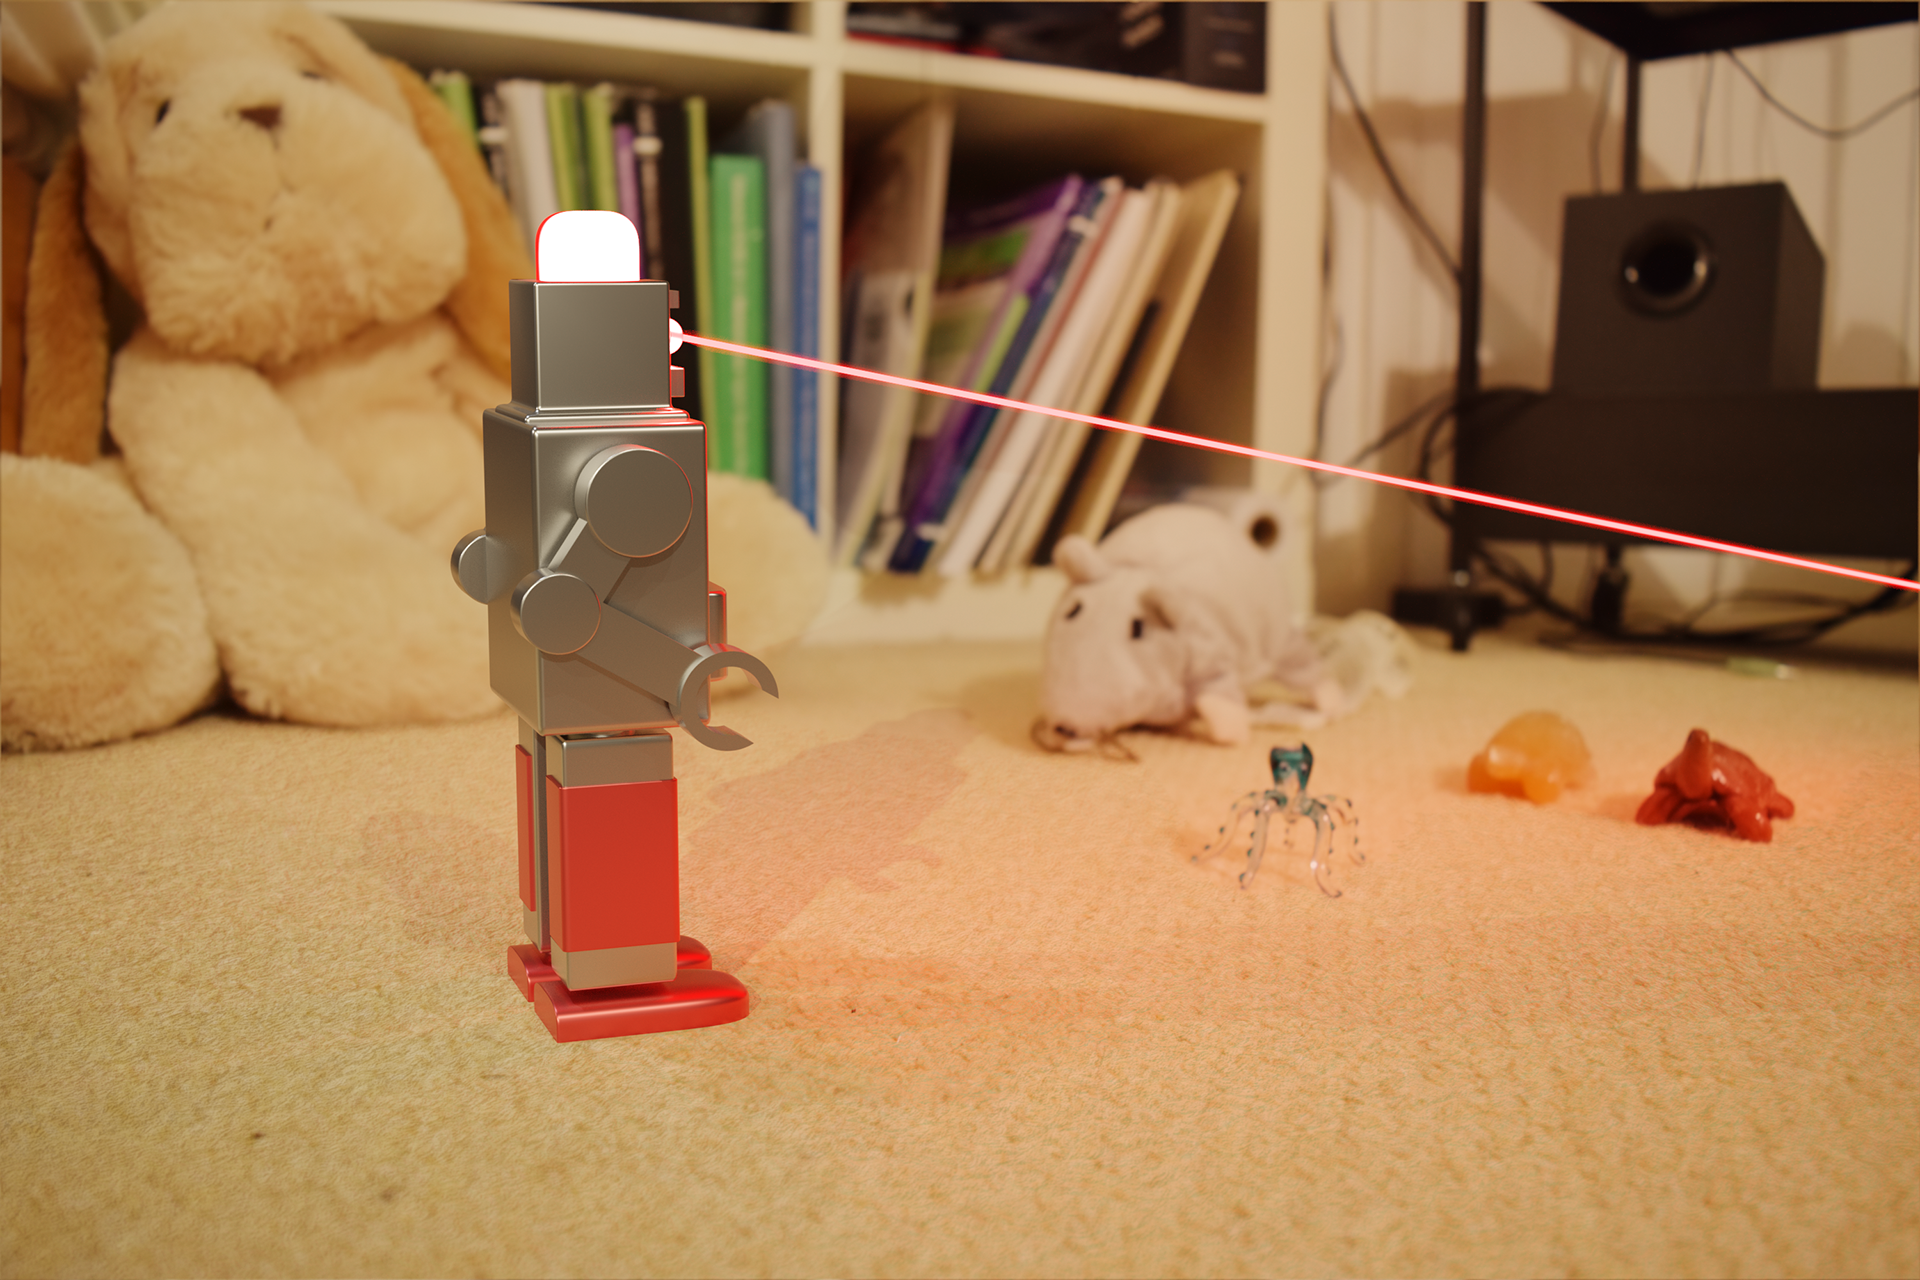
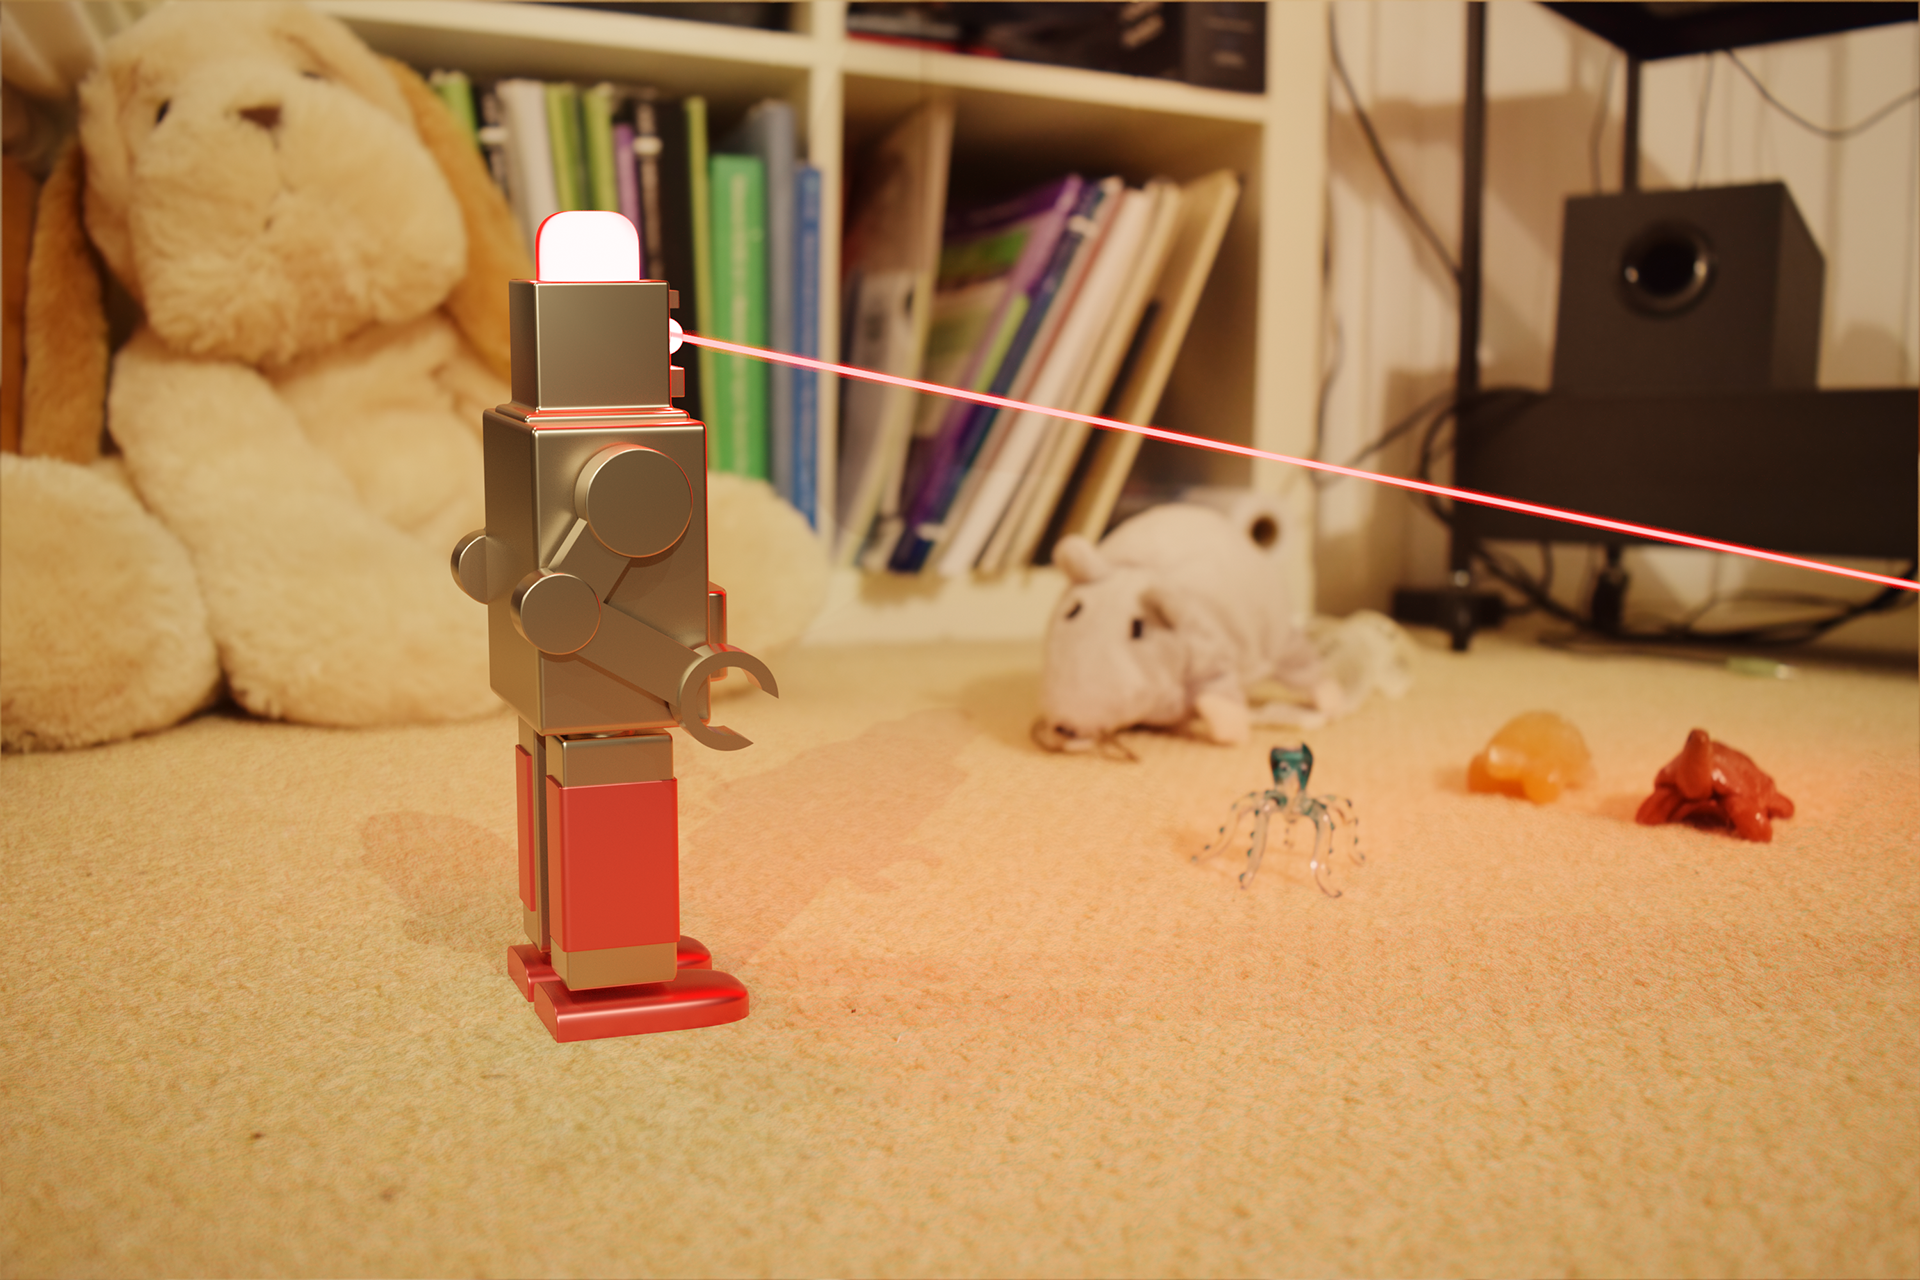
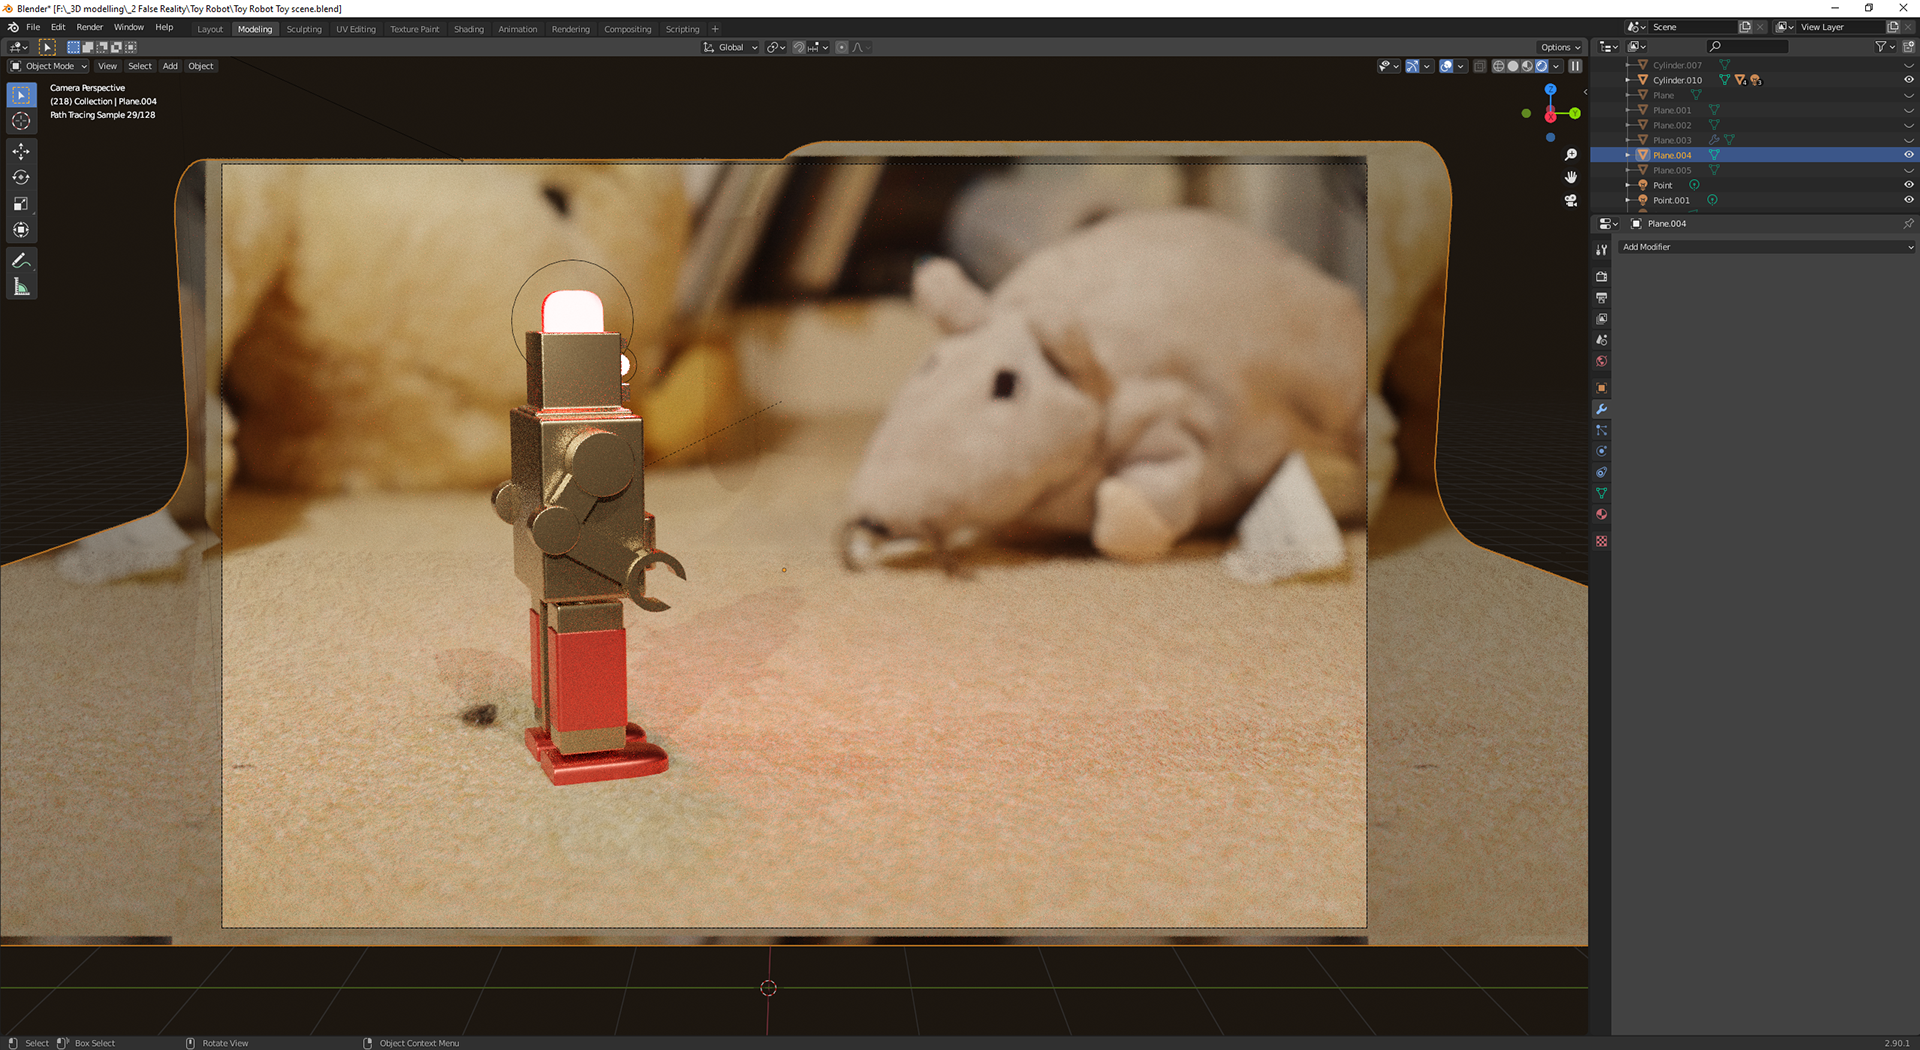
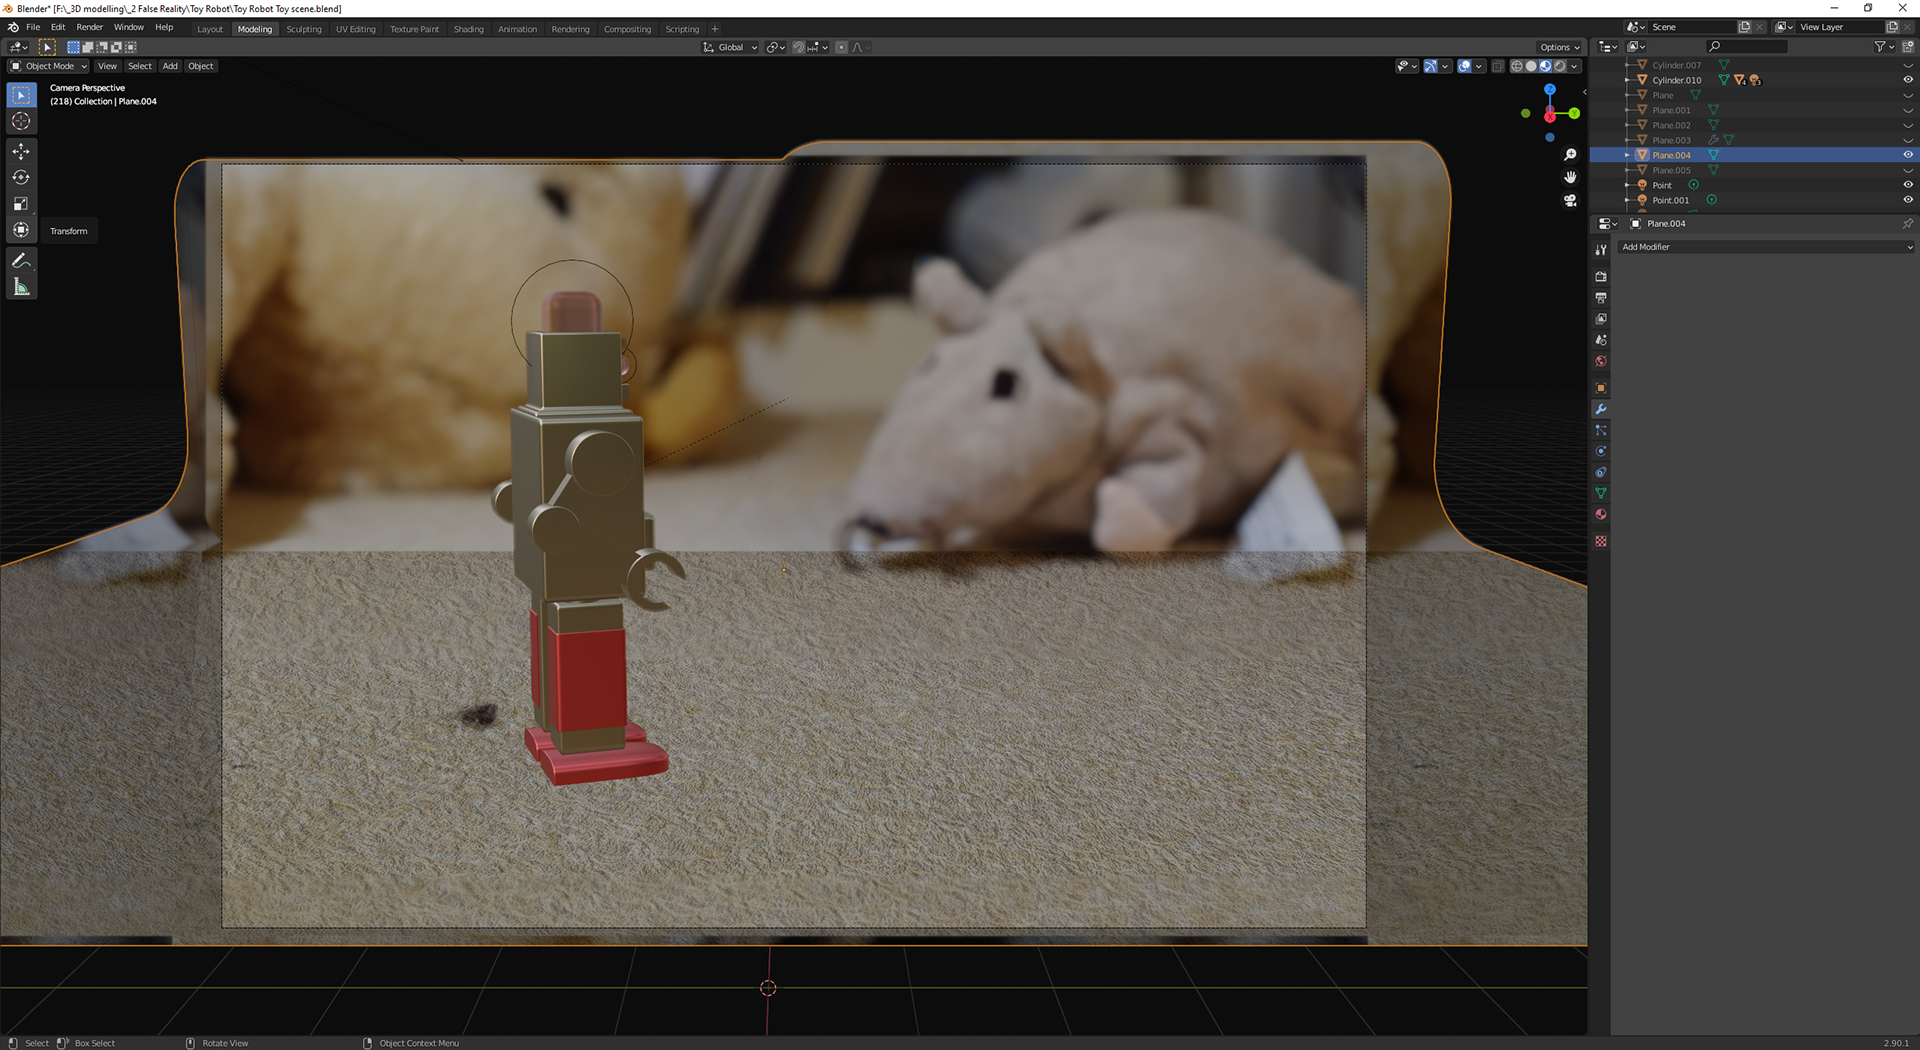
These Four are my final renders of this series of renders, A couple showing the ominous scene of this monstrous robot and the others of your average toy in a bedroom.

As I did with my last page, the pieces above are the final renders done with a higher quality, and the final pieces of this whole series.
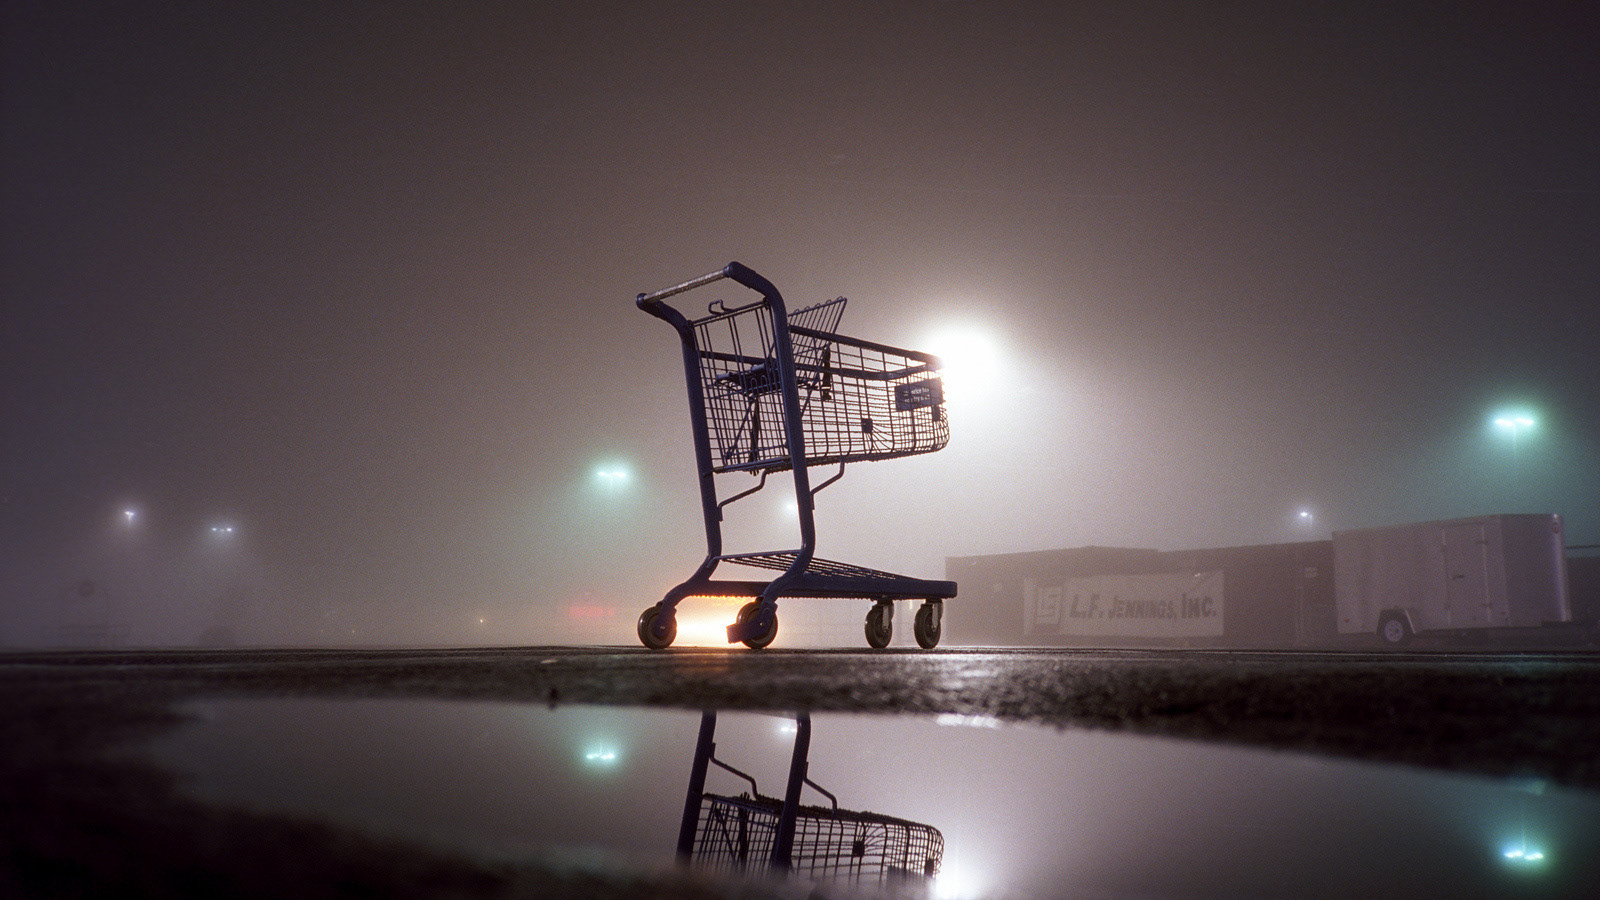
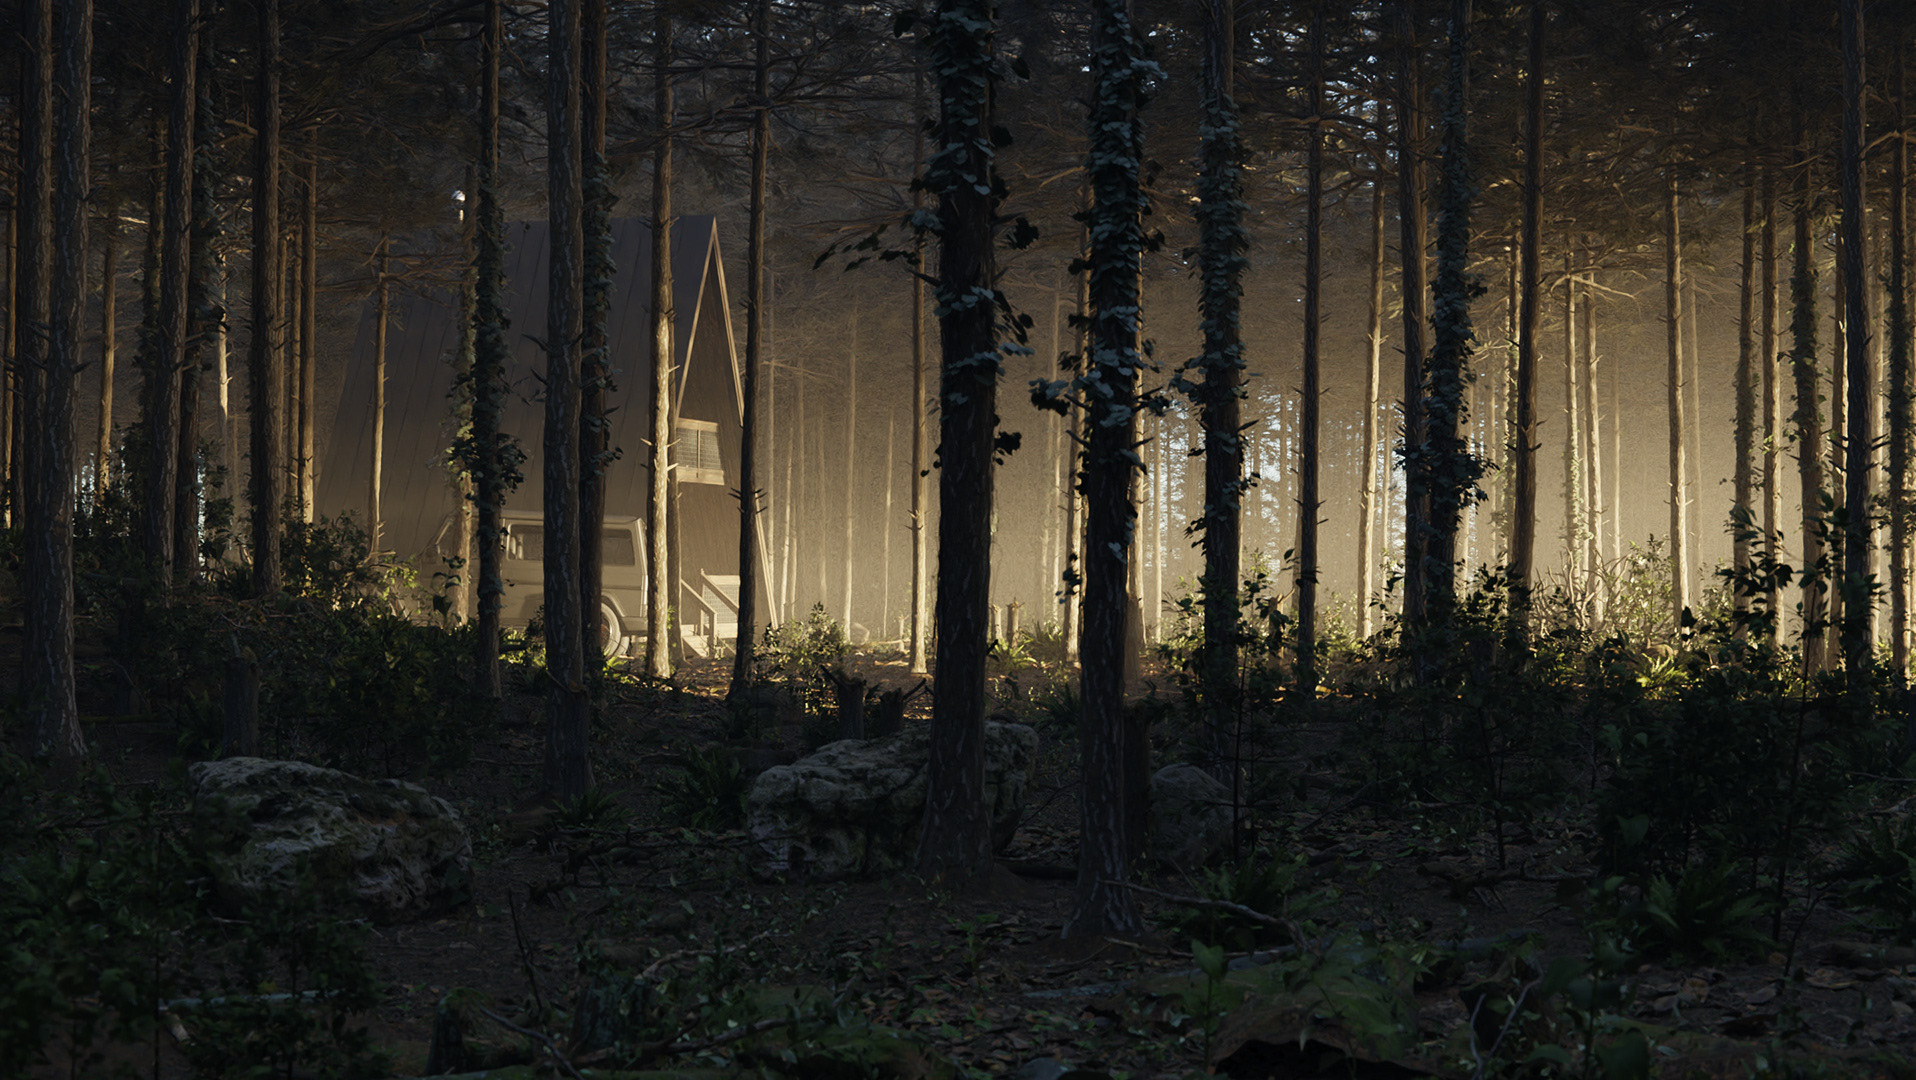
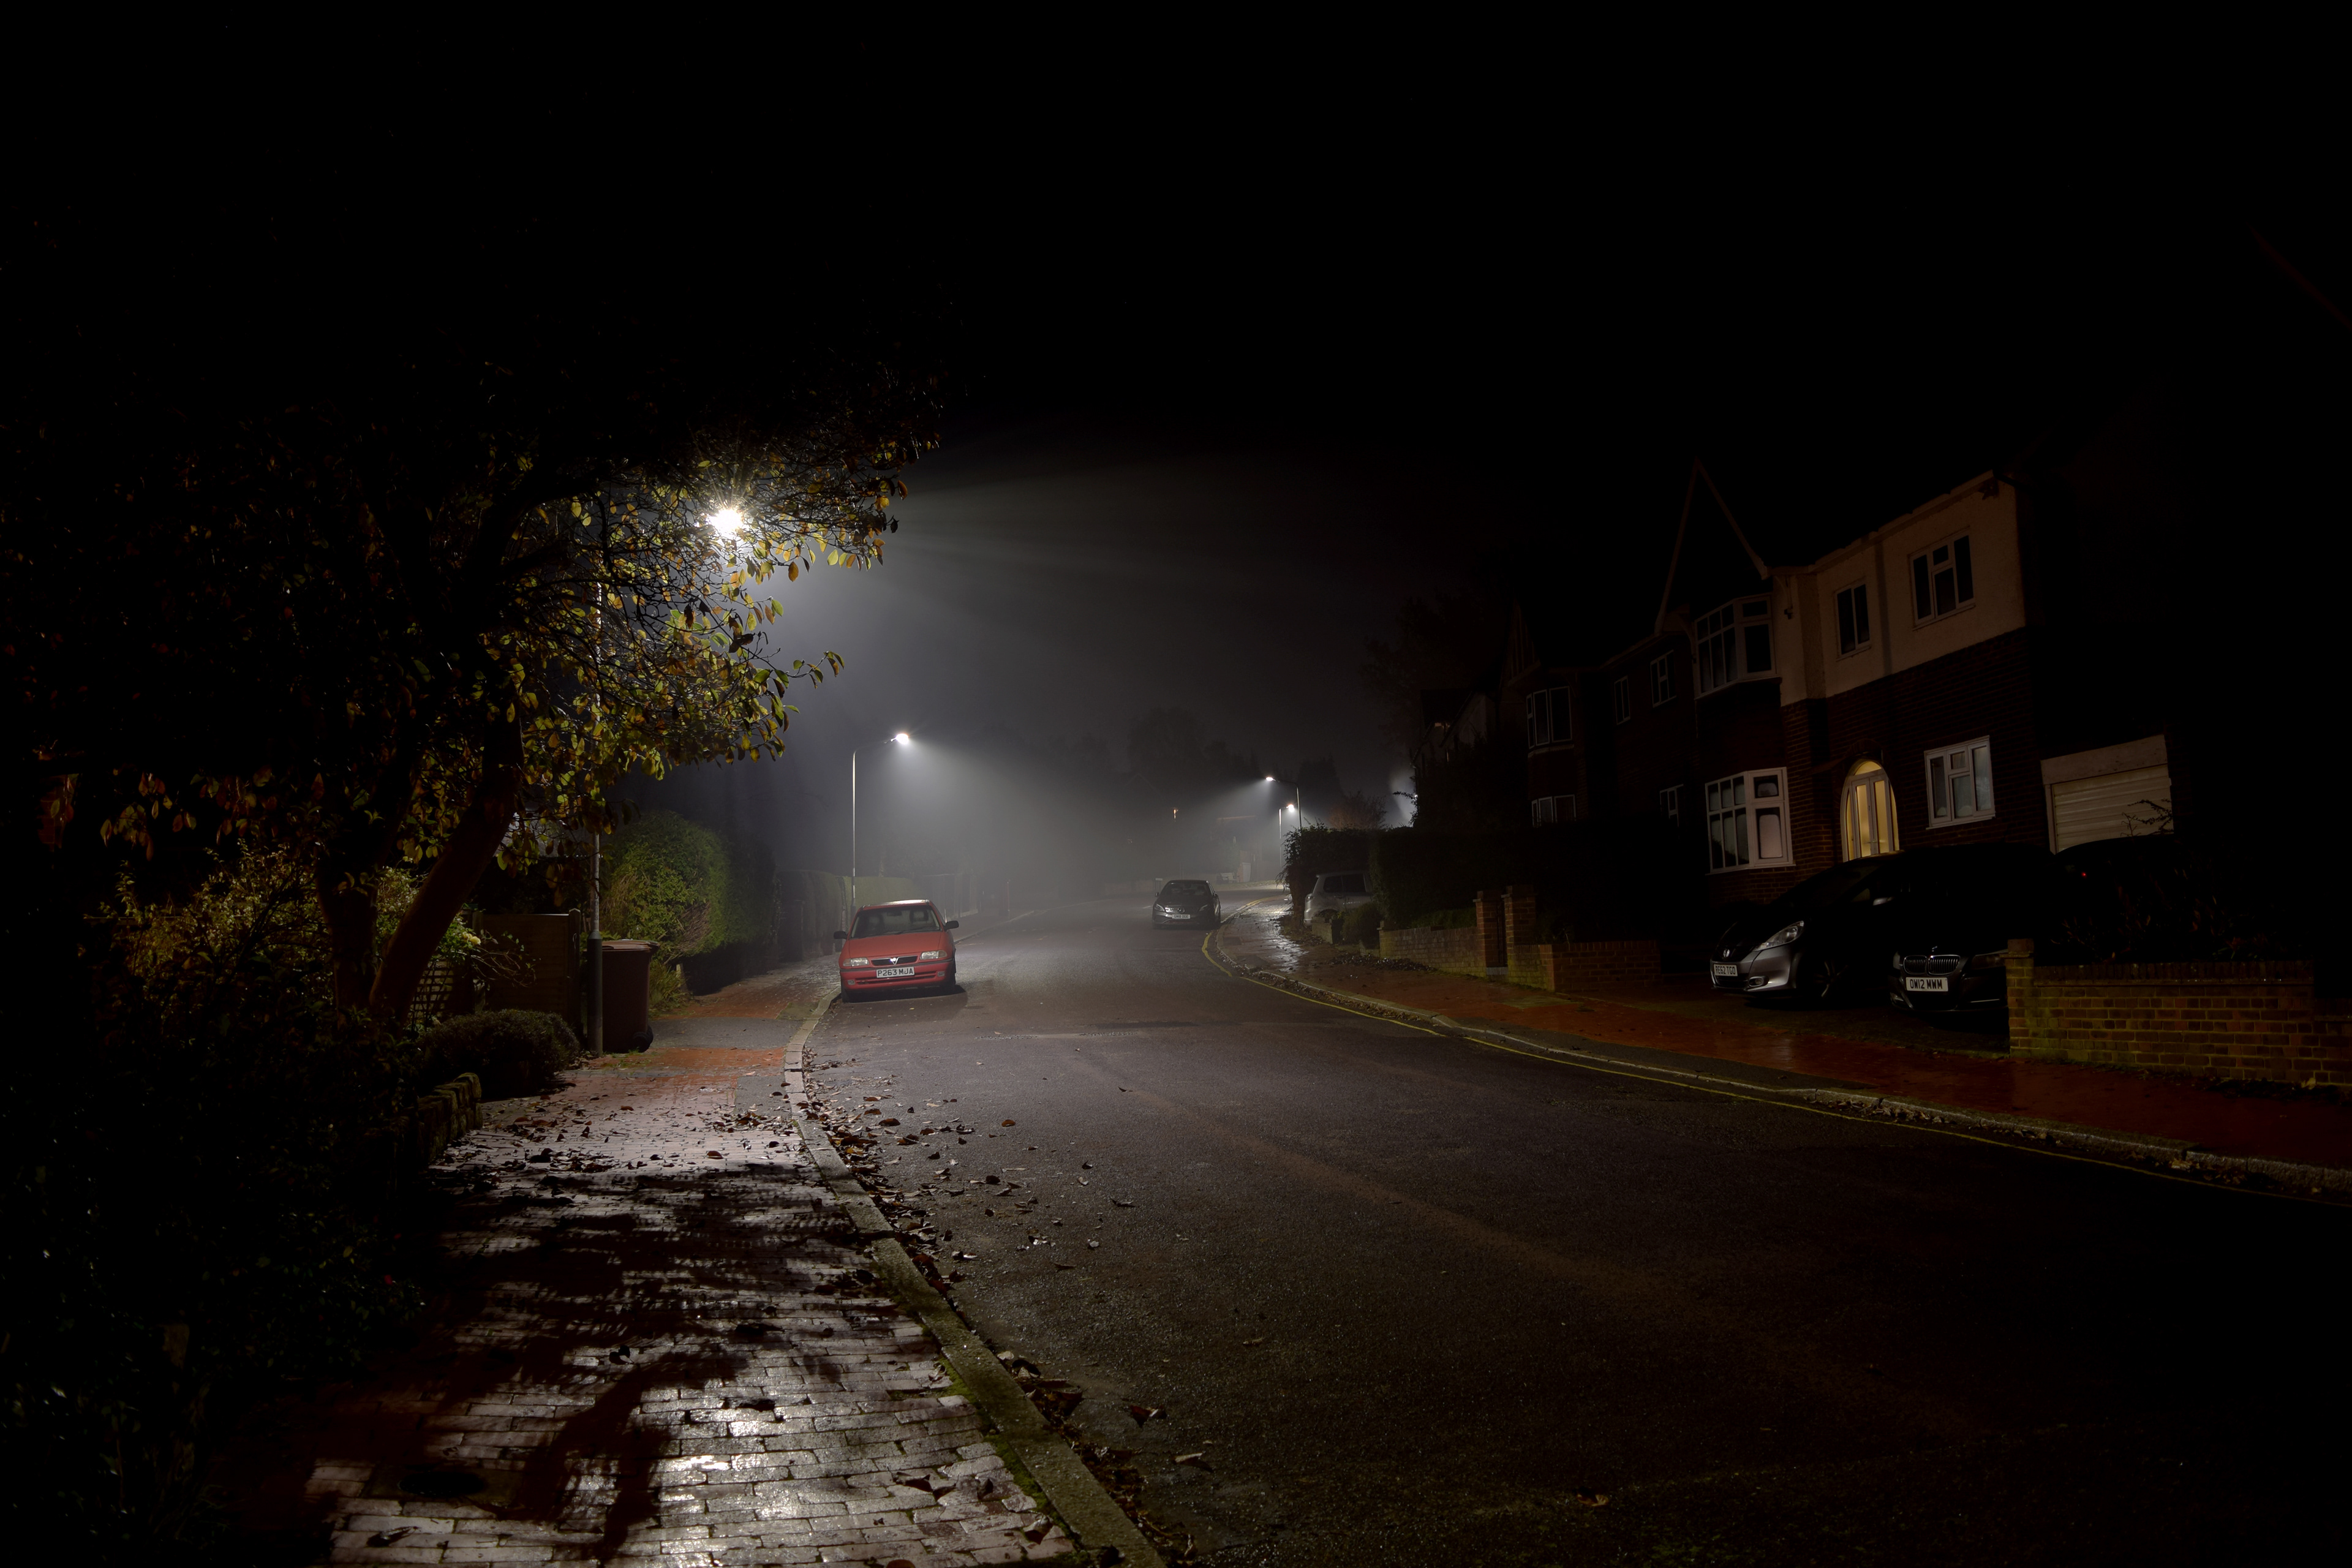
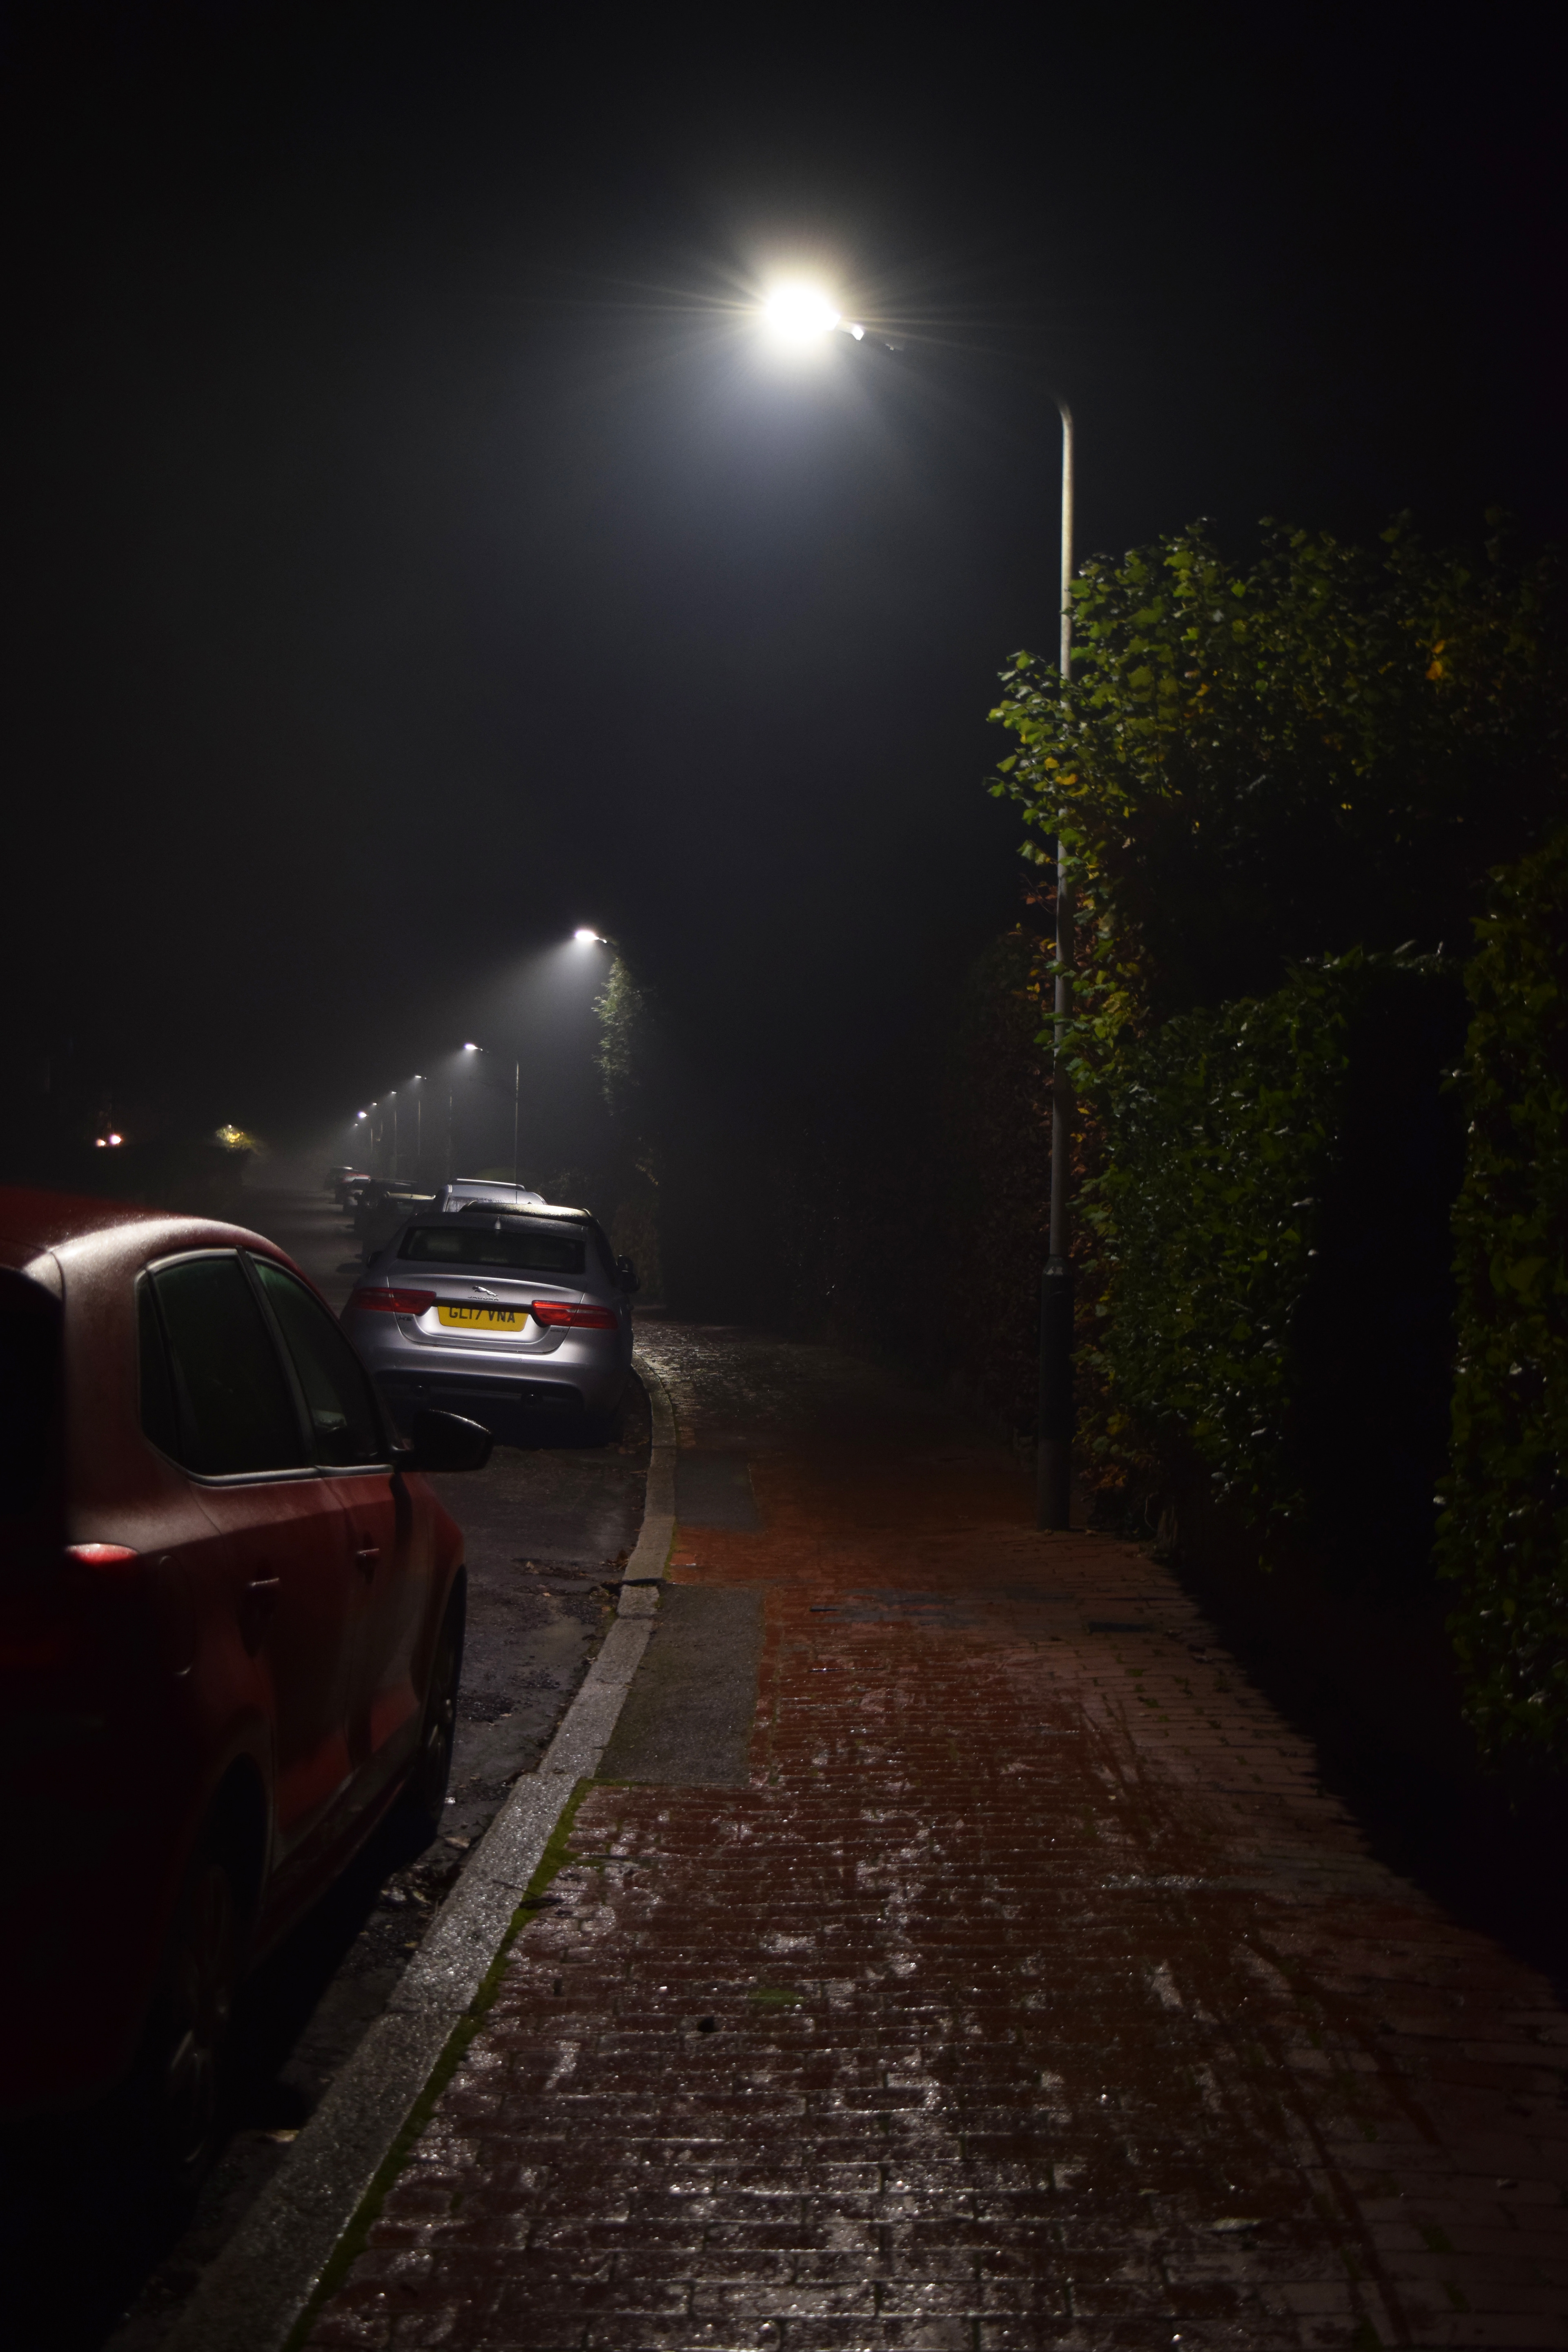
These are the two photos I used as backgrounds and settings for the piece above.

Below are the links to both the galleries that I used for these macro shots, the robot in the street uses the same background as the light cycle so I have linked that gallery again as well.
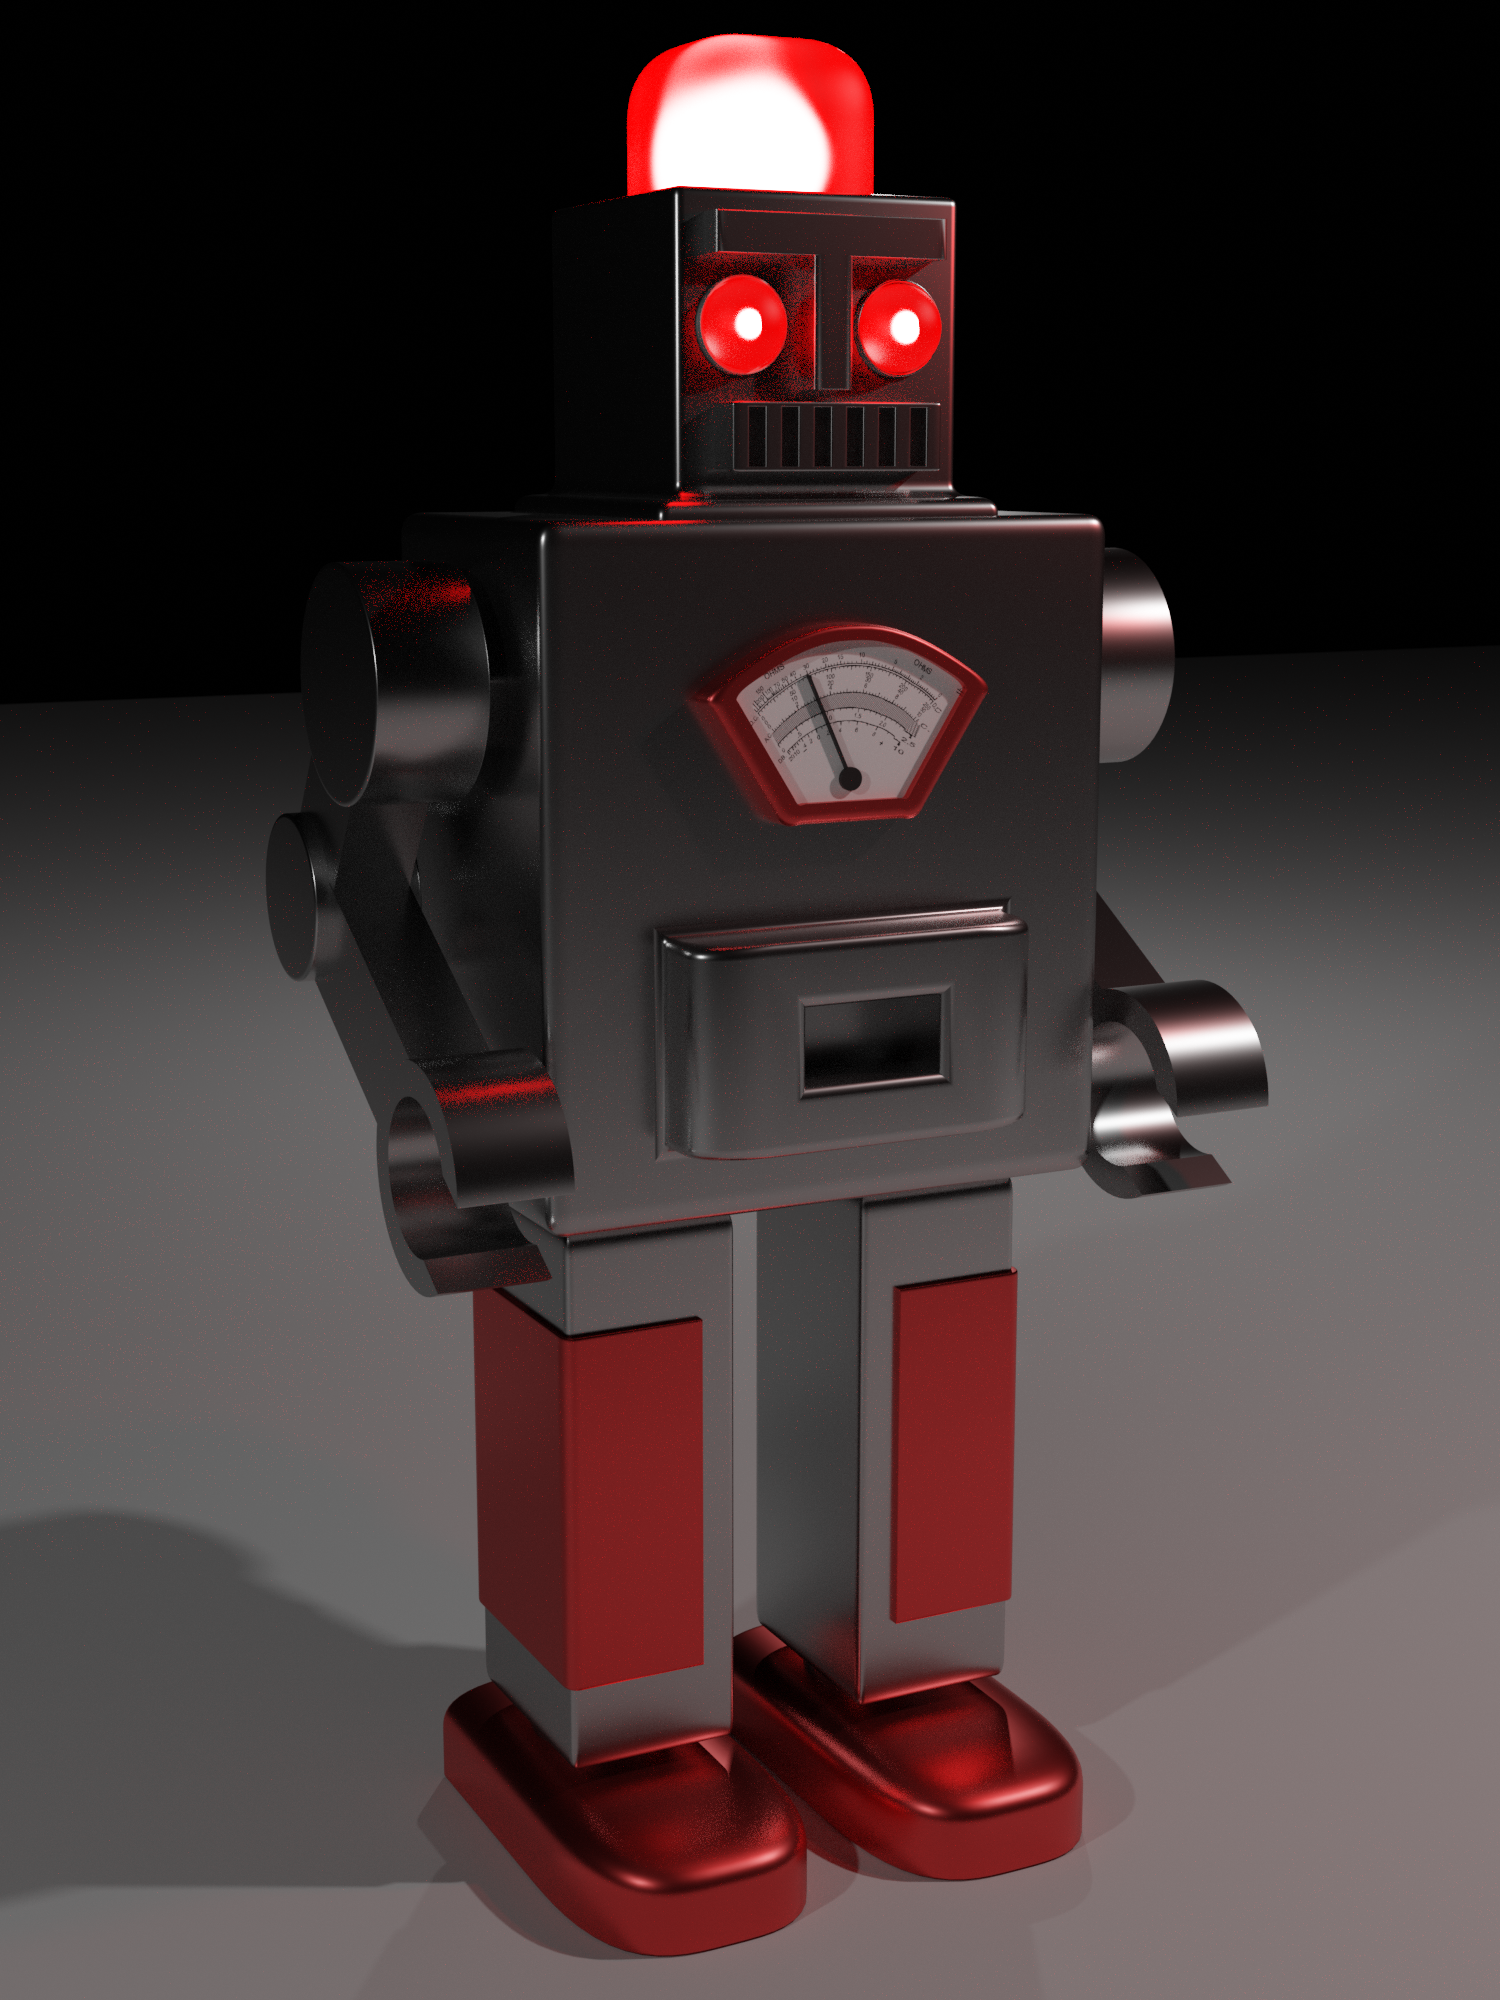
To begin this series I started by designing a toy robot following an antique/ vintage style with a very shiny metallic finish that is made of plastic as well as some bright hints of other colours. I then added 3 lights in the head and eyes to give a slight sense of sentience, to make it feel alive. I also chose the bright red as it gives the strongest sense of anger. I had also planned ahead to putting it into the night scene so I knew that the bright red lights would fit well into that and further that sense of uneasiness.
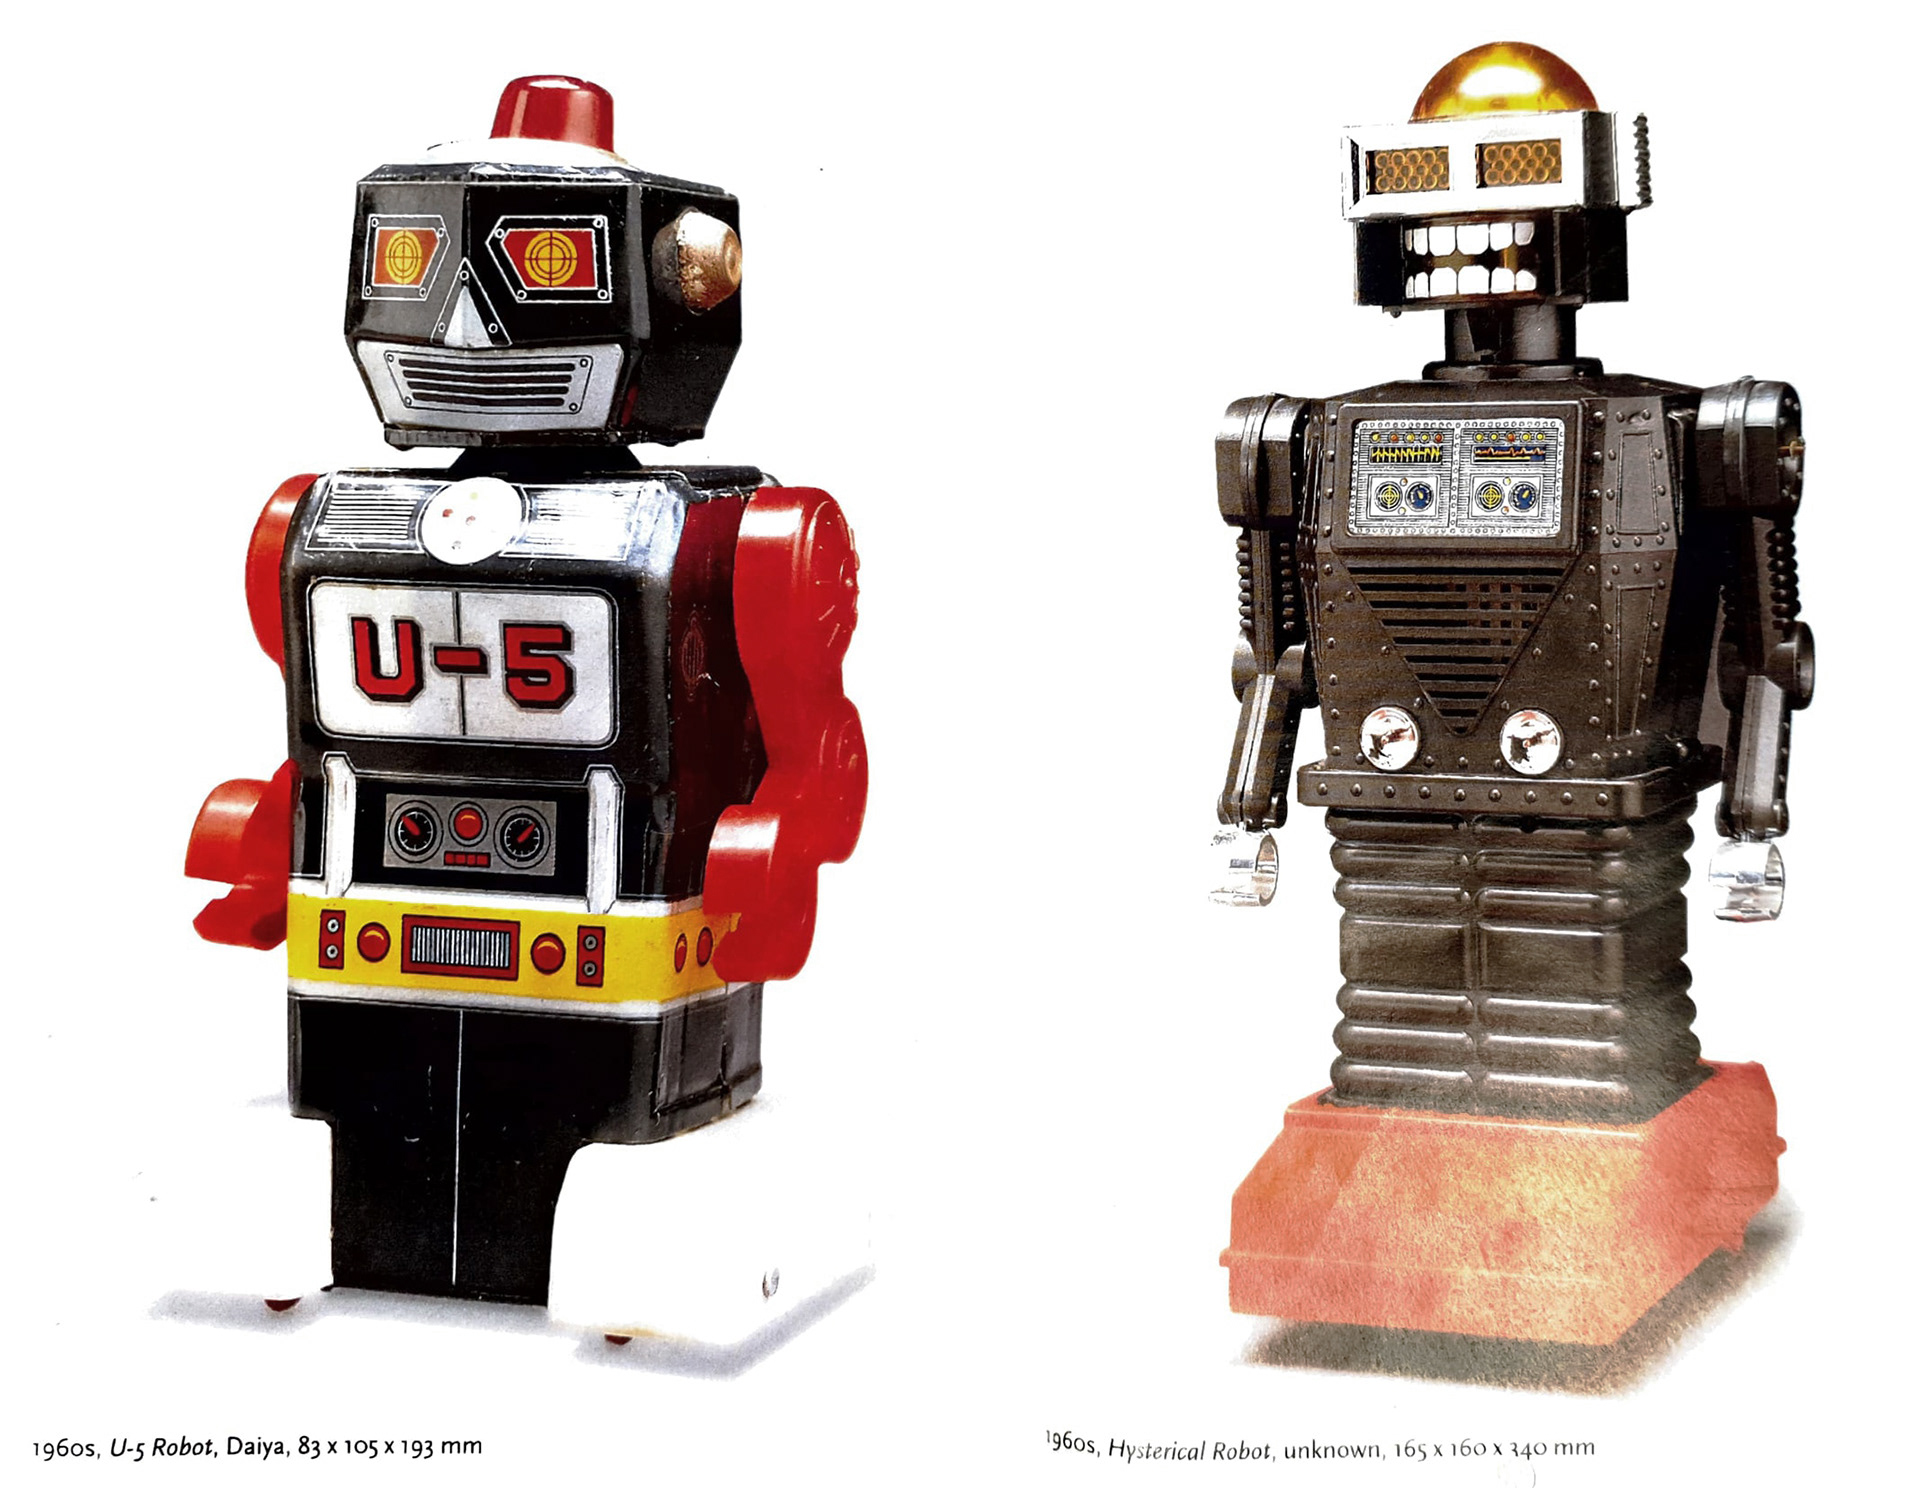
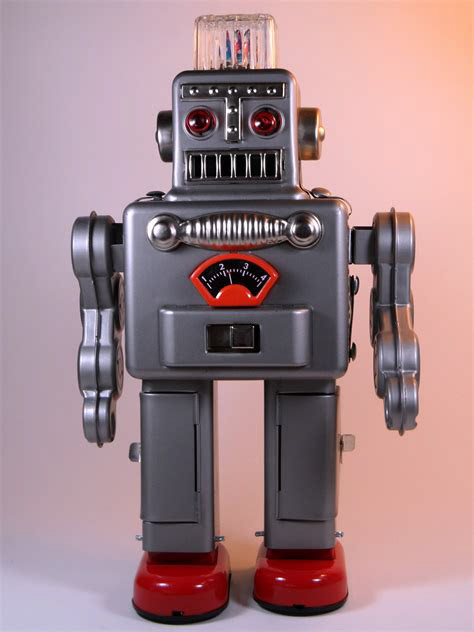
Below you can see some of the images I used for inspiration, the image on the right is the one that I based mine off the strongest; however, I did look at some others in a very similar antique style.
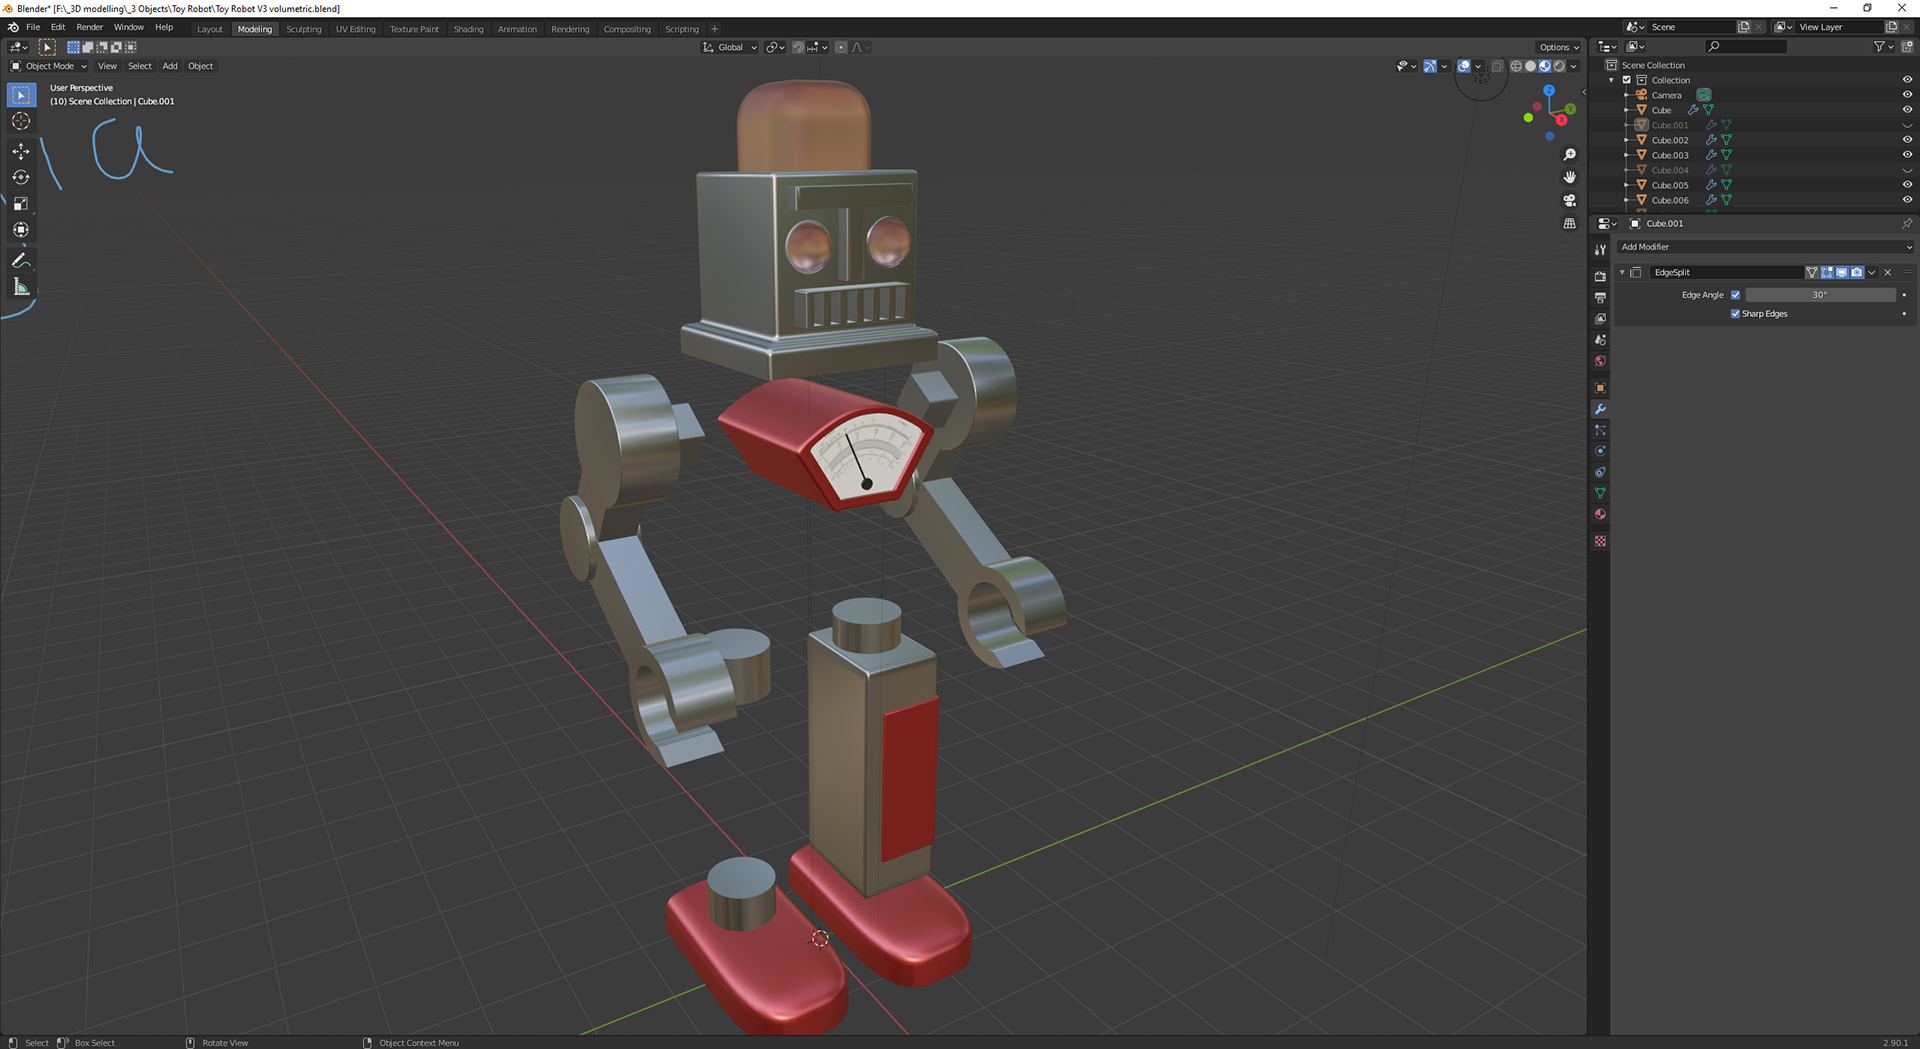
The robot with the chest and a leg hidden to see it is made up of lots of cubes and cylinders that have been transformed
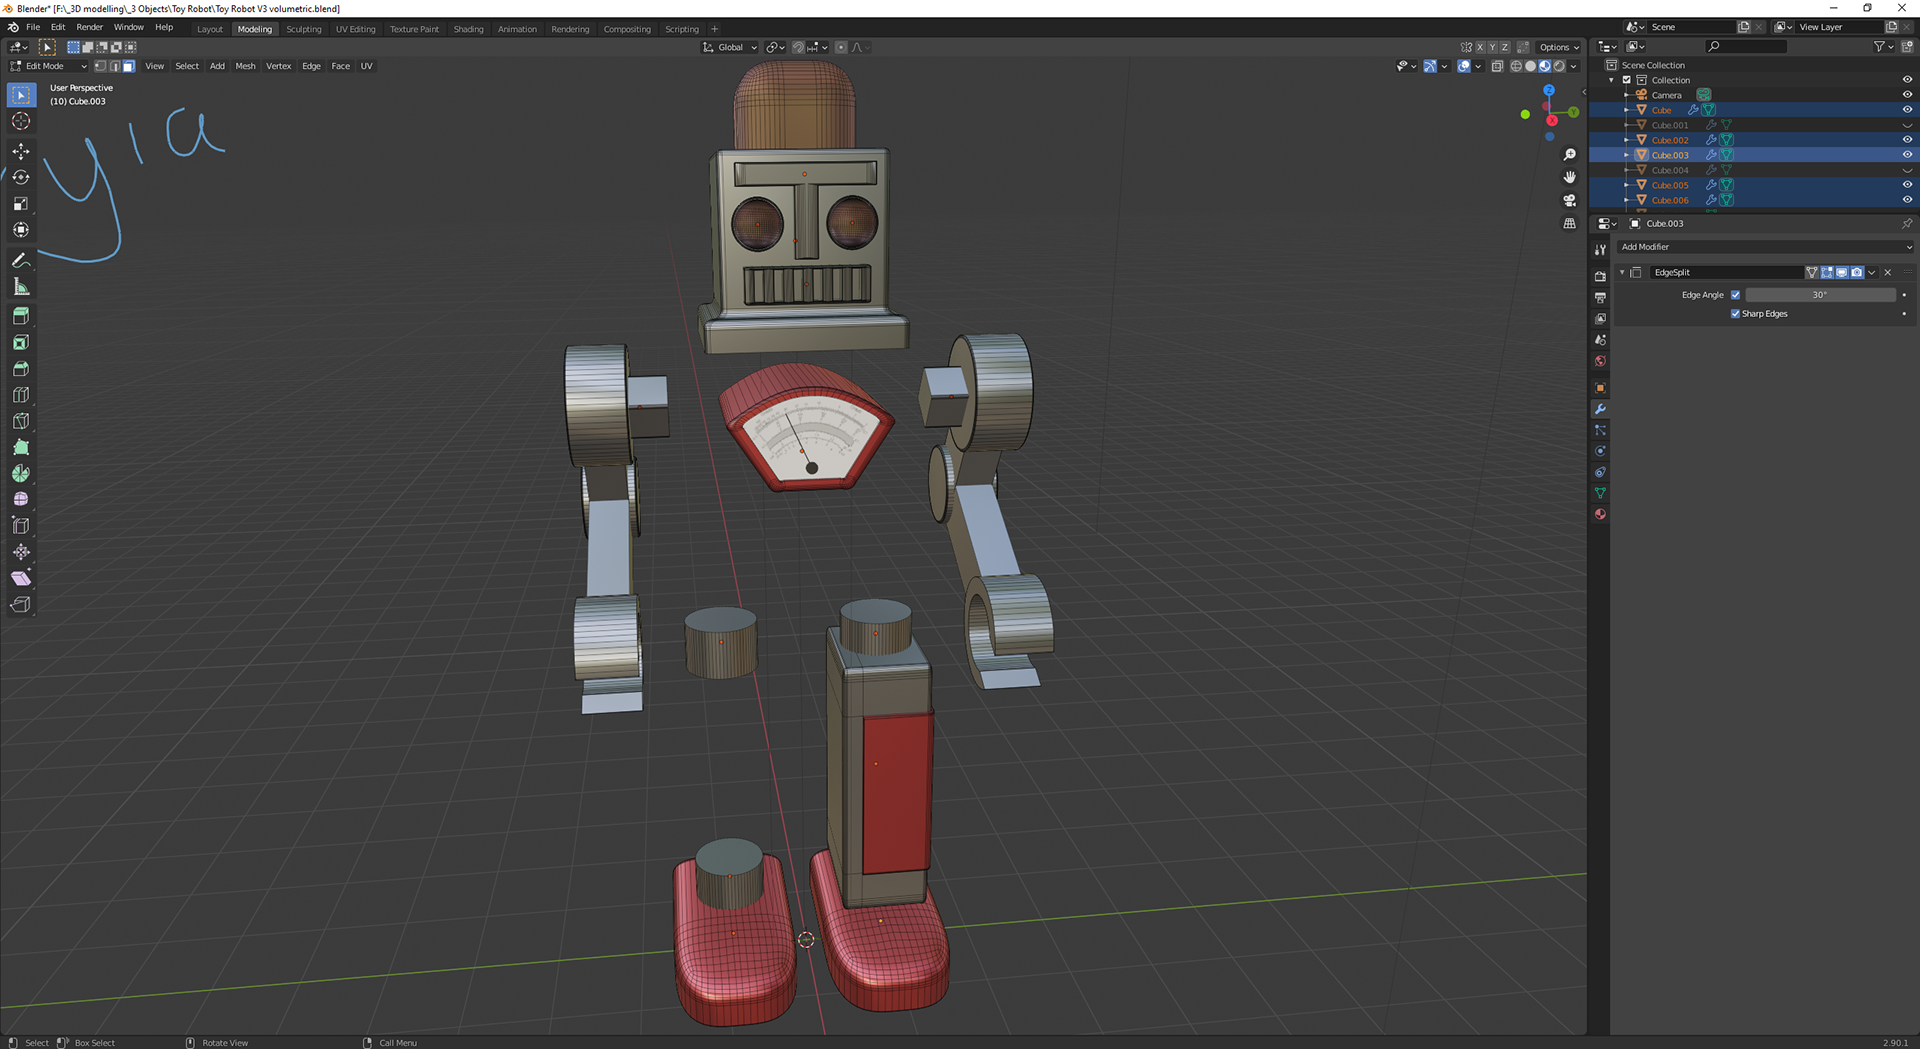
The overall view of the robot, in edit mode to see the polygons that make it up
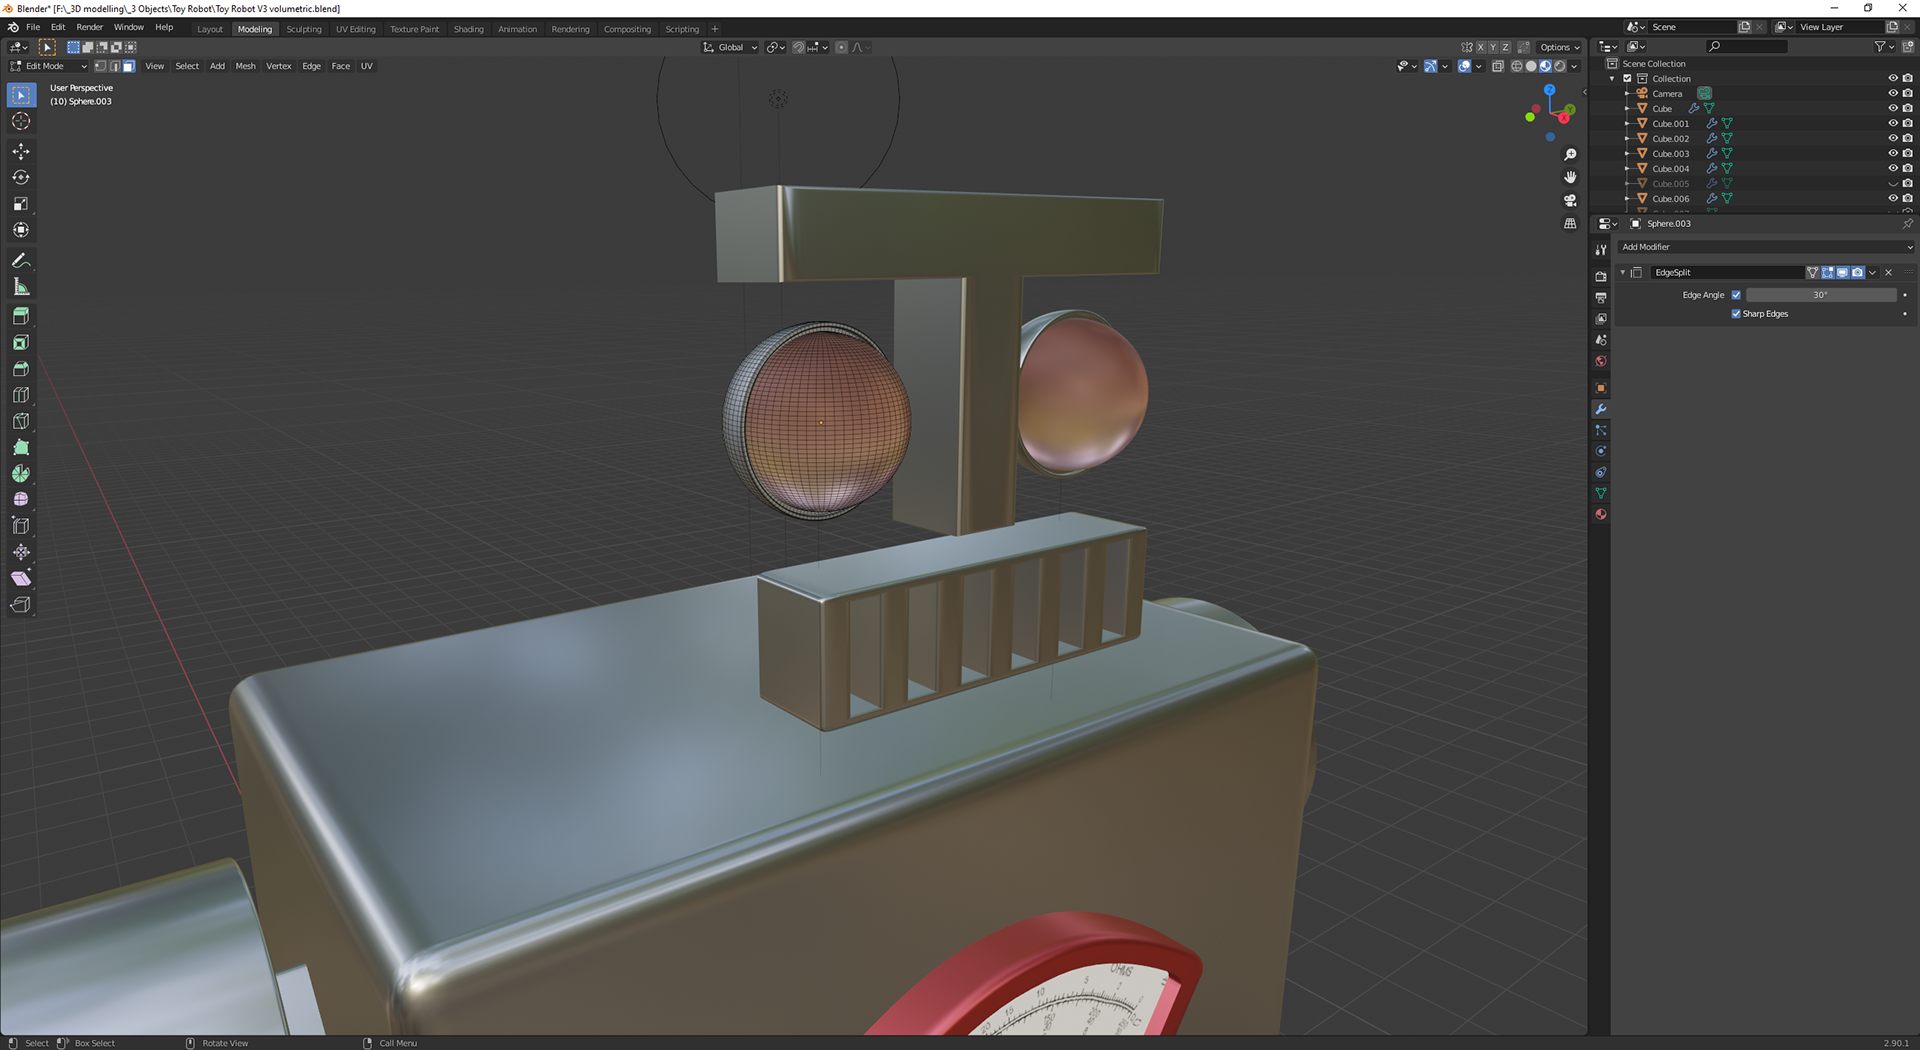
The head hidden to make the shape of the eyes visible

The basic view of the robot on the right, with the UV view of the dial on his chest on the left
I went througha few iteratins after completing the initial model, playing around with materials and adding a dial onto the chest

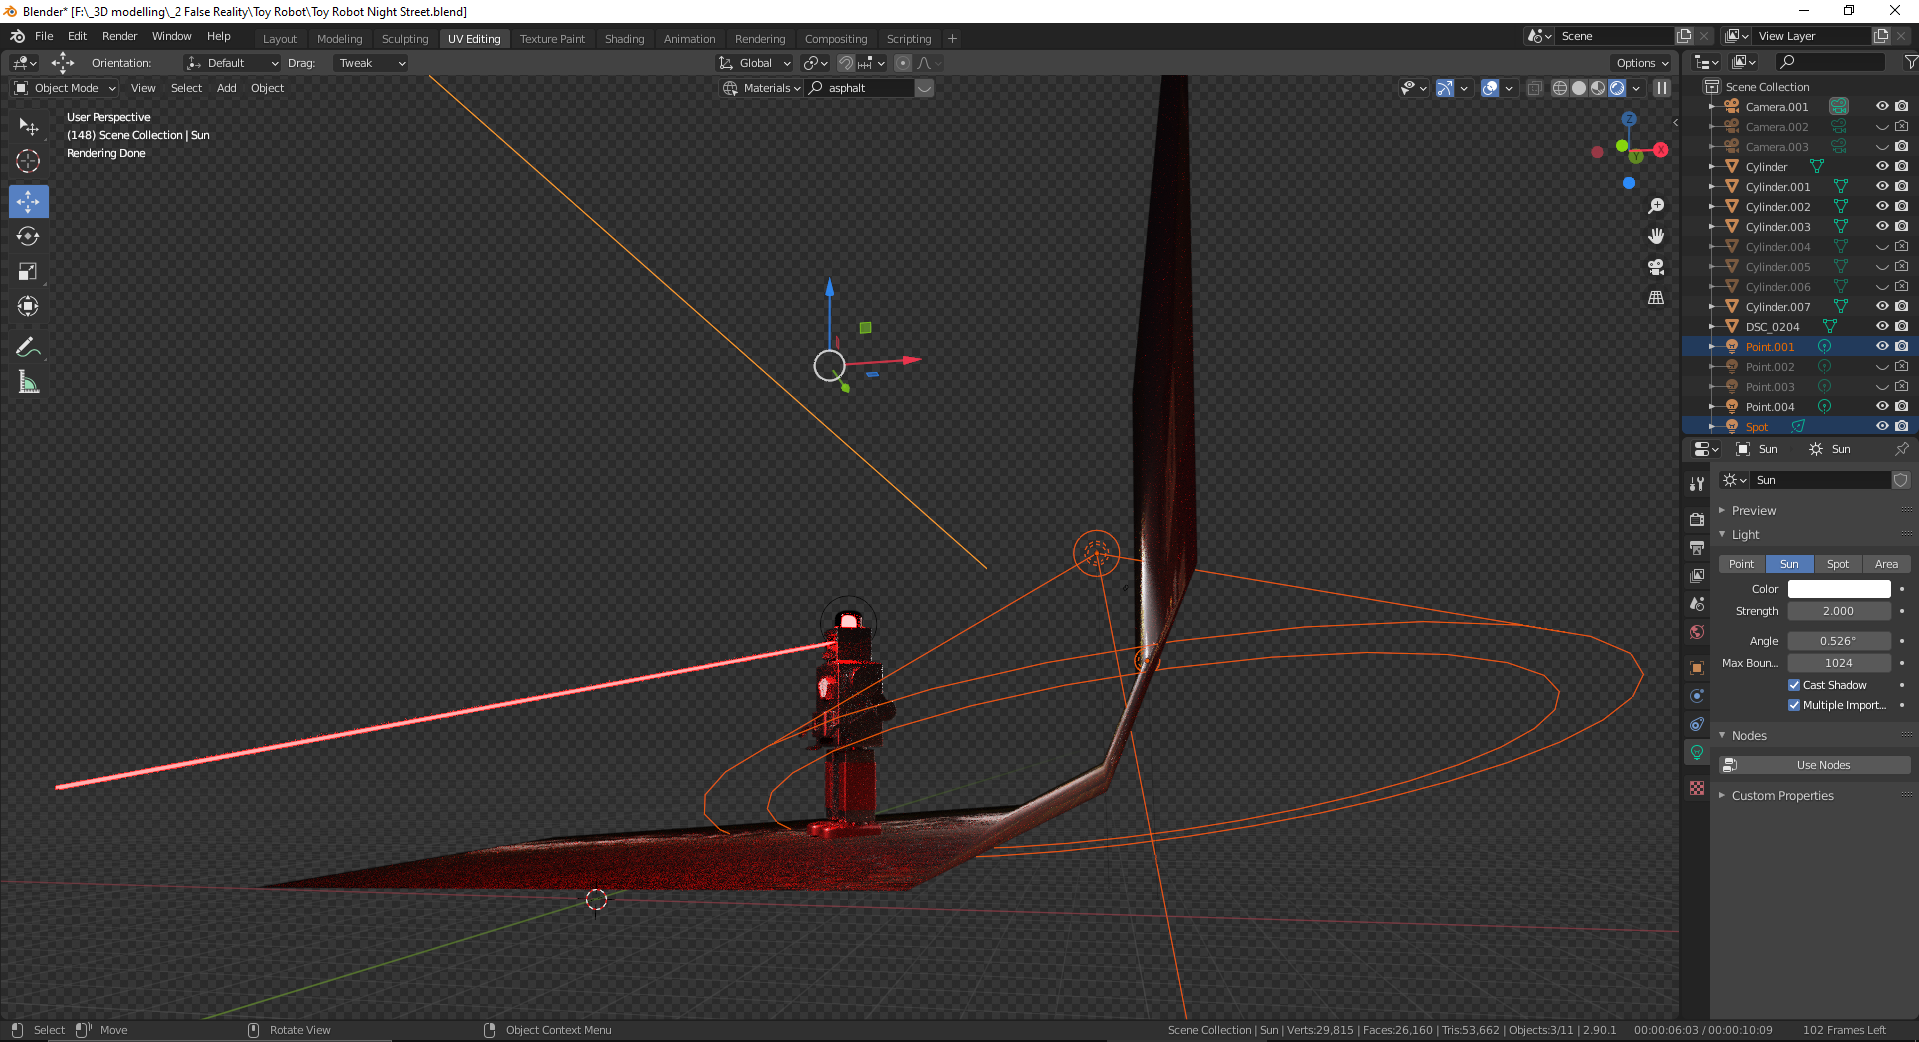
Highlighted orange objects are the lights for the scene
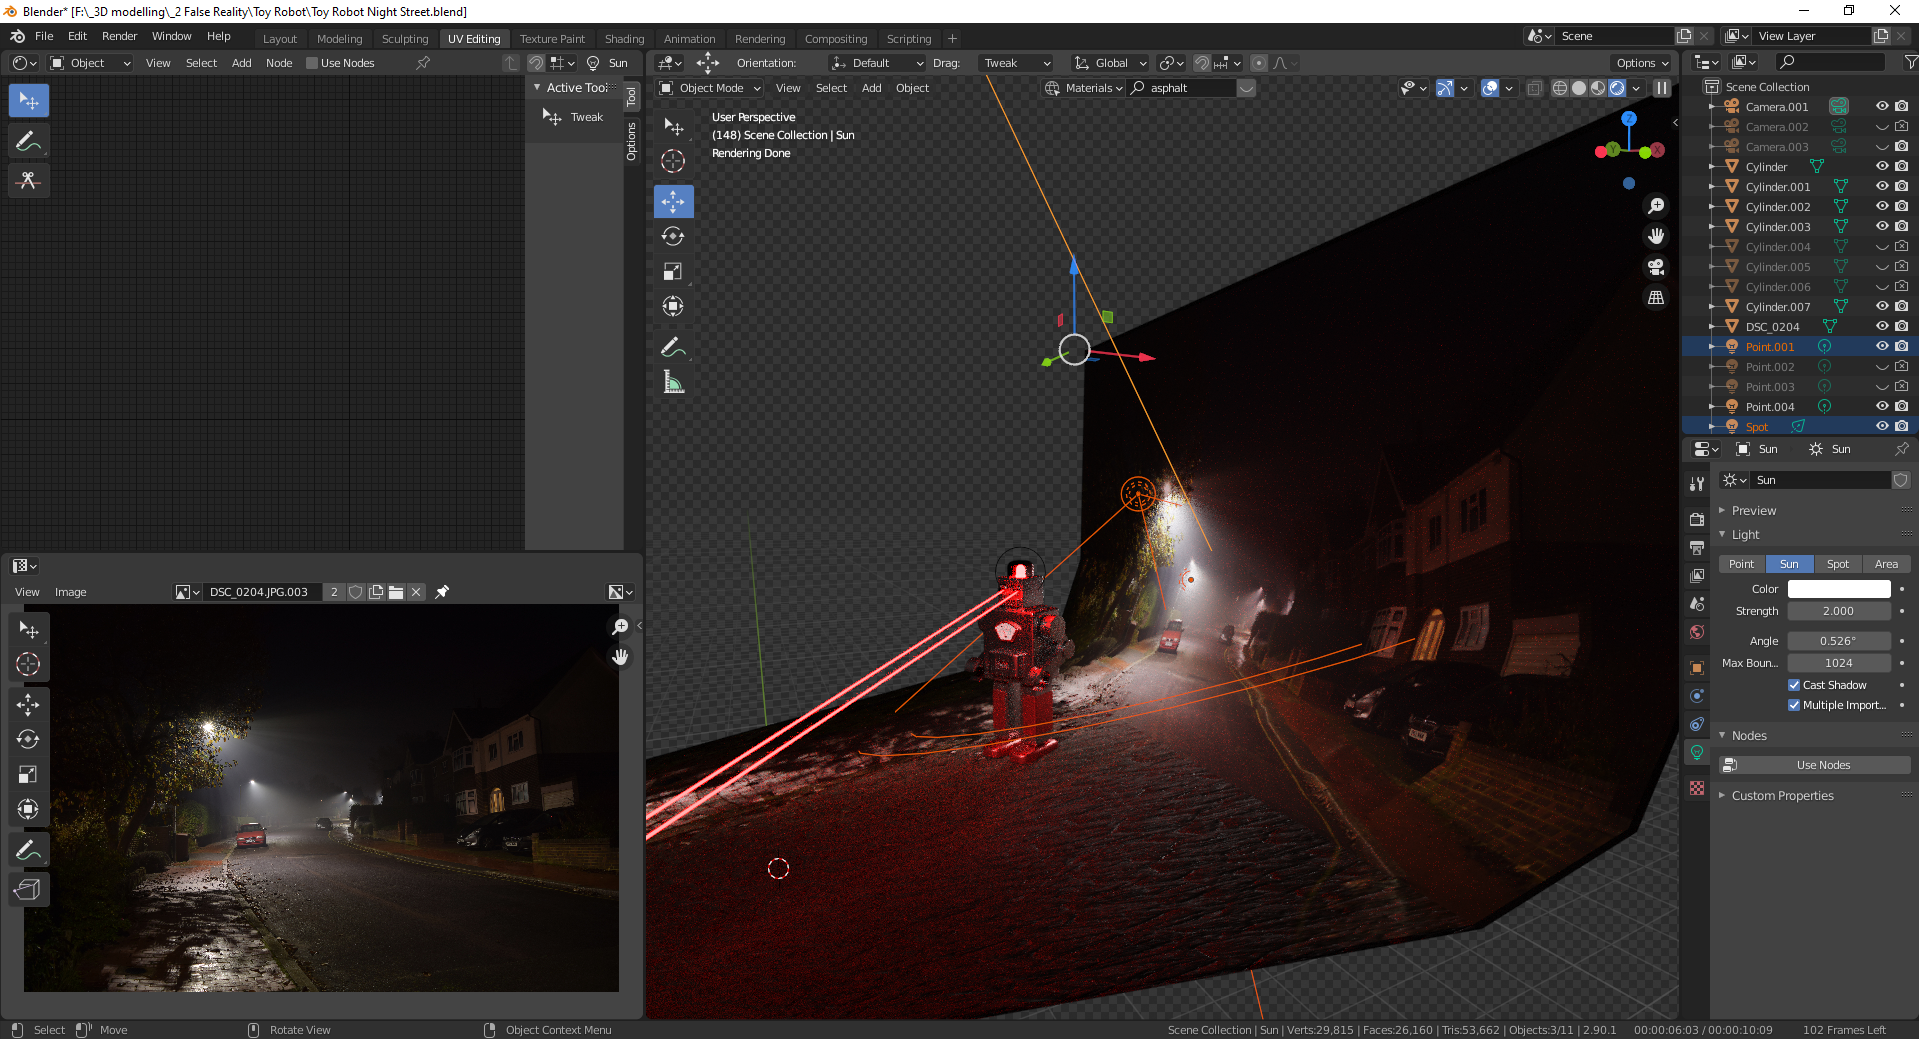
Similar to the previous image but in rendered view
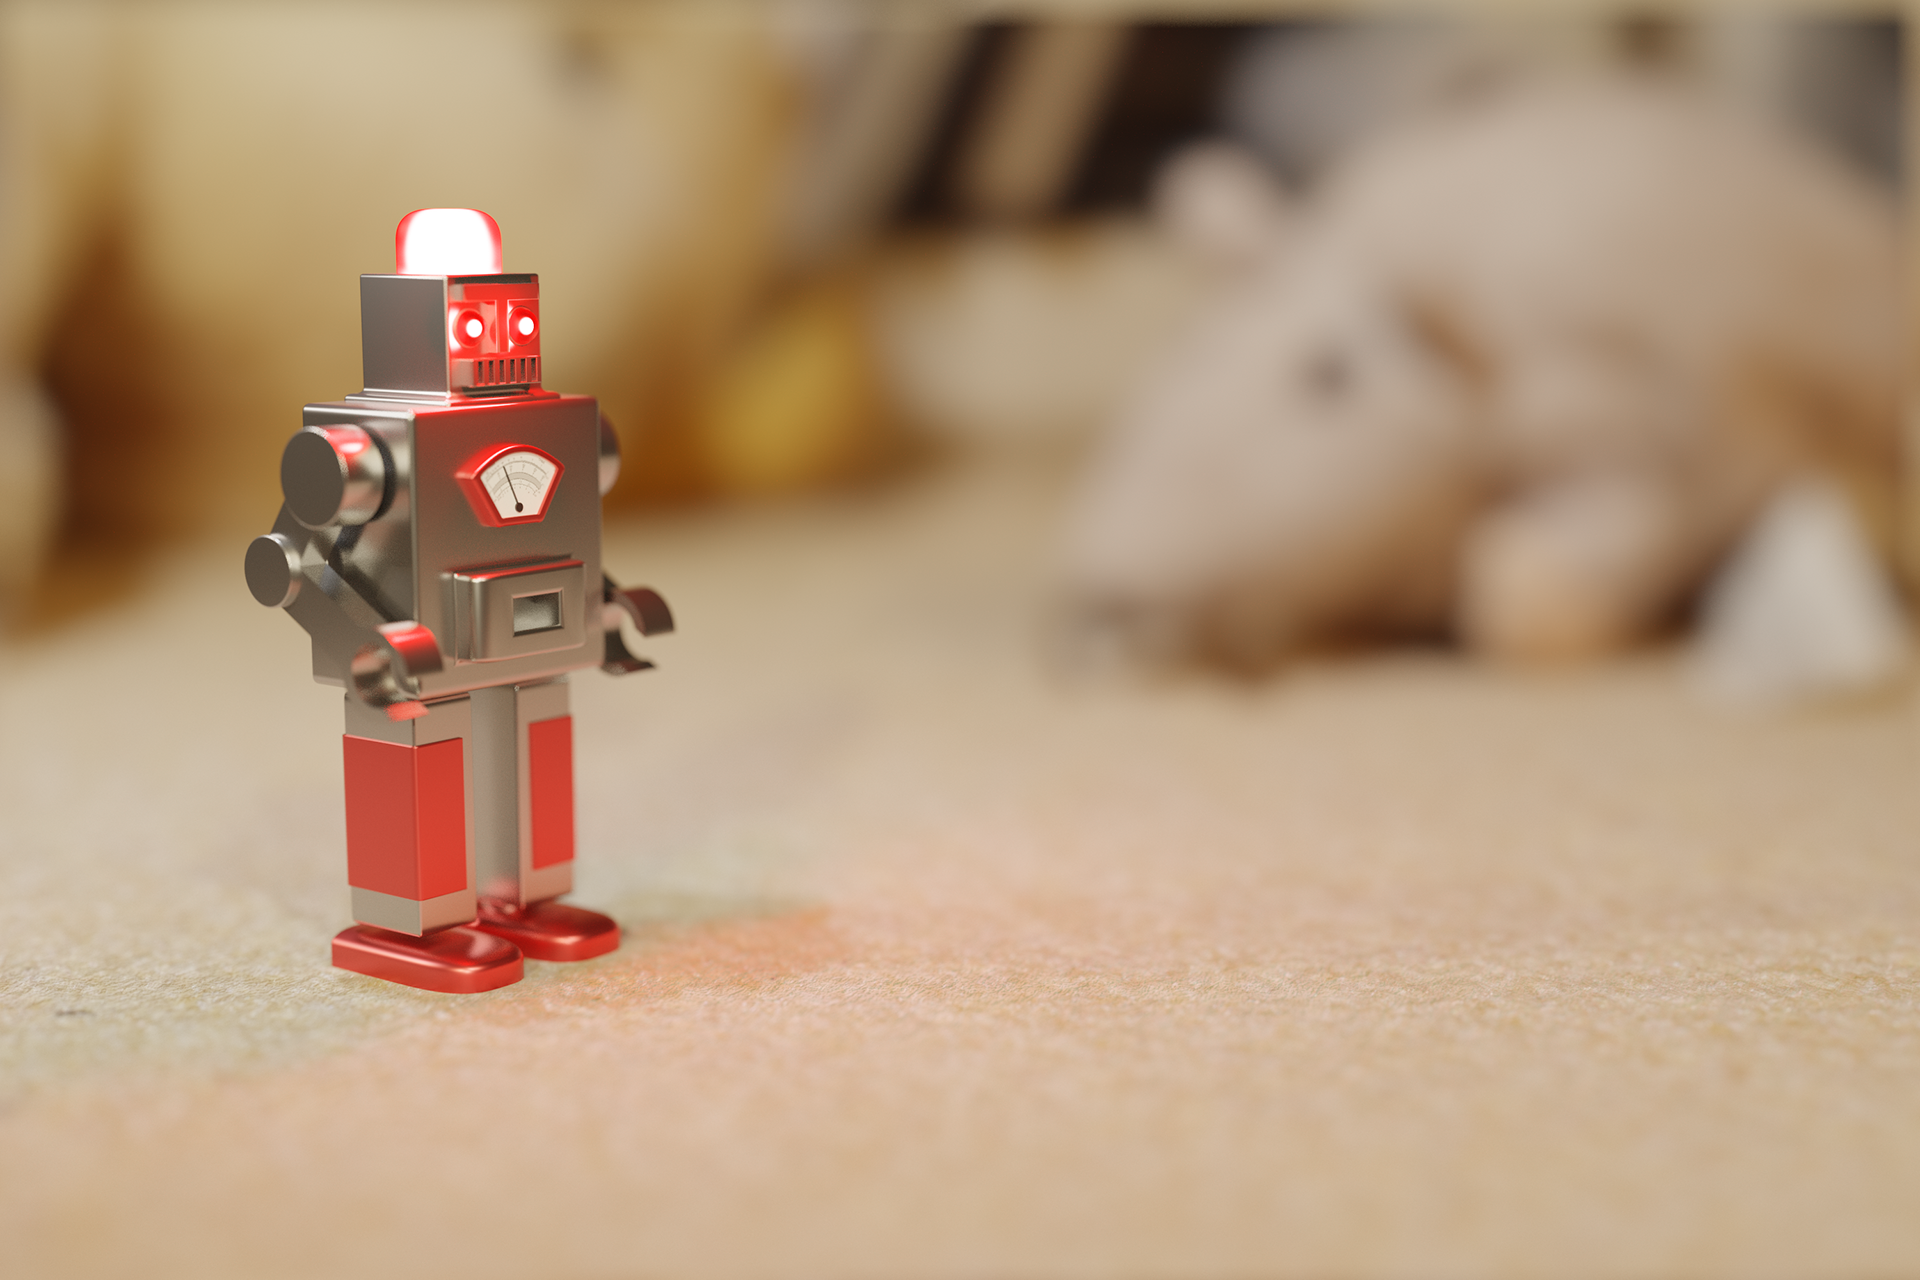
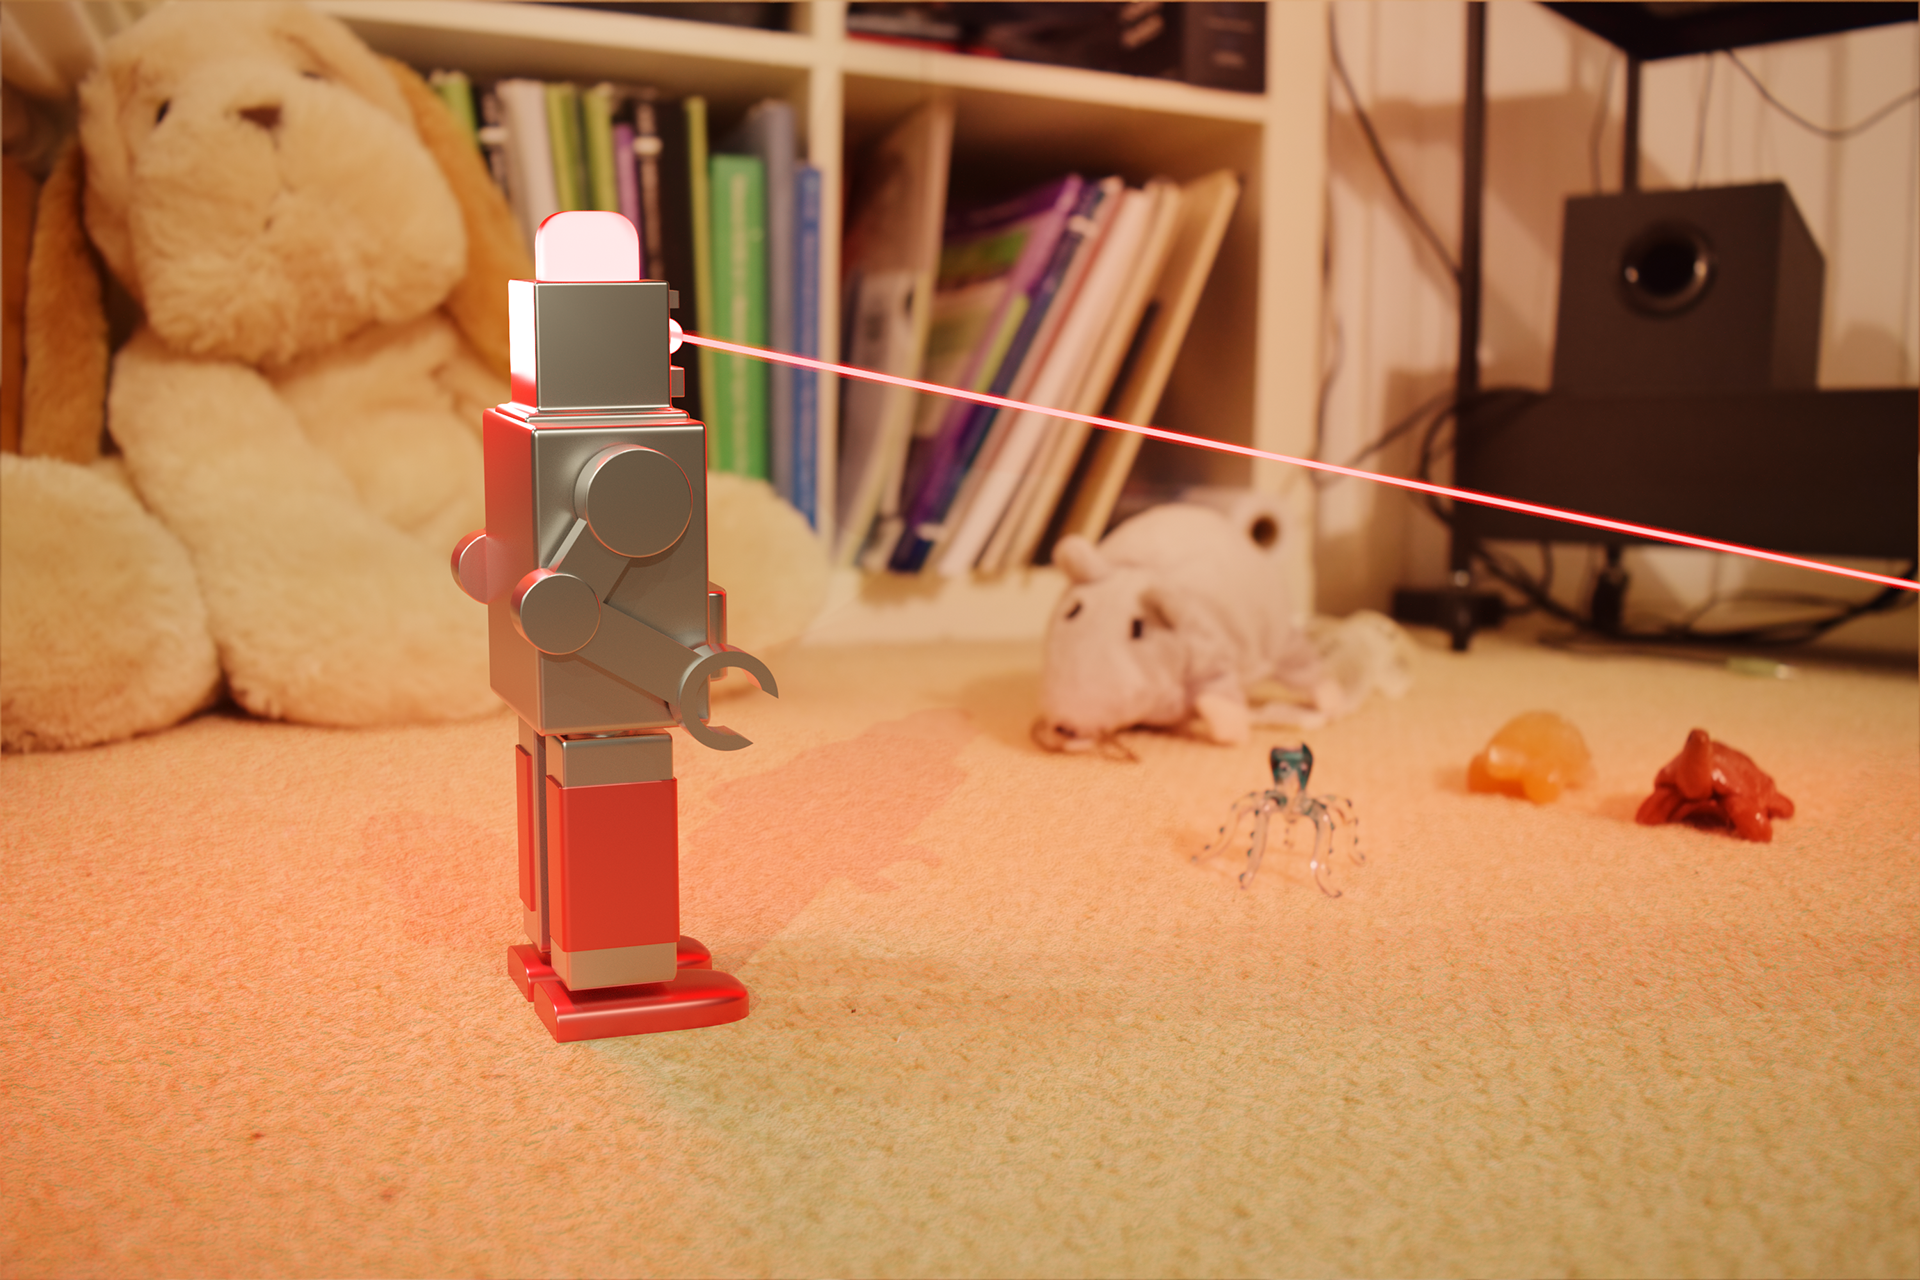
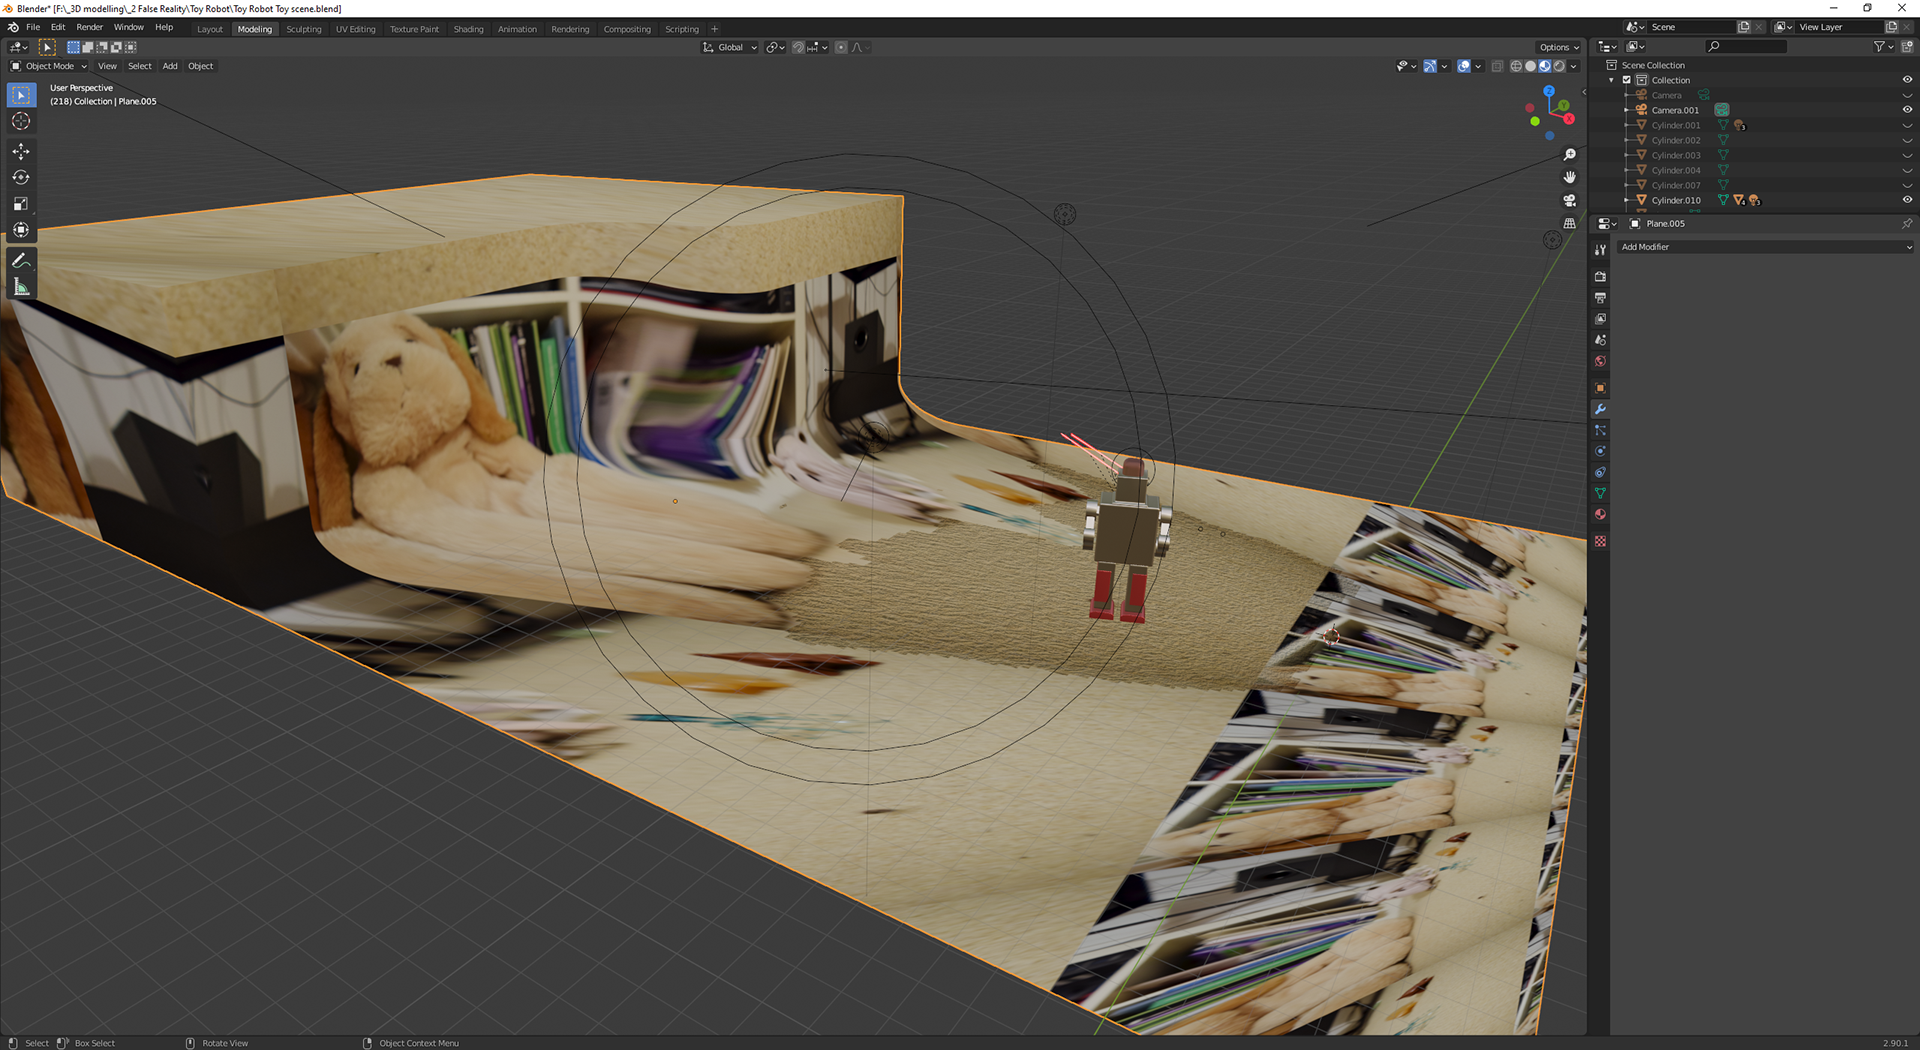
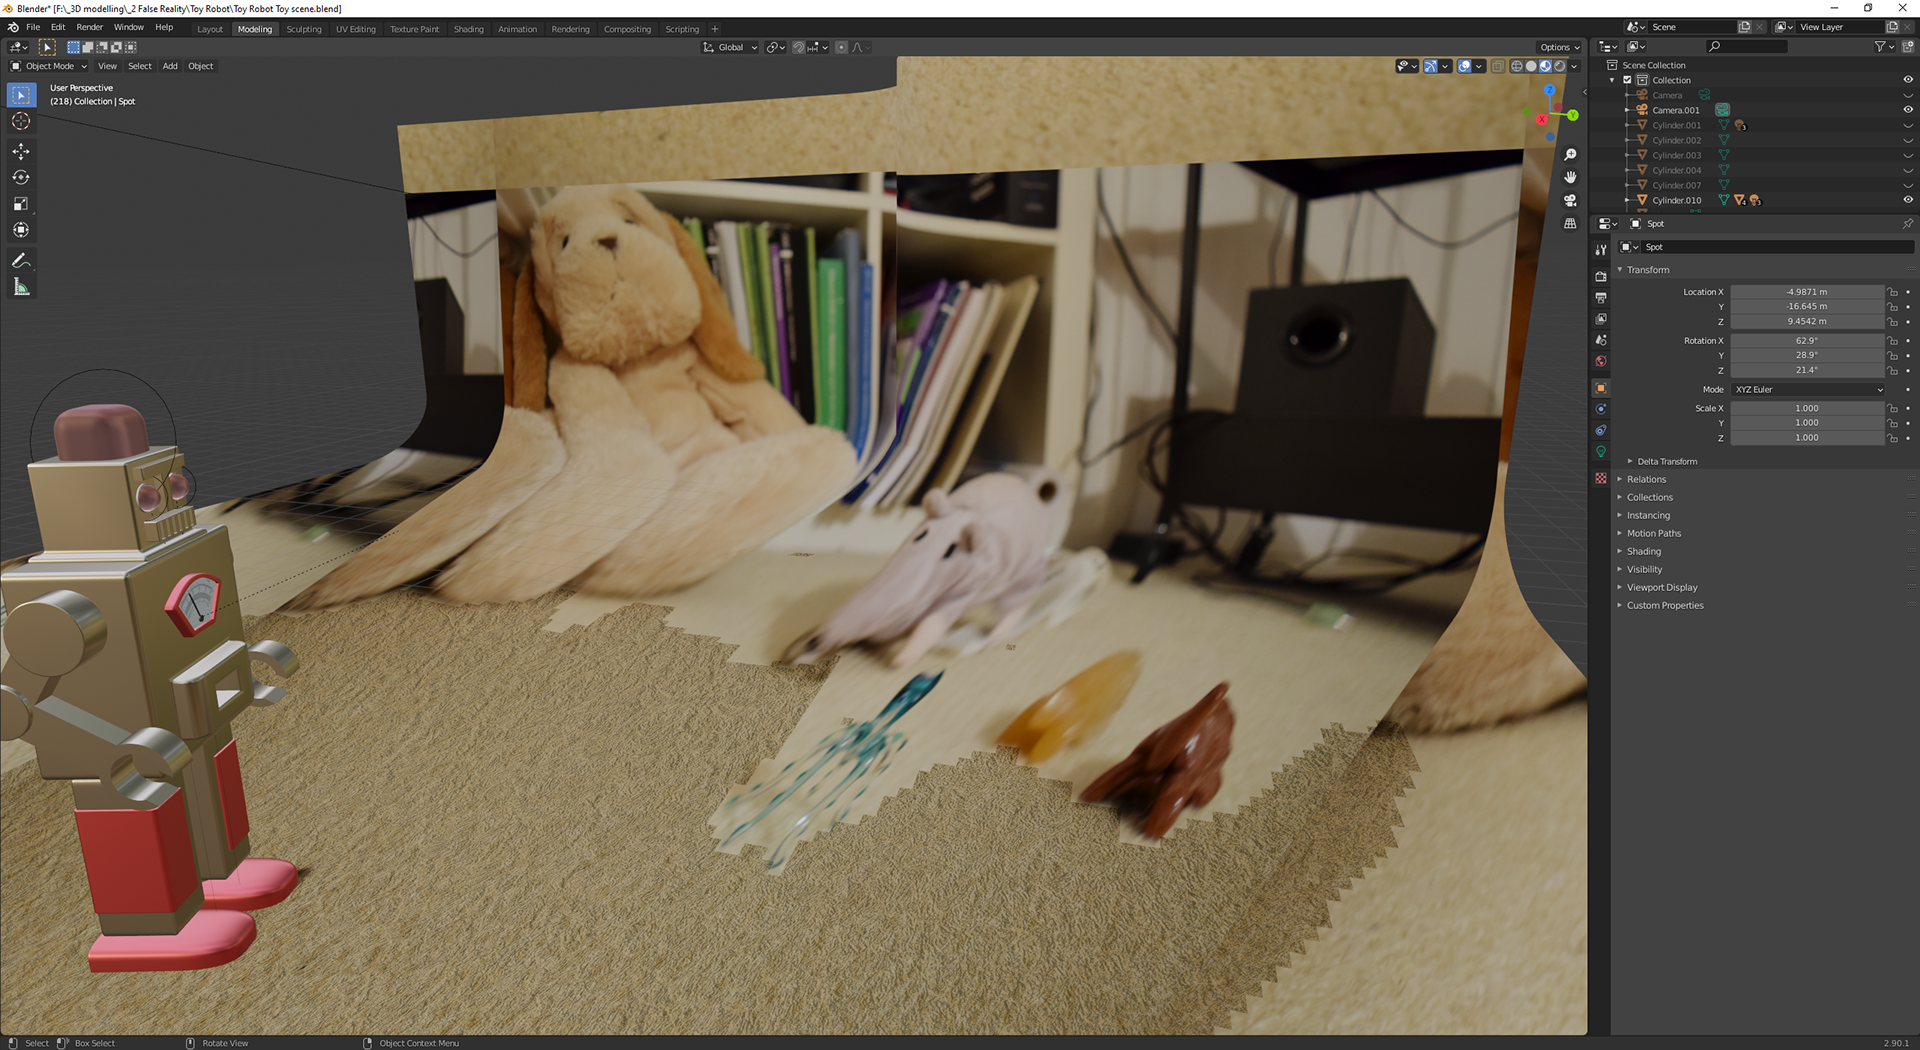
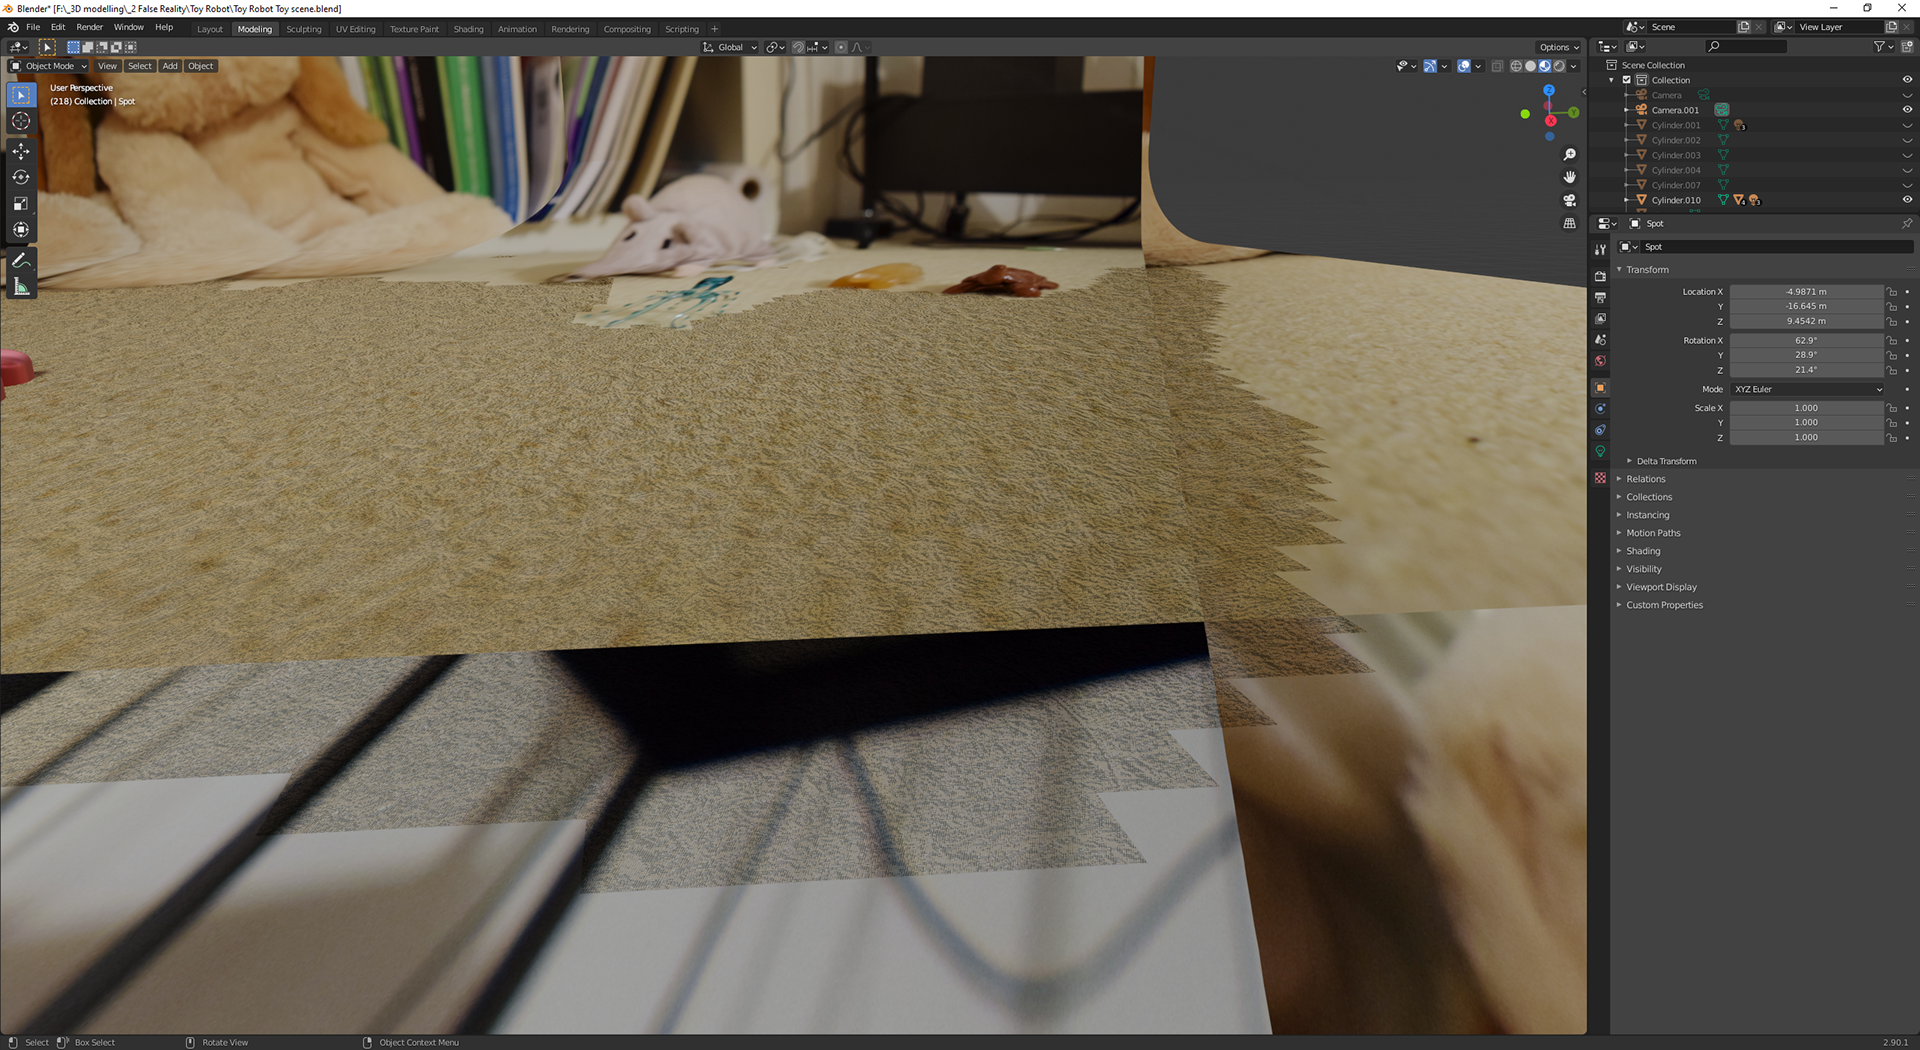
As can be seen there are a couple different images I used as backgrounds for the toy scene, and these images can be seen in the gallery as well. With these shots I used two different lens for my camera, one being a macro lens to get that short depth of field. The other lens is a general purpose lens that gave a much wider view with a larger depth of field, giving a more open feel. when I took these photos my initial idea was to only use the short depth of field with the macro lens as that is what gave me the best sense of scale and made it feel like a toy to me; it felt like a better photo. However when it came to making these pieces with the short depth of field my modelling also had to have that blur, to hide edges in the background; causing me to add more blue losing atmosphere and isolating the robot onto its own. Overall I believe using the more open scene gave a better sense of scale and feeling of being a toy.
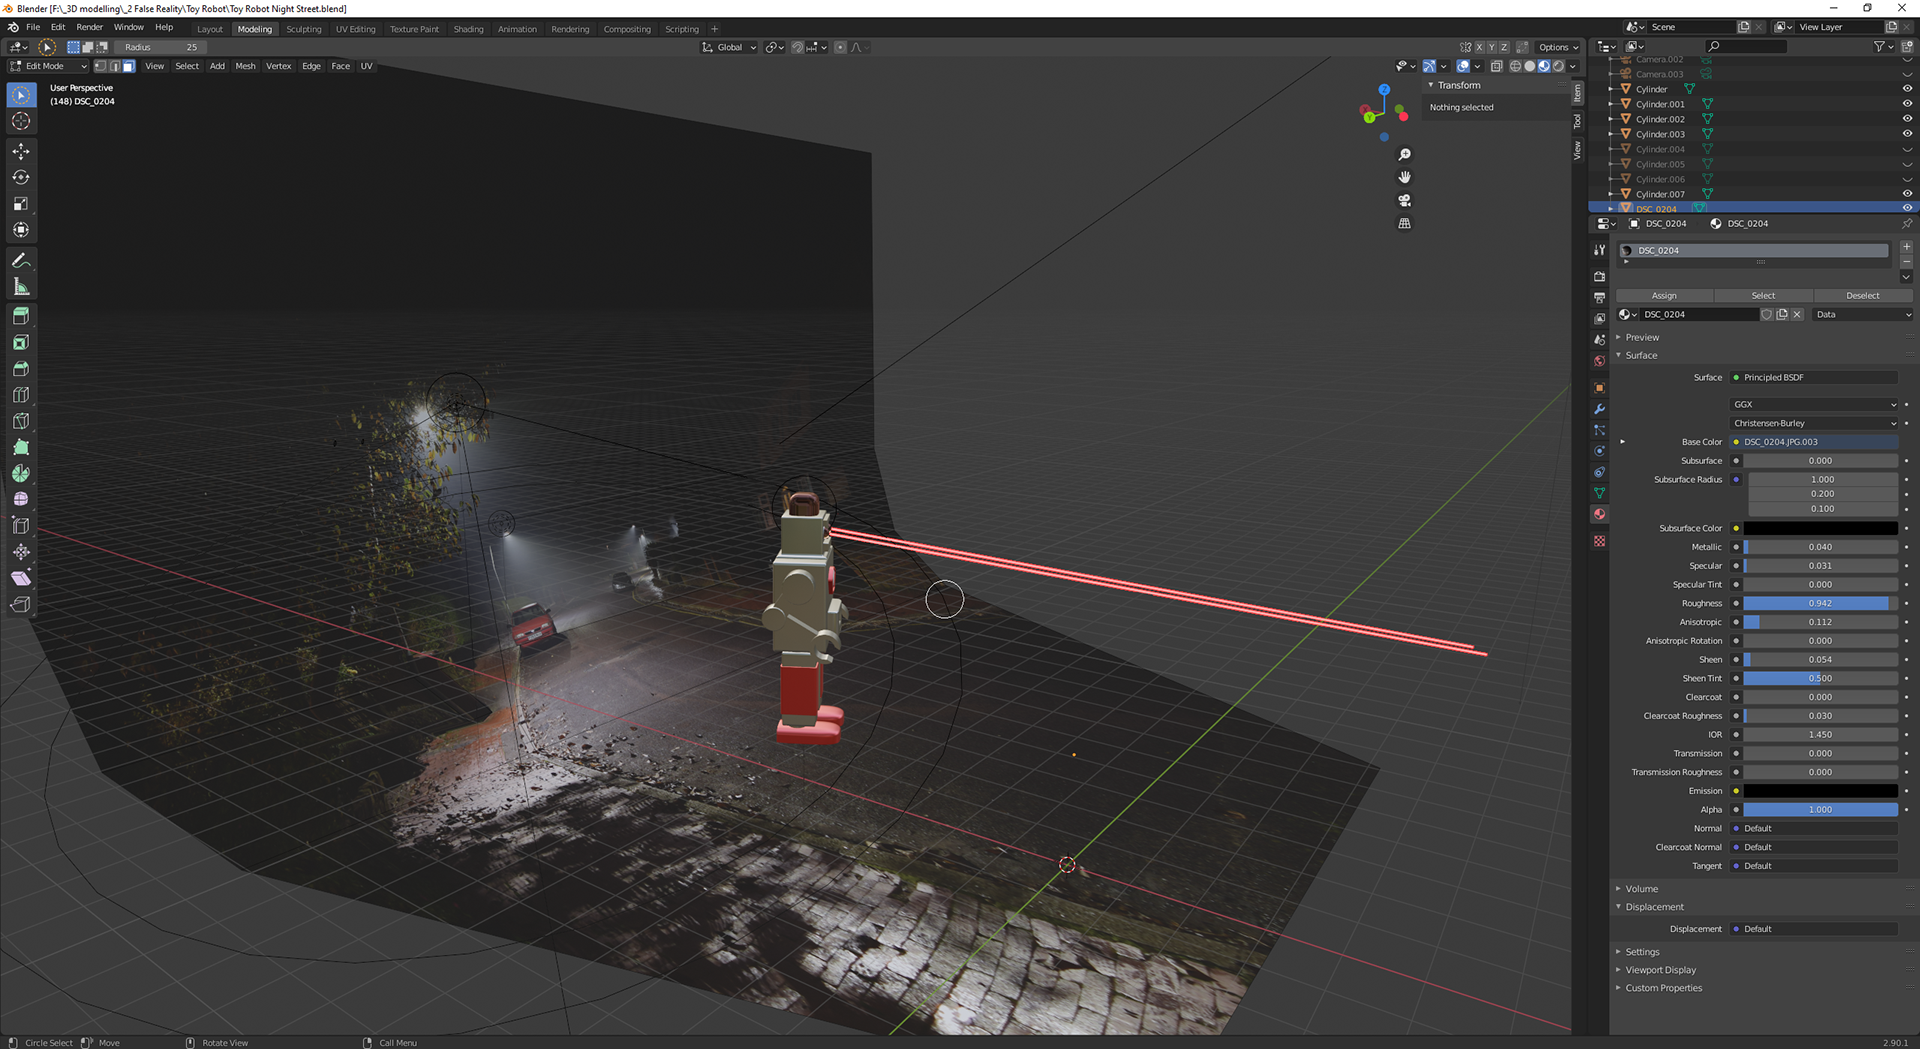
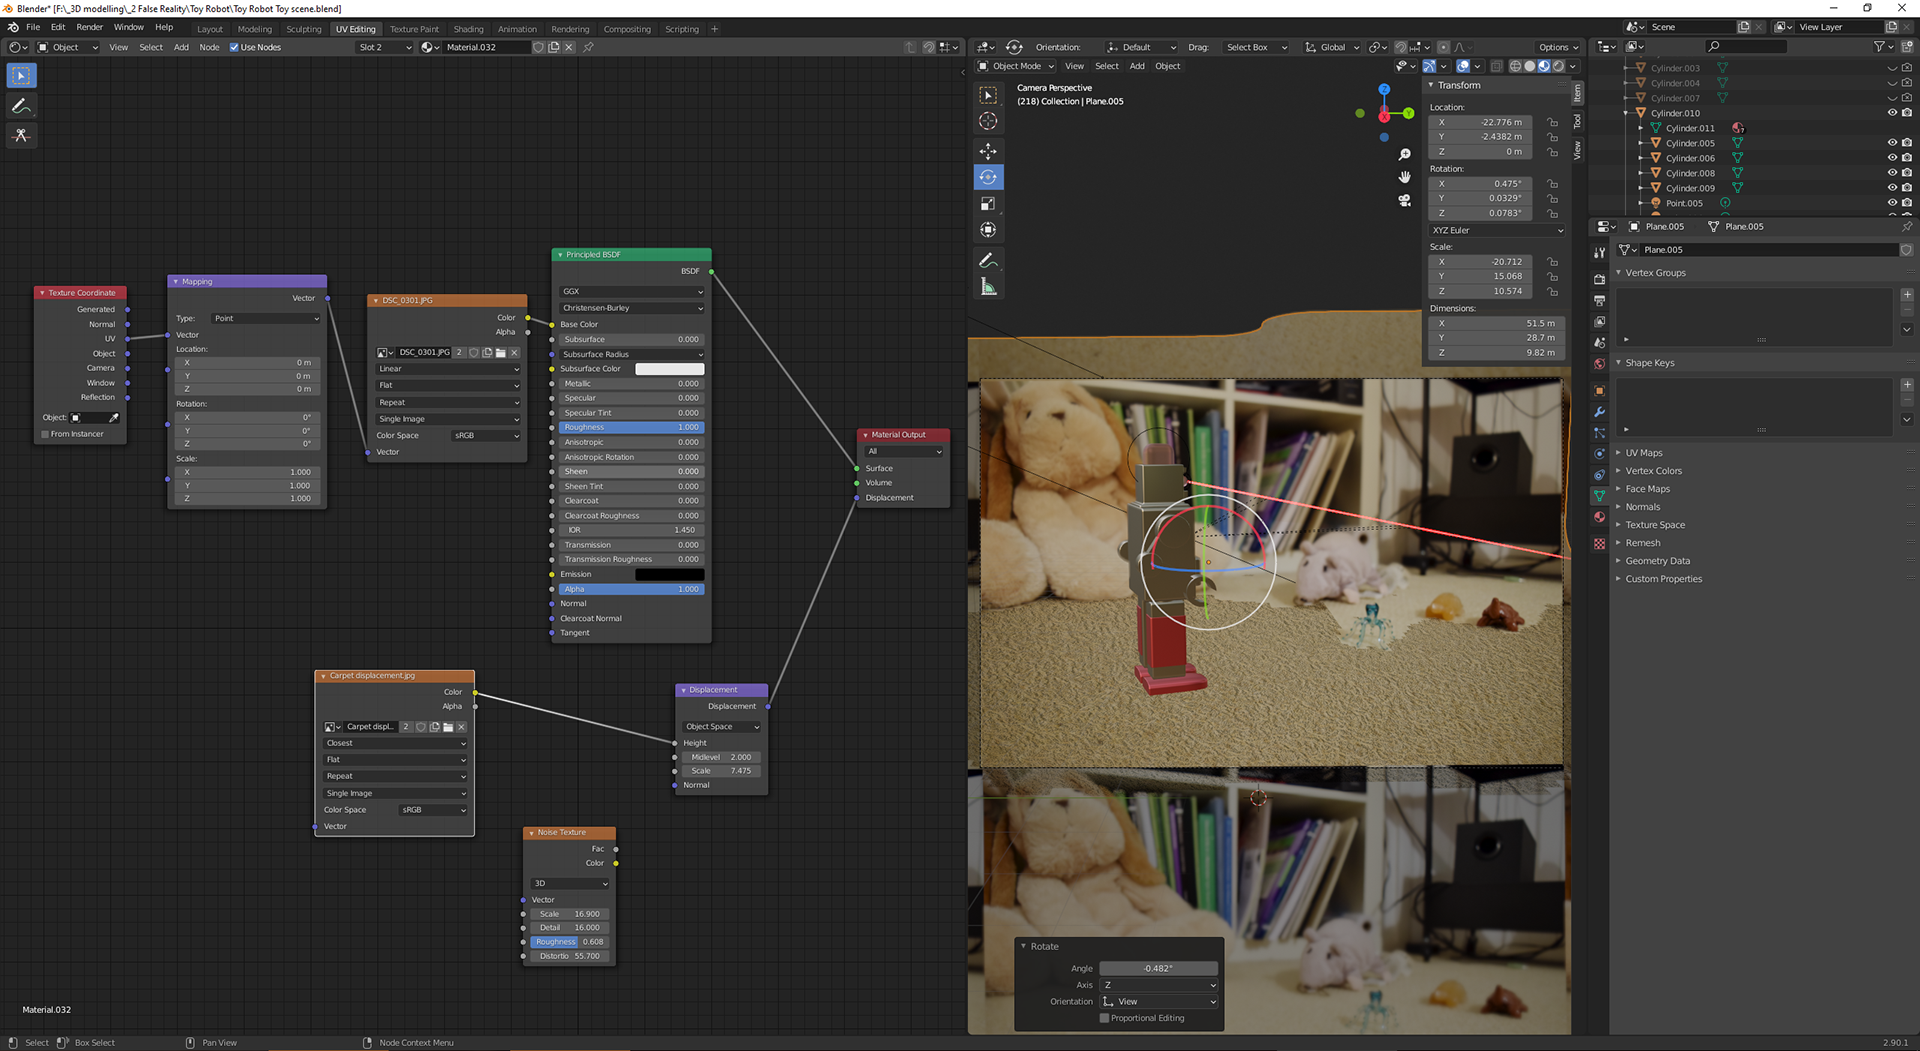
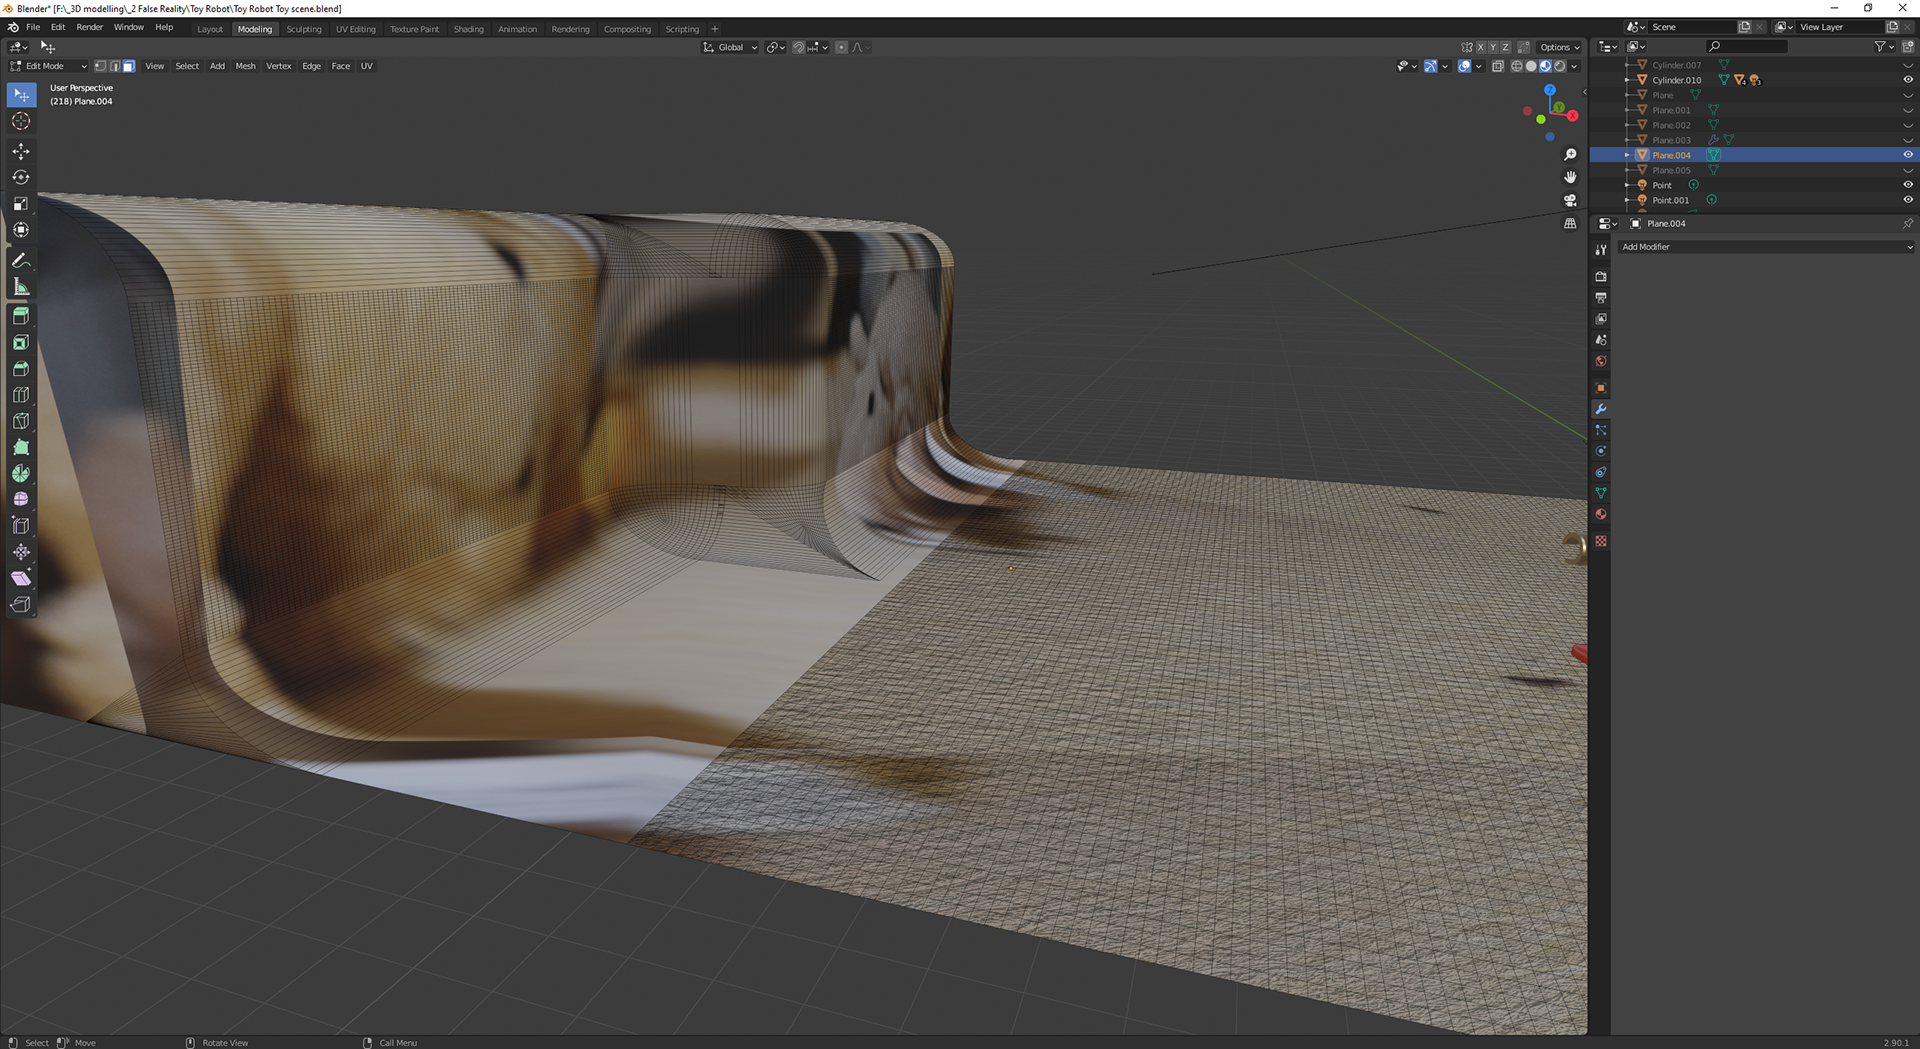
In creating these toy scenes, I put to use some methods that I have not shown in any other pieces here yet. One of these tools is the displacement tool, which creates a false illusion of depth which creates shadows and reflects lights as if it there was depth. This is done by using a UV map of an image, taking the alpha levels (the brightness of each pixel) and putting that into a displacement node. These nodes can be seen in the image on the right; camera view on the right and the node view on the left. For the UV displacement map I took and image of my carpet, the same one in the image and put it into Photoshop. I then desaturated it to make it black and white and boosted the contrast and brightness to a point where I believed it would make a good displacement map of the carpet. I then linked this to the material for the plane that is visible, and using different materials for different sections to get the displacement only on the carpet not on the toys for example.
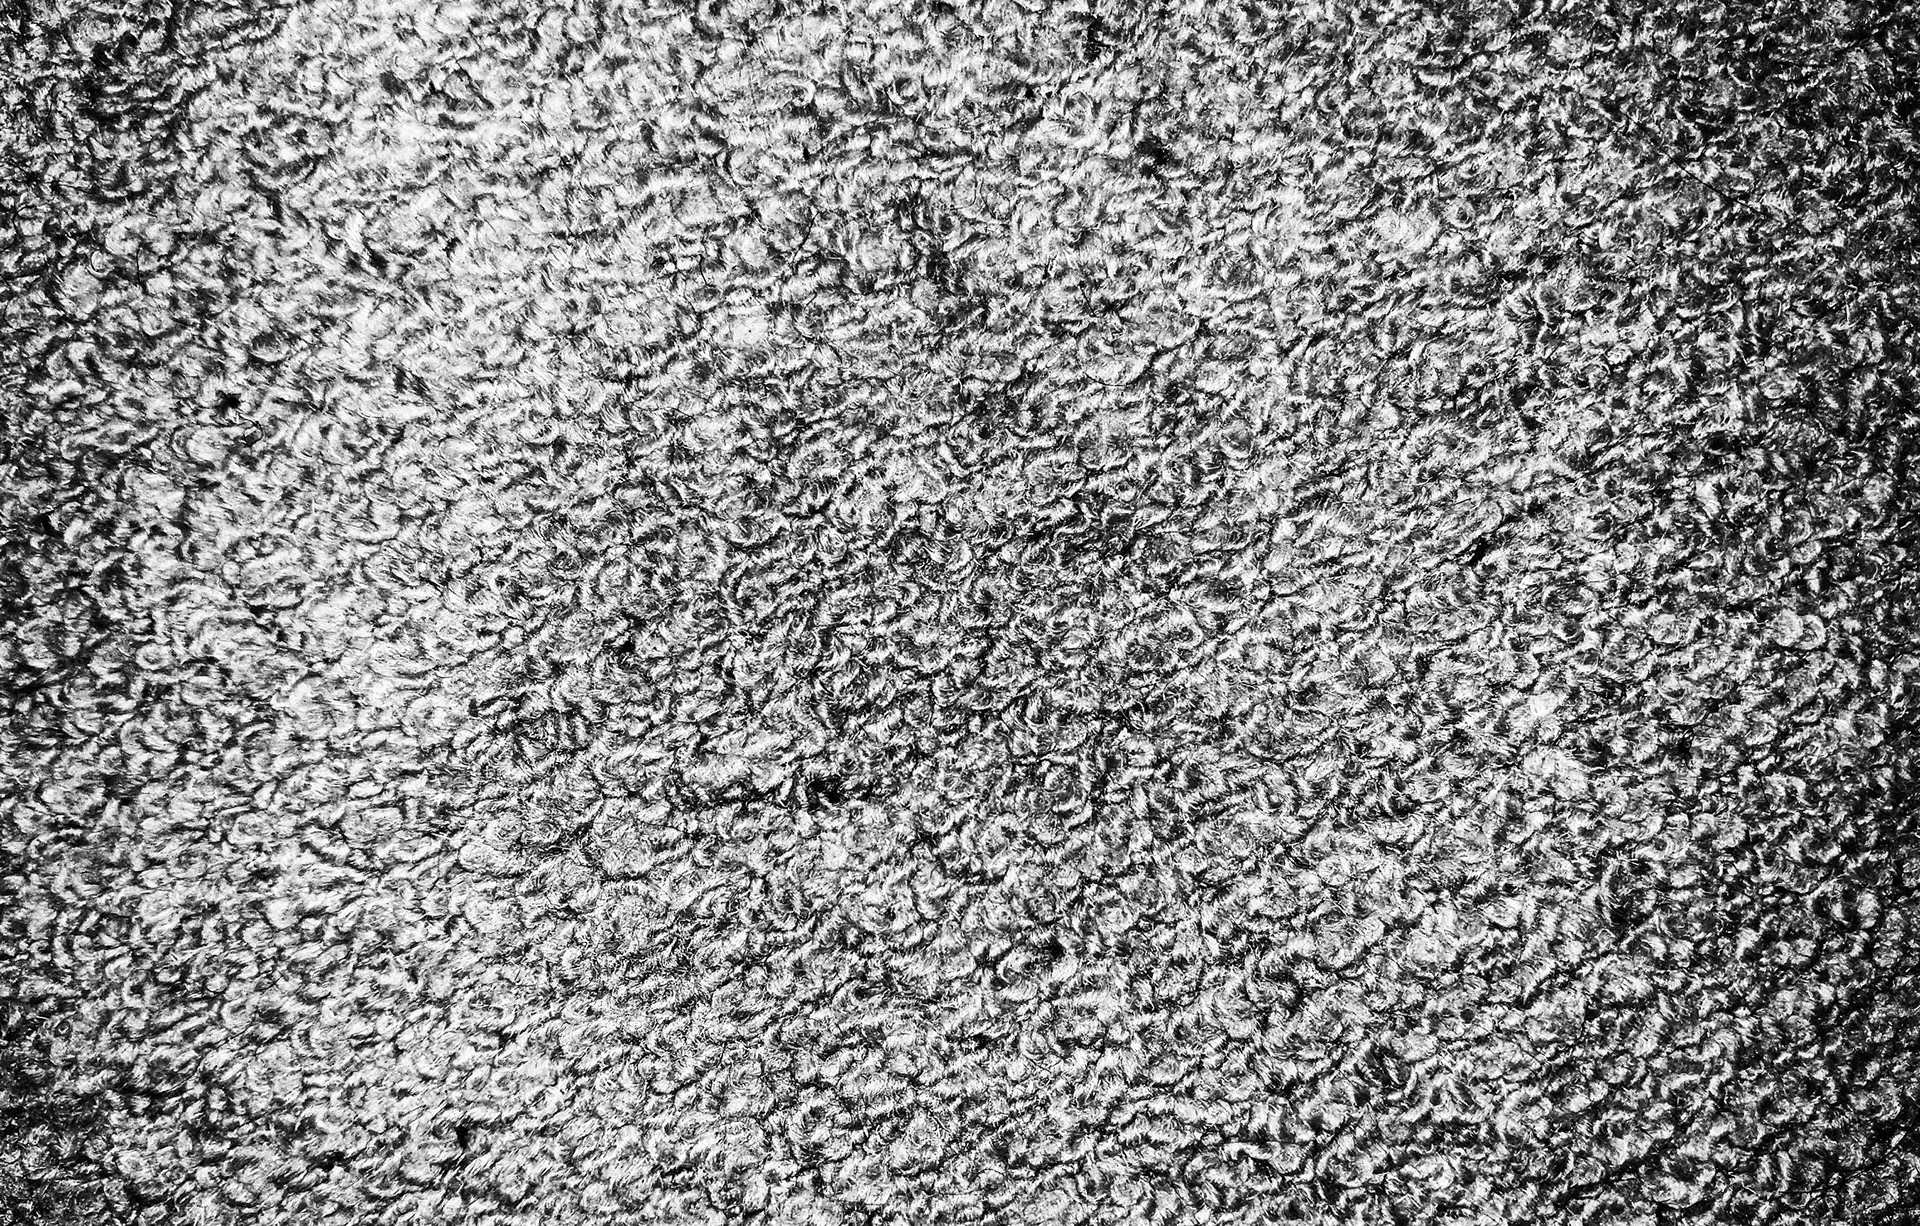
This is a displacement map created from a photo of my carpet, I mentioned it above.
A displacement map is an image in which the 3D modelling software takes the colour or in this case the black levels and uses that to create depth. It does this by raising or creating a bump where there is white and then lowering the level making a trough where there is black. this only acts to adjust the way light bounces and casts mini shadows on the surface however, as adding tiny bumps with polygons (squares) would be incredibly computer intensive and so it does not affect the actual shape of the object.