This is the final animation of this project, I am very happy with how it came out. There are a few improvements I would have like to make with the materials; however, due to rendering times I was limited by what I could do.
The videos above are the final video versions after adding sound and a bit of video editting. There is more detail at the bottom of the page.
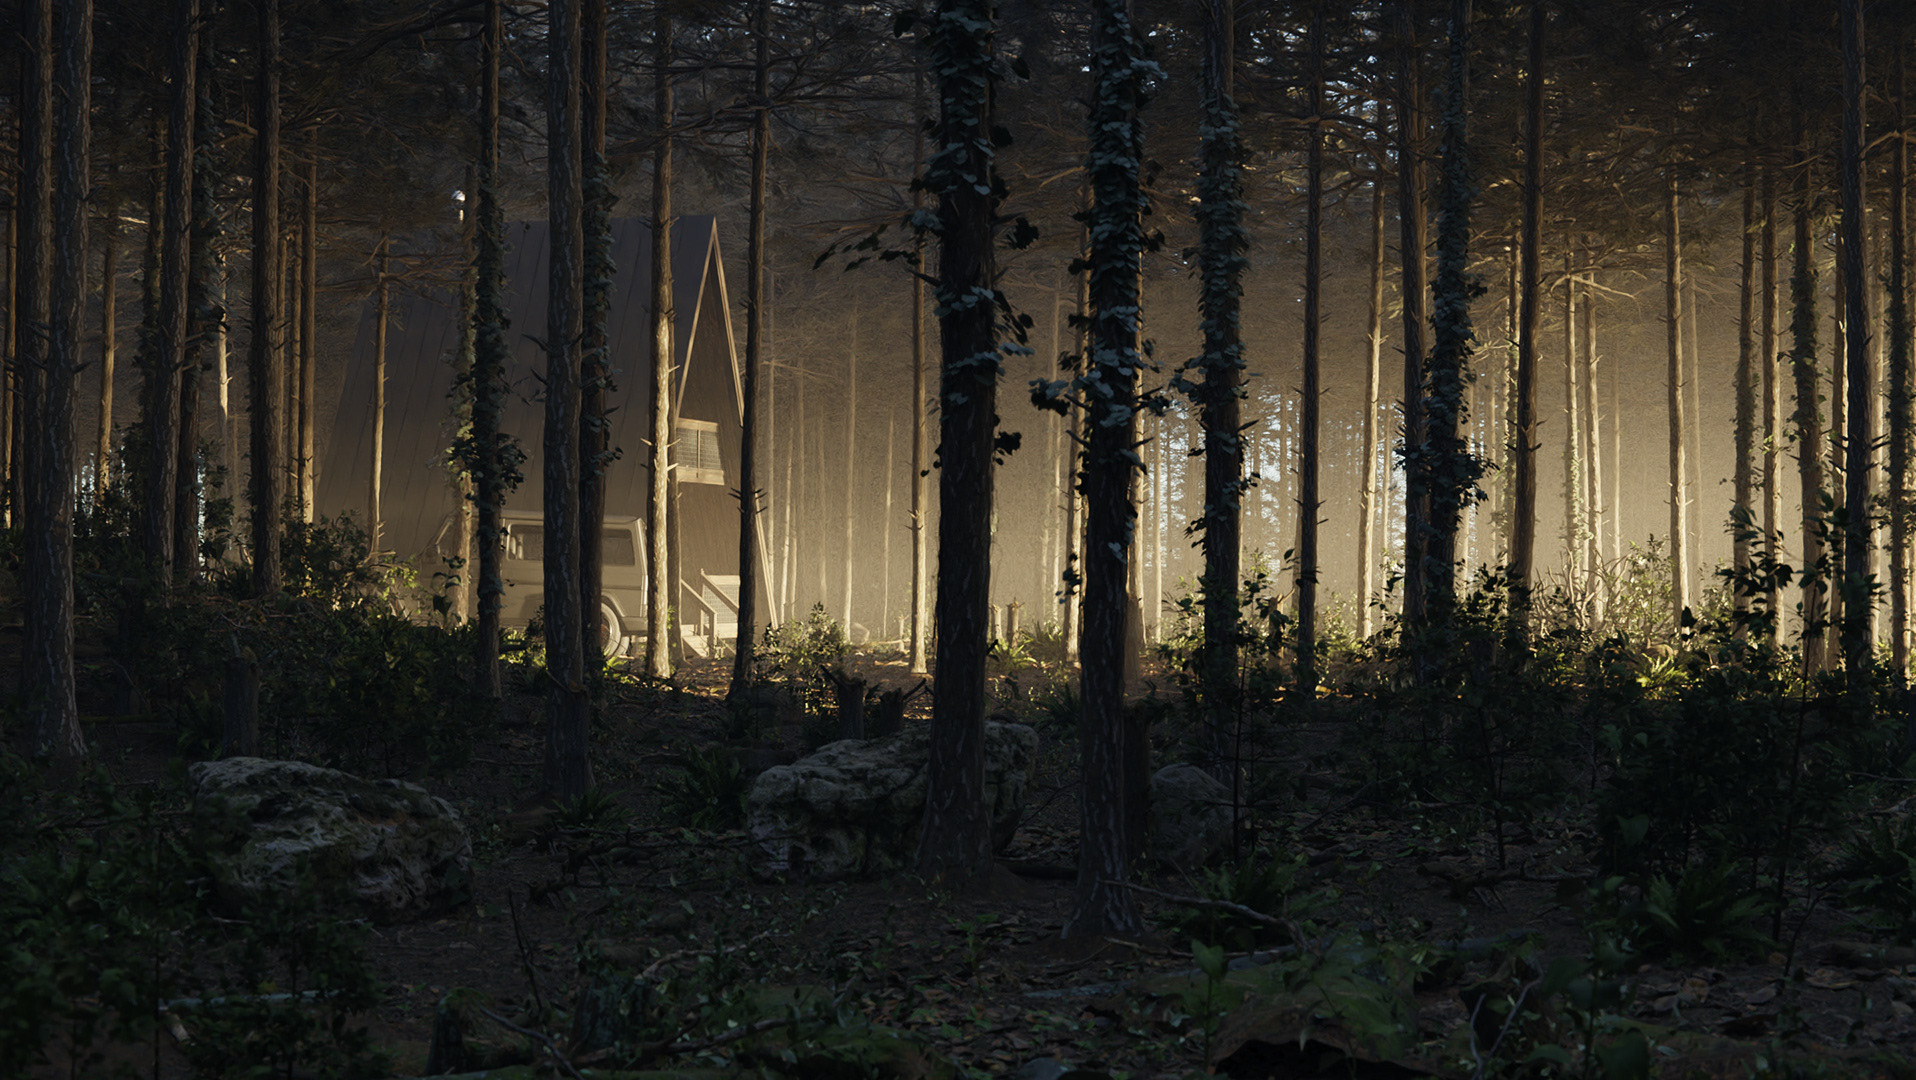
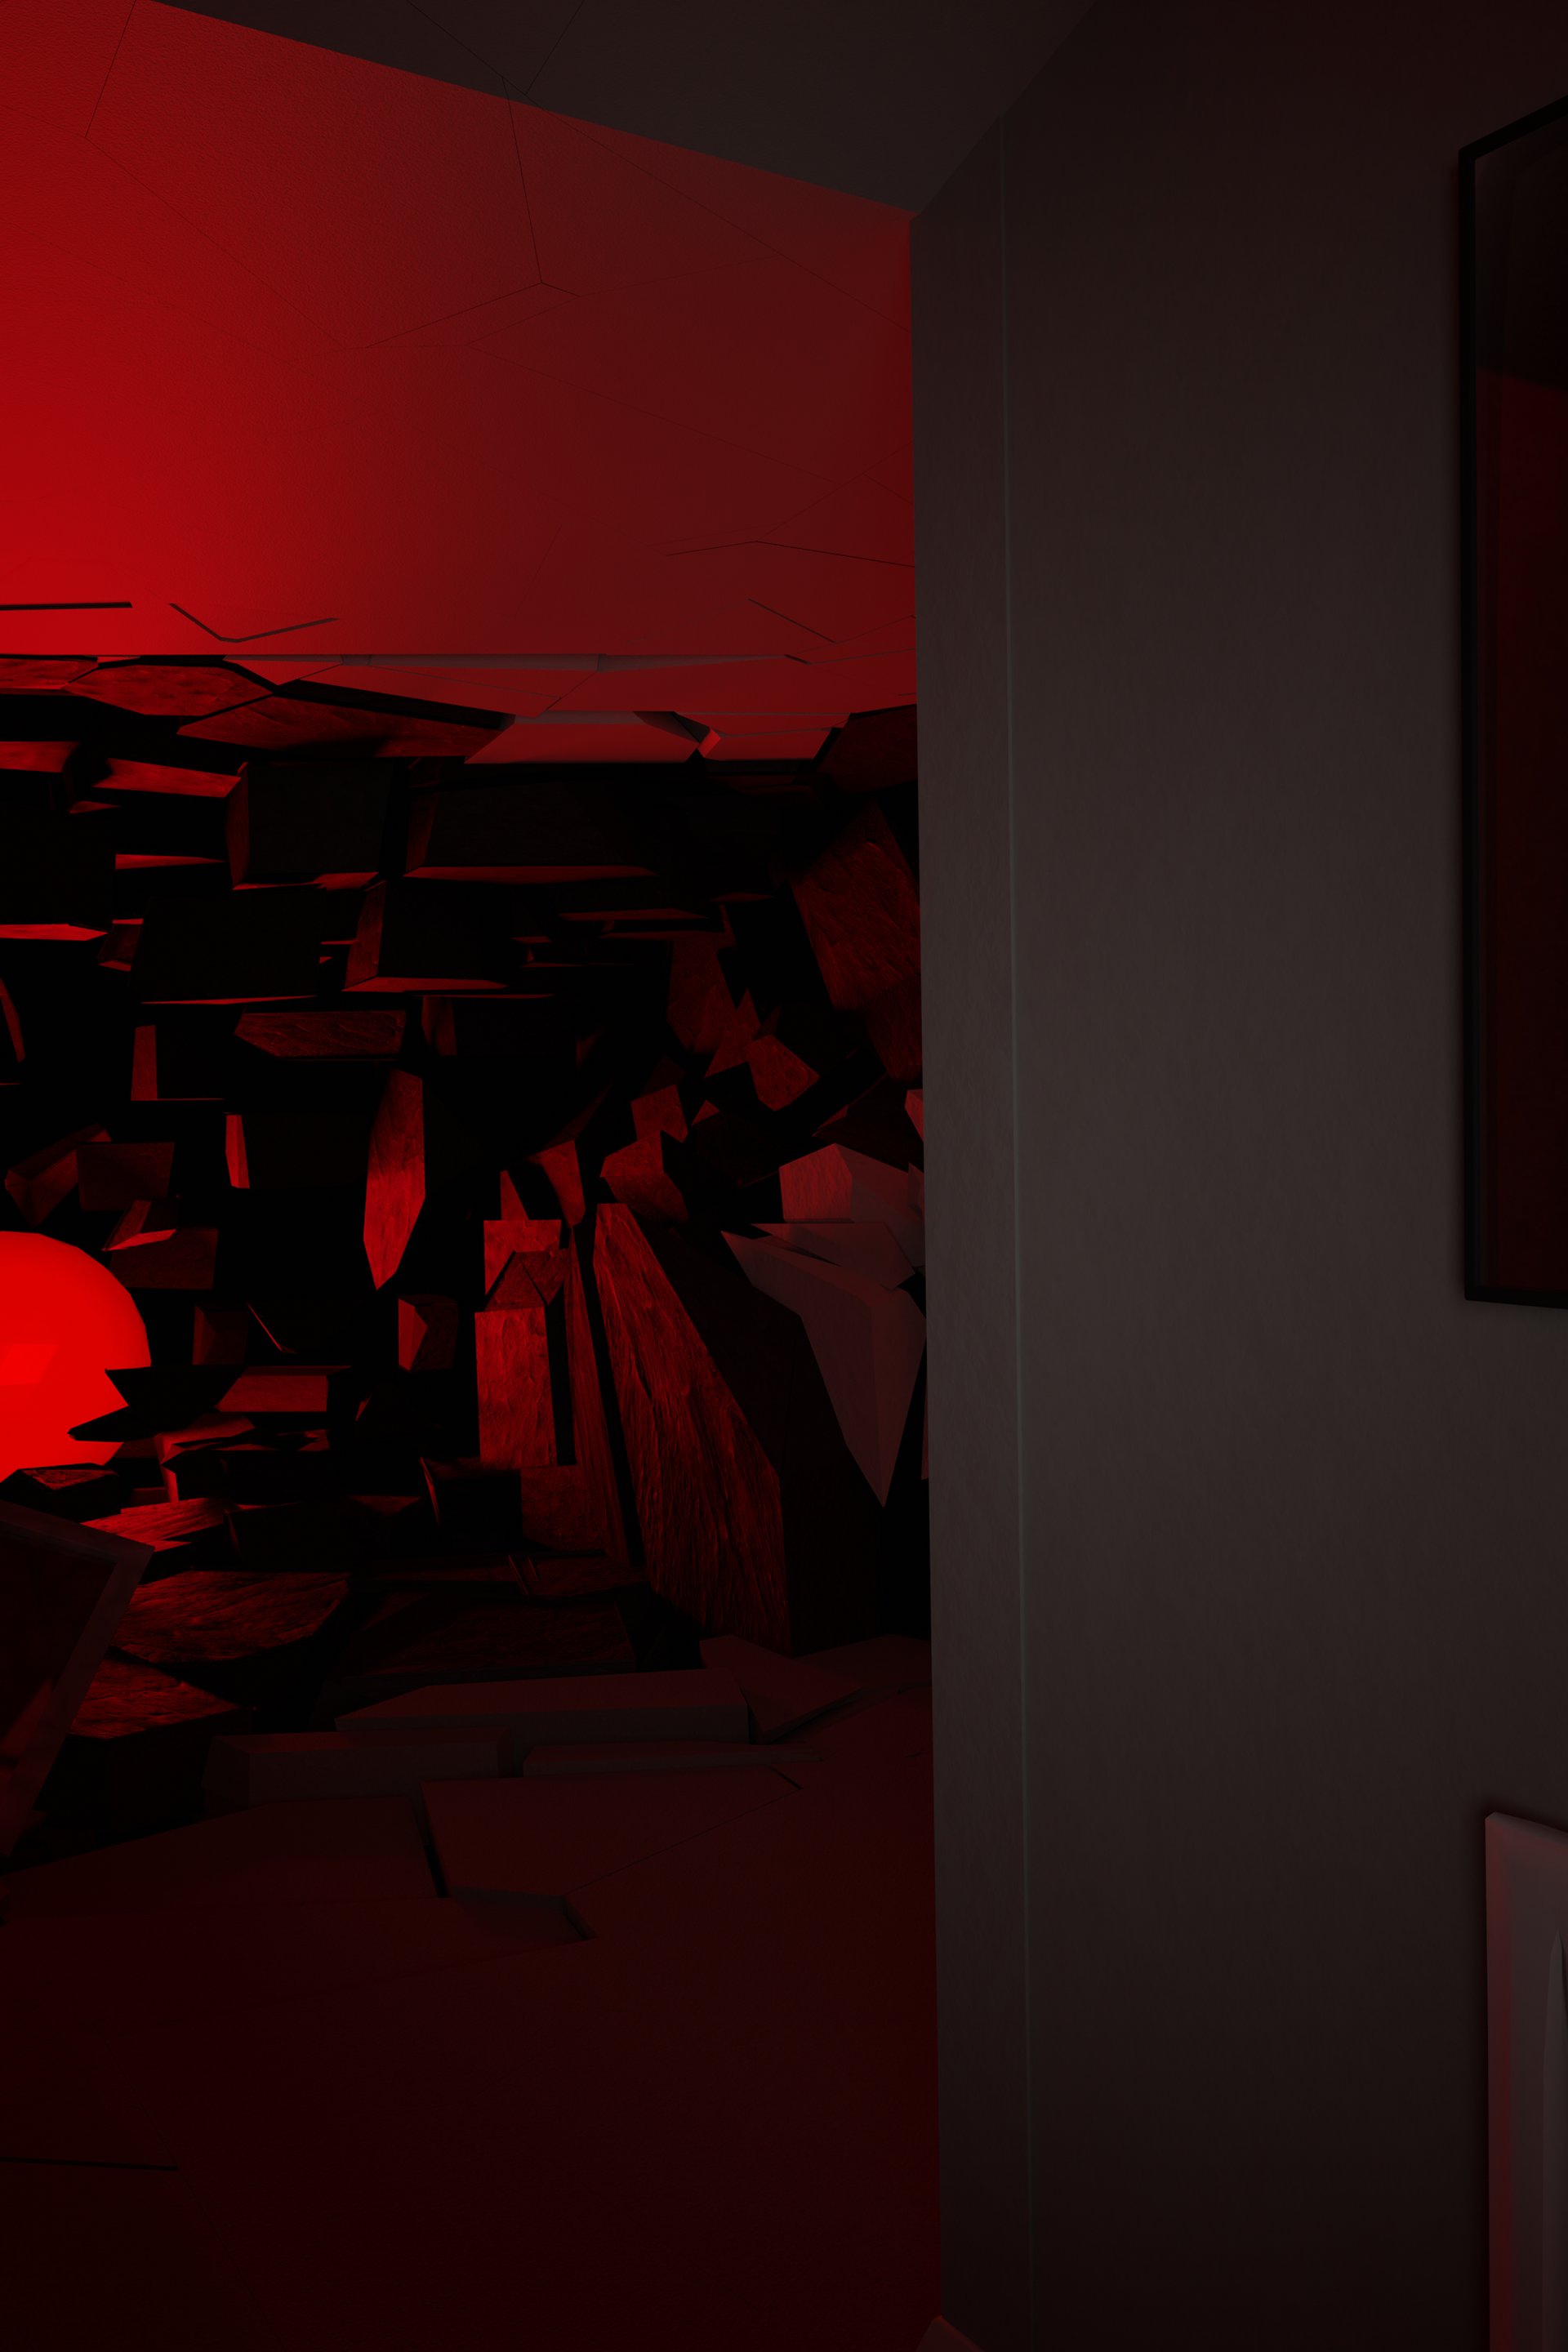
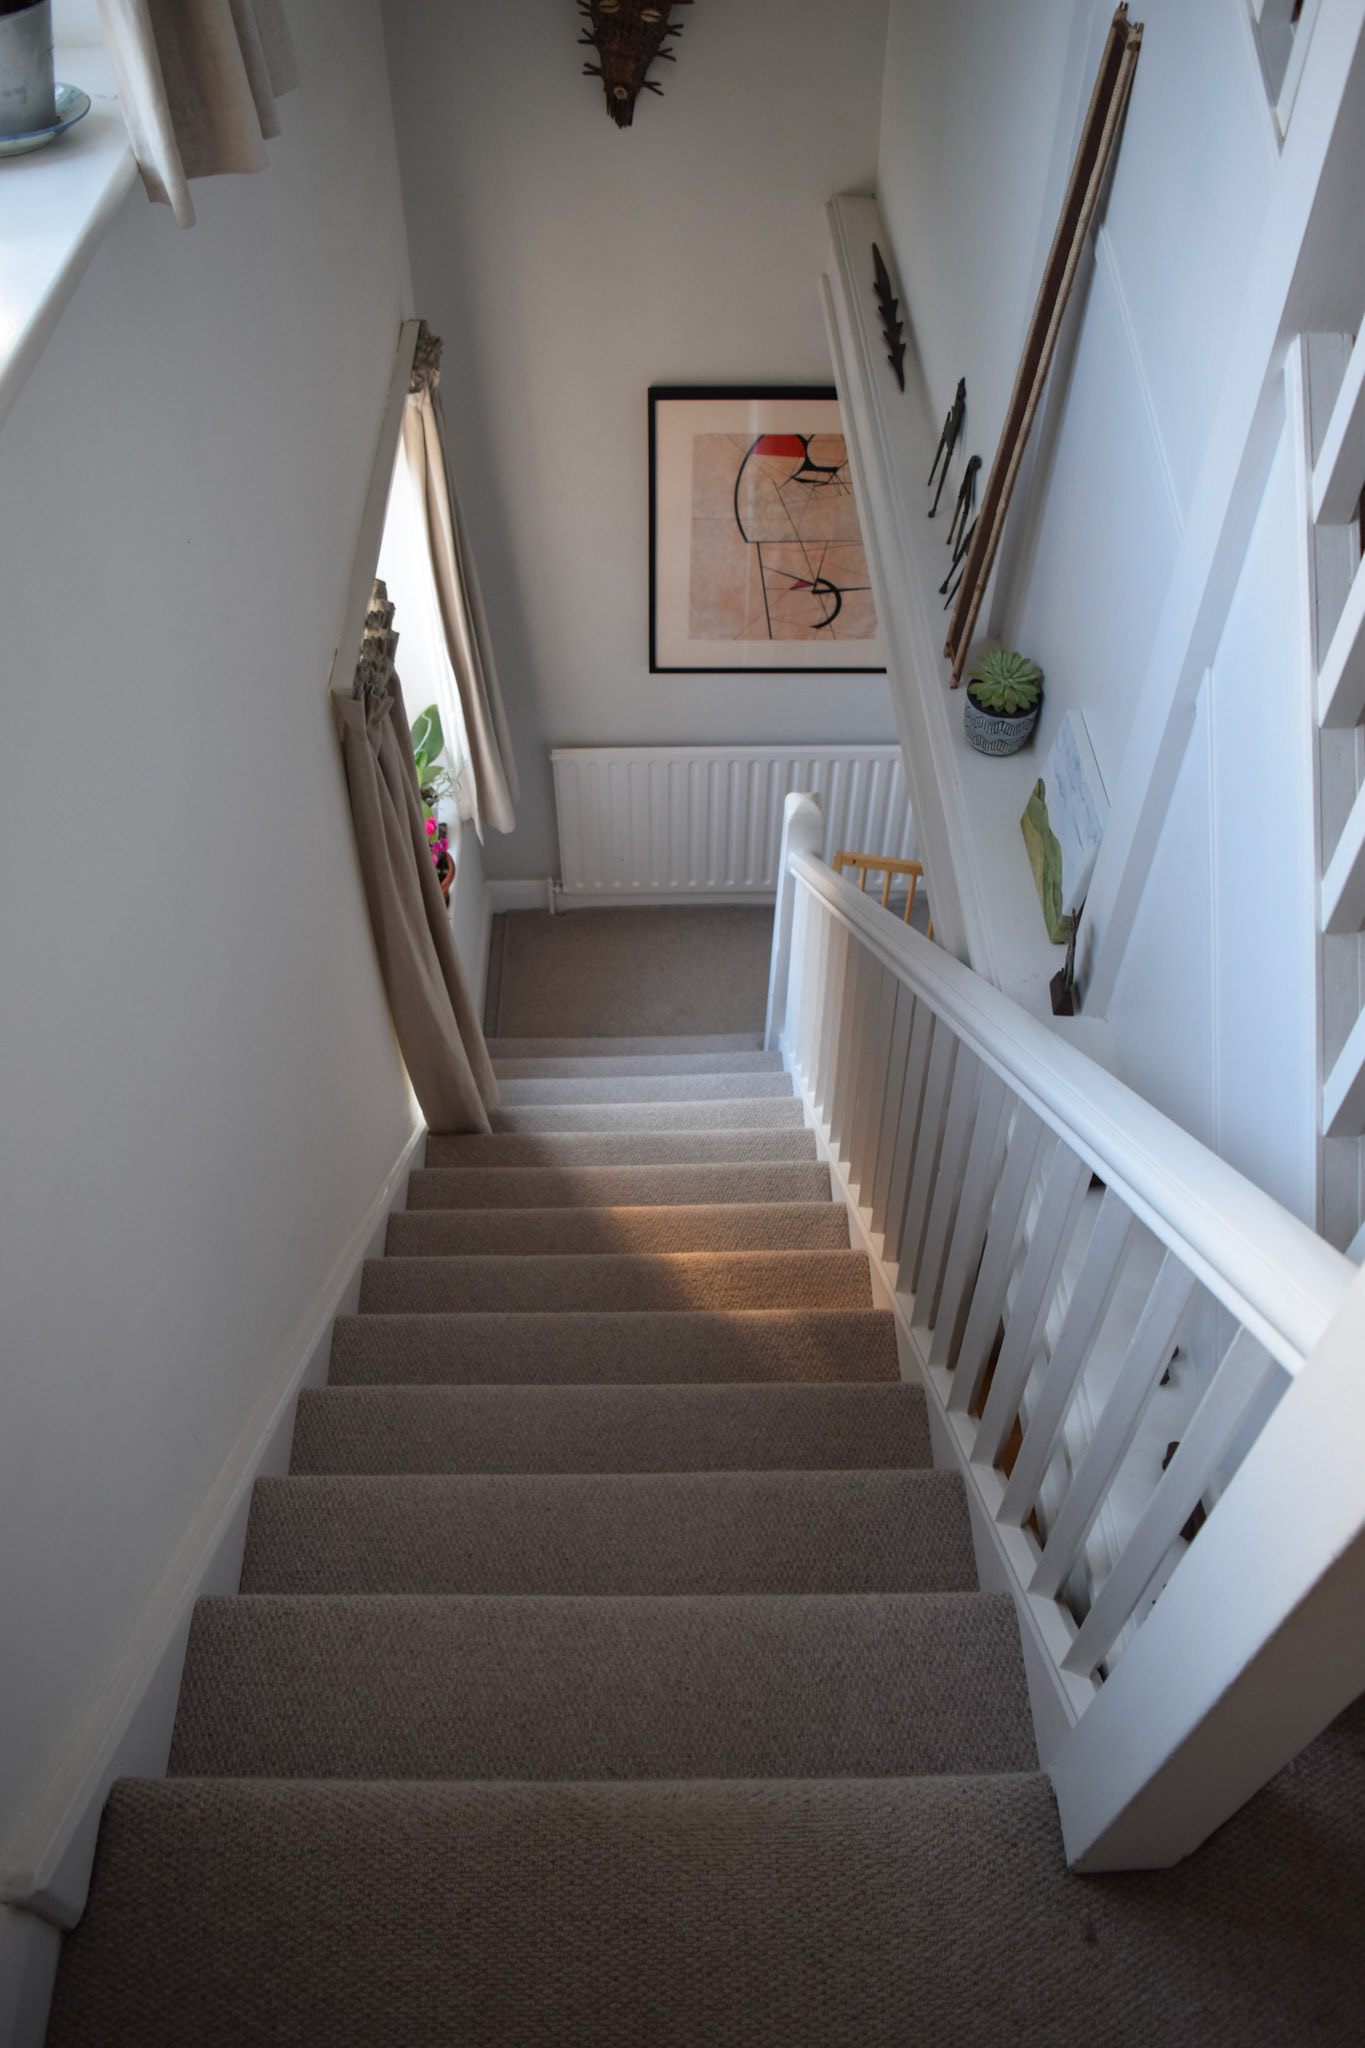
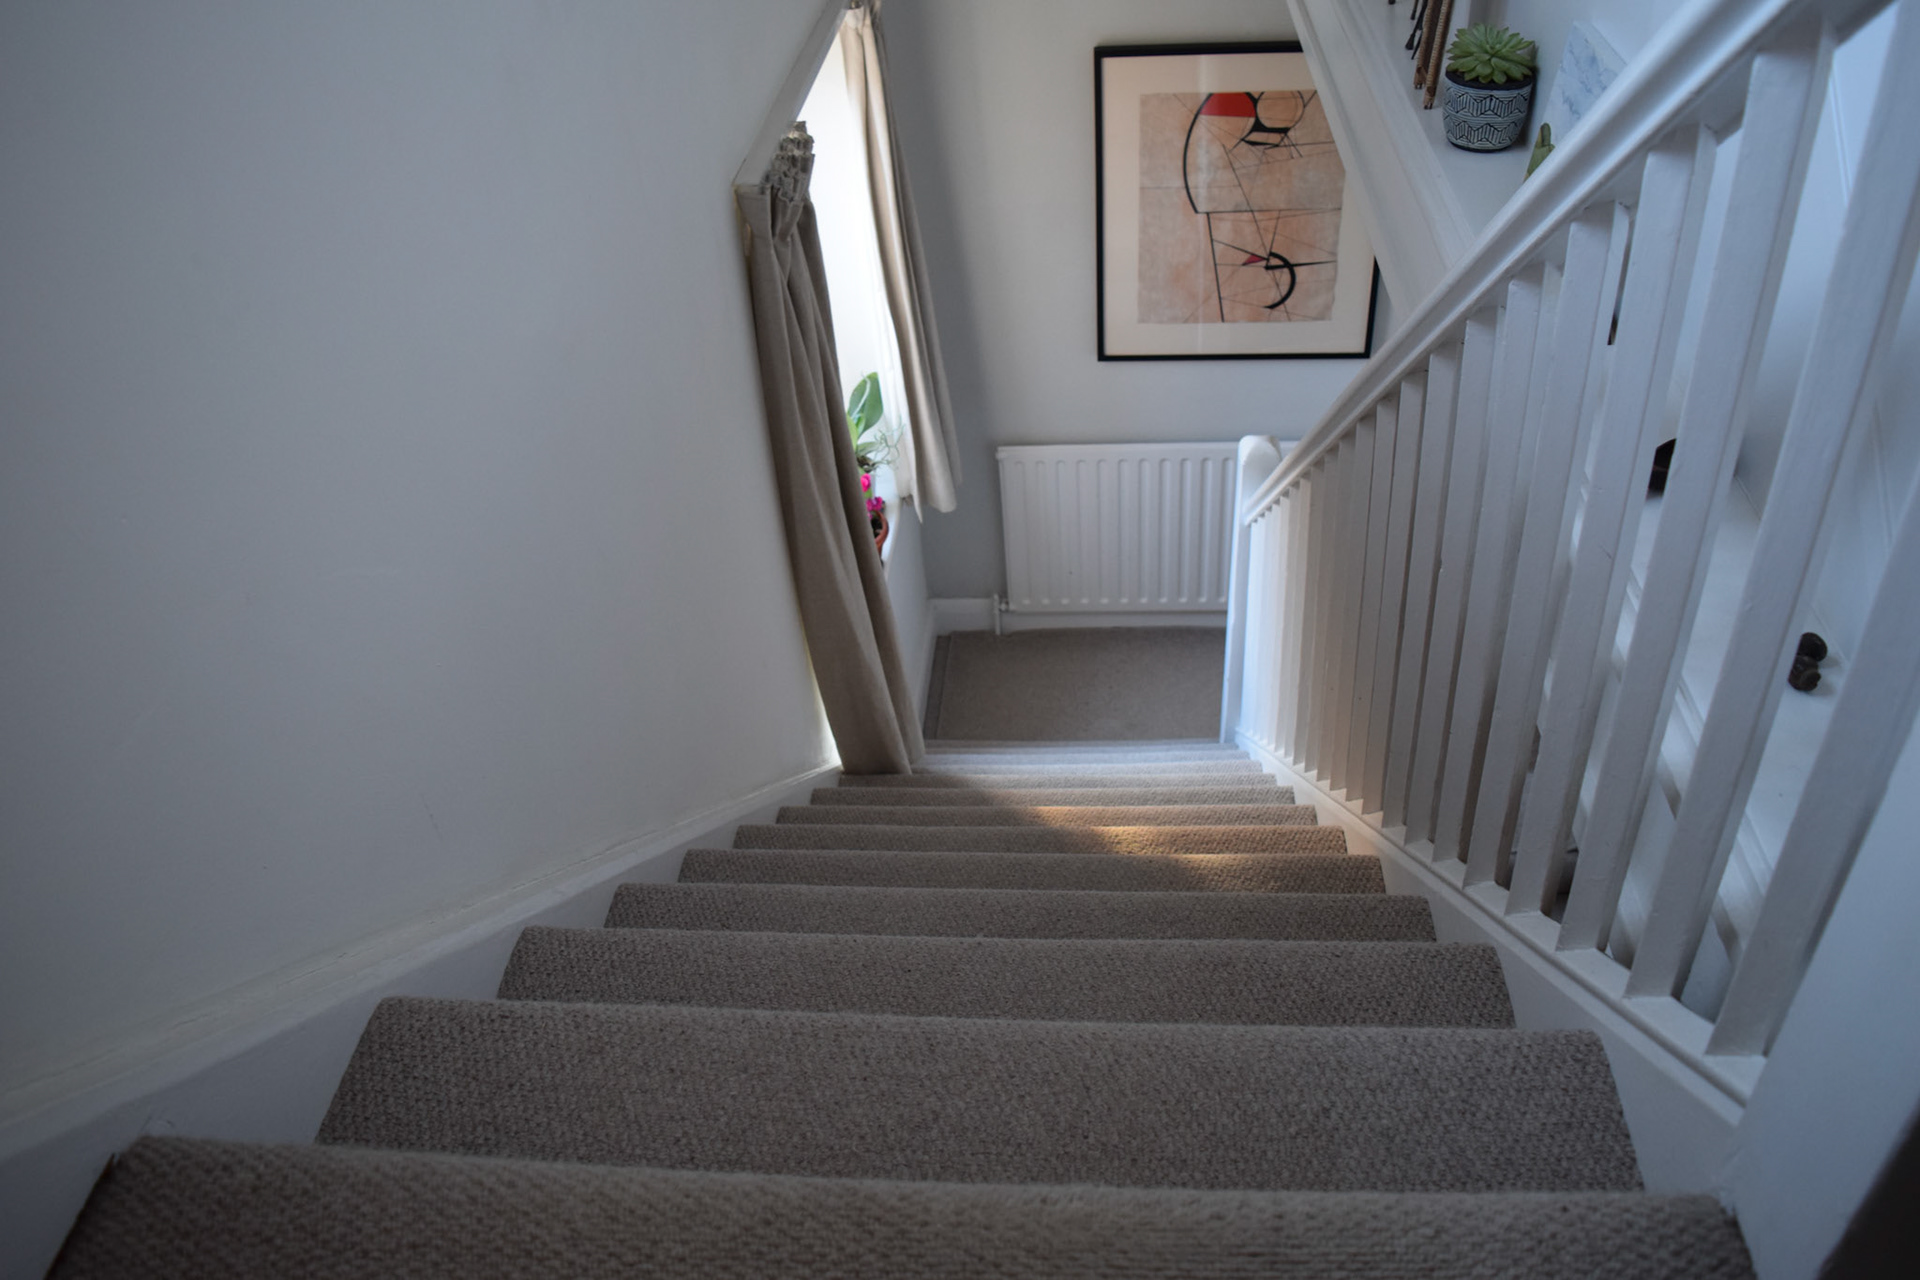
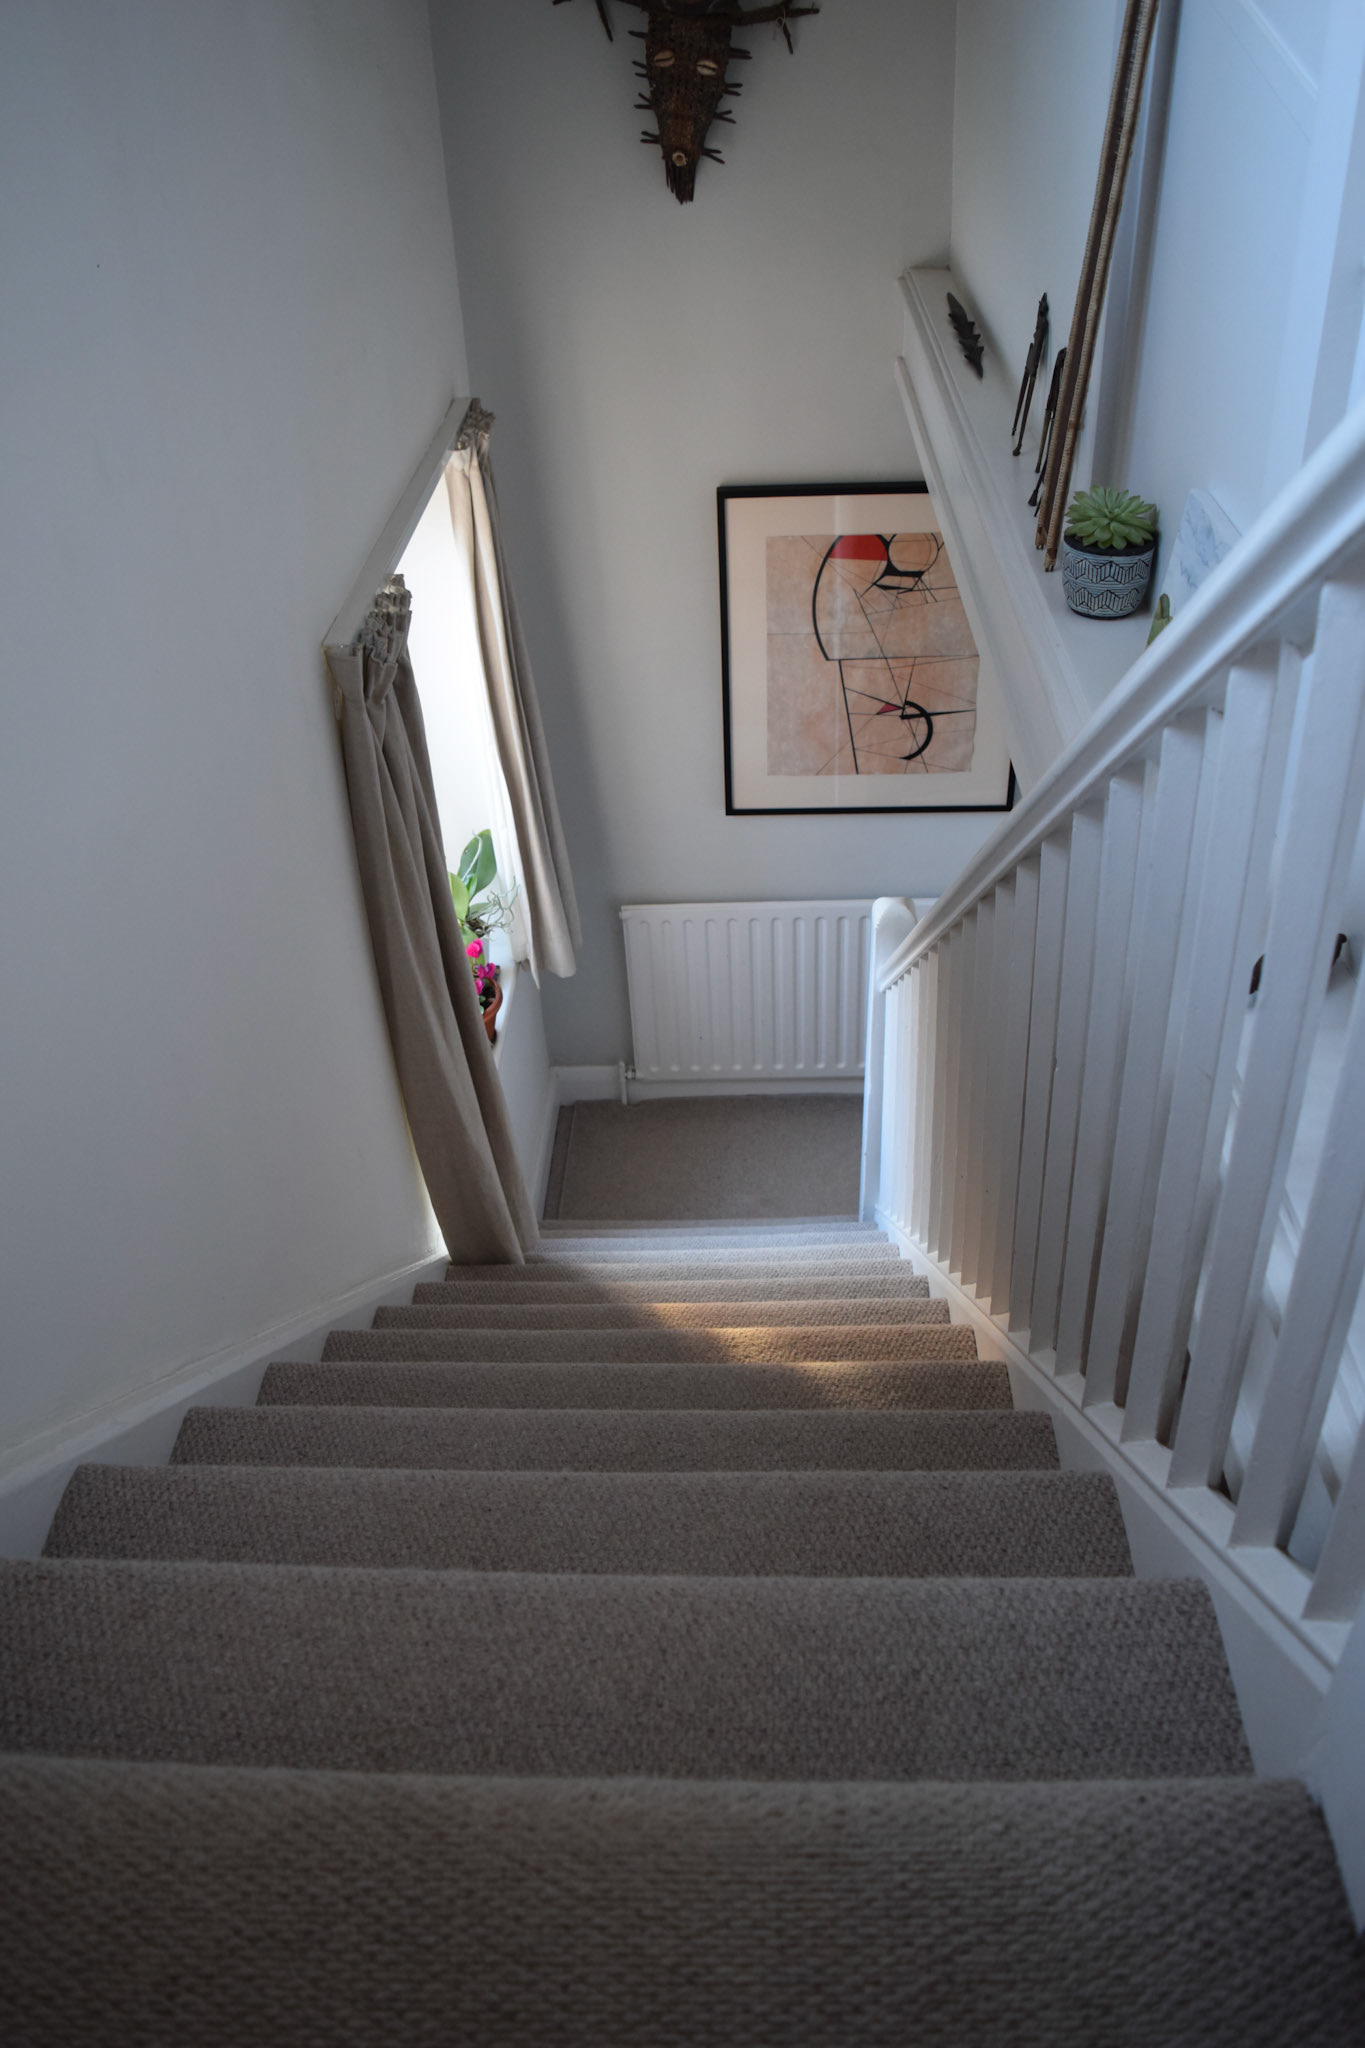
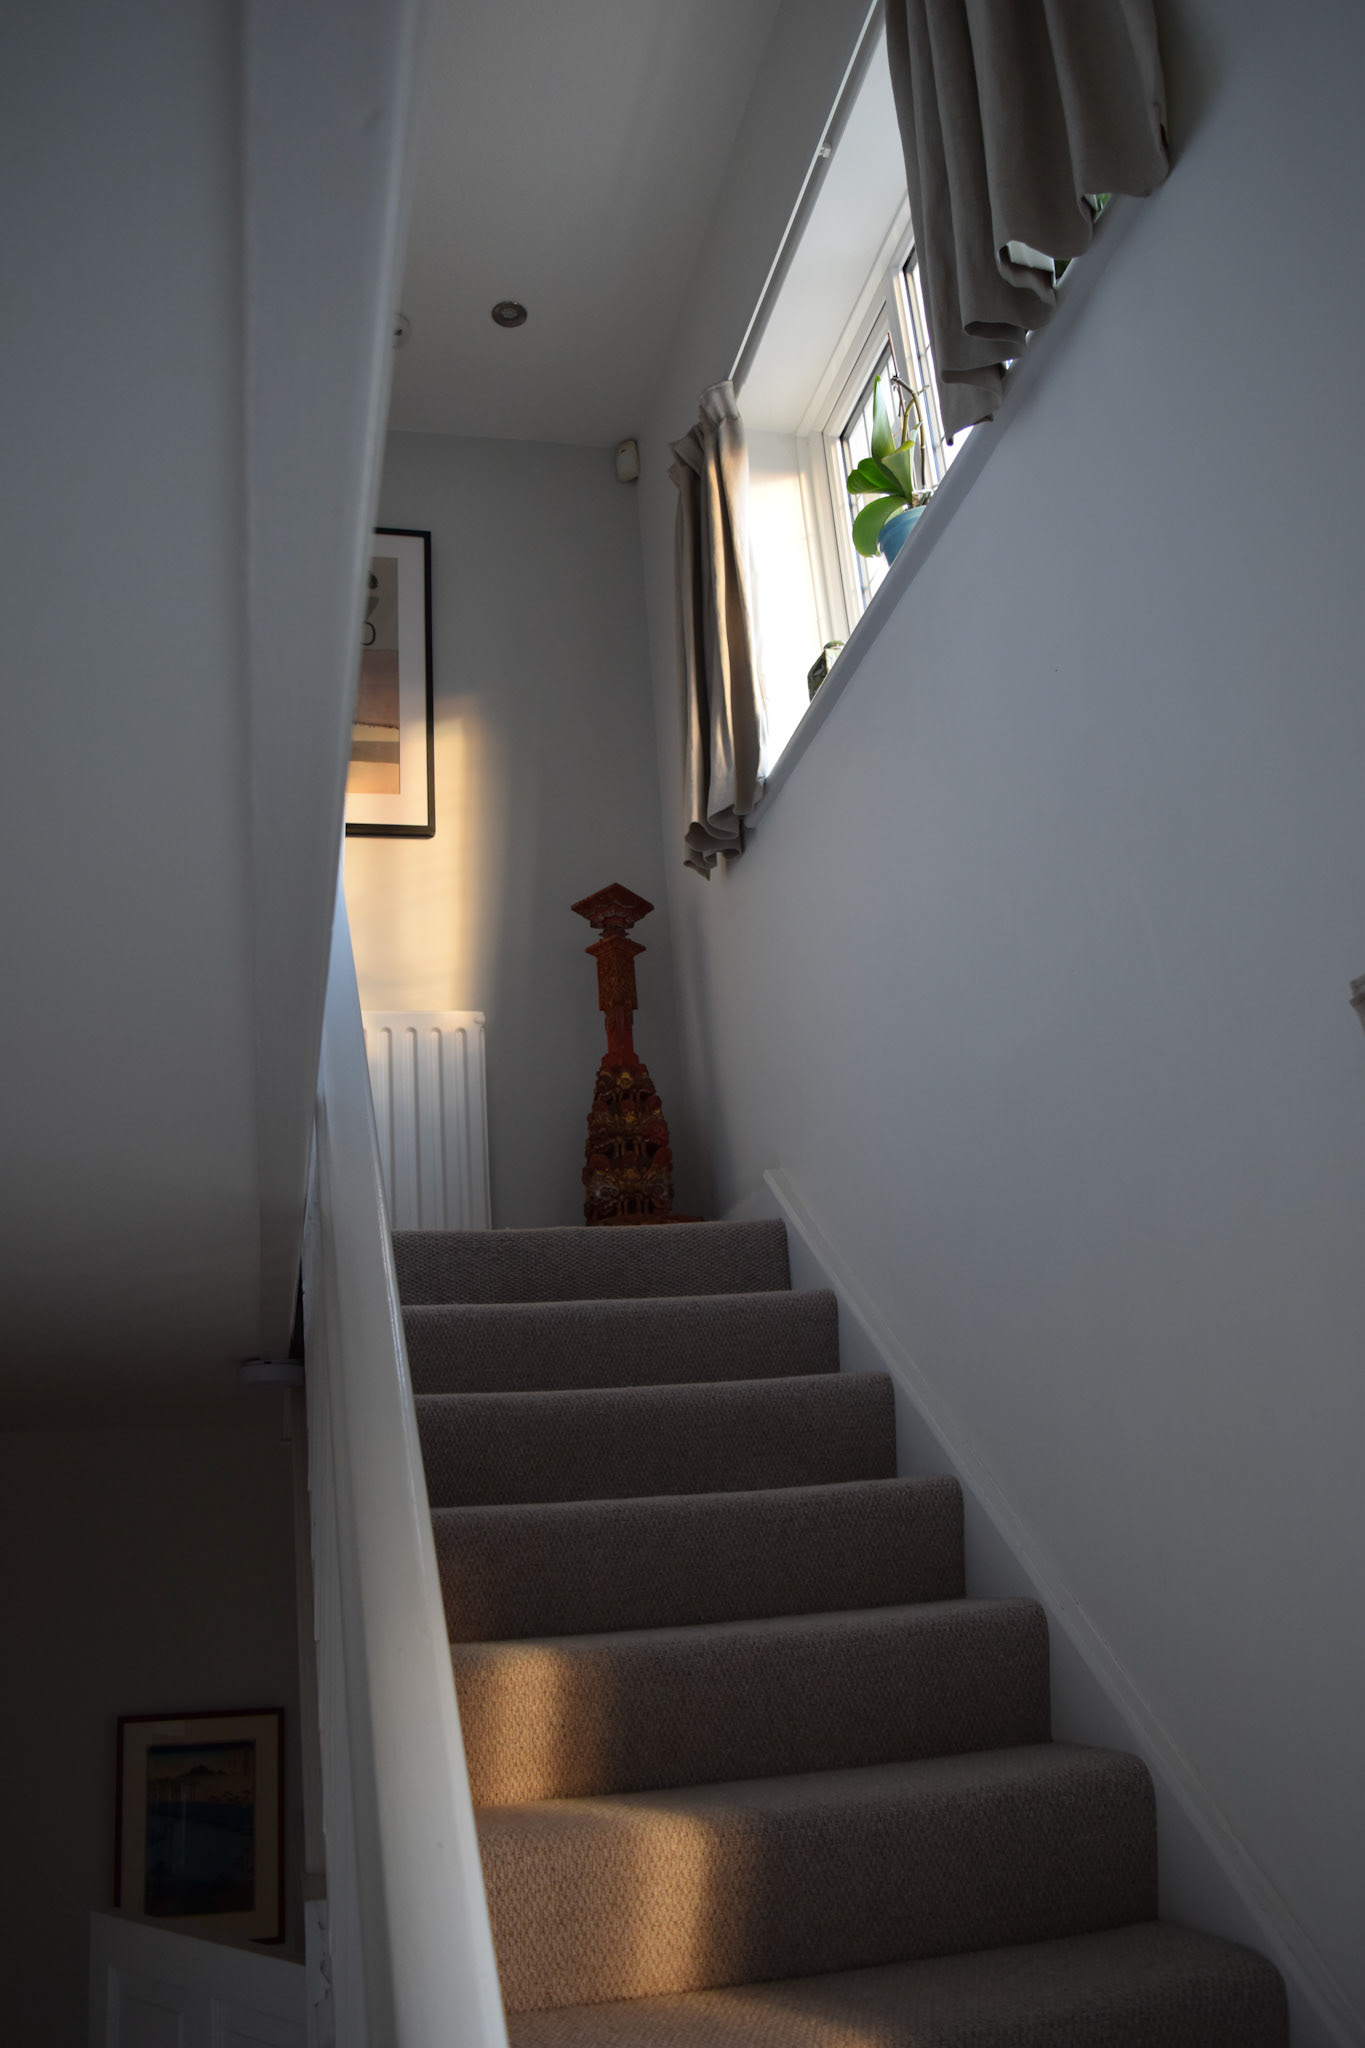
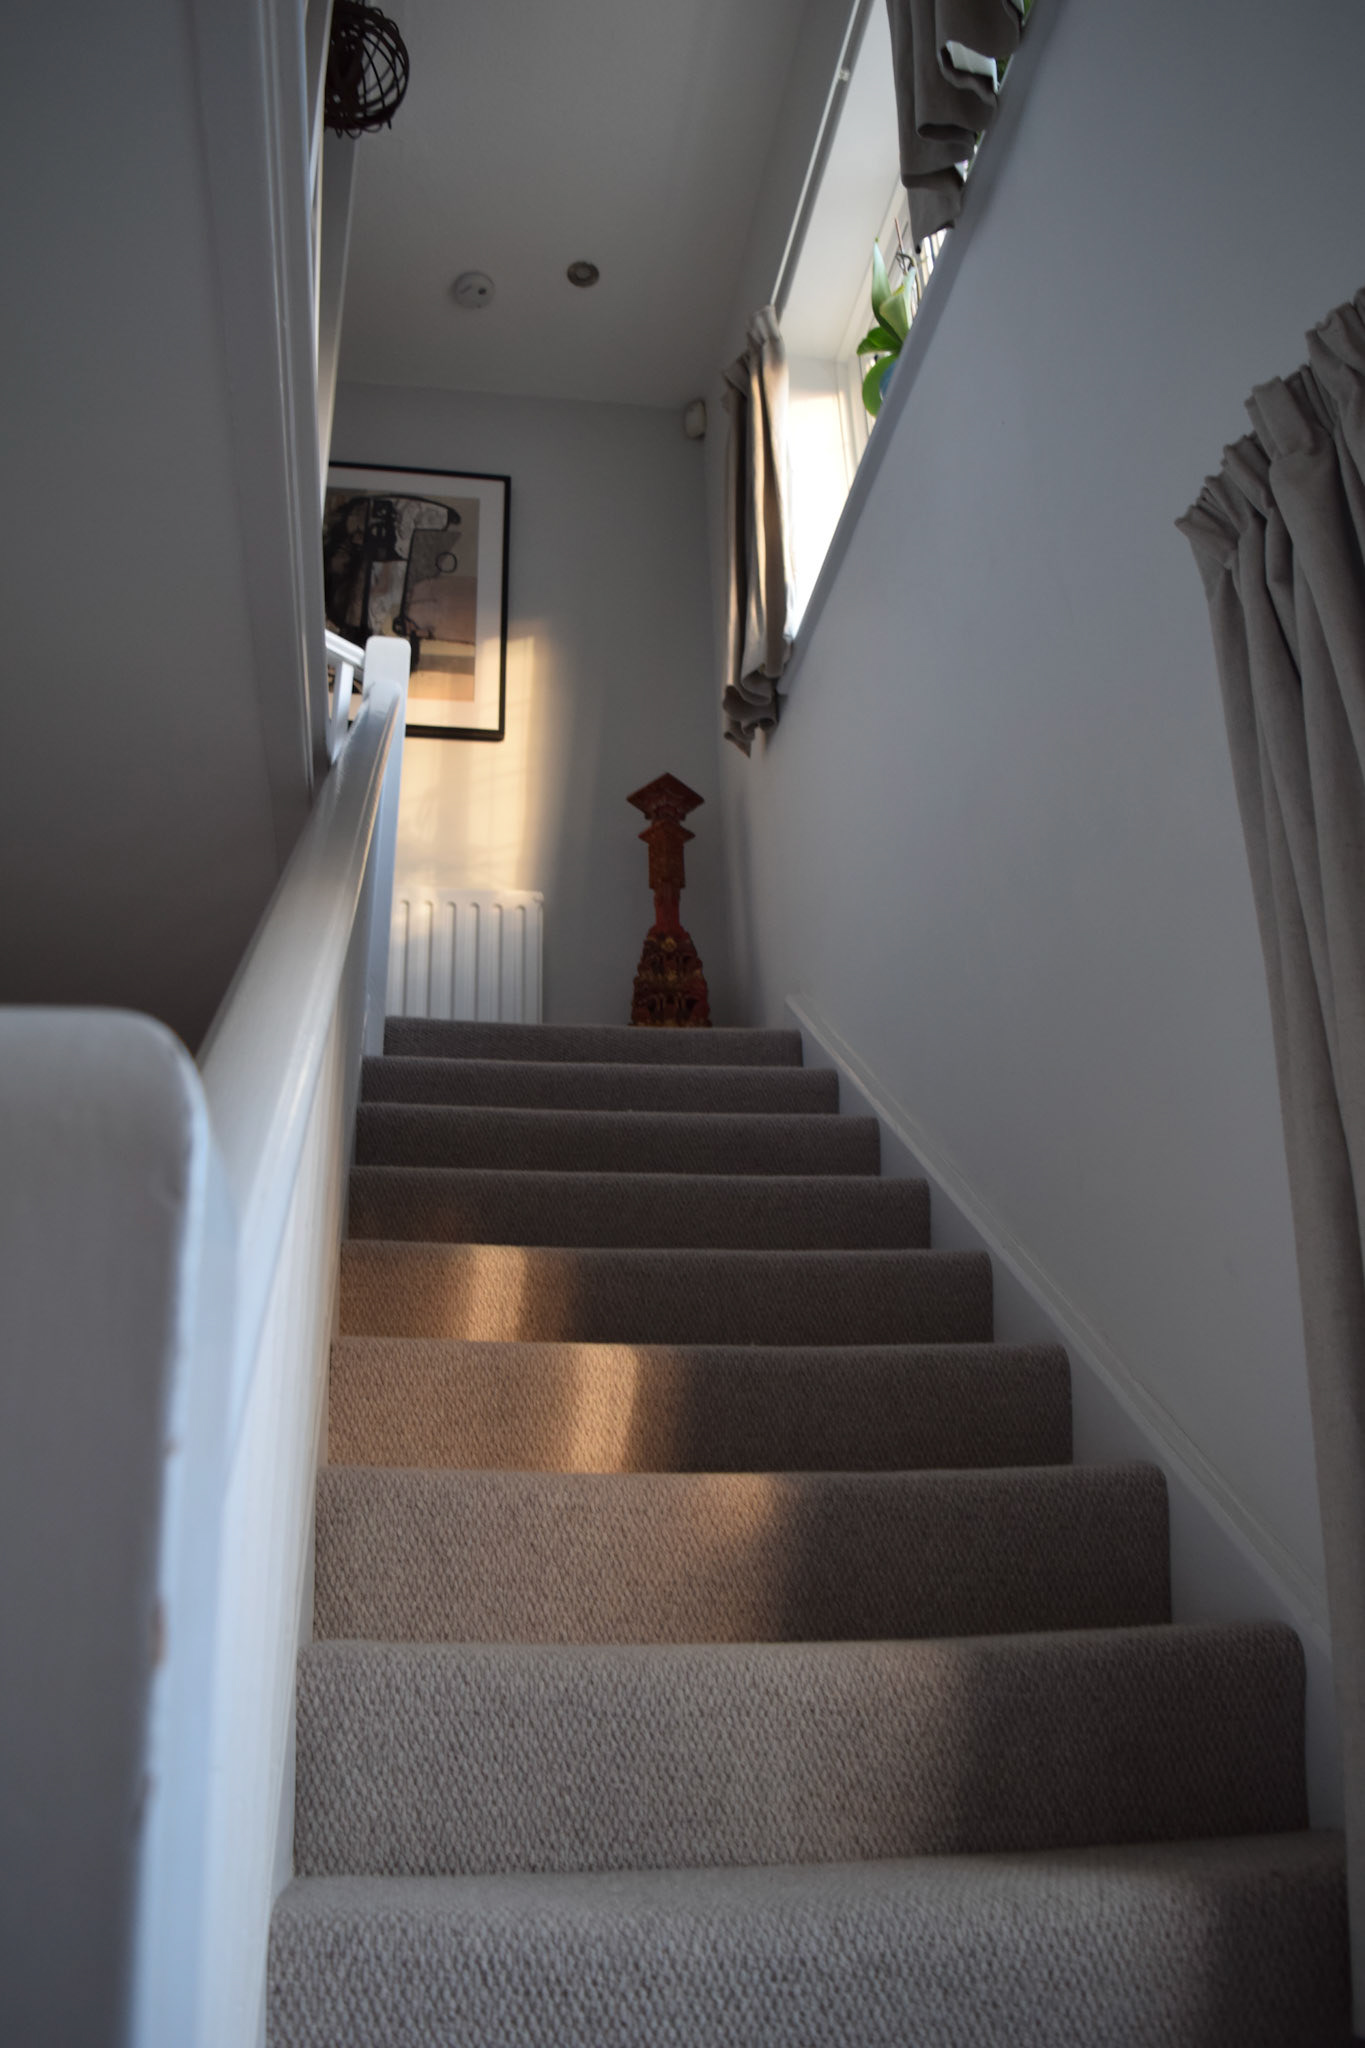
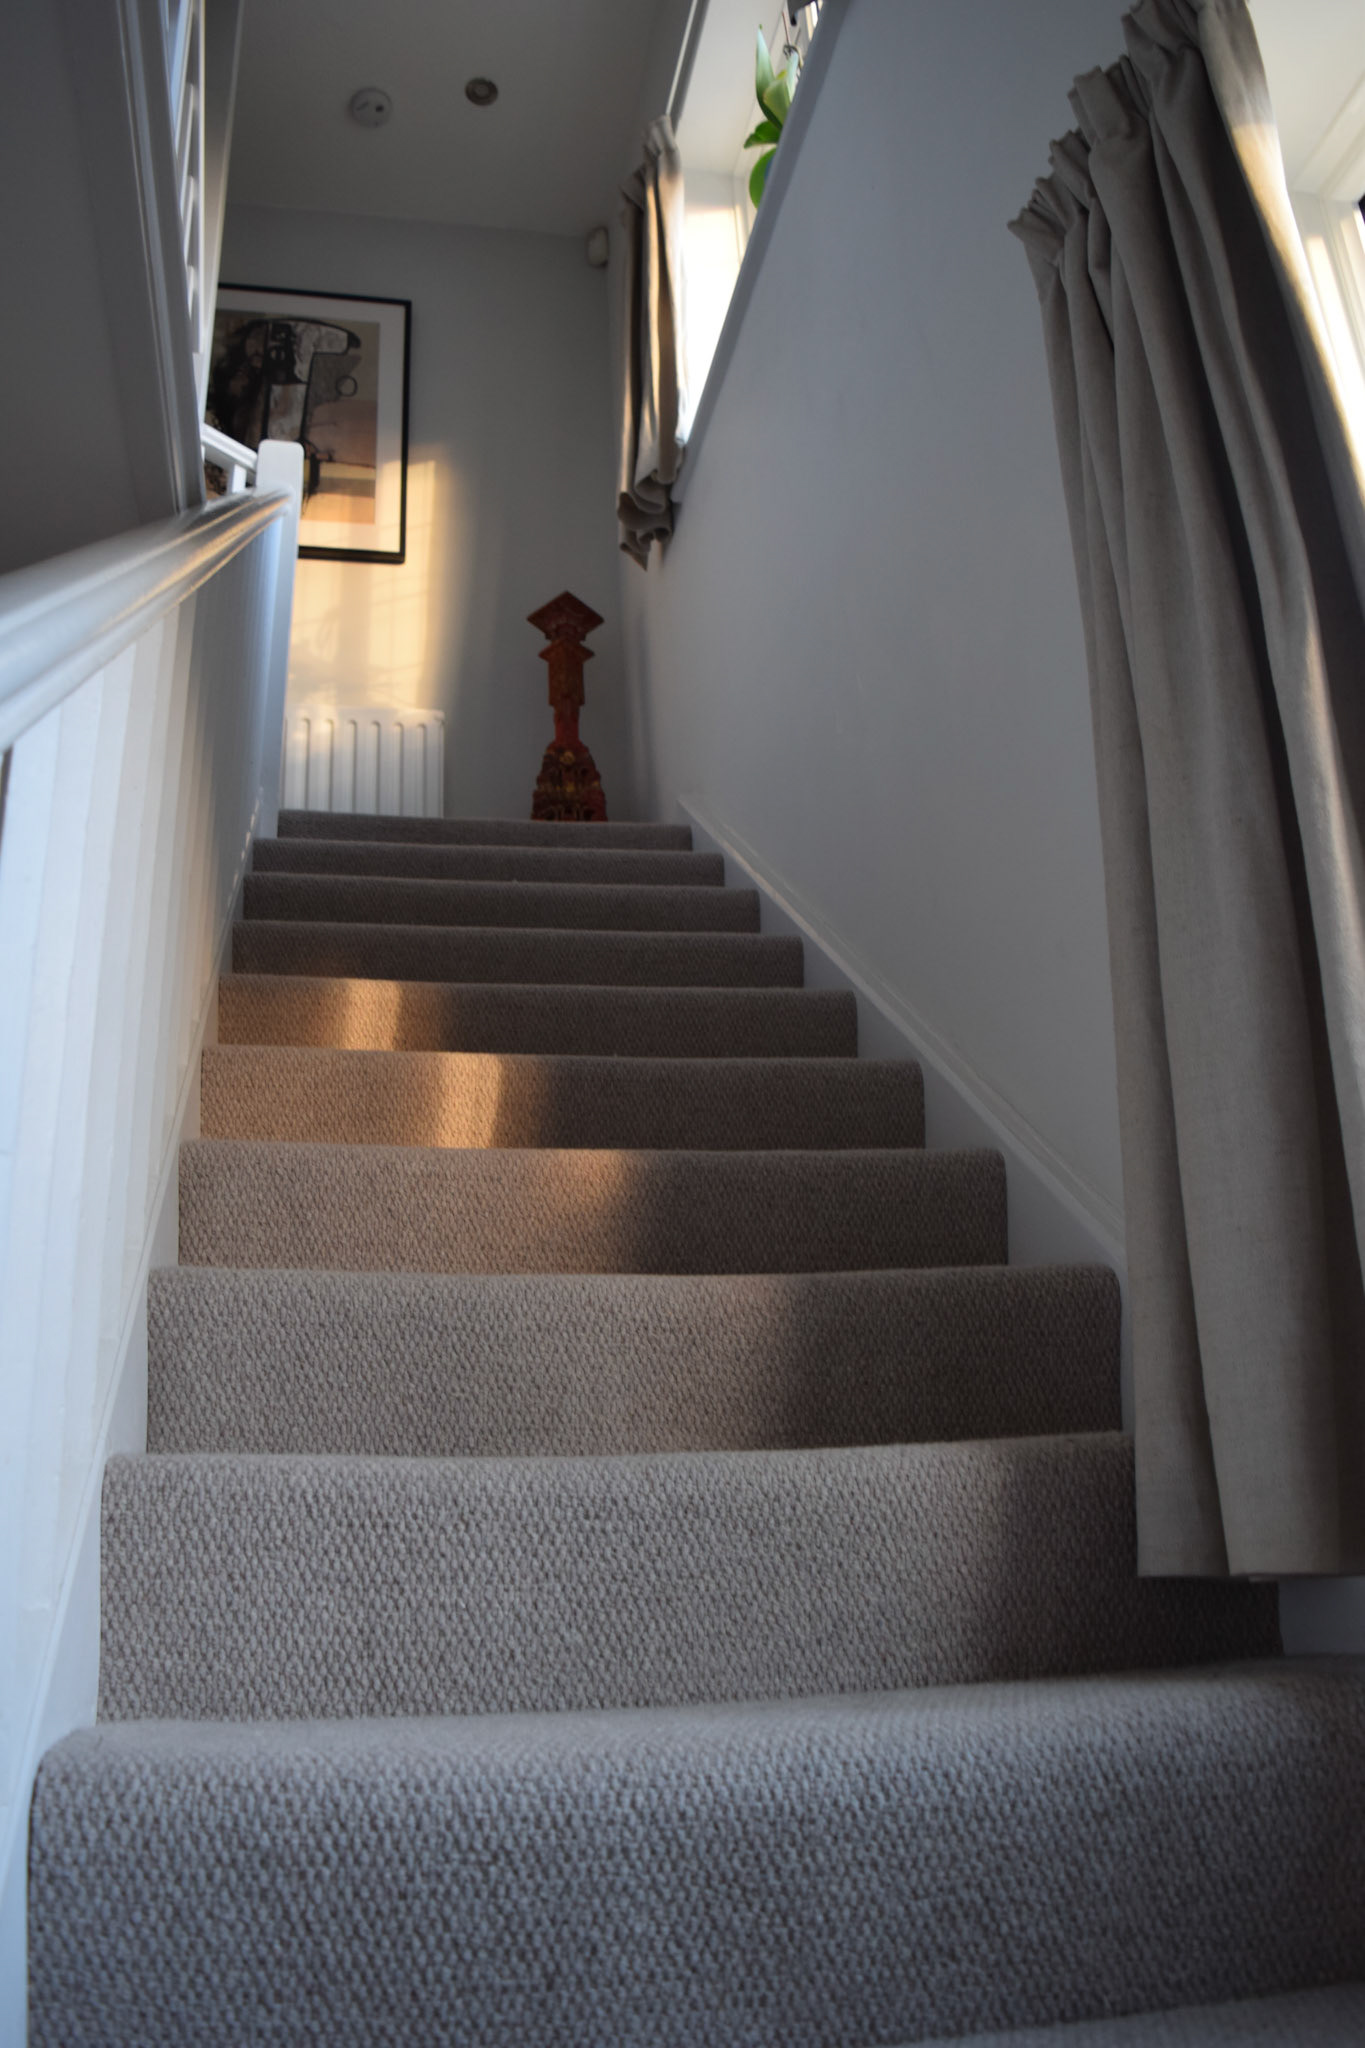
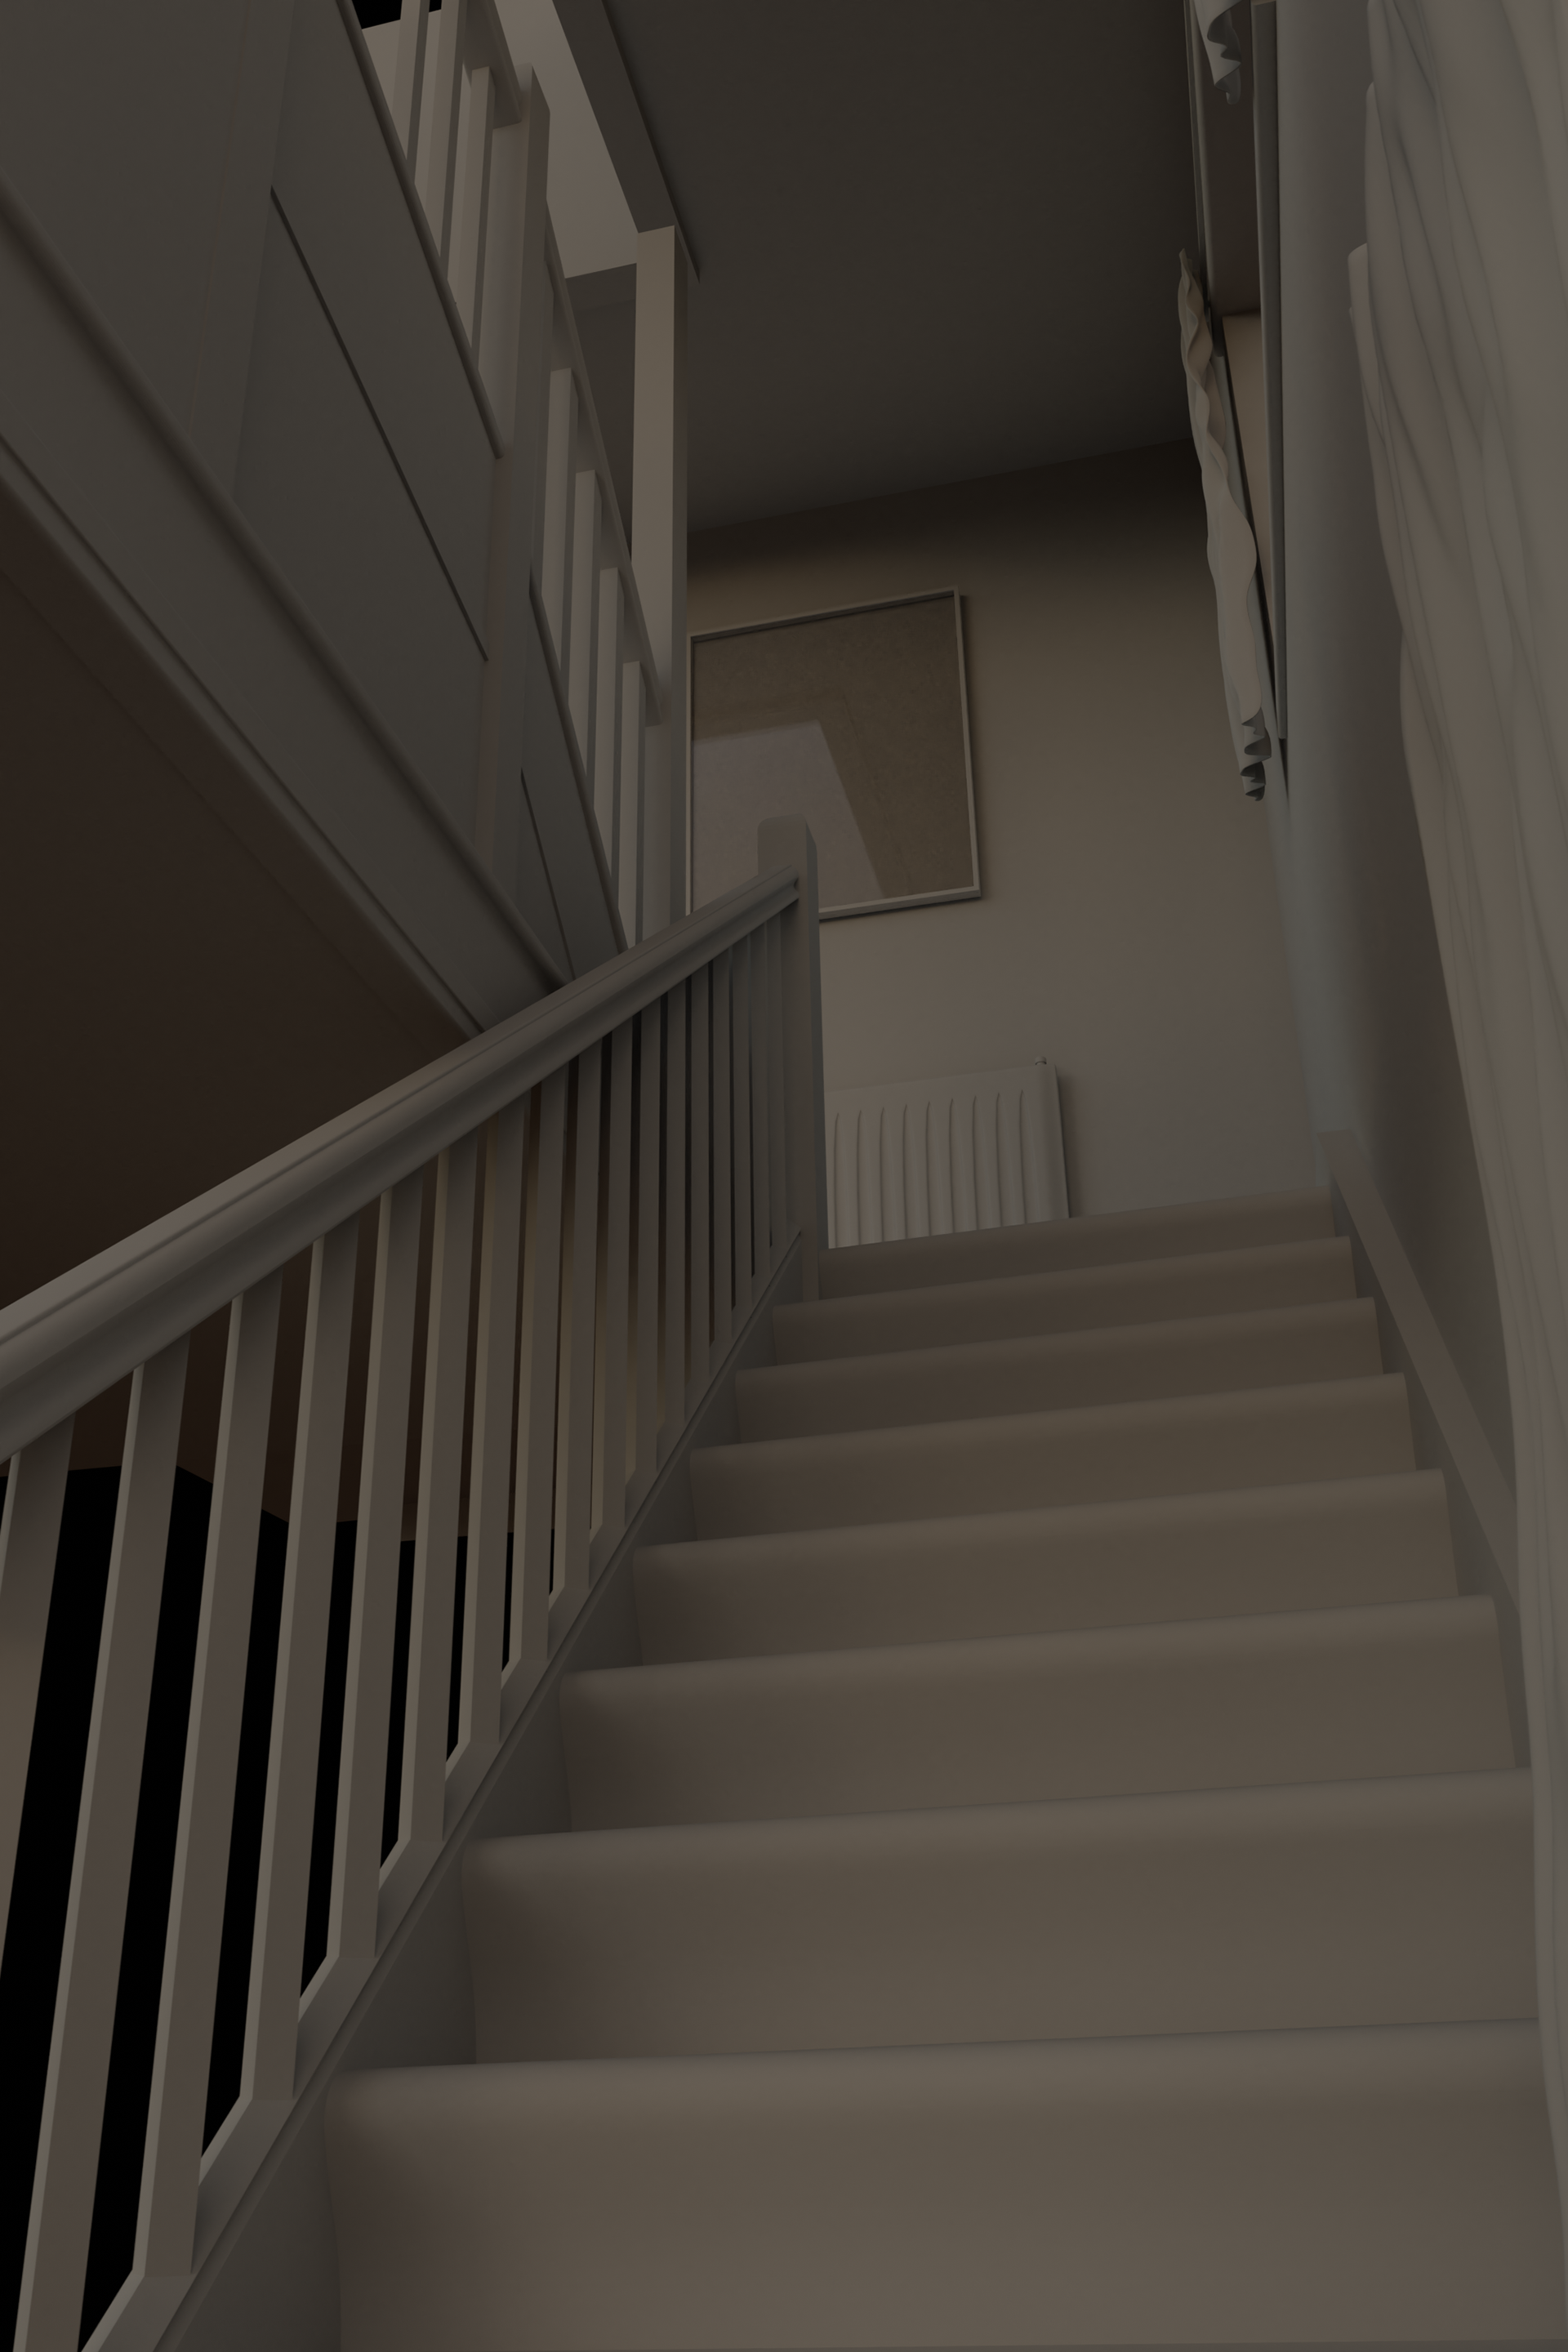
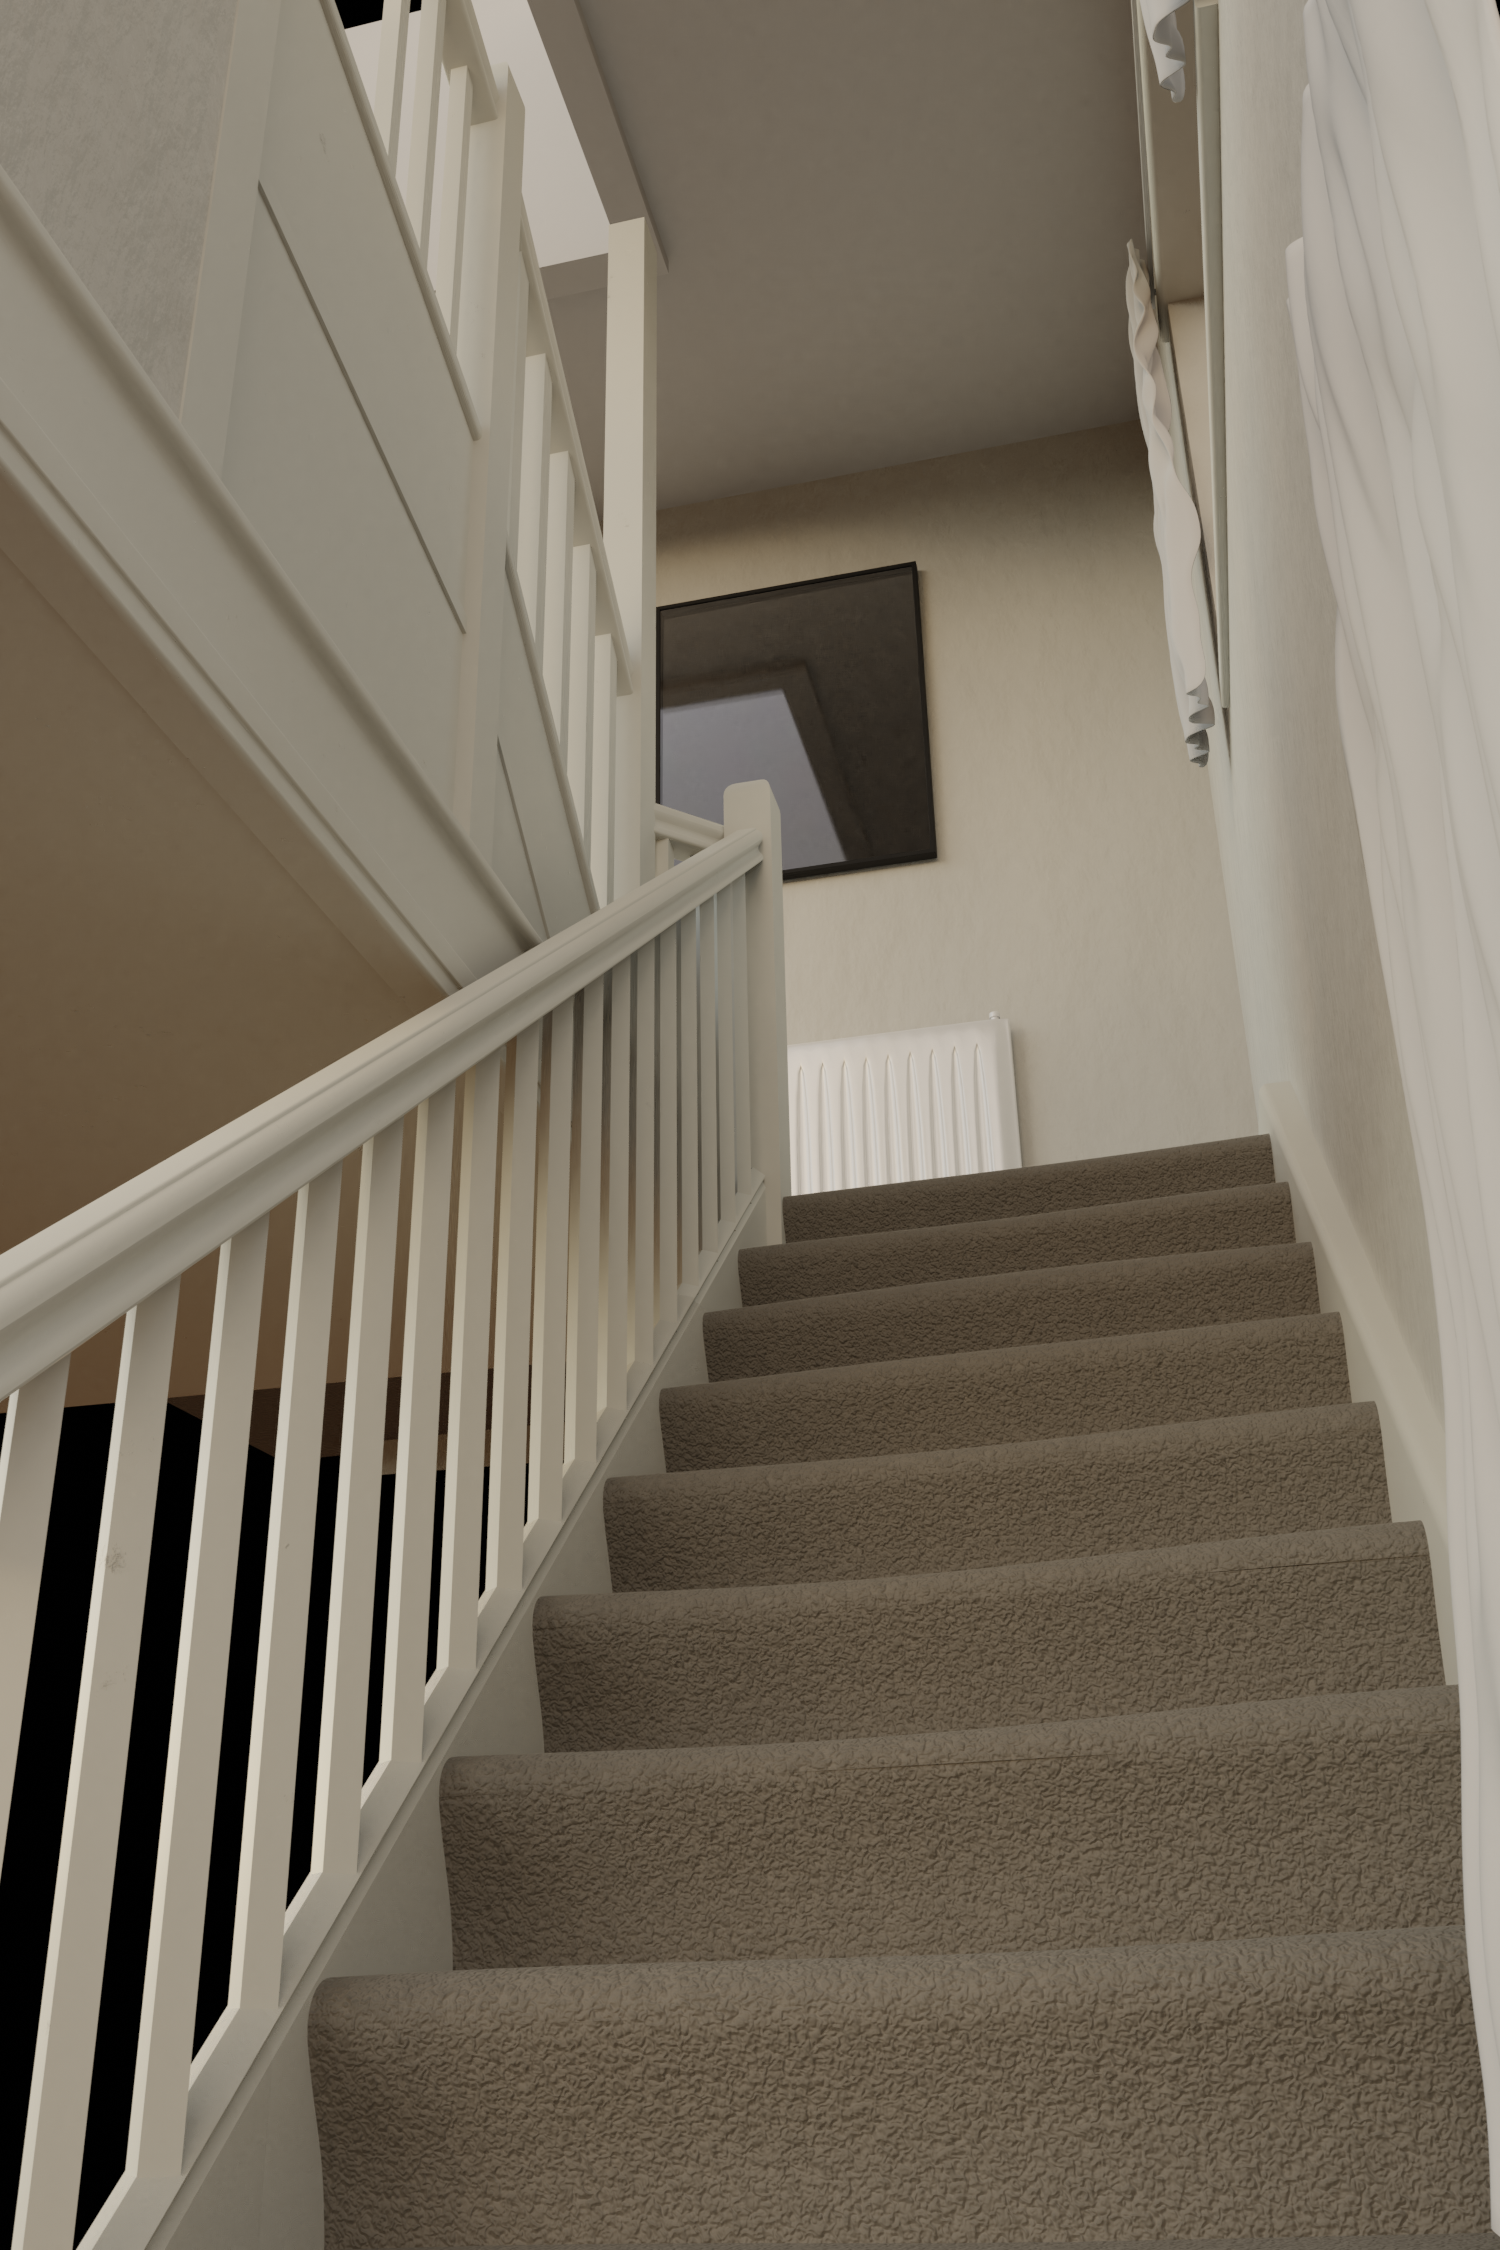
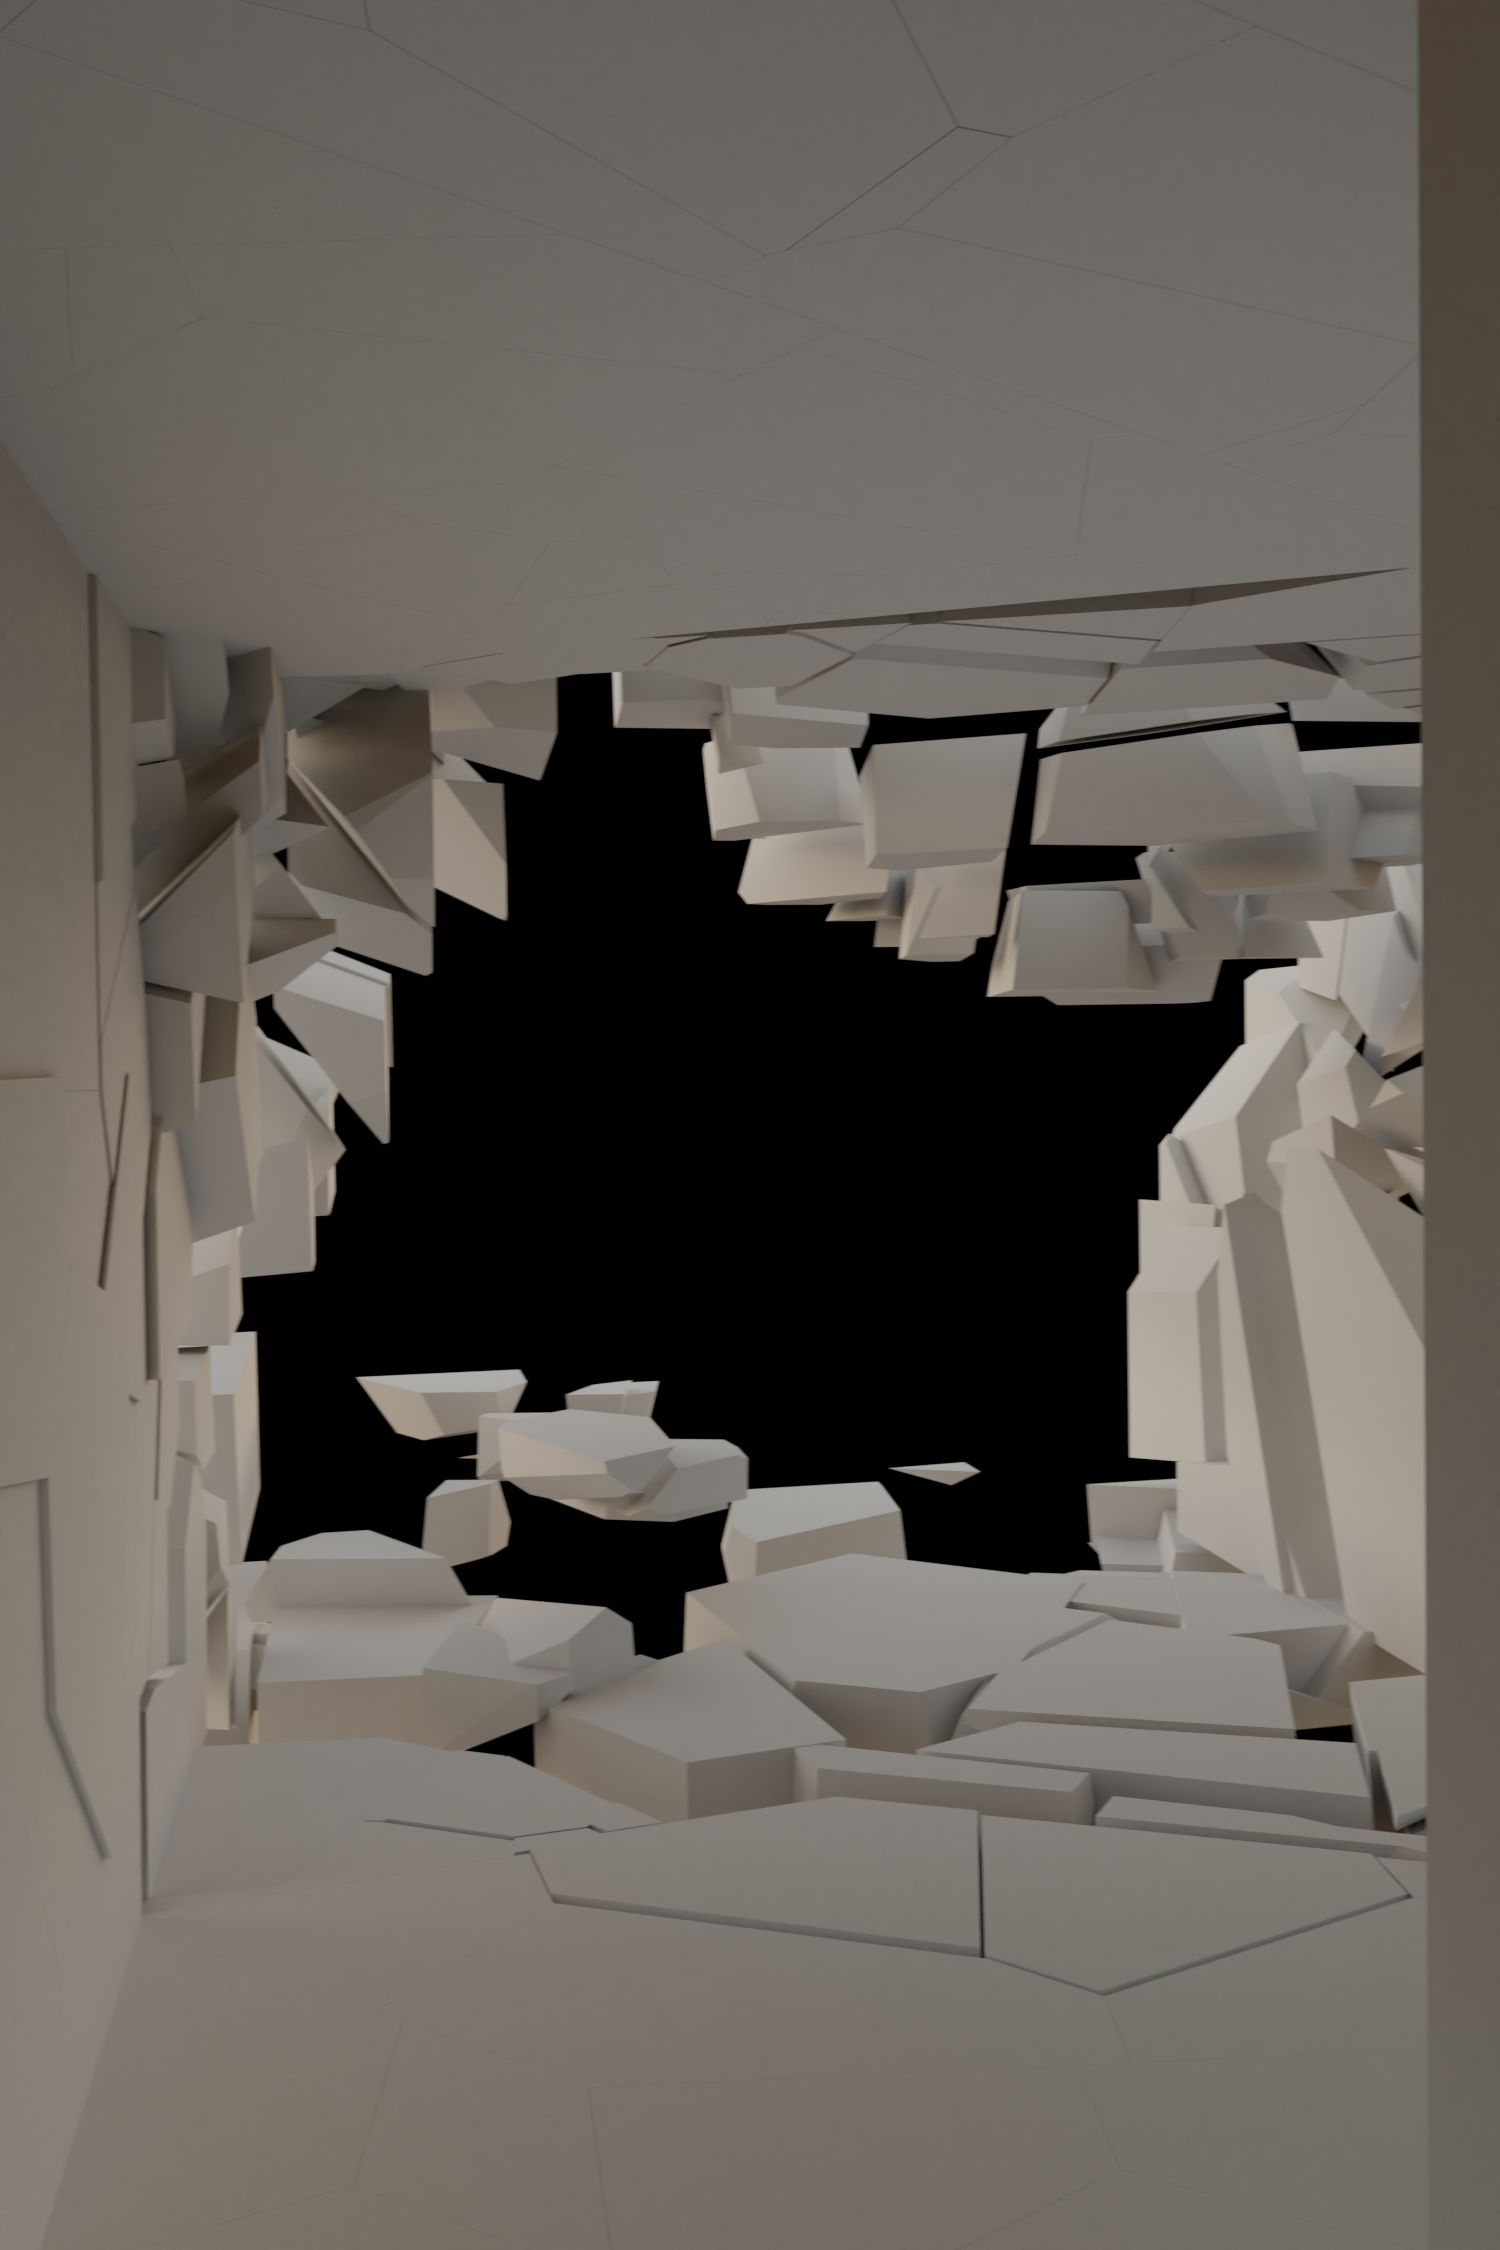
The first frame
A frame part way in
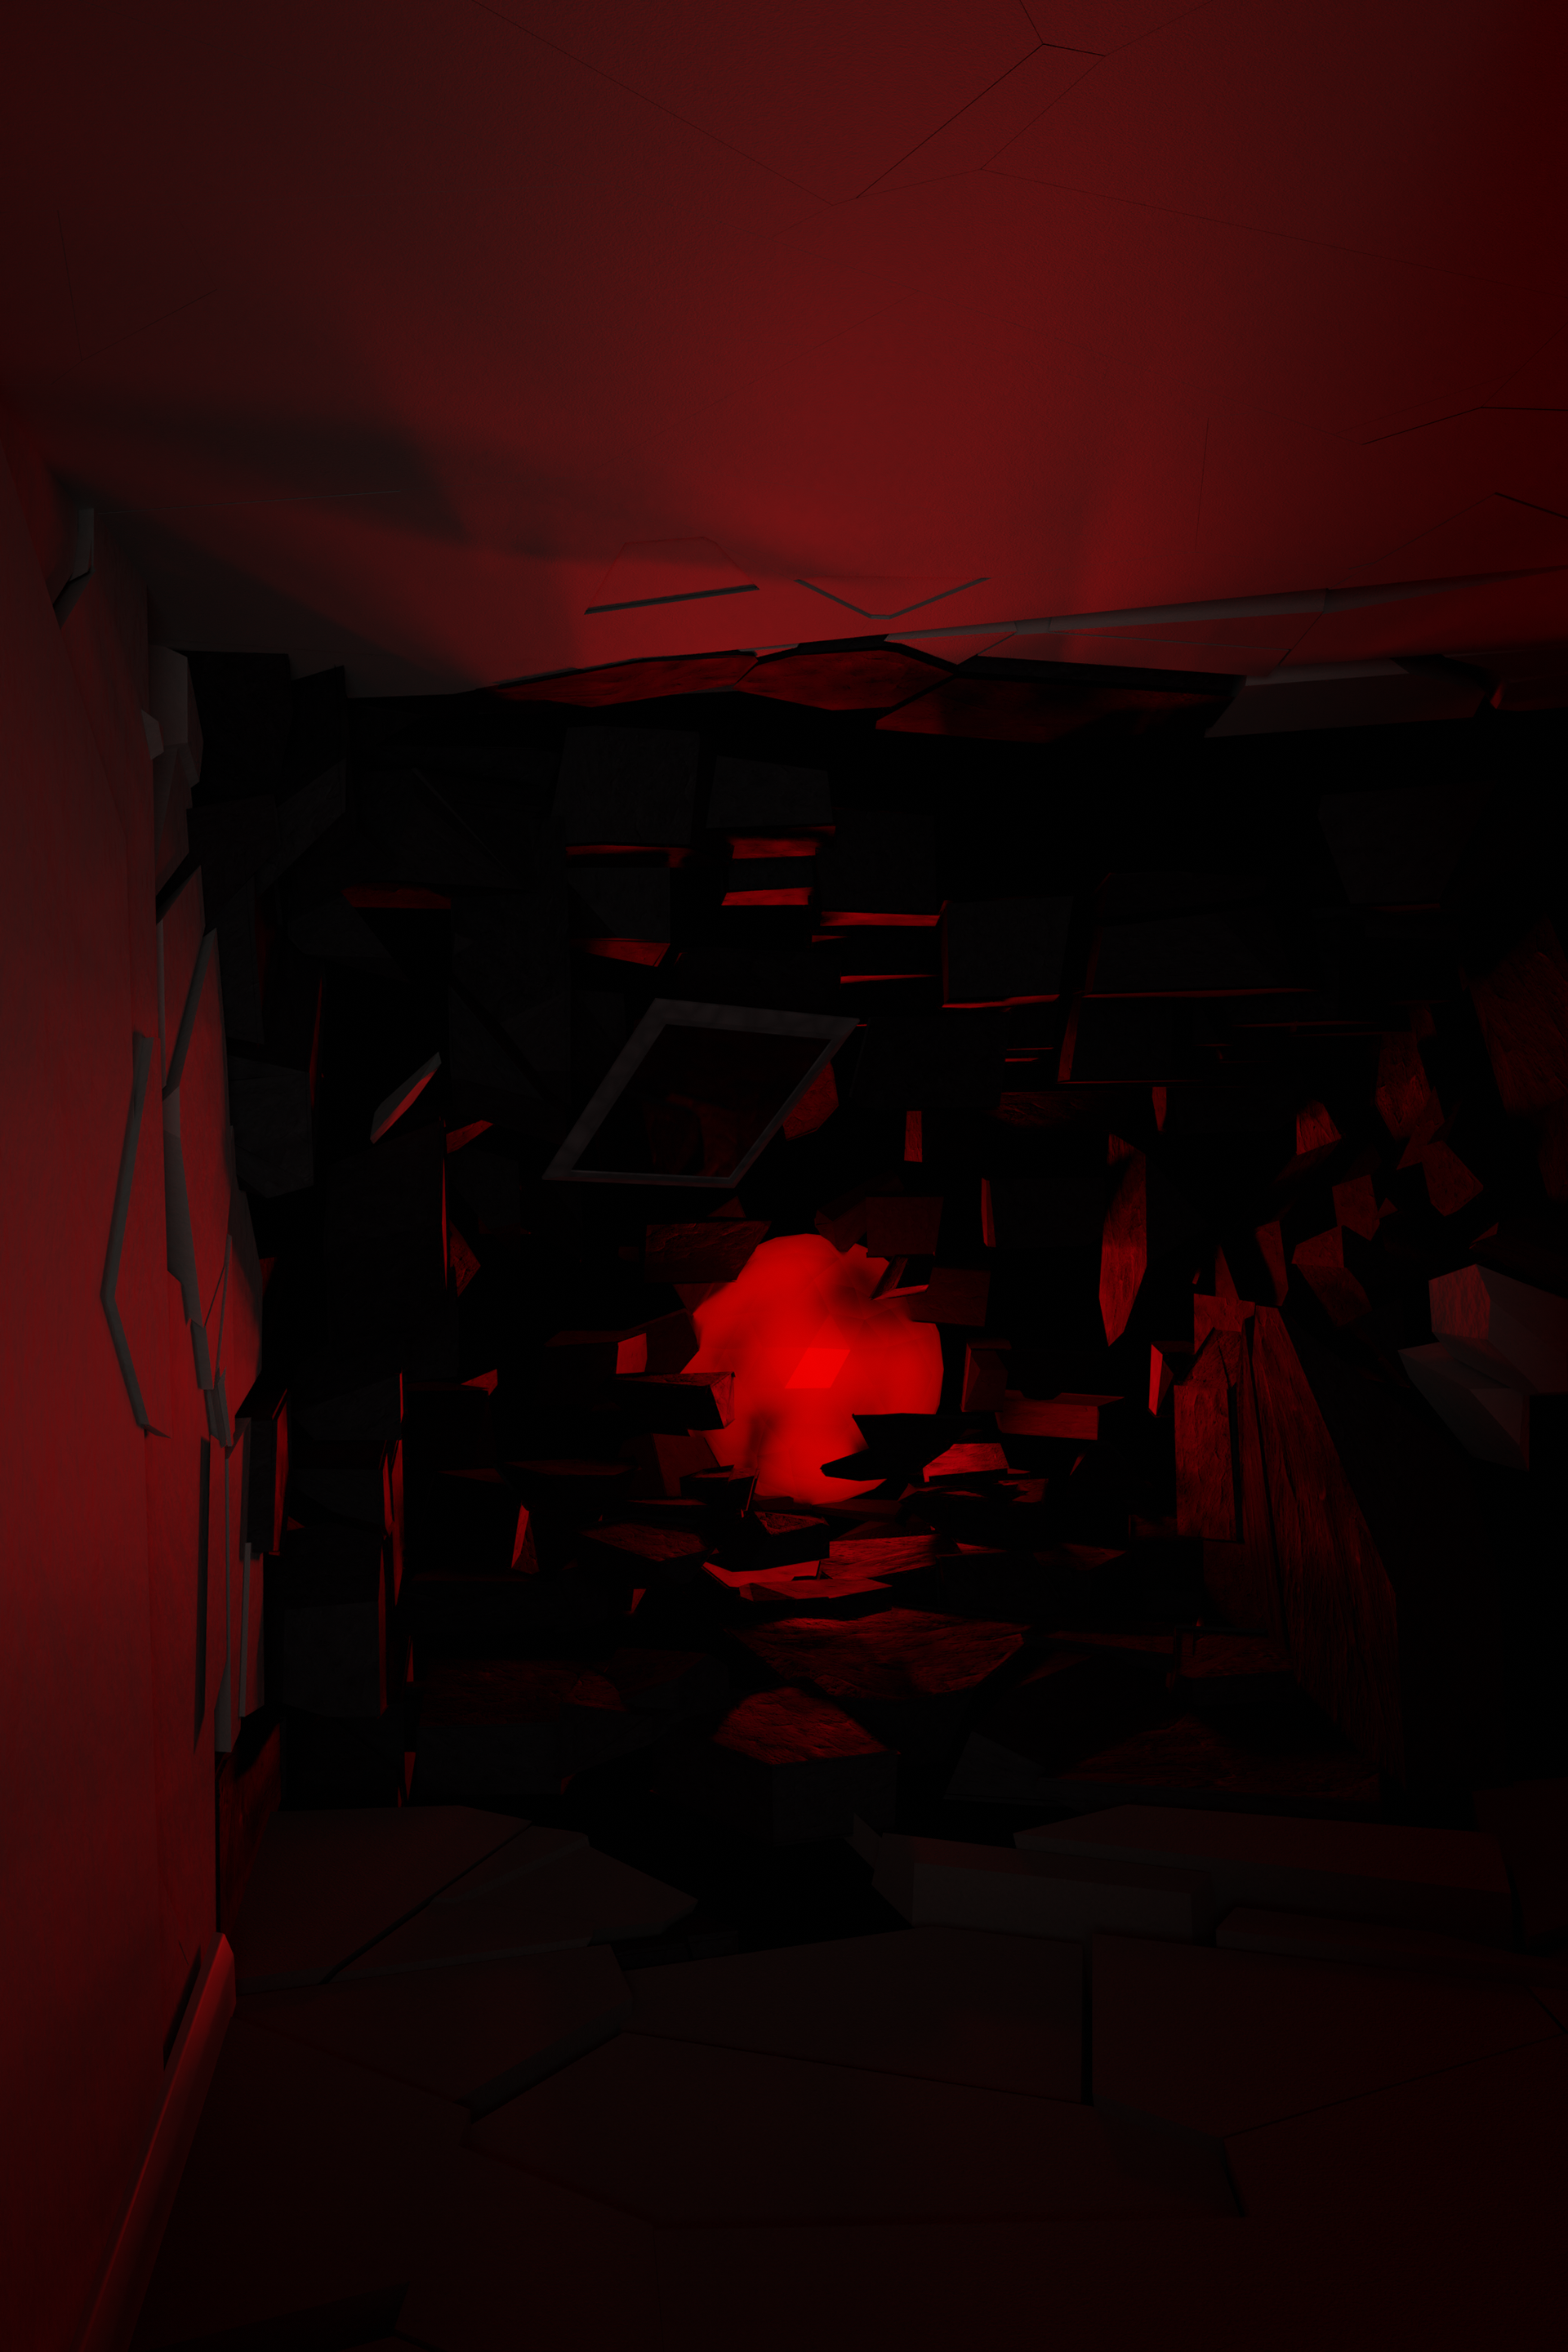
The last frame
The images above are the first and last frames of the animation with one Intermediate frame in the middle.
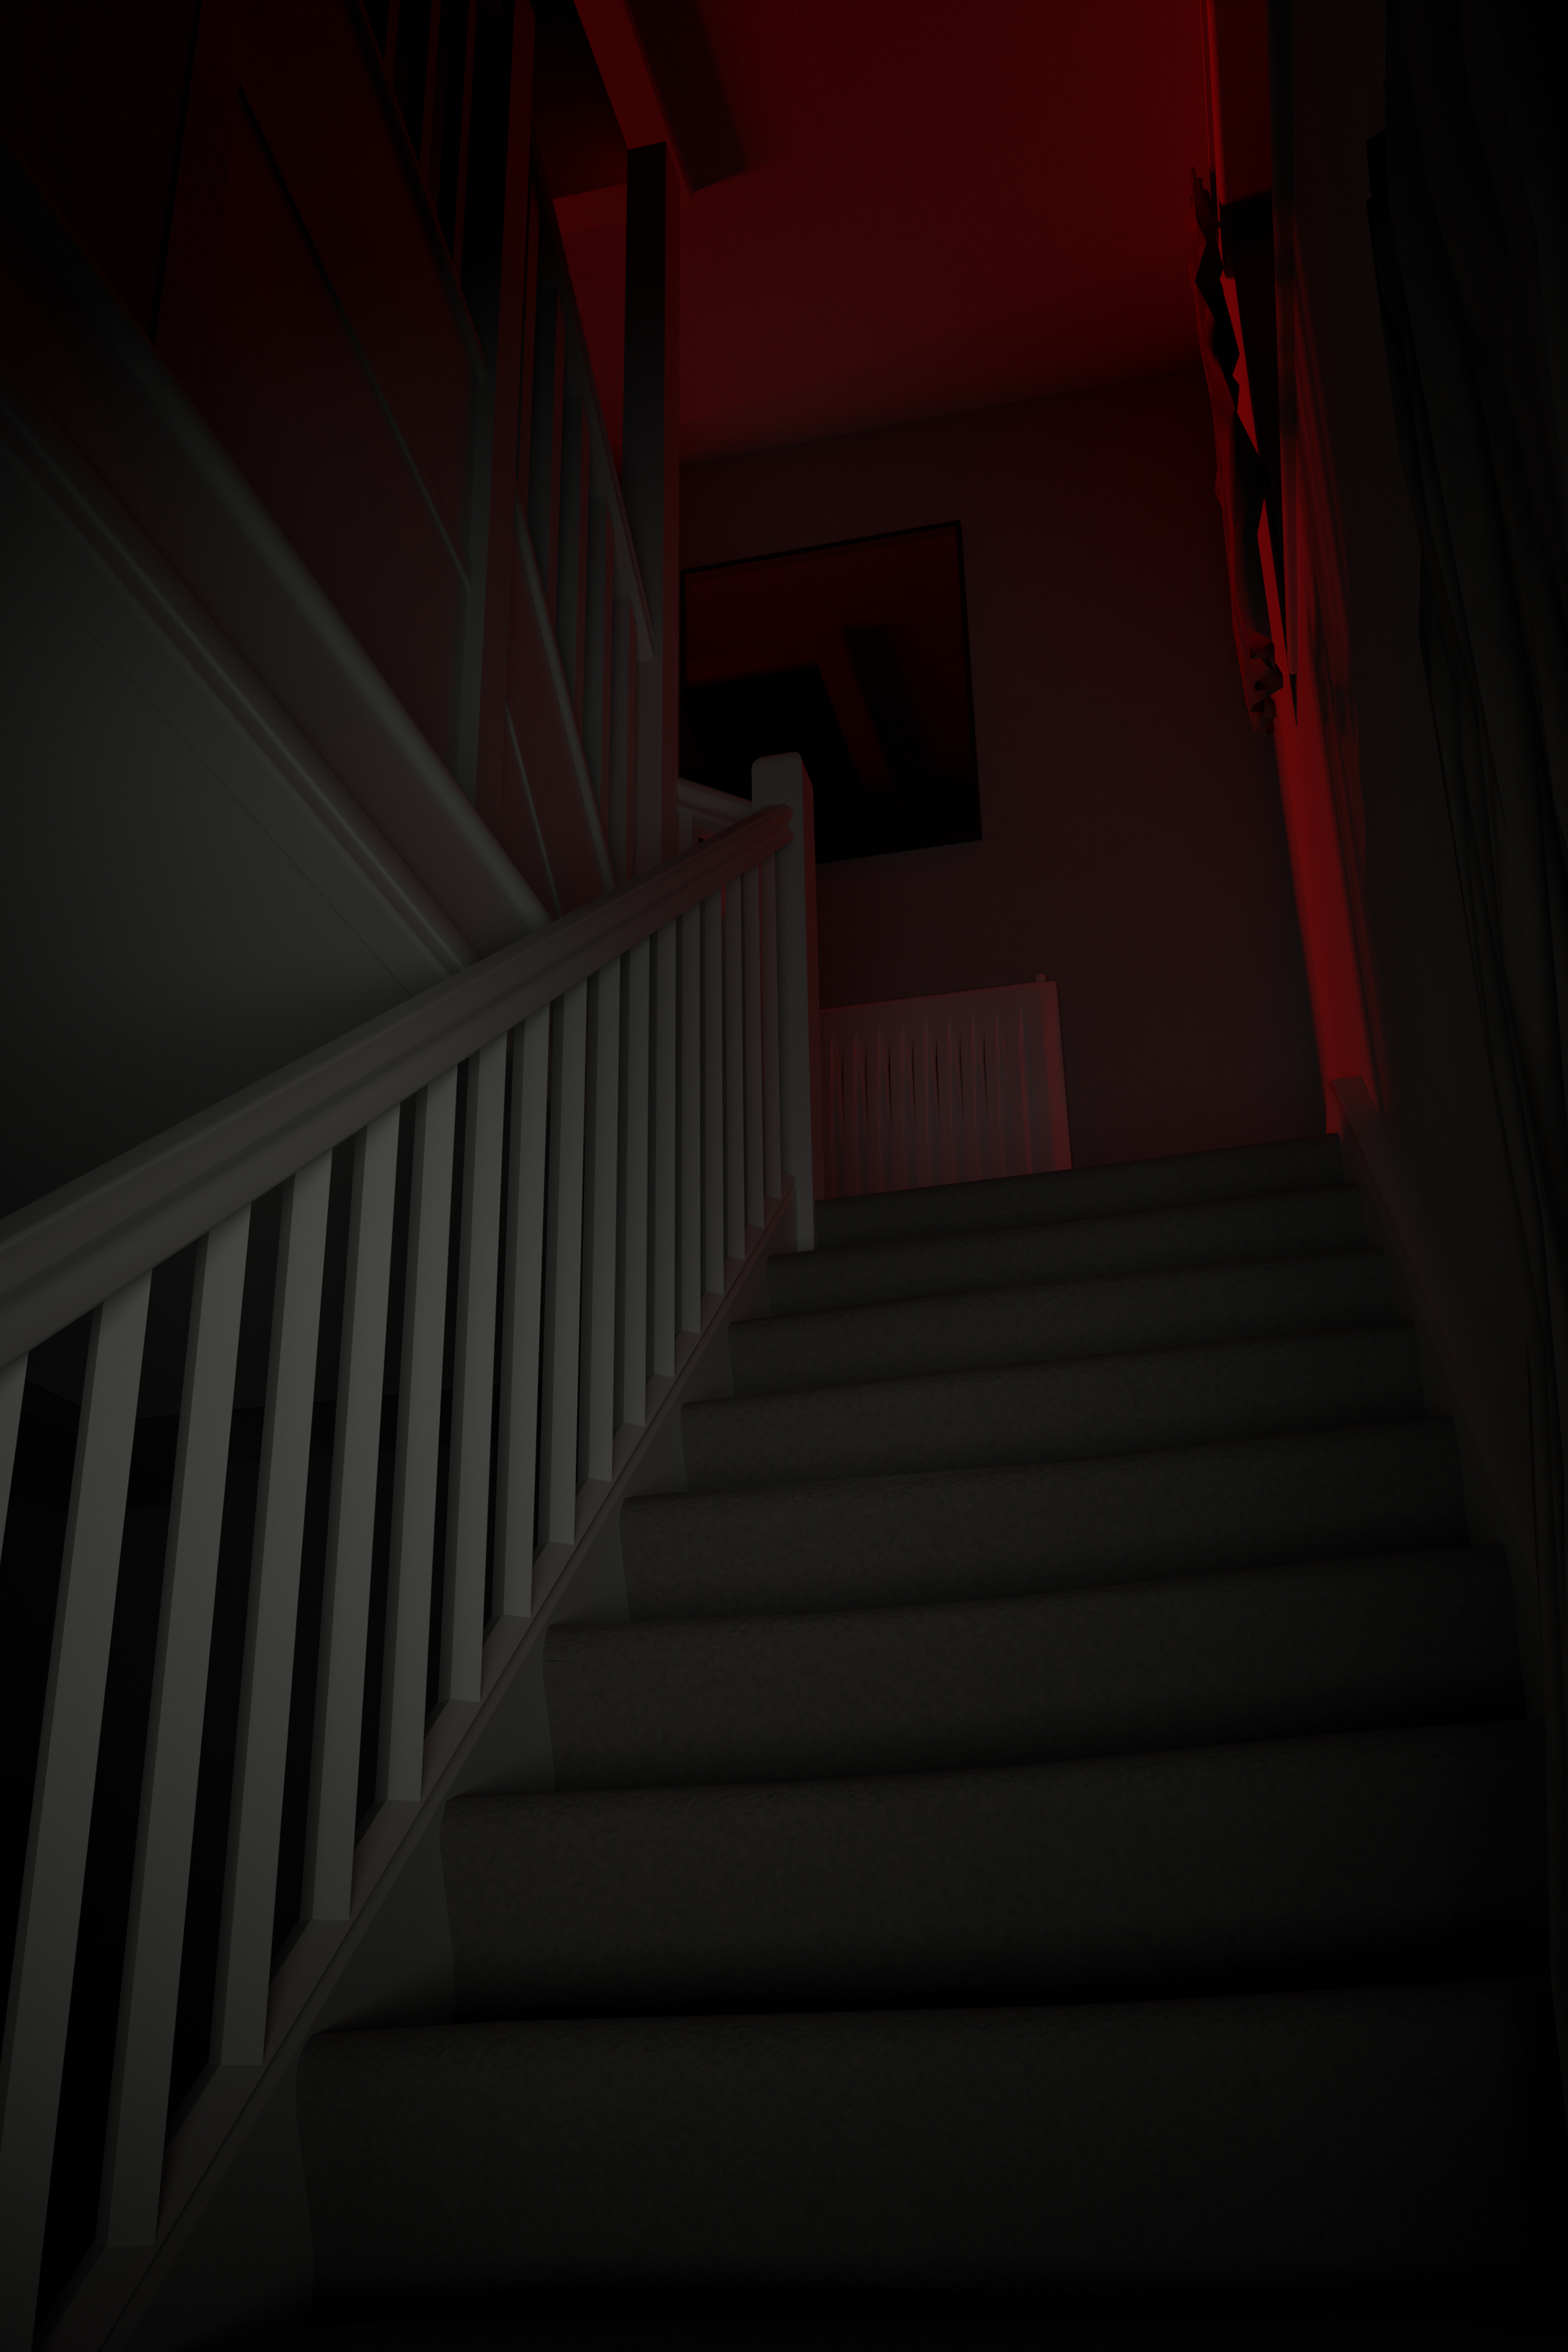
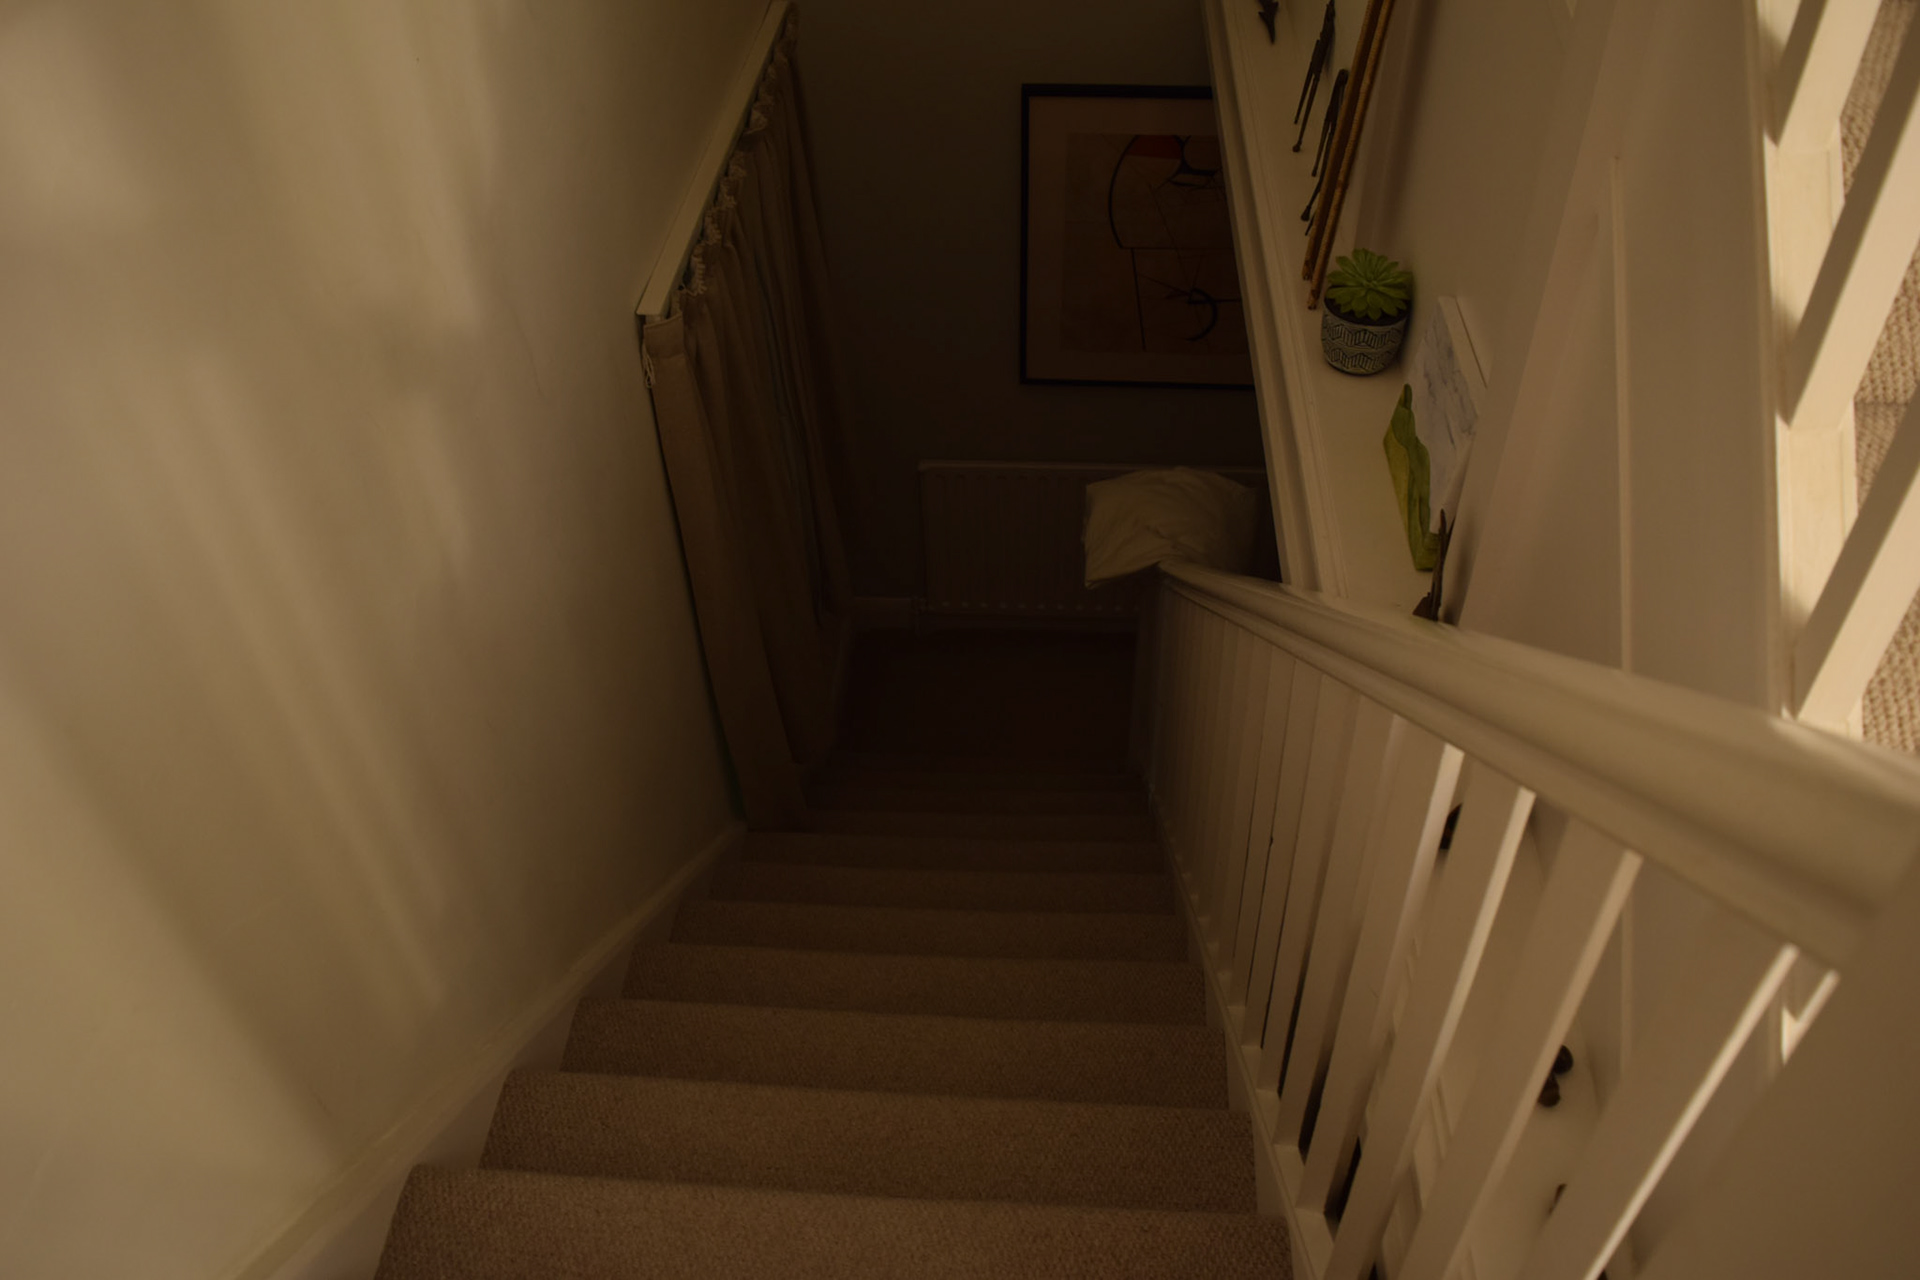
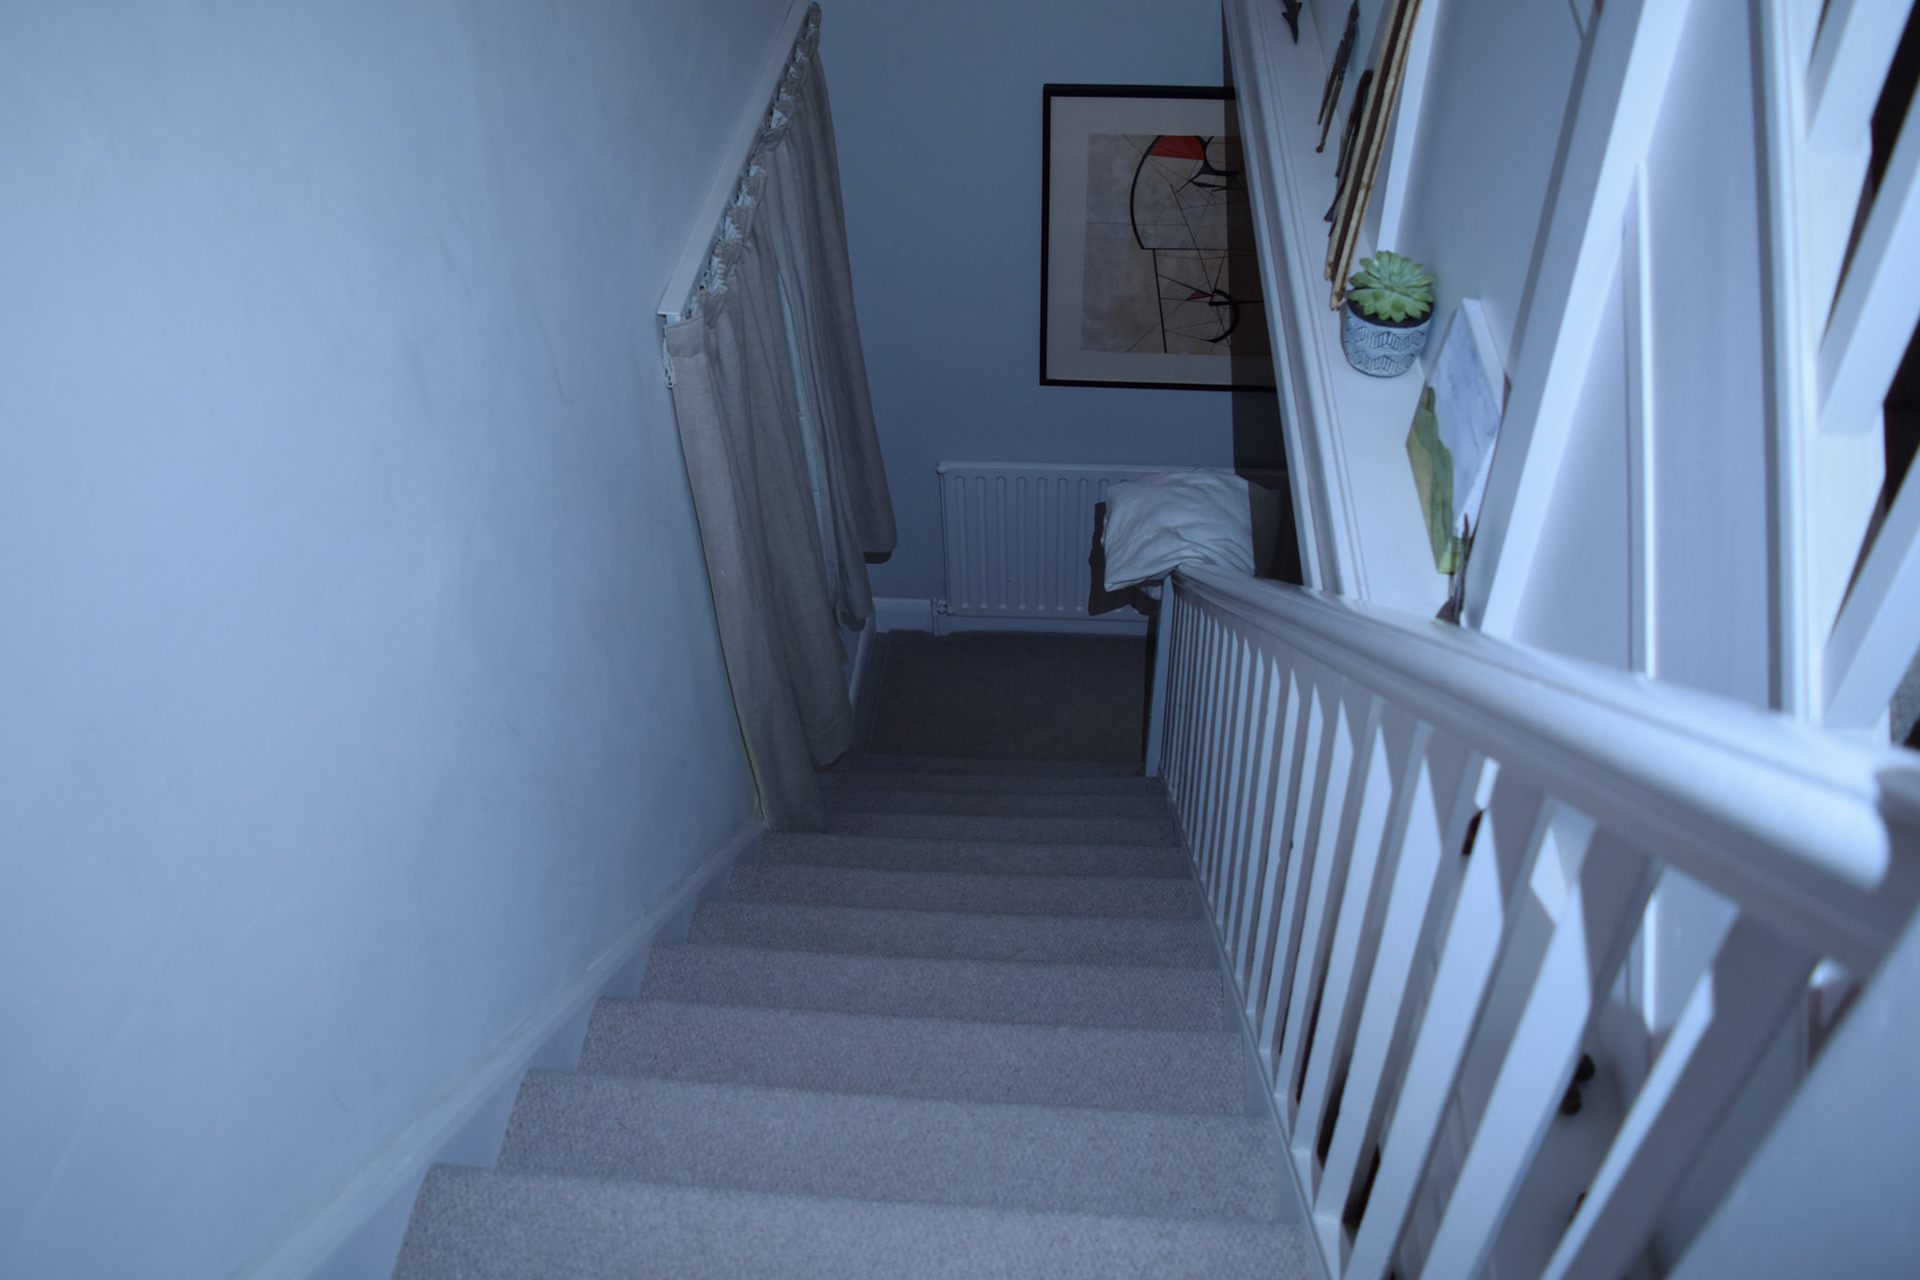
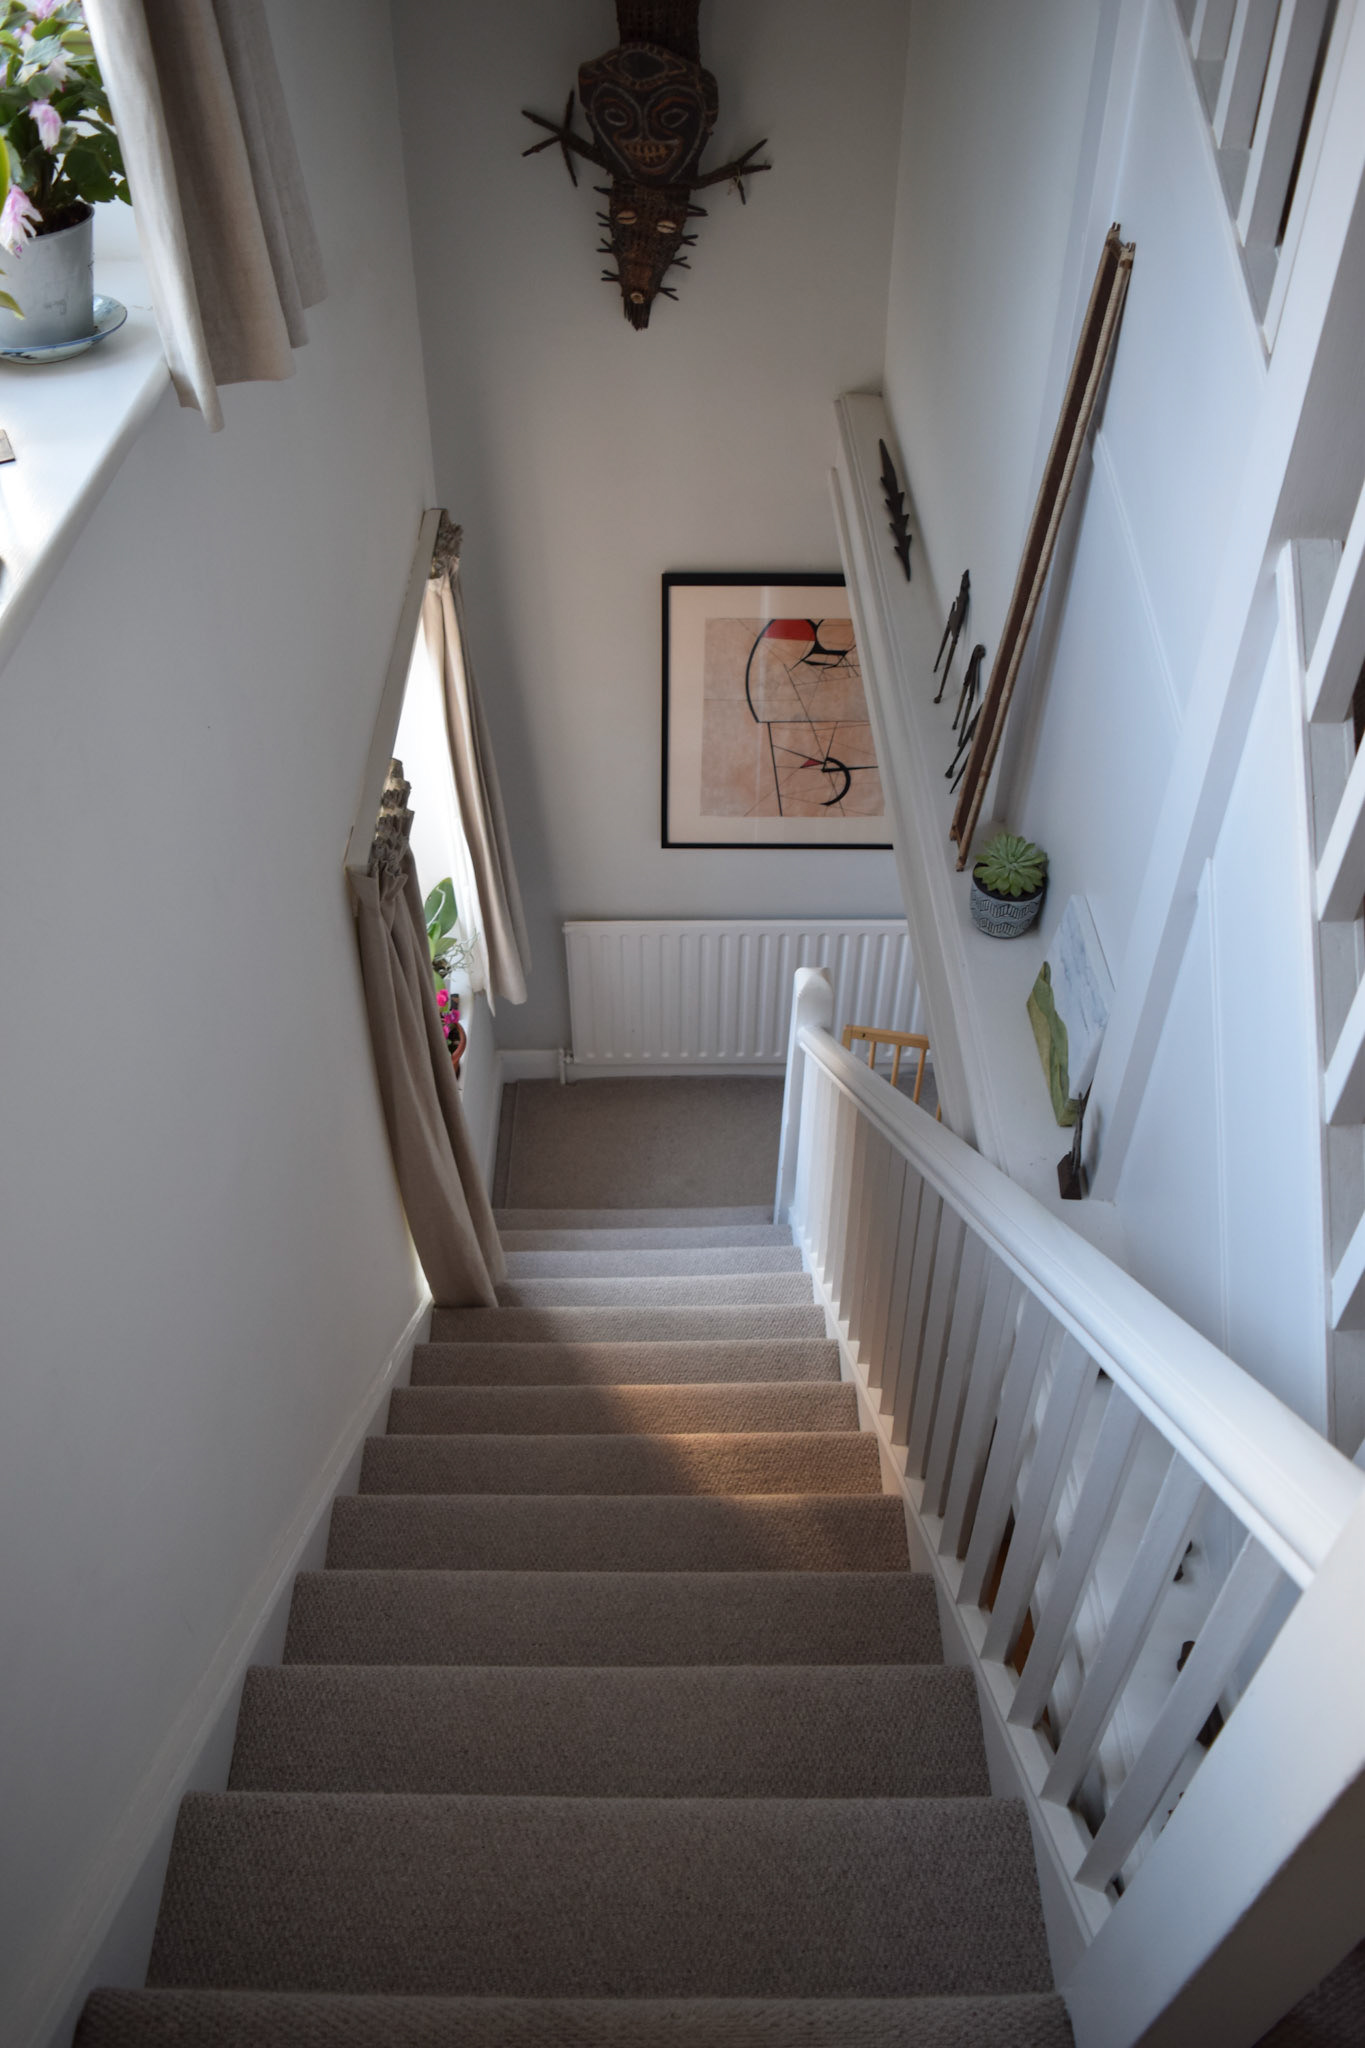
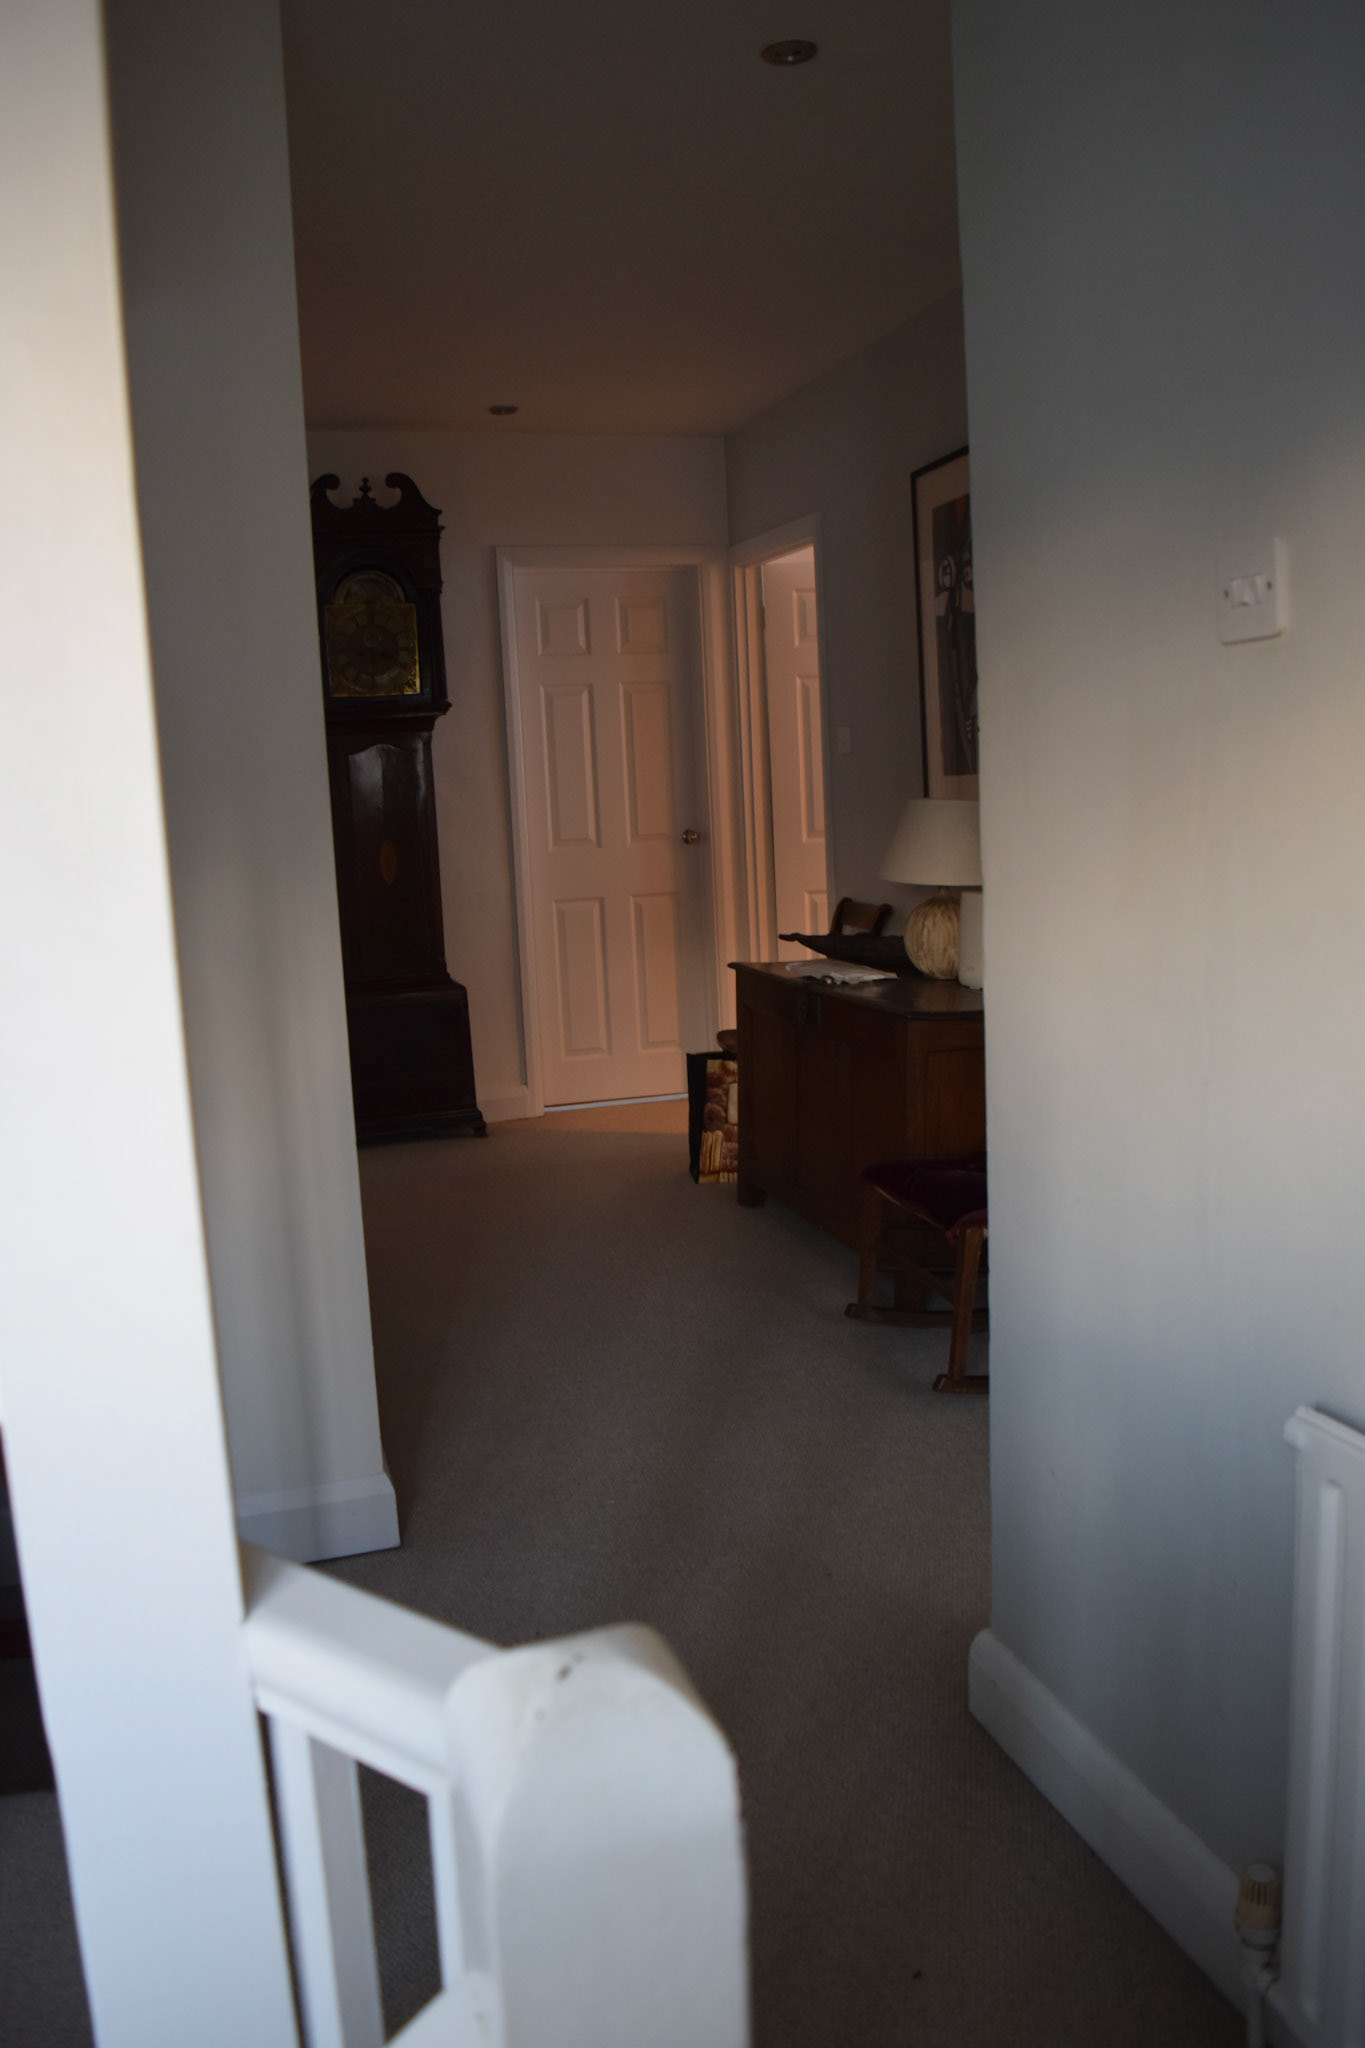
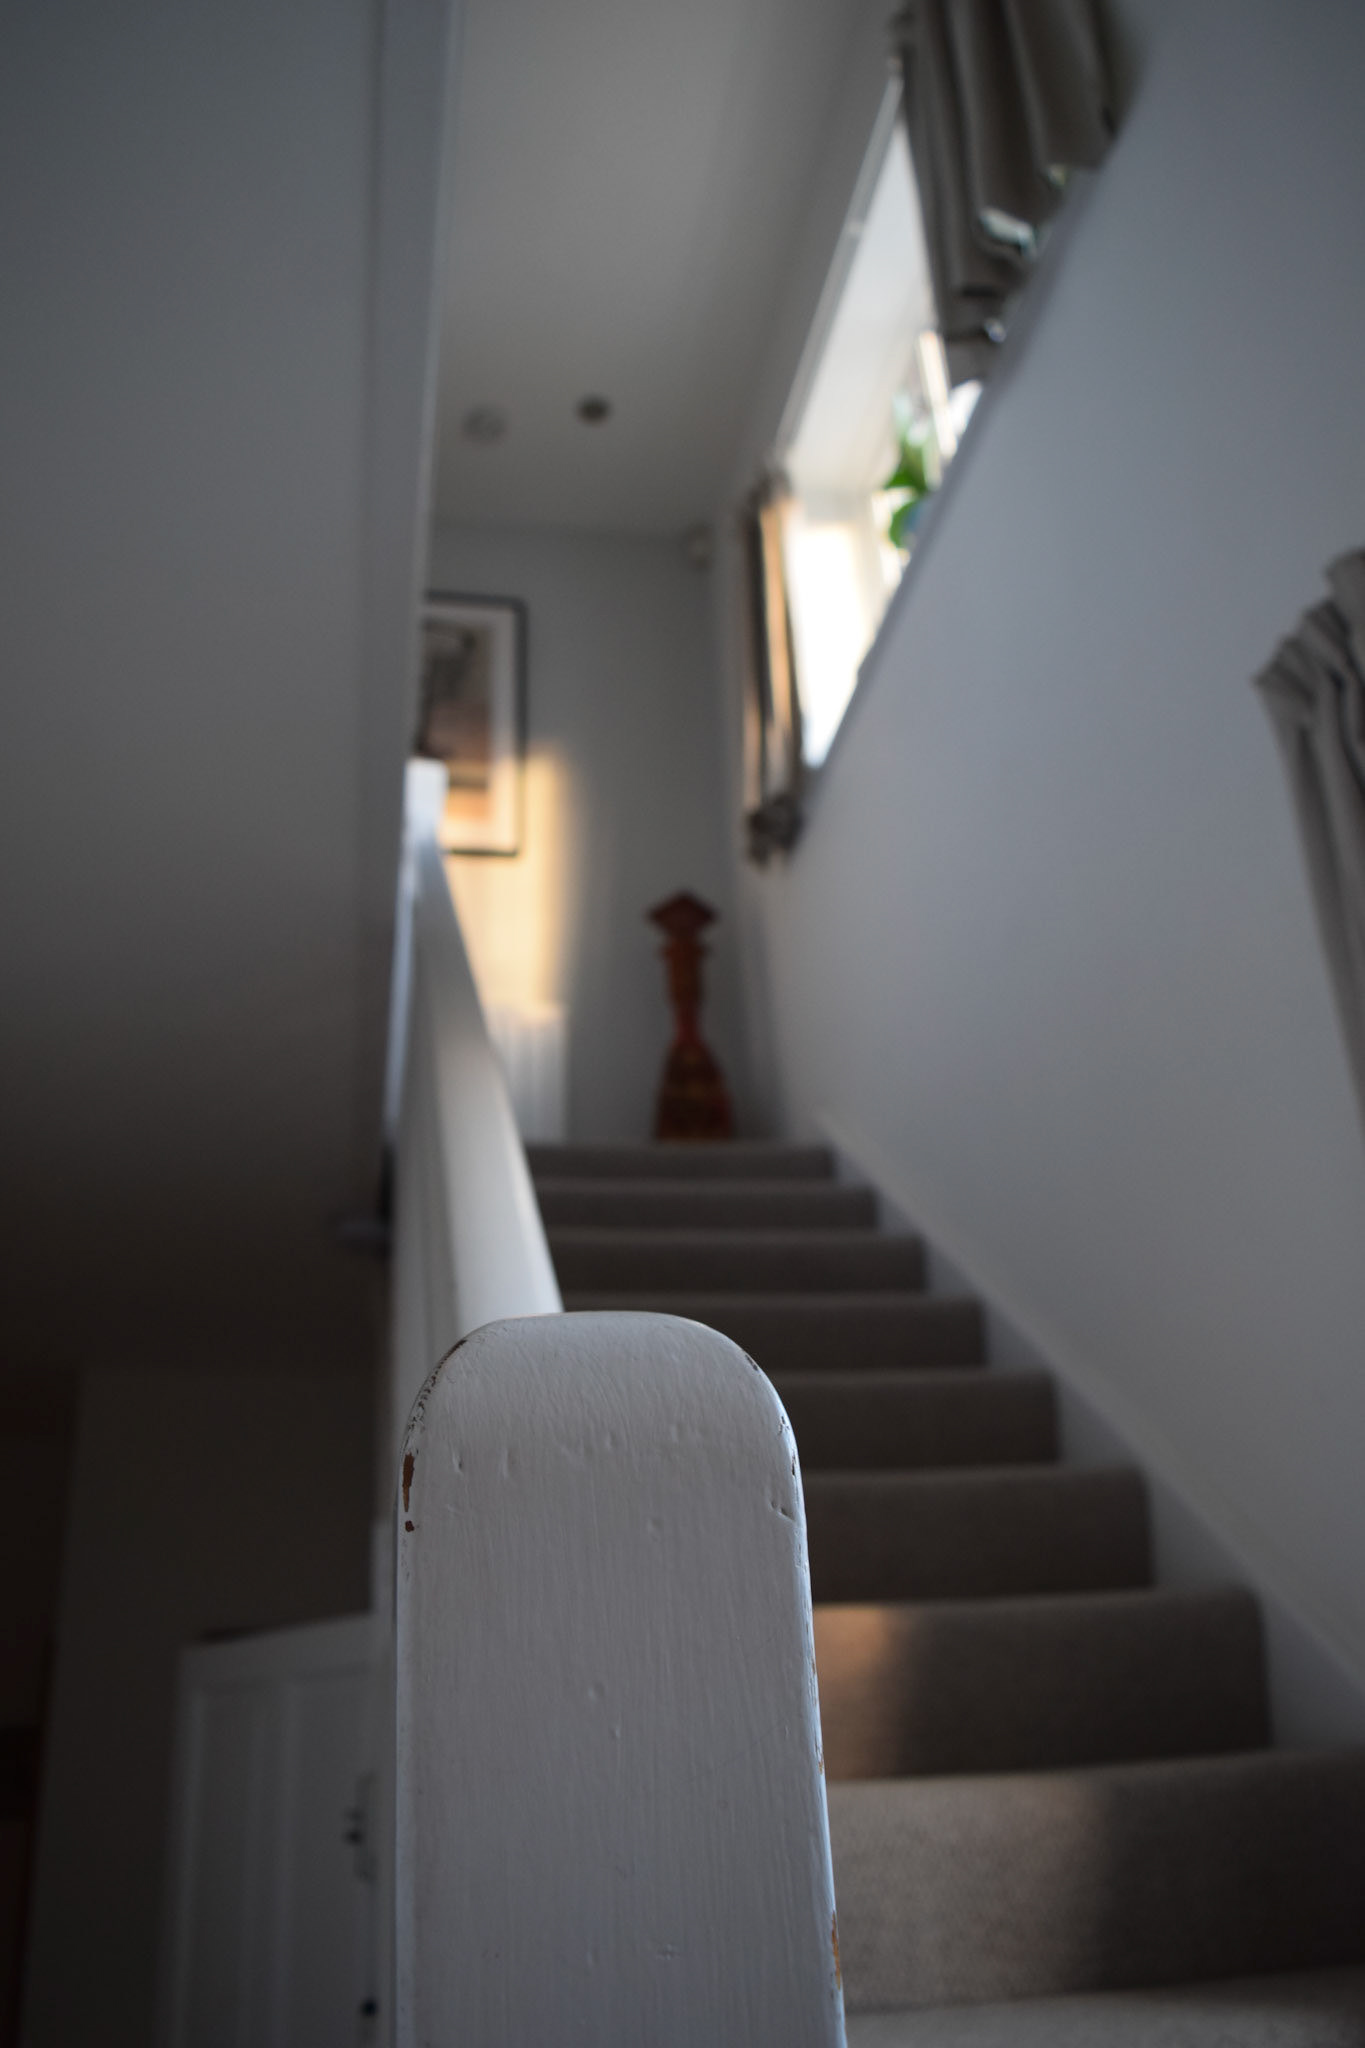
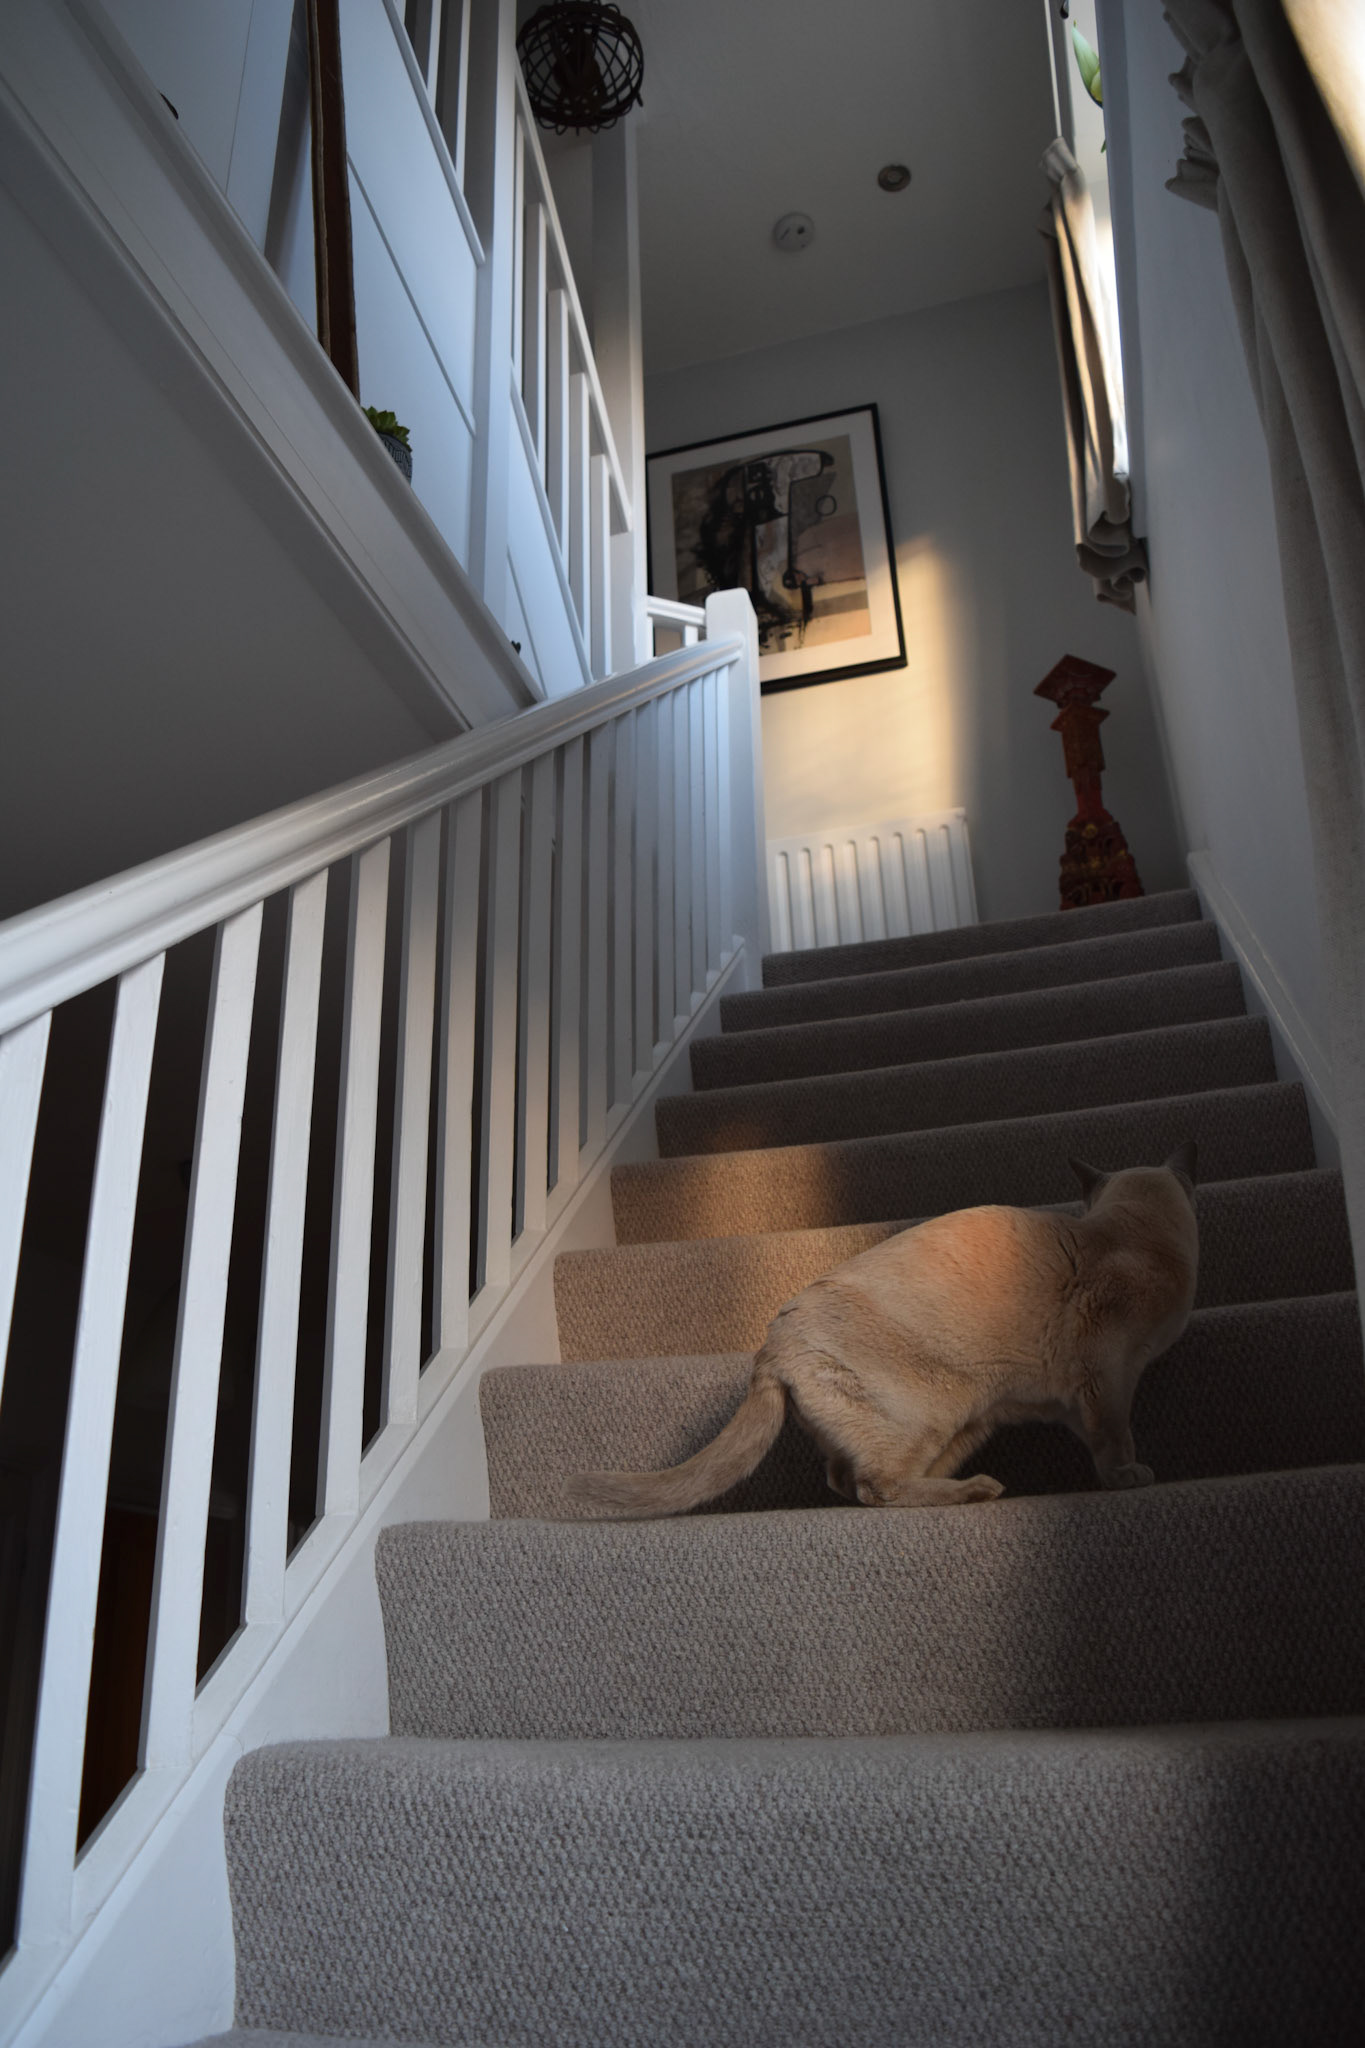
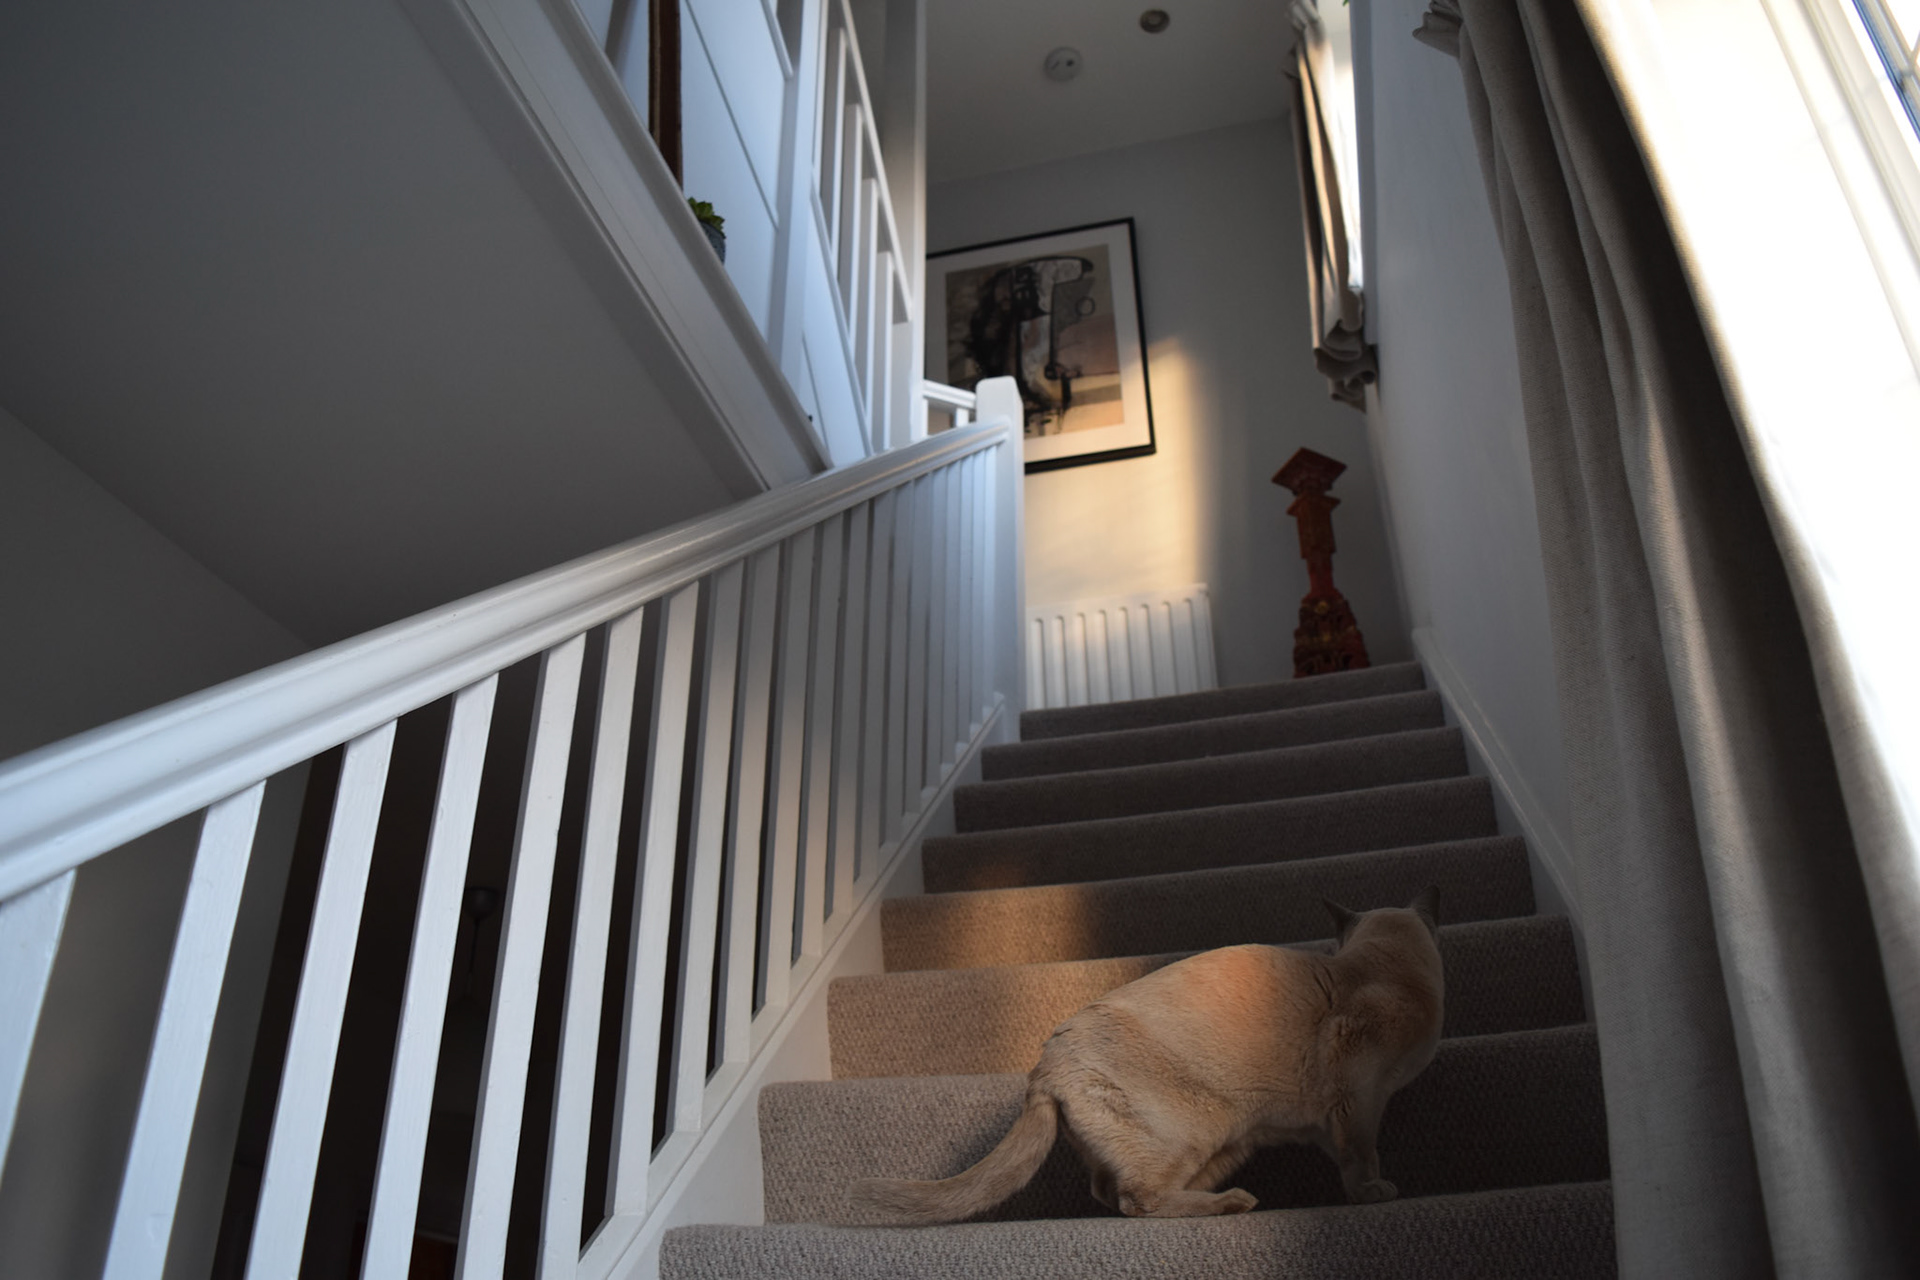
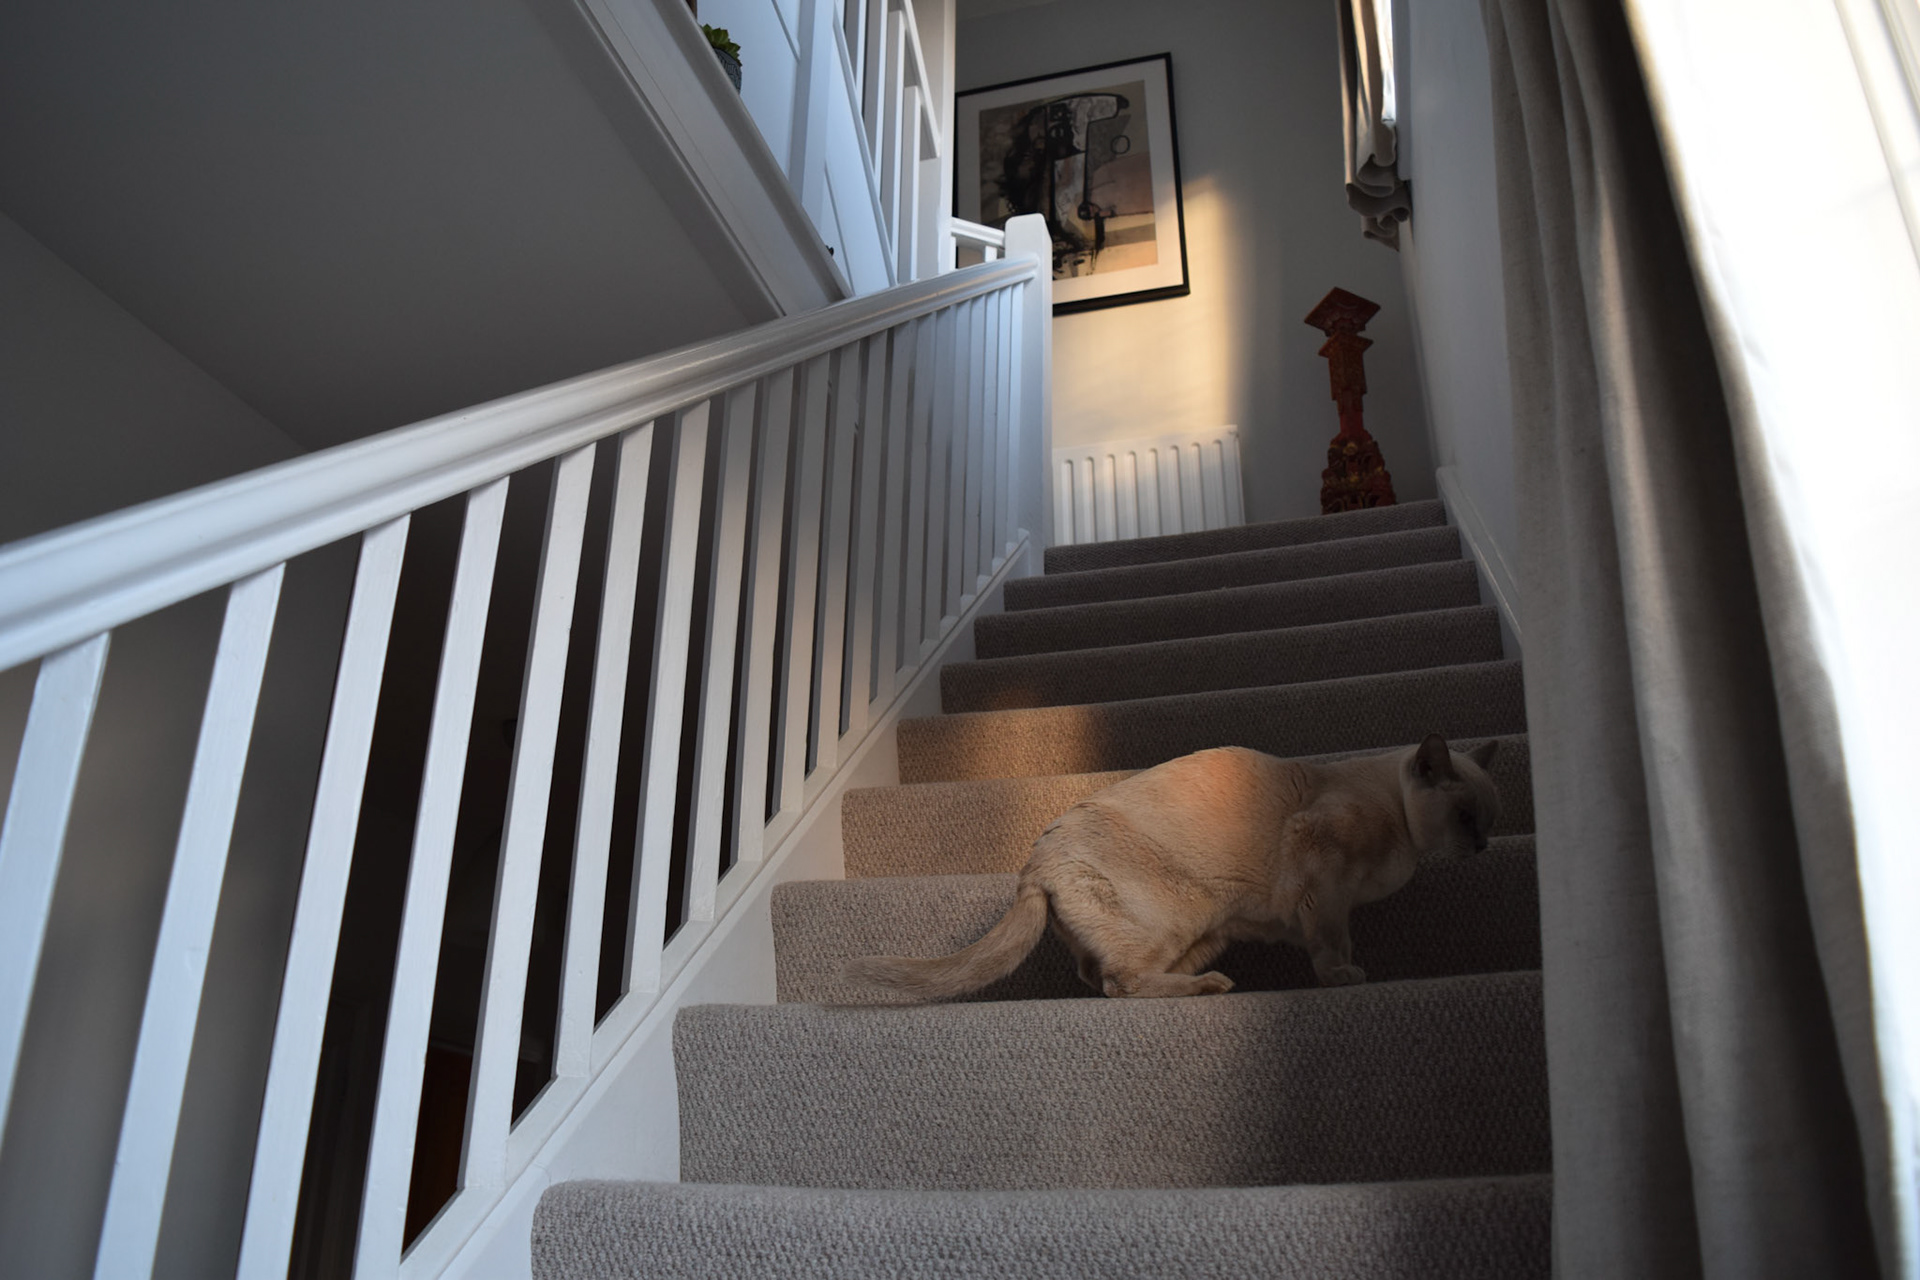
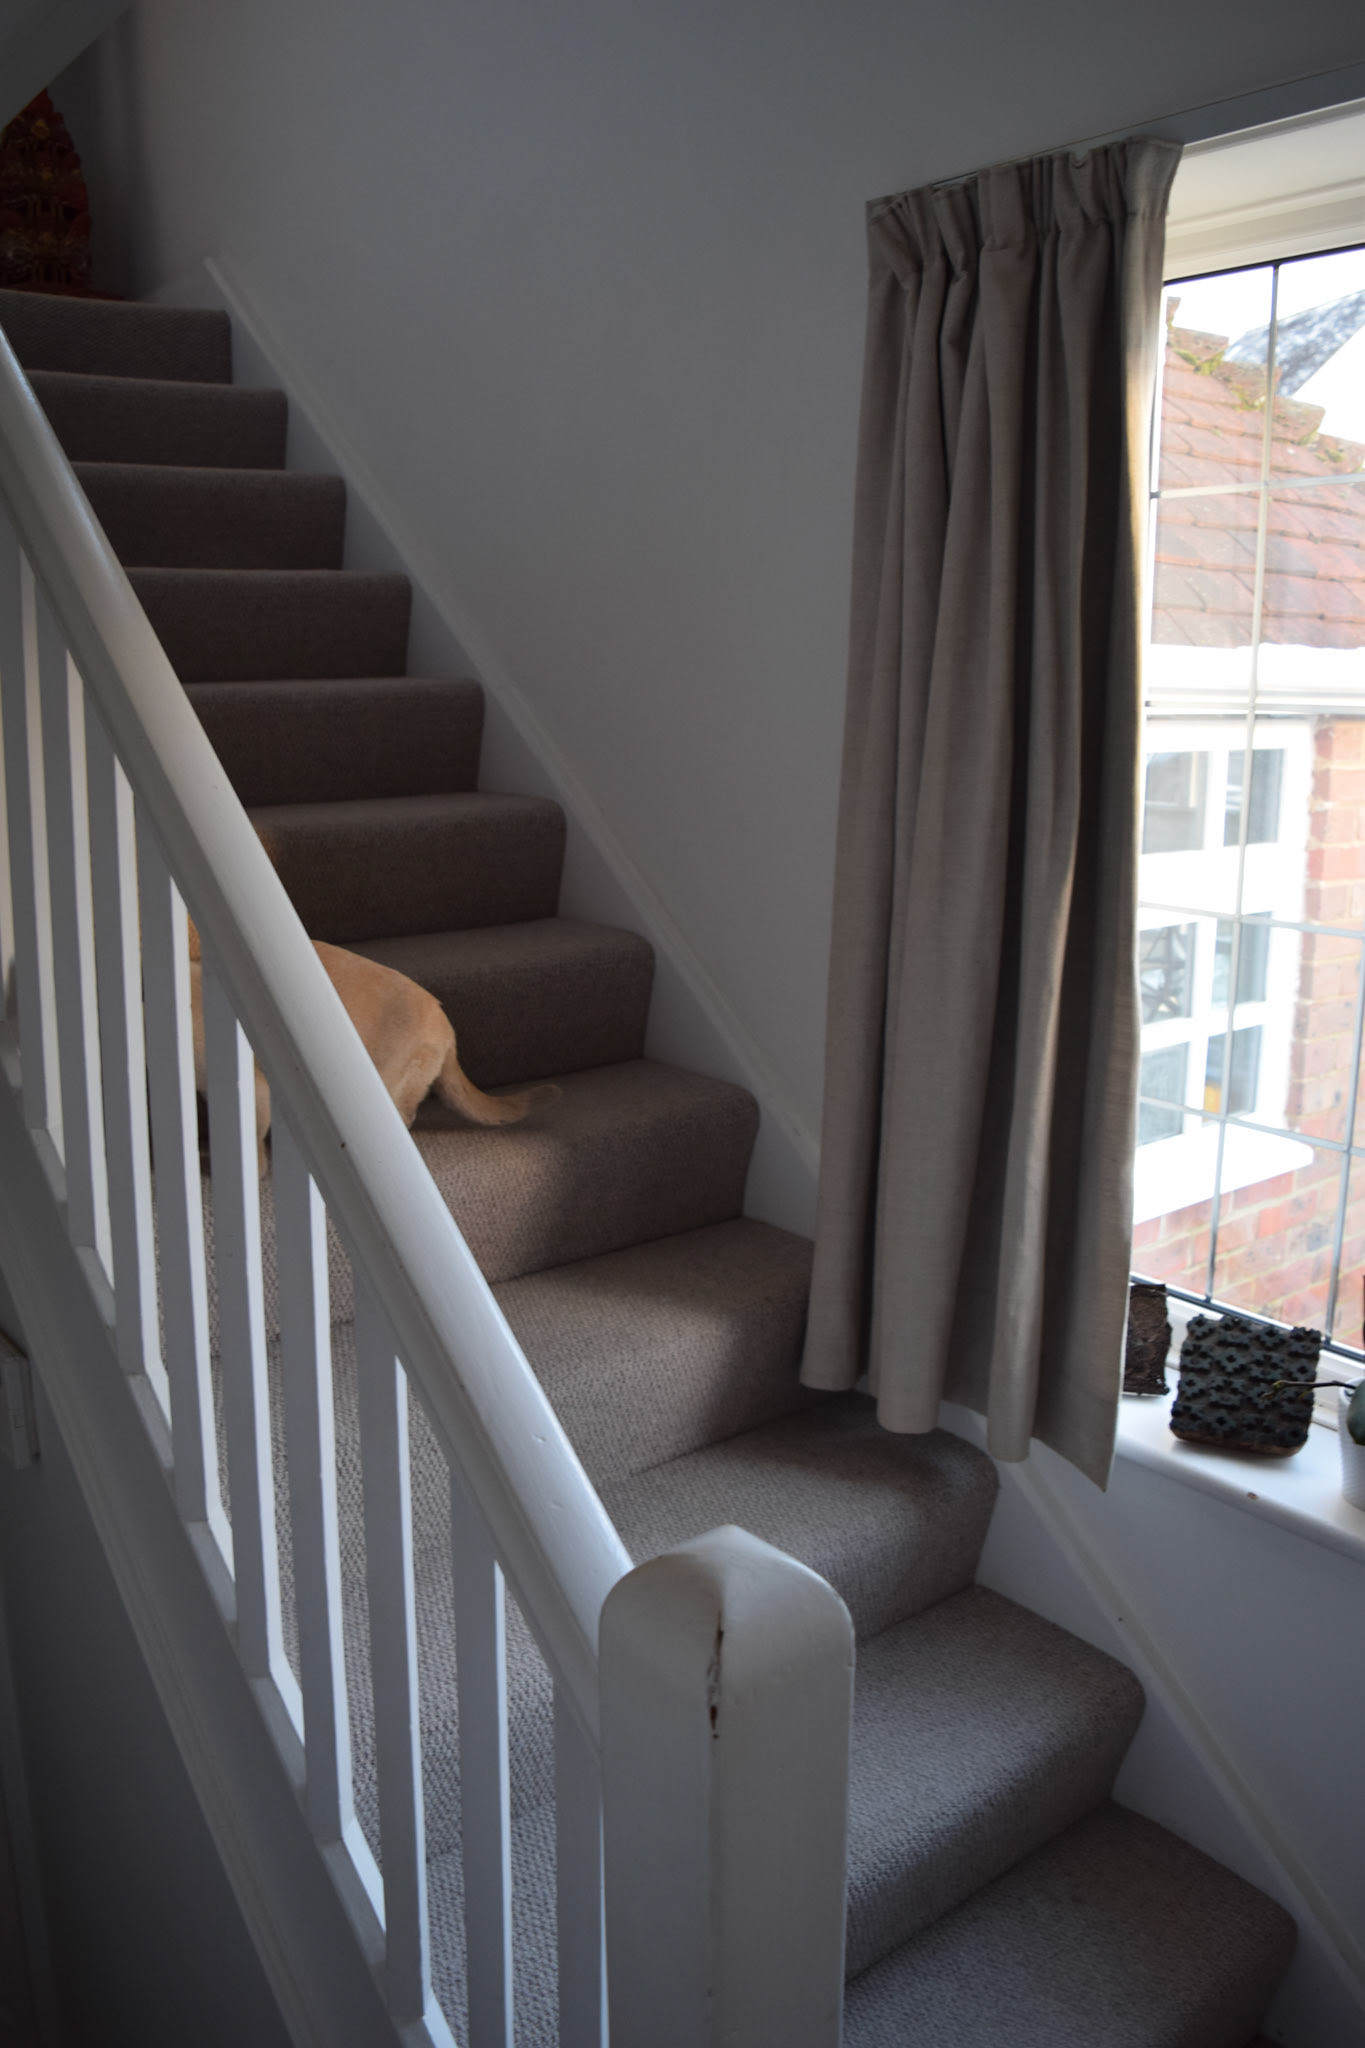
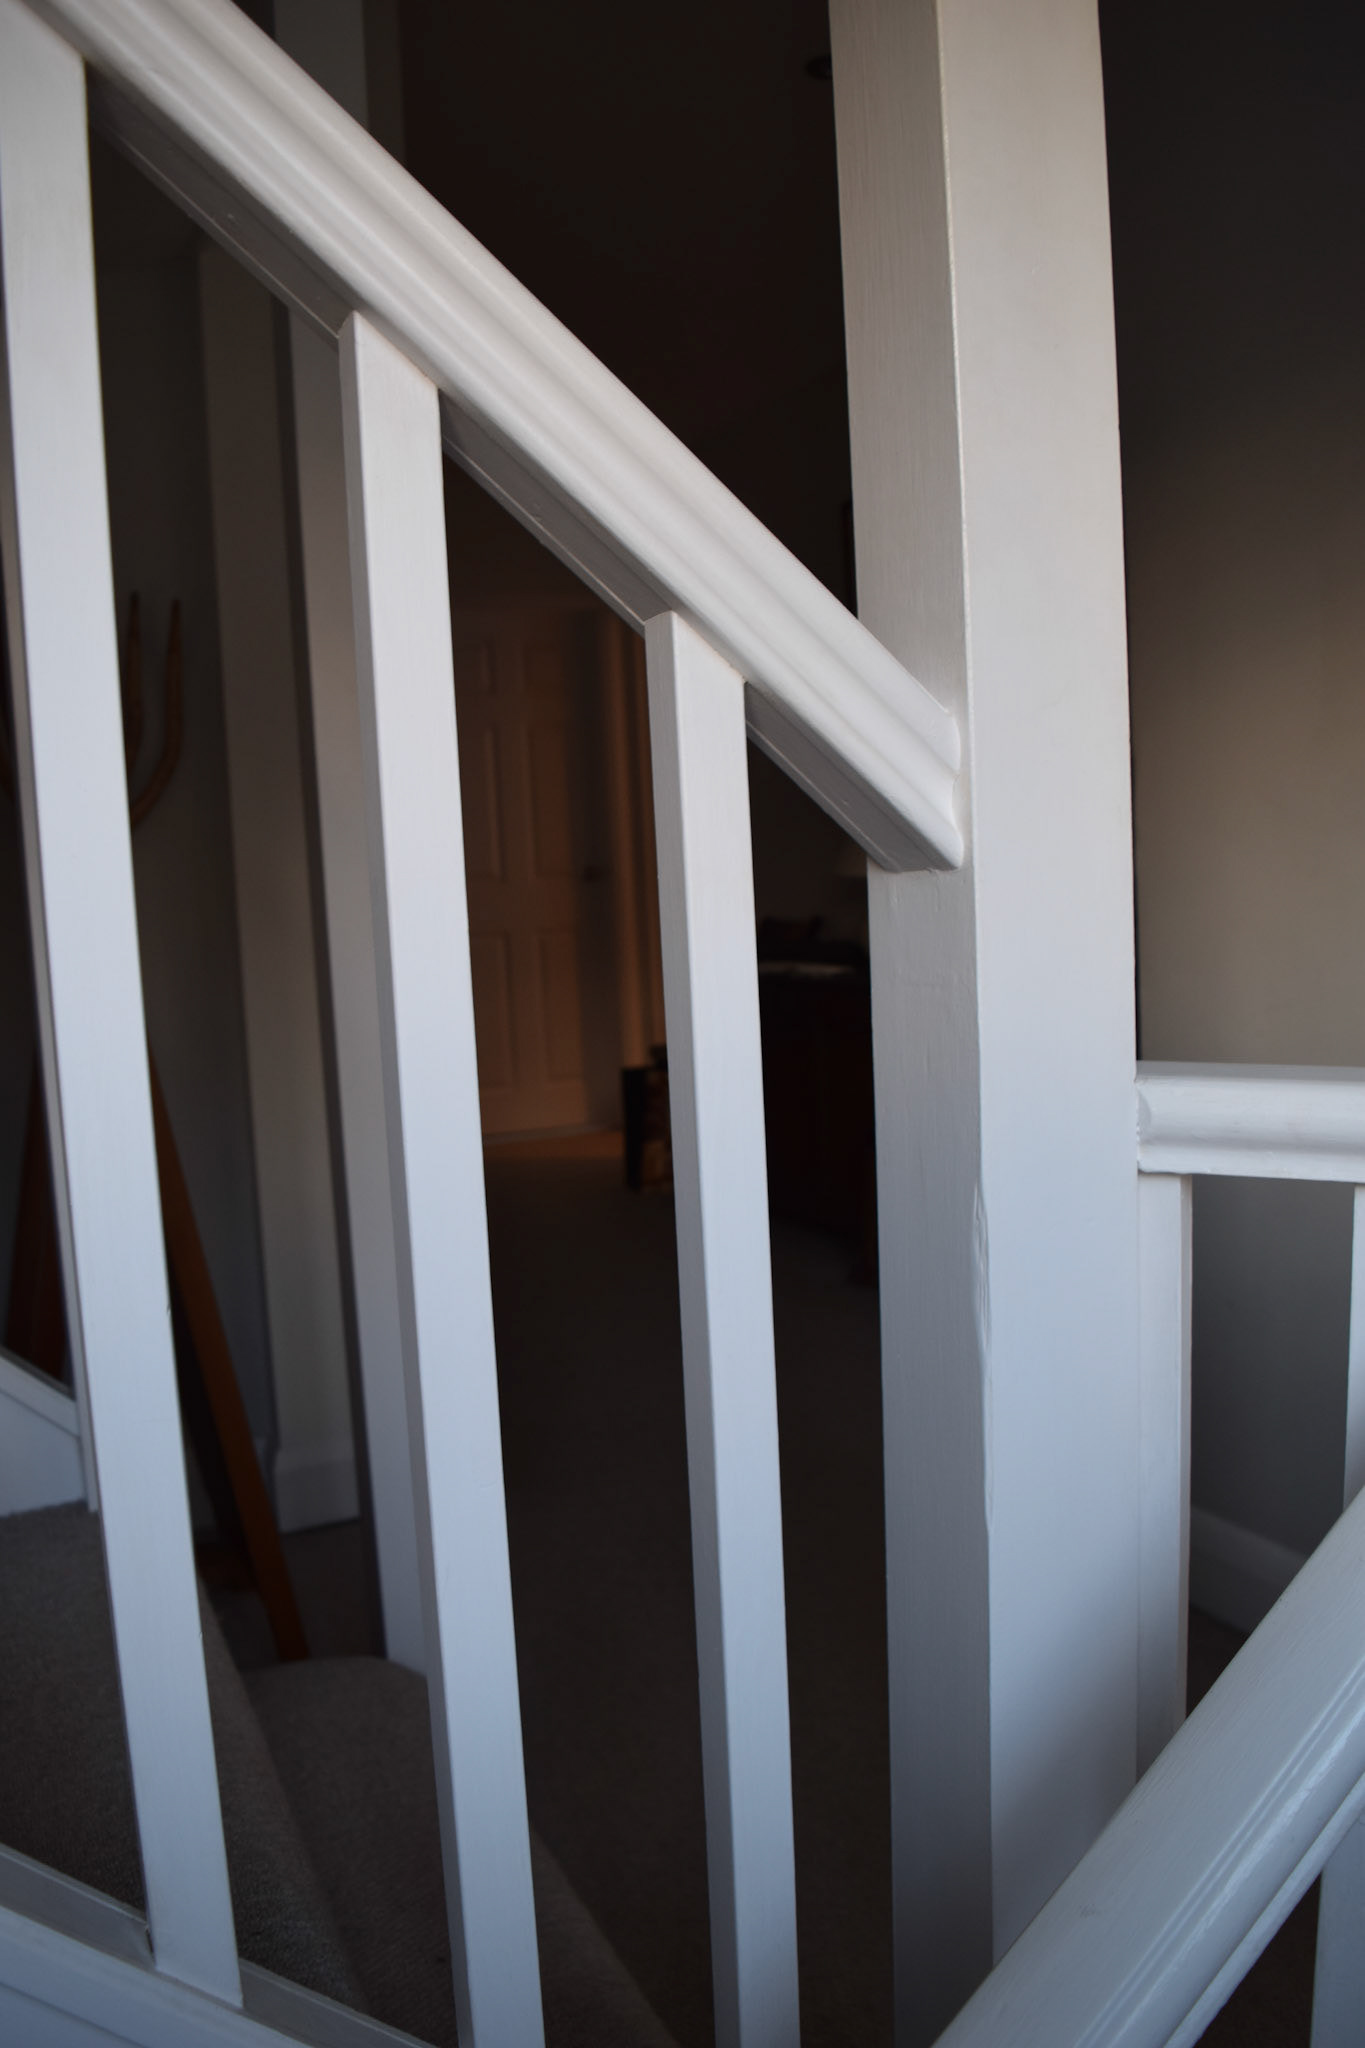
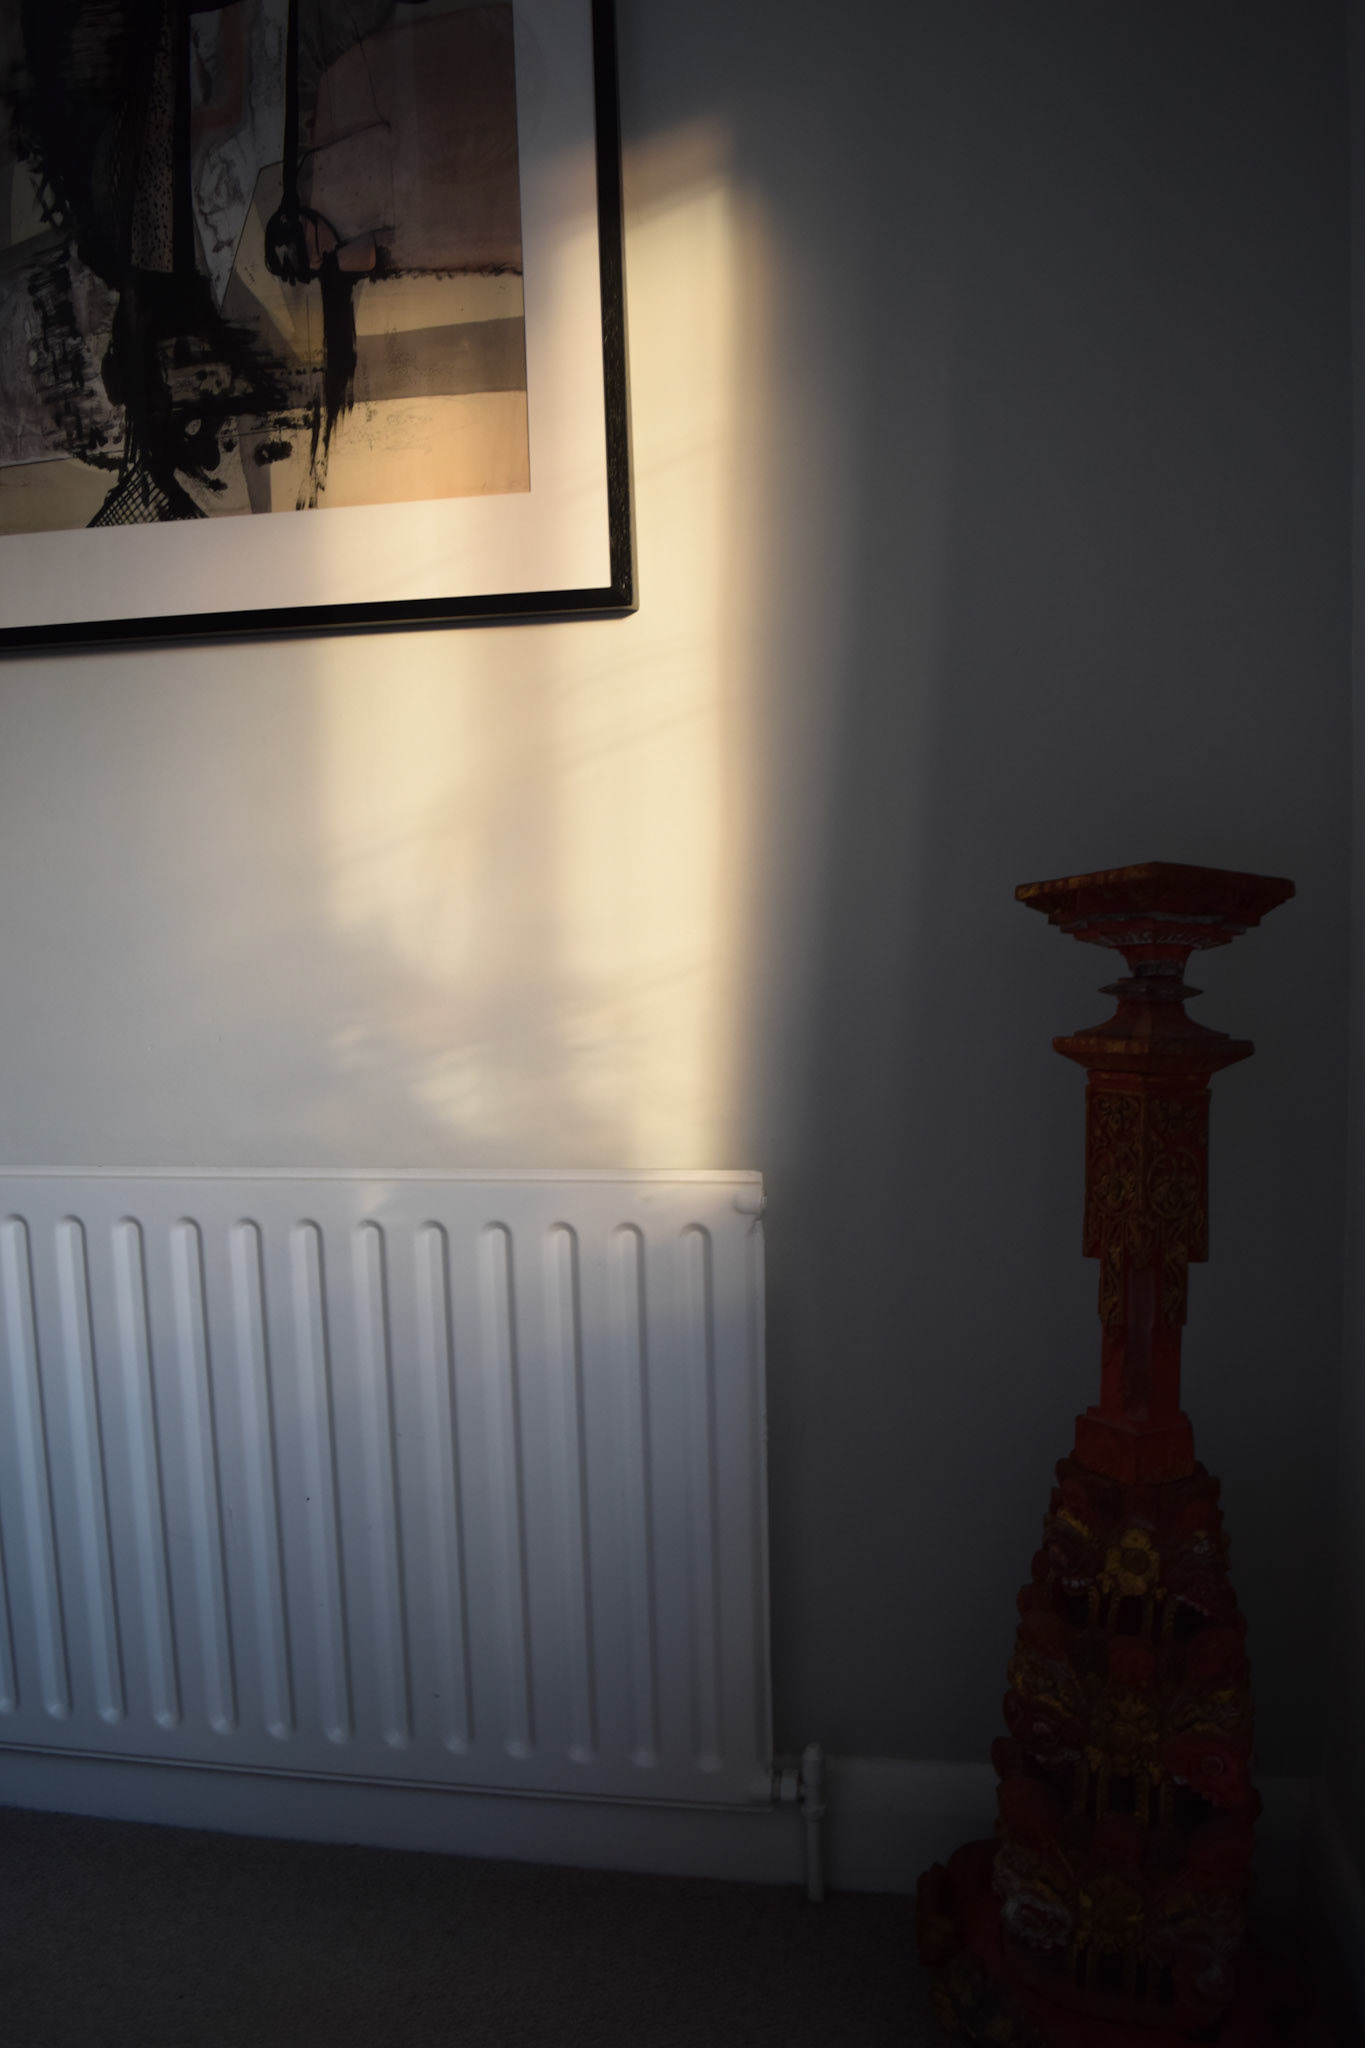
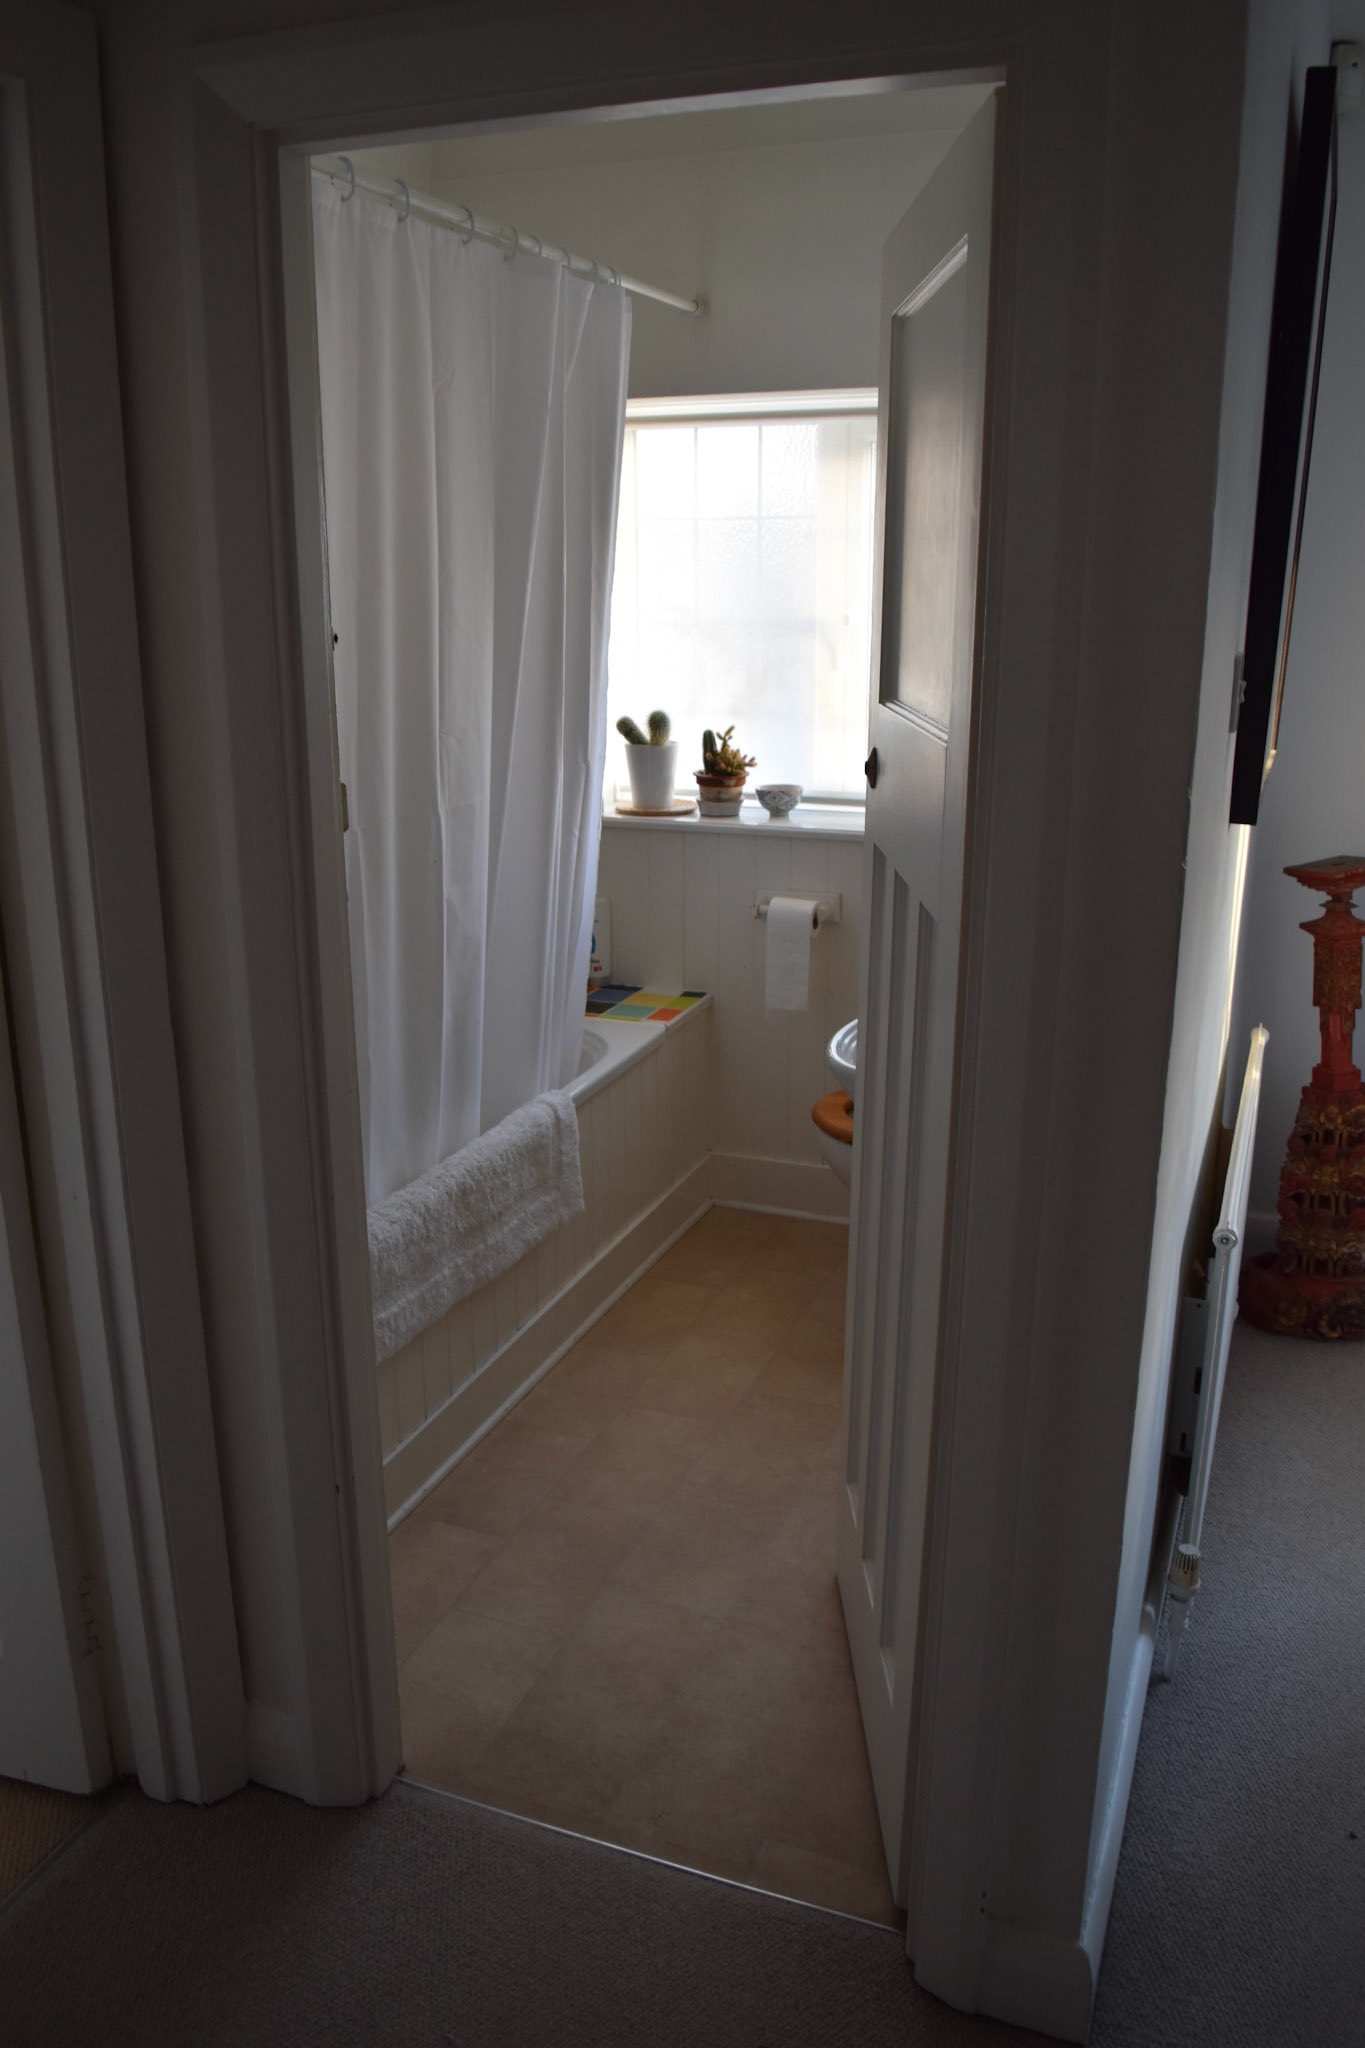
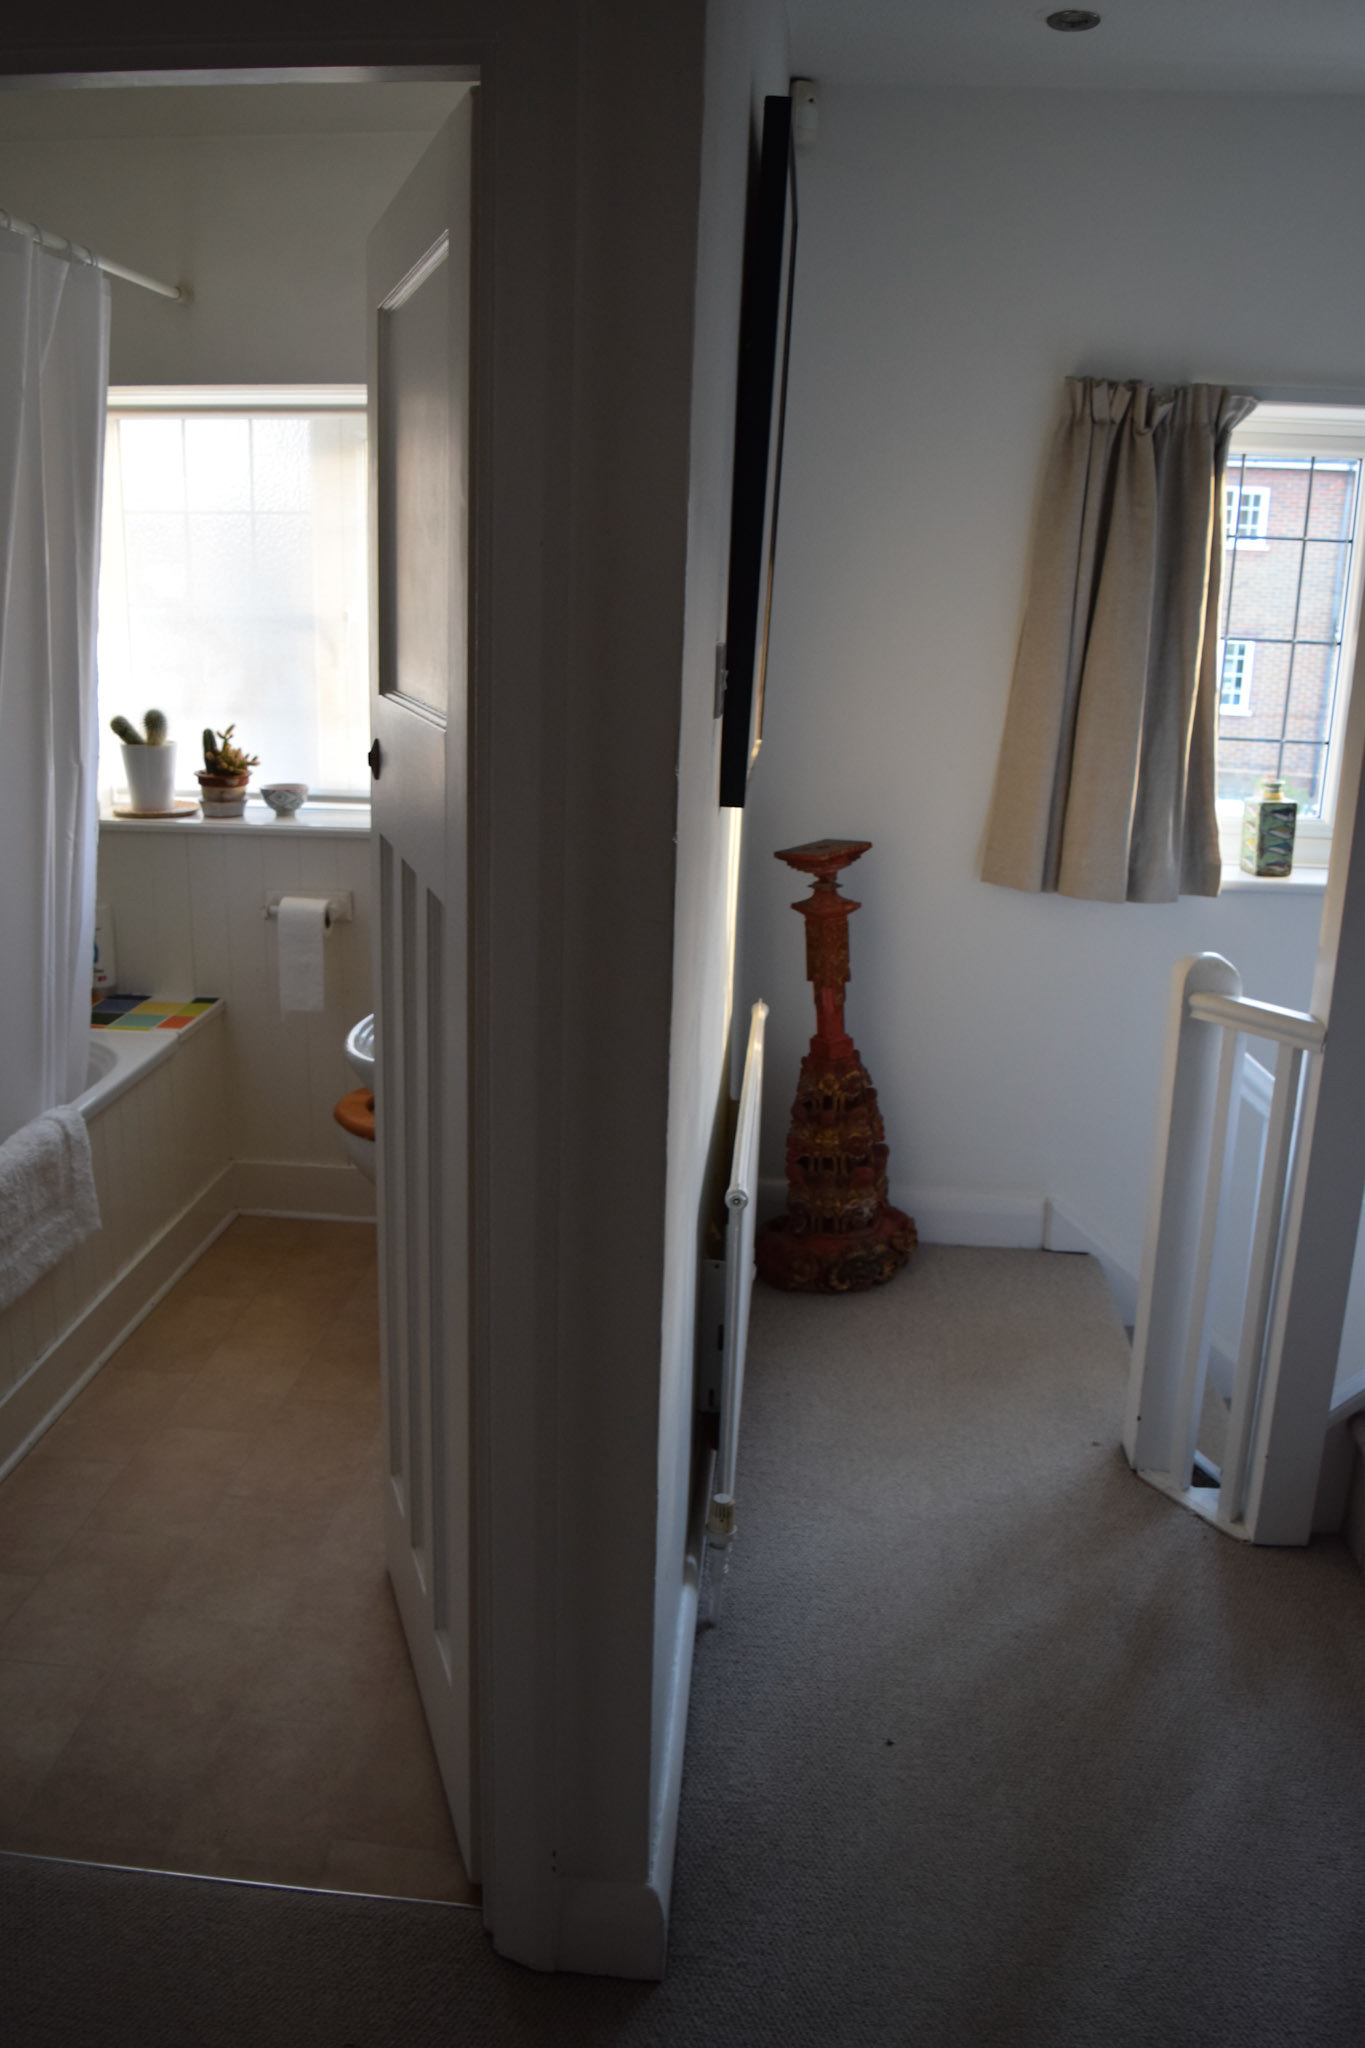
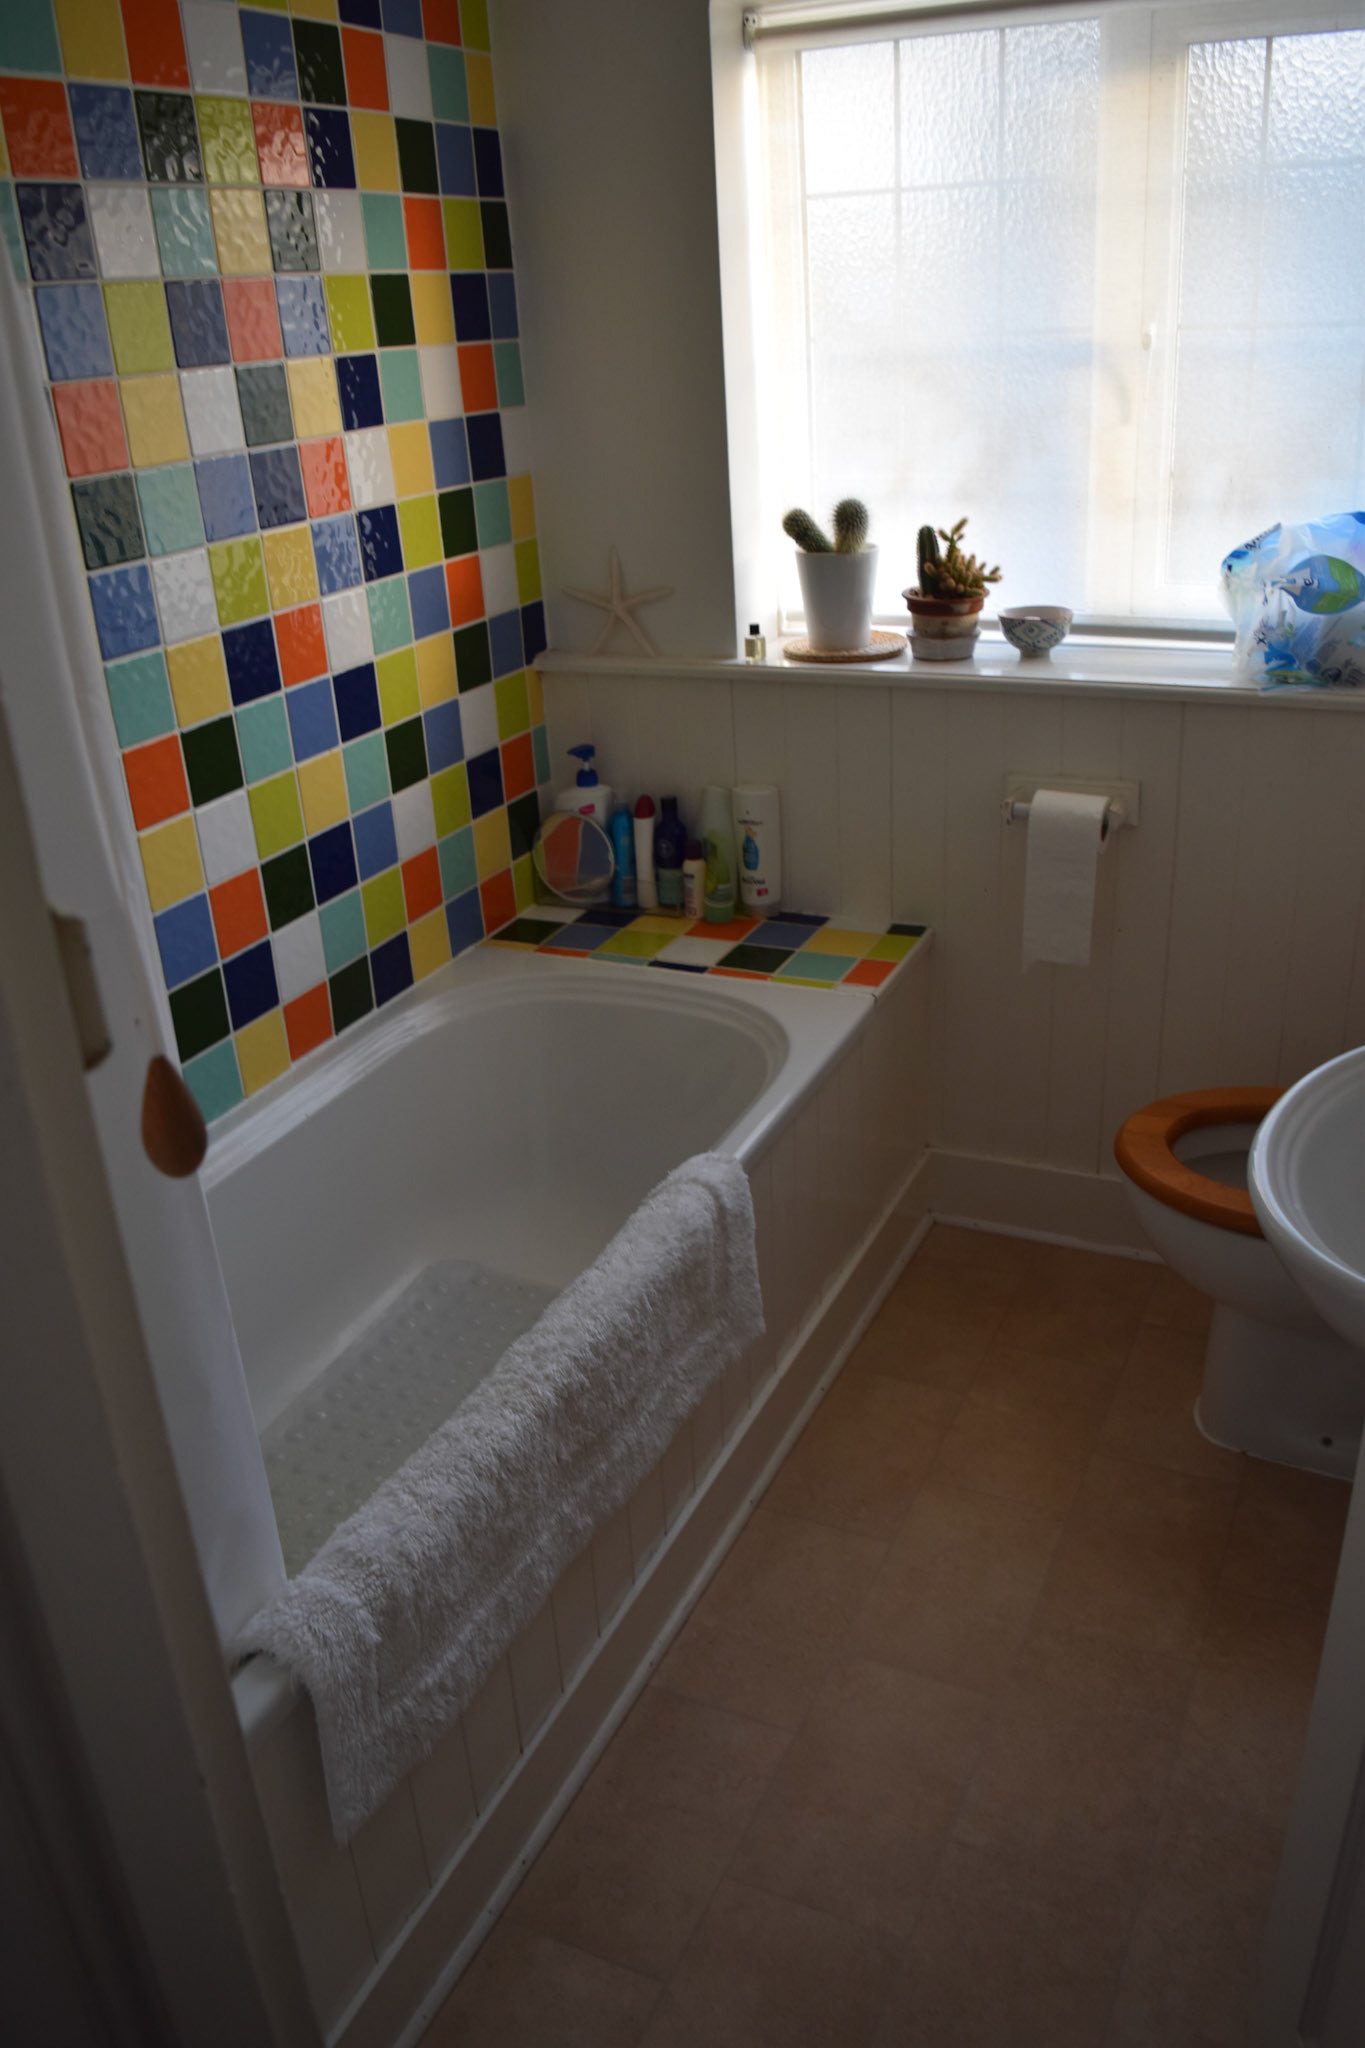
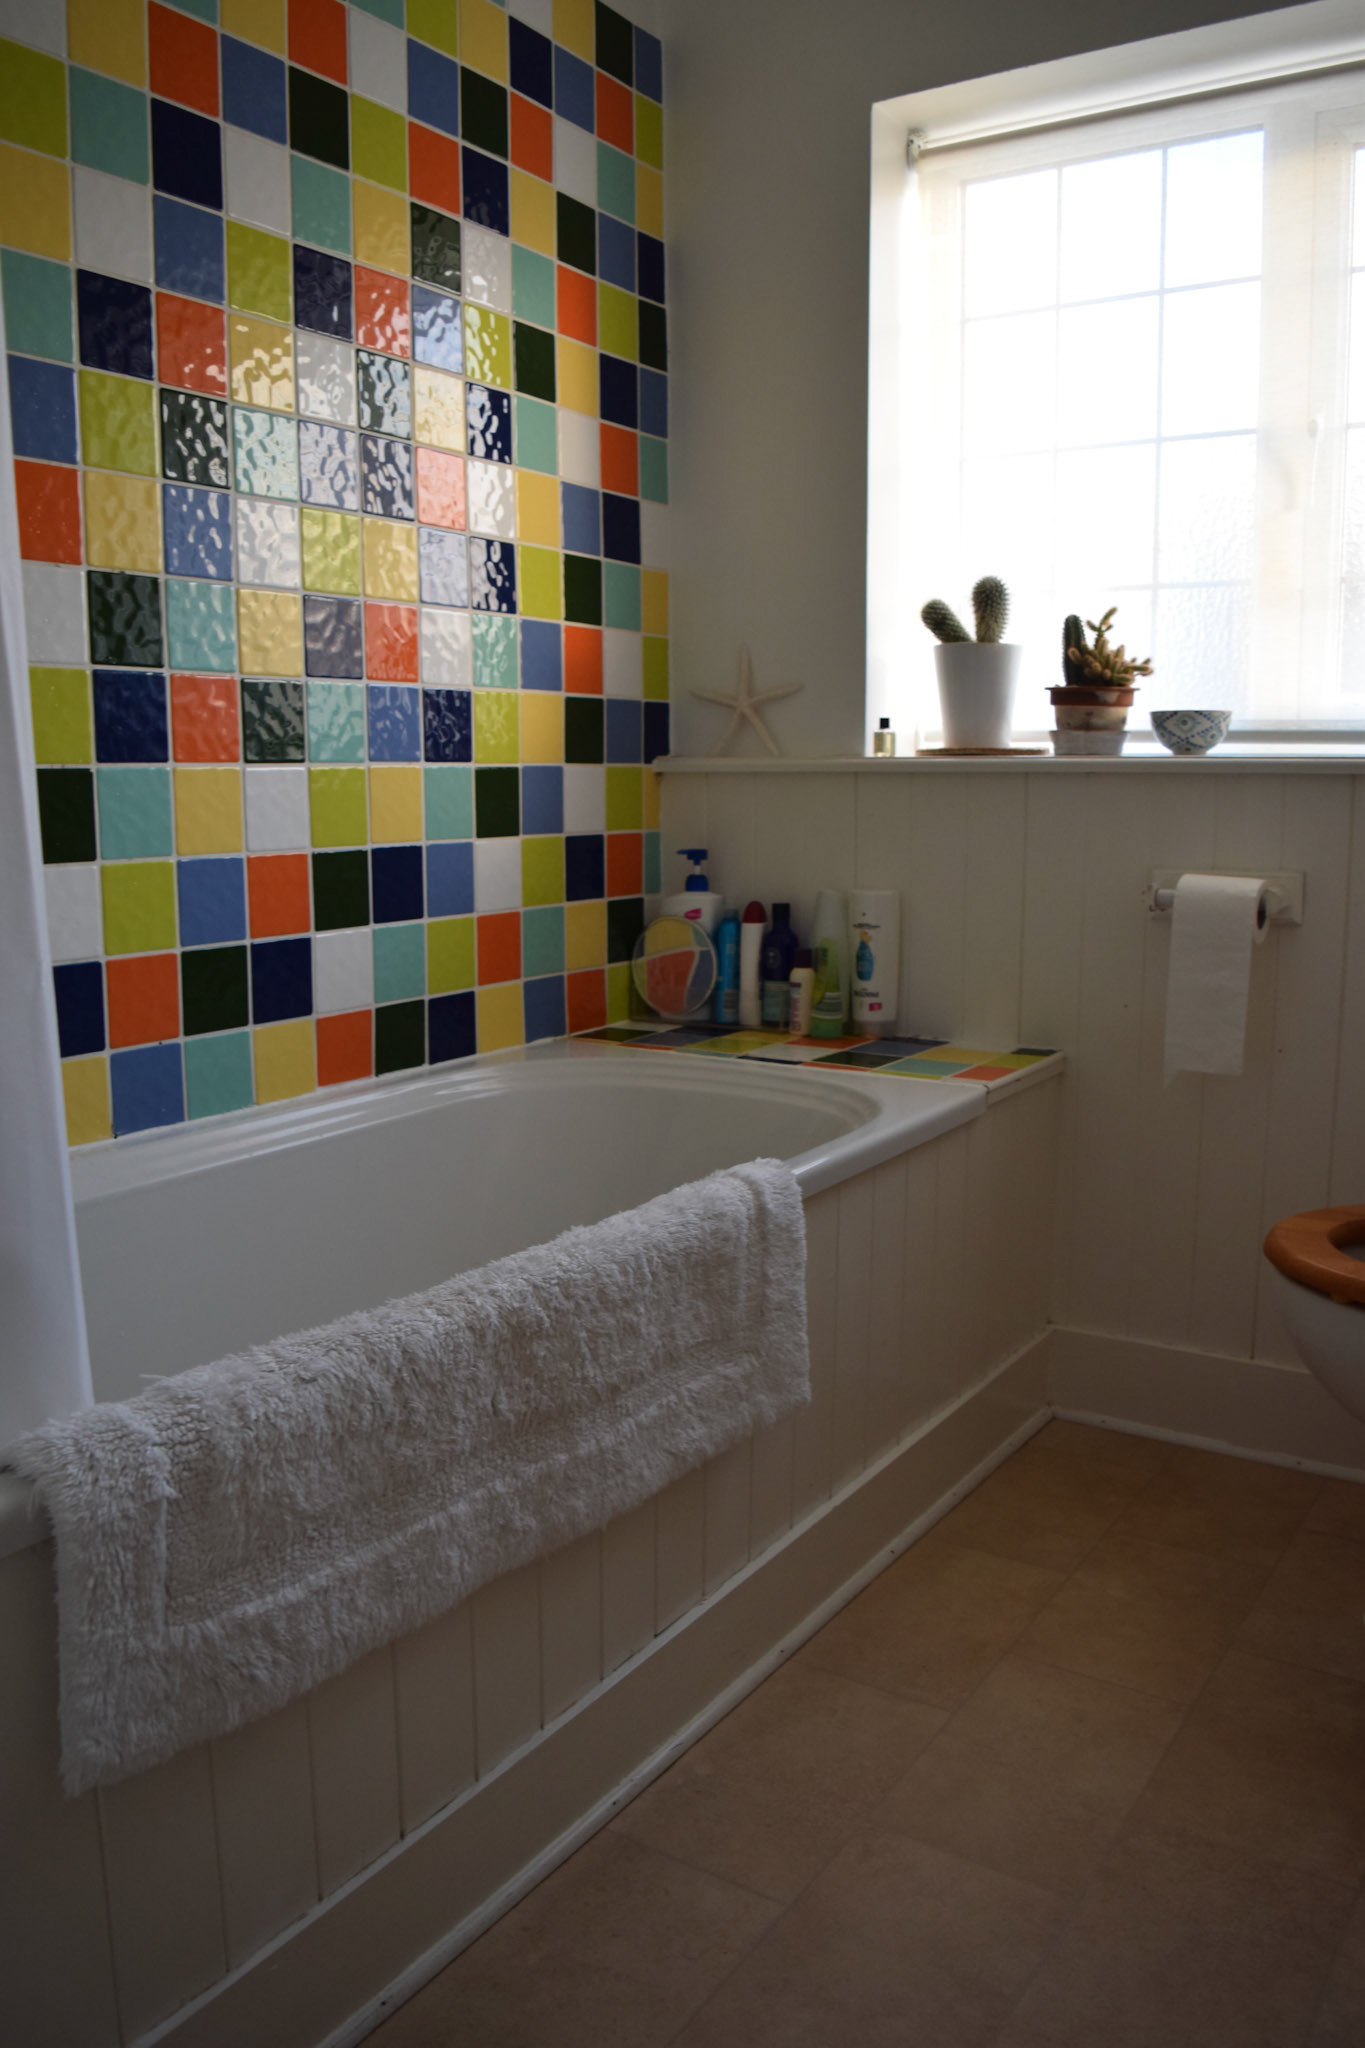
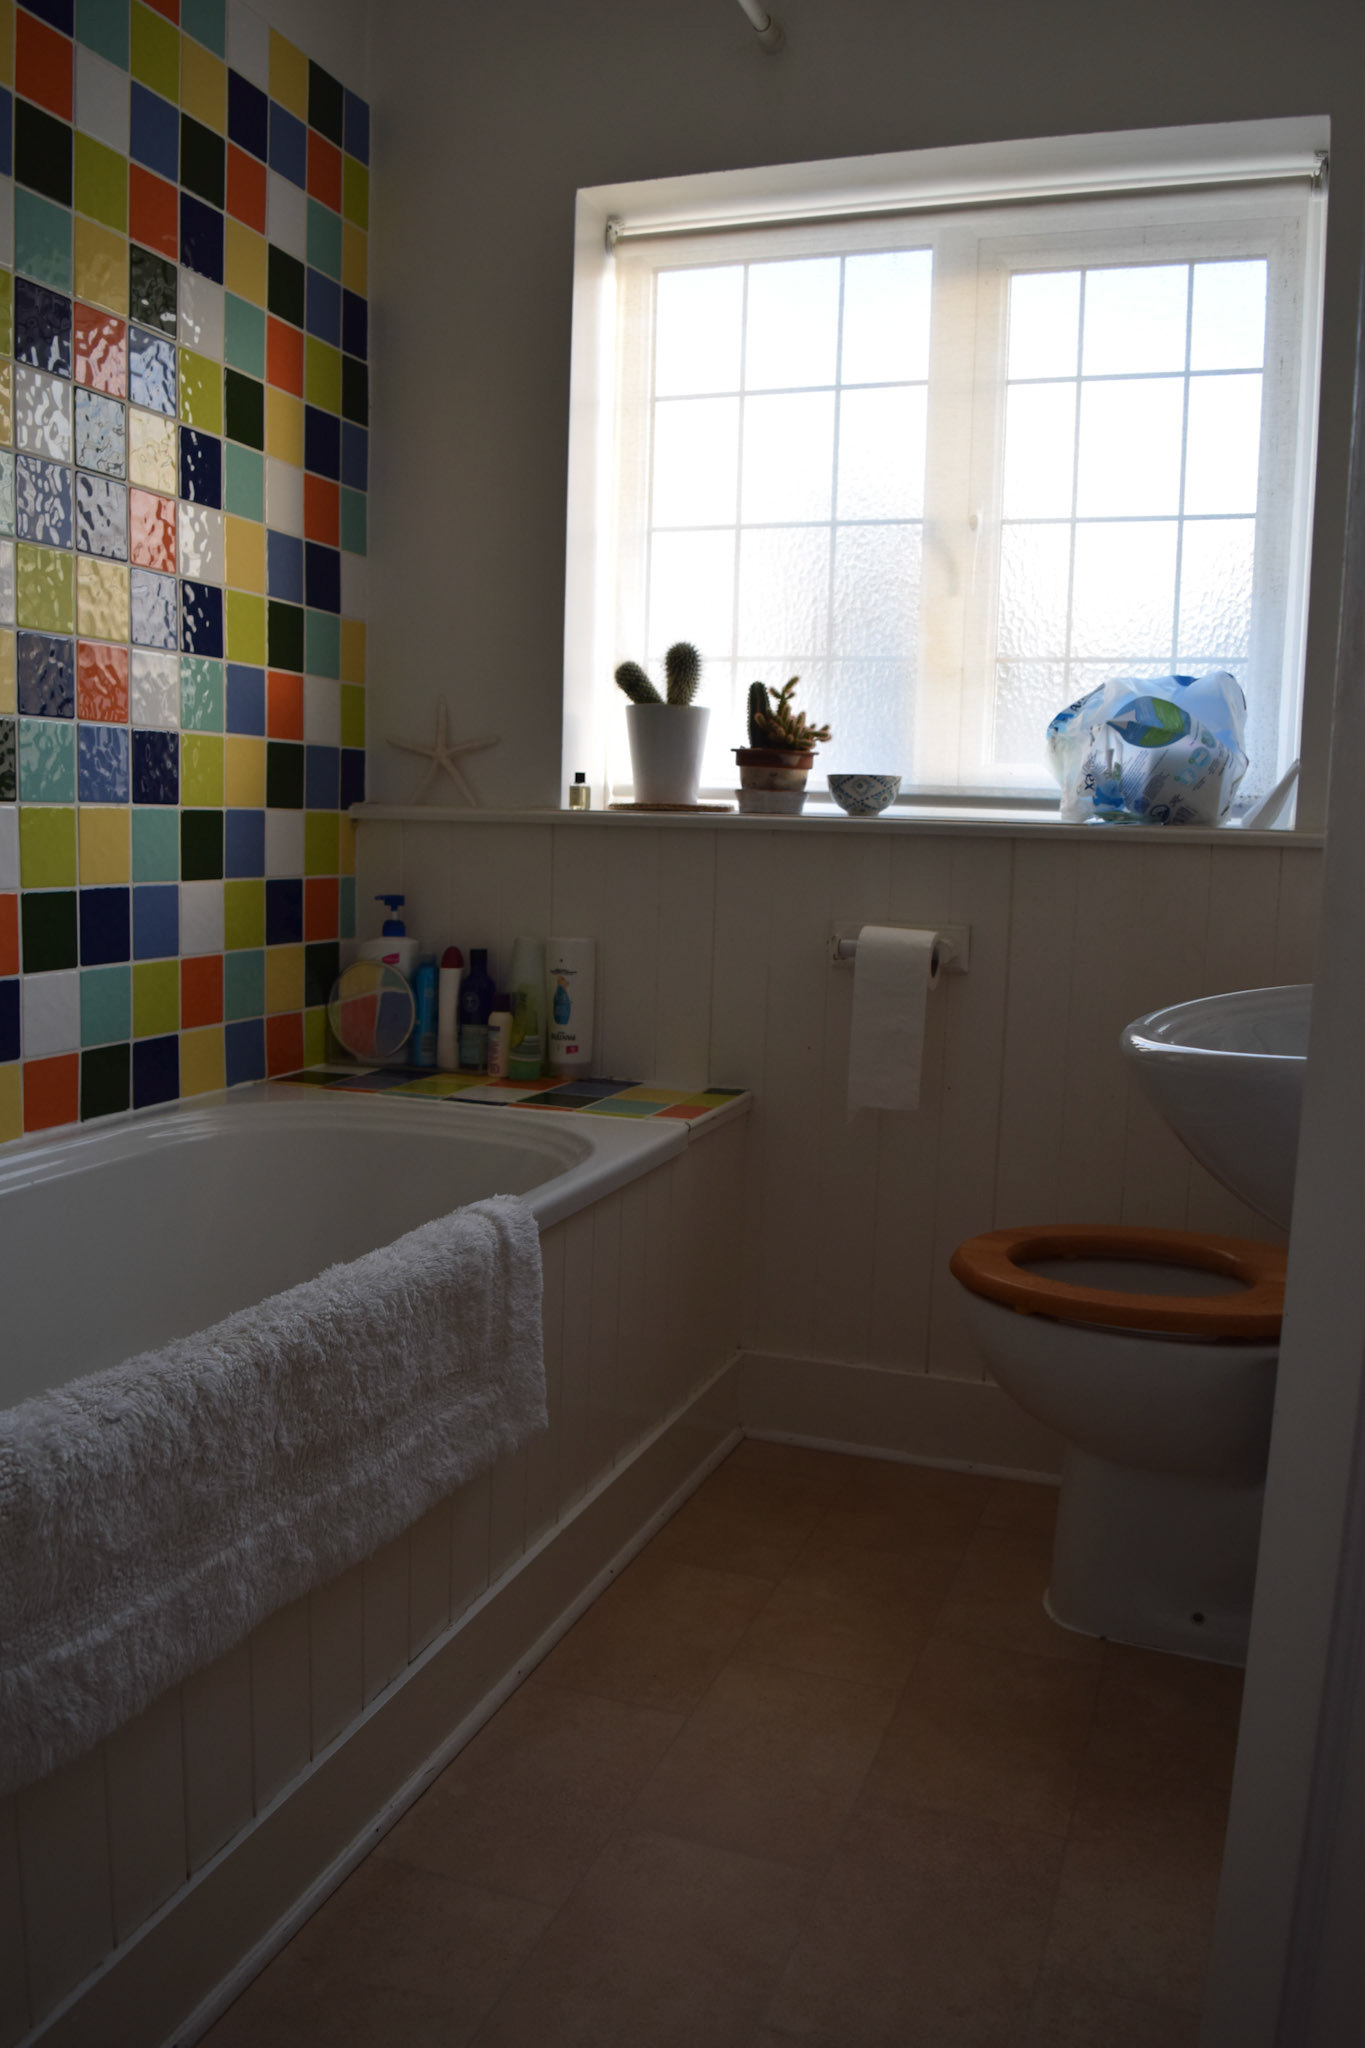
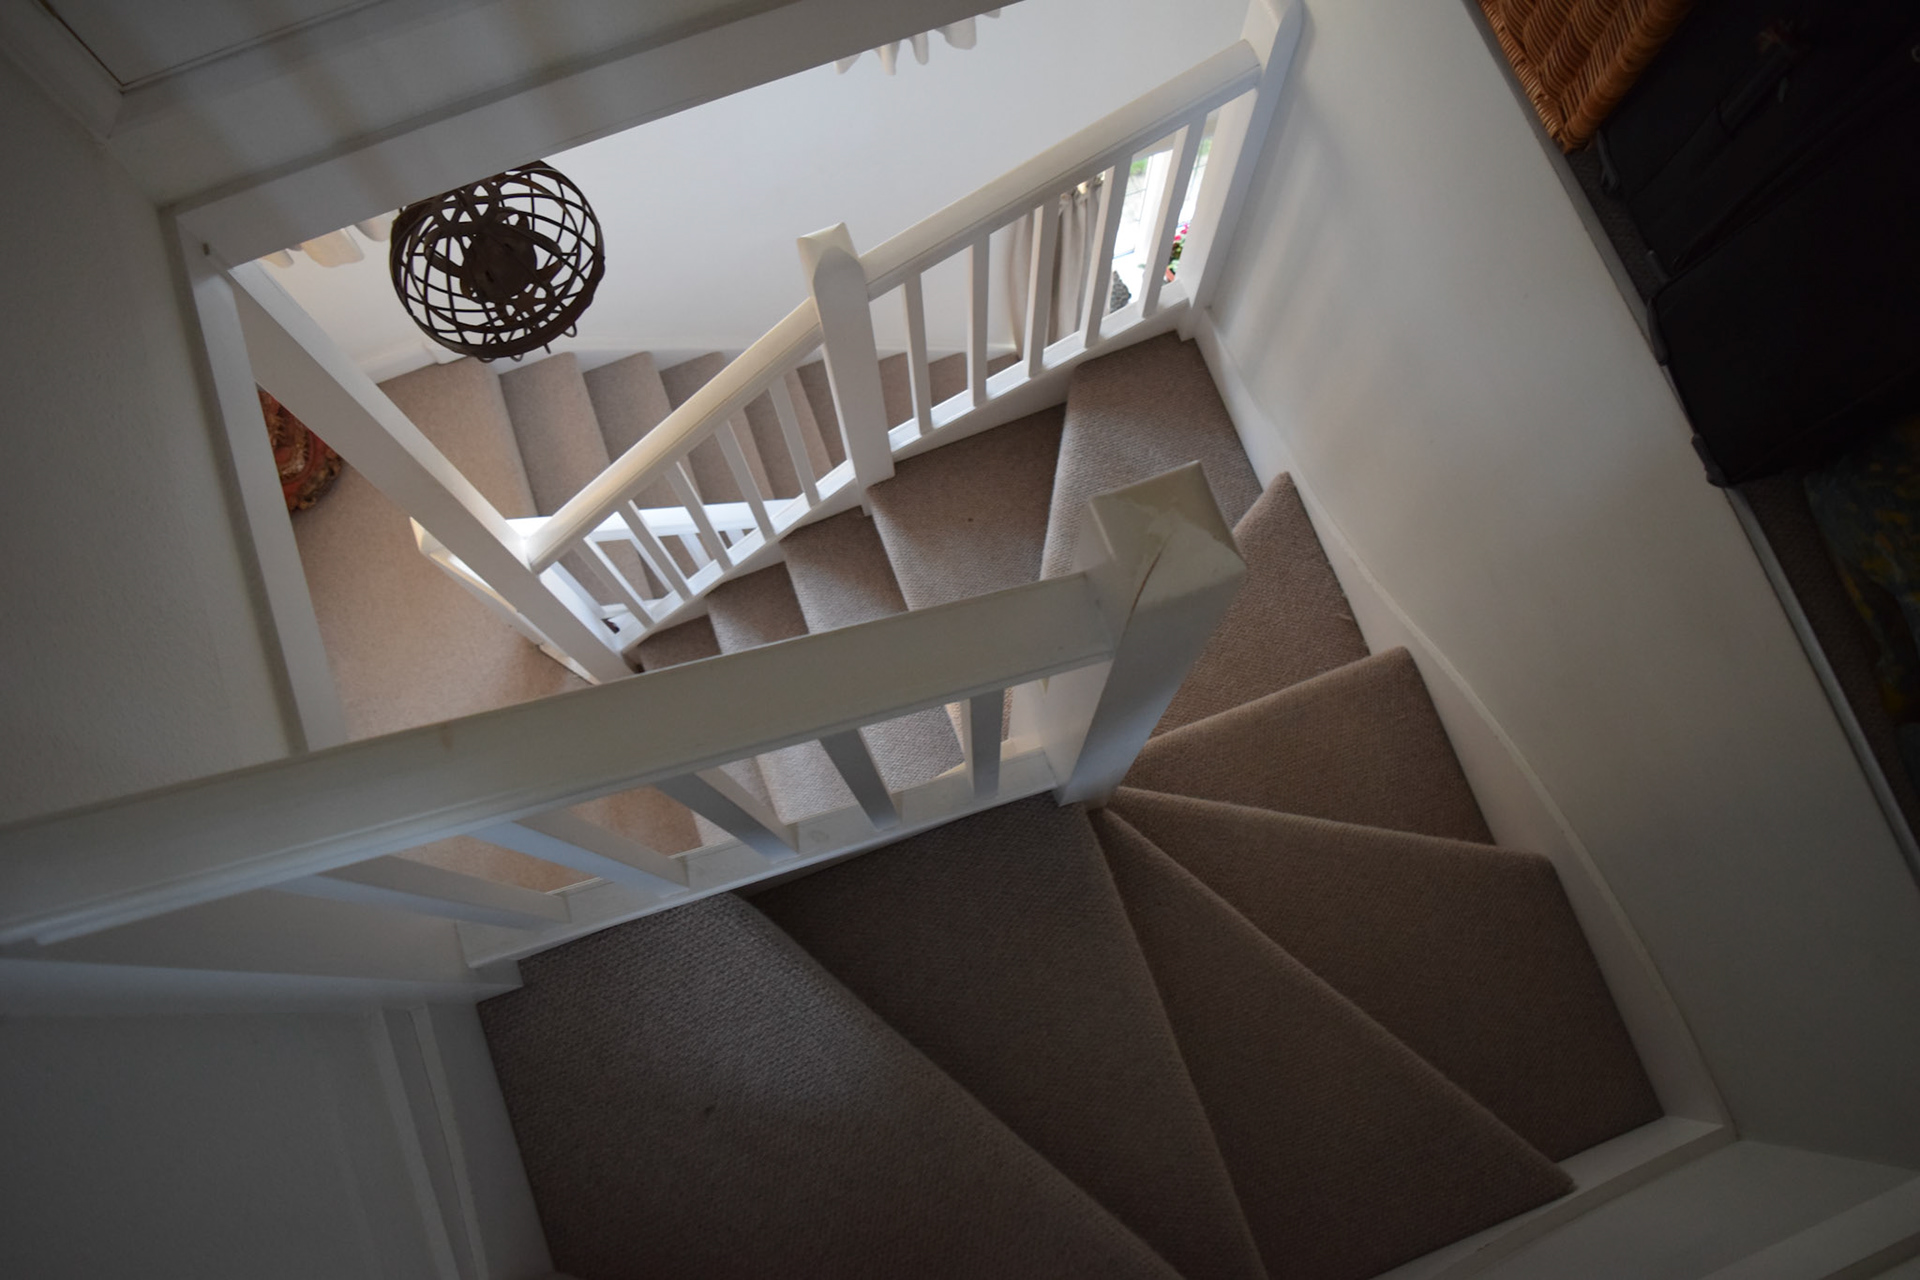
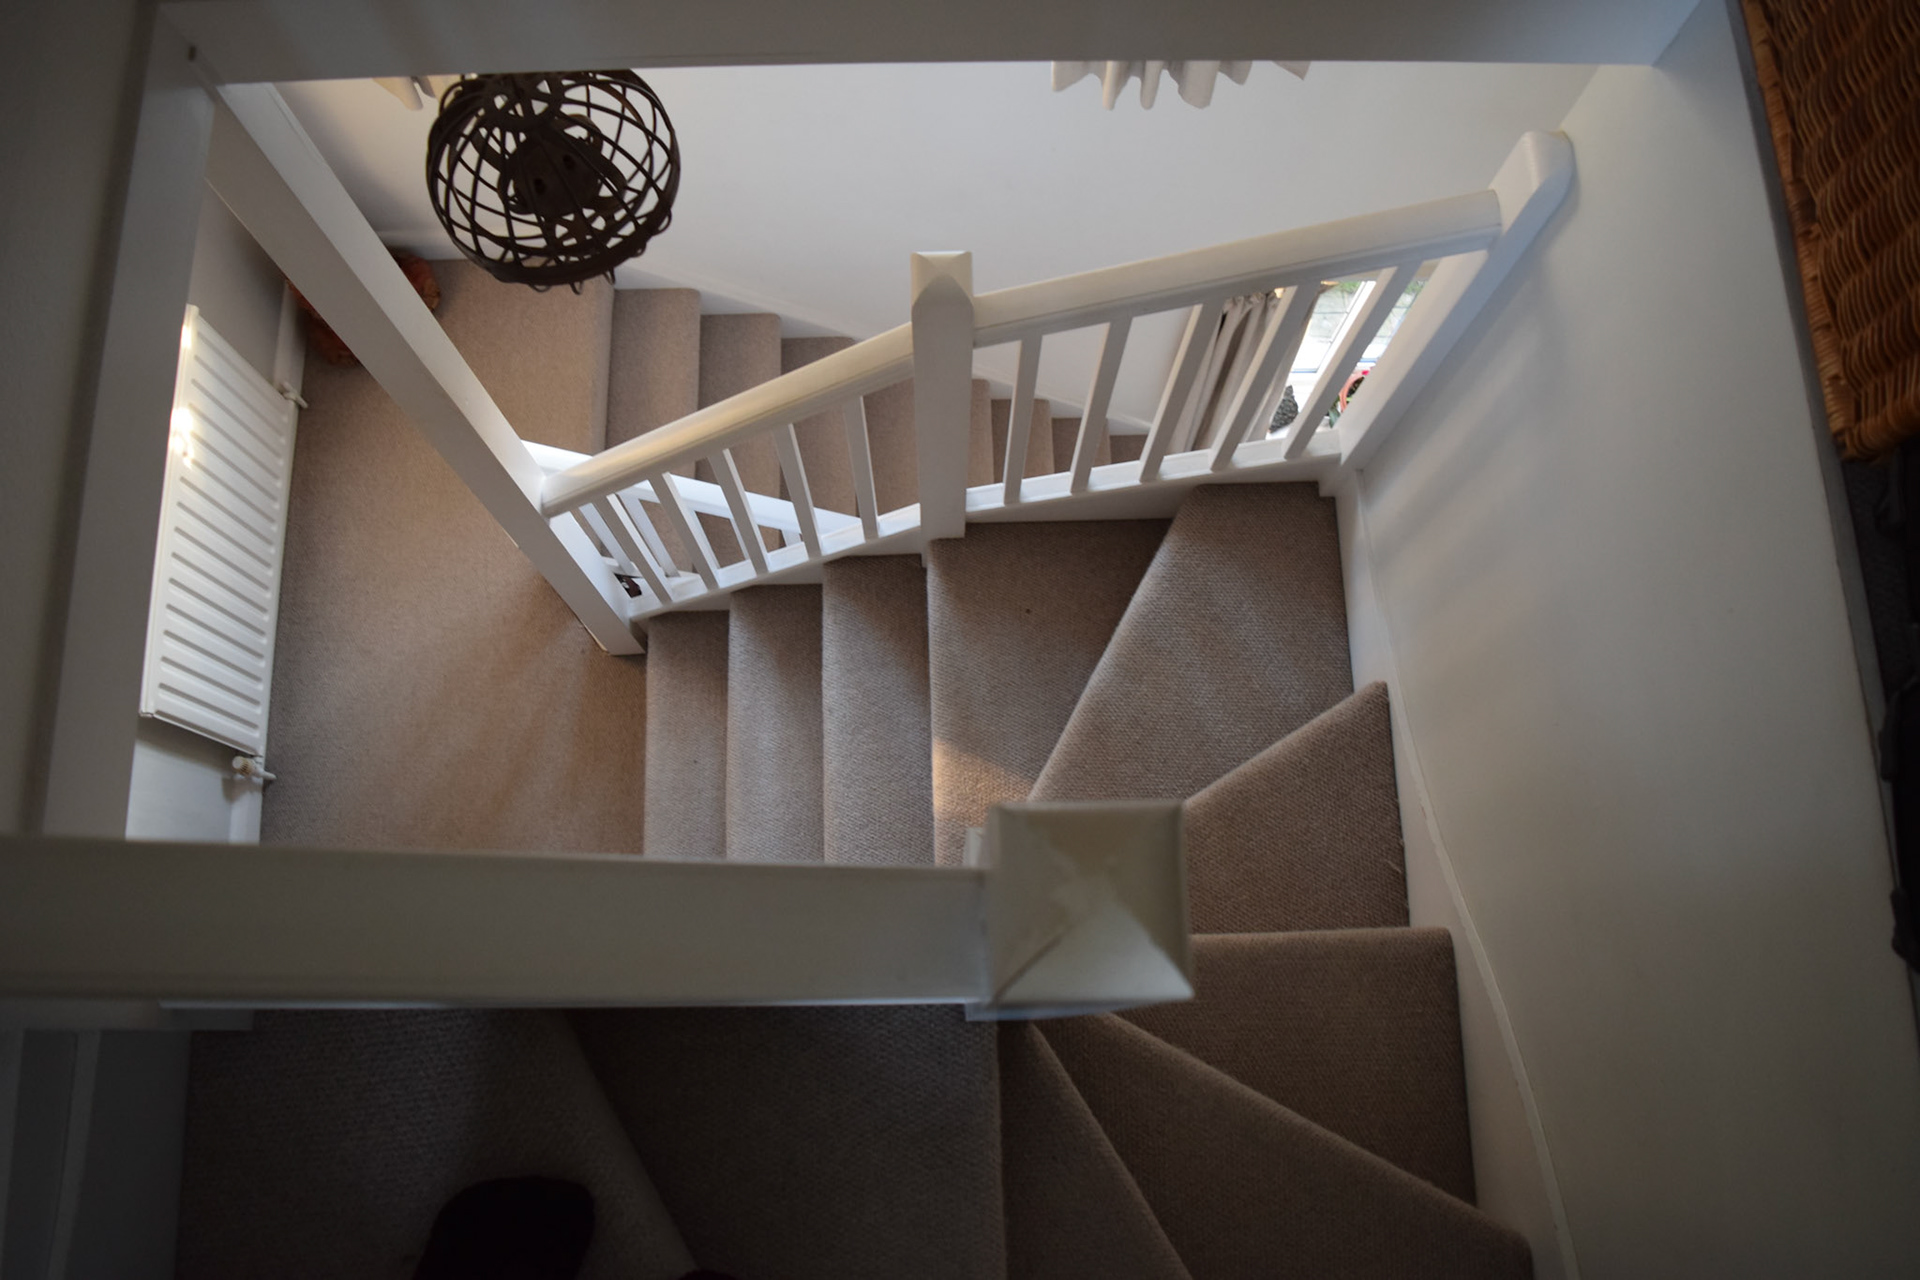
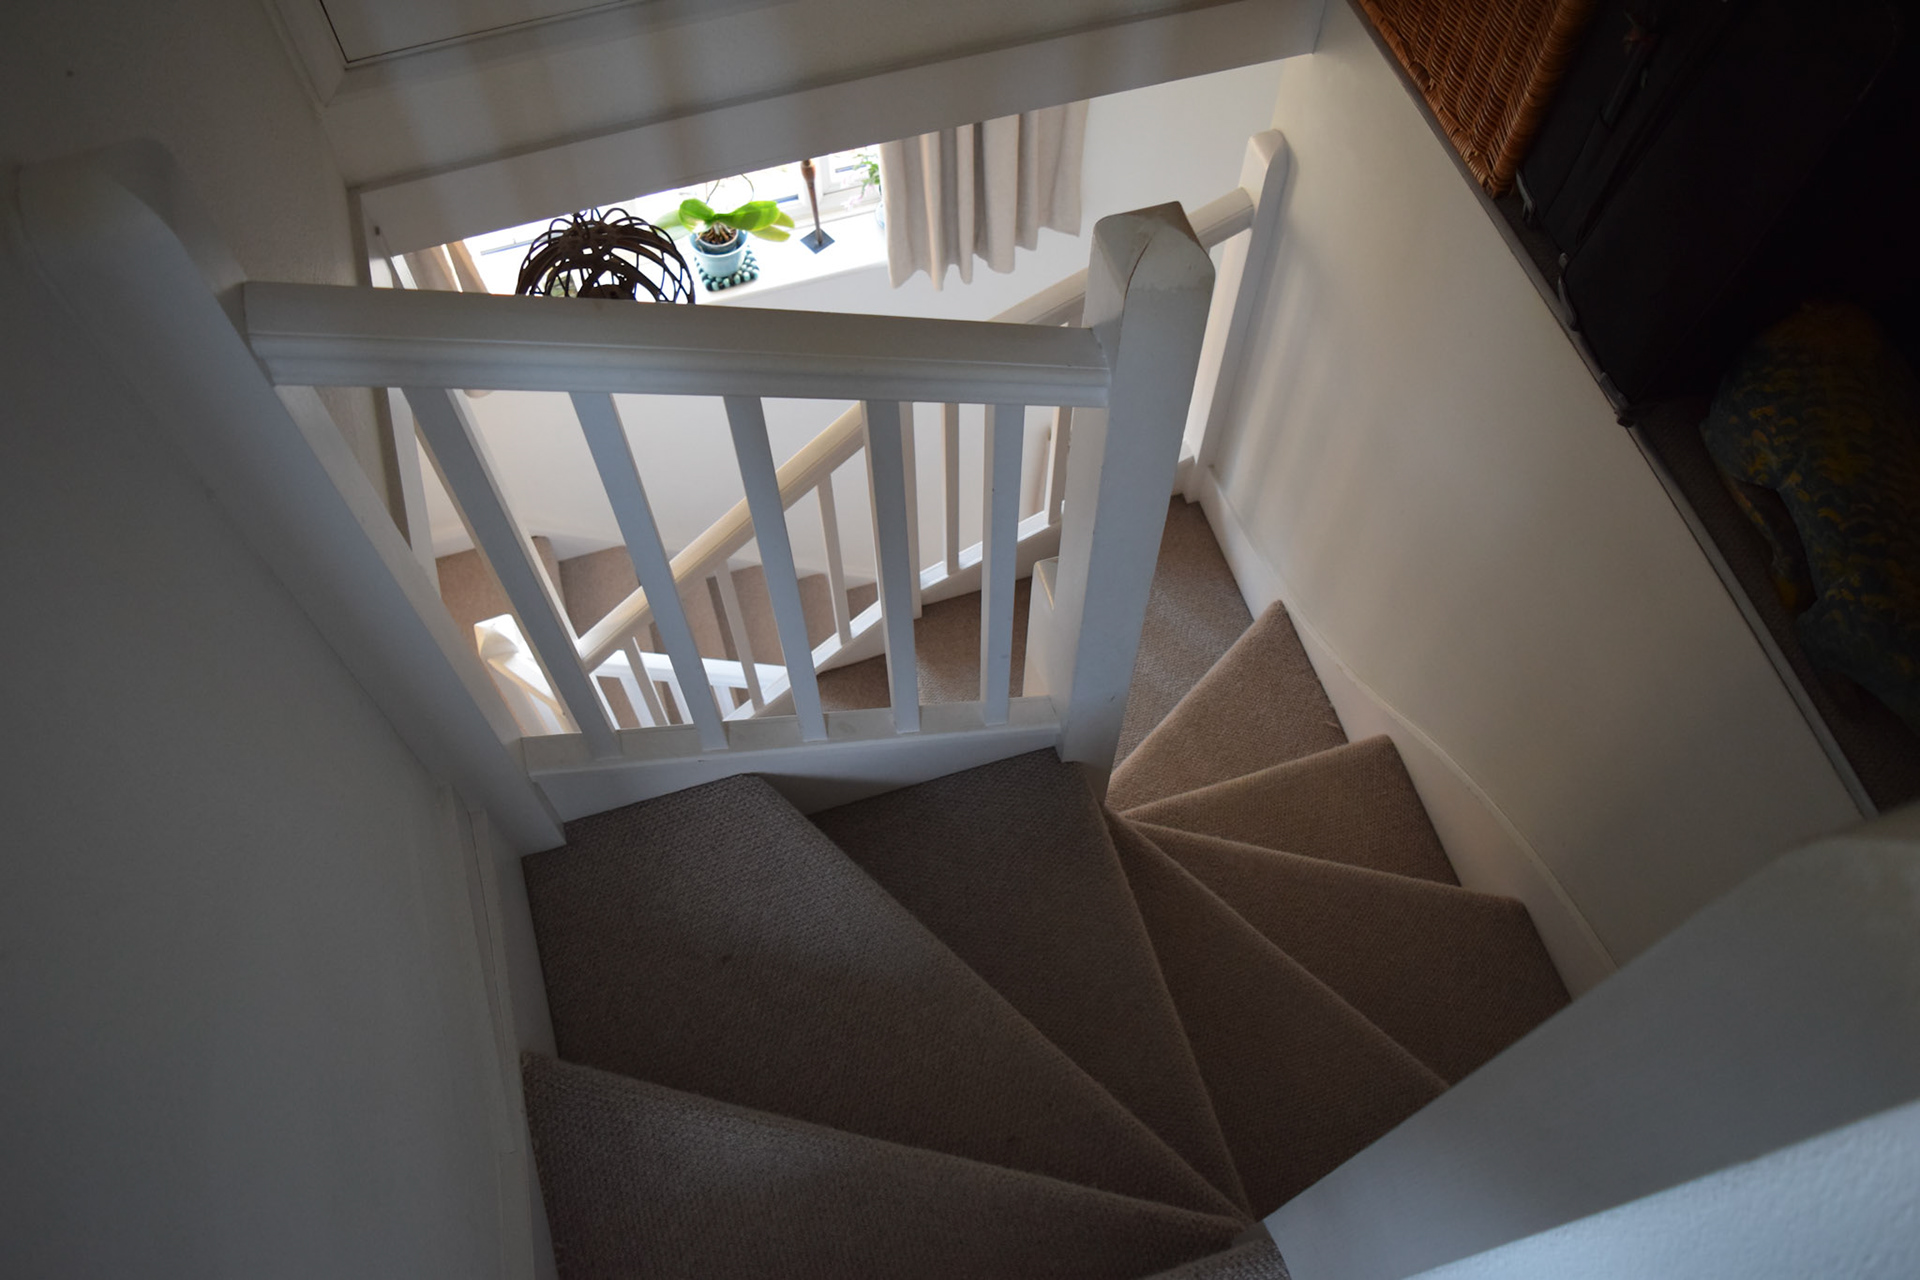
The start to this animation is based entirely on a photo of my house which works really well to create that fear from familiarity that is then ripped apart as the upstairs is revealed. the image on the left is the original image I took and based the animation of off.
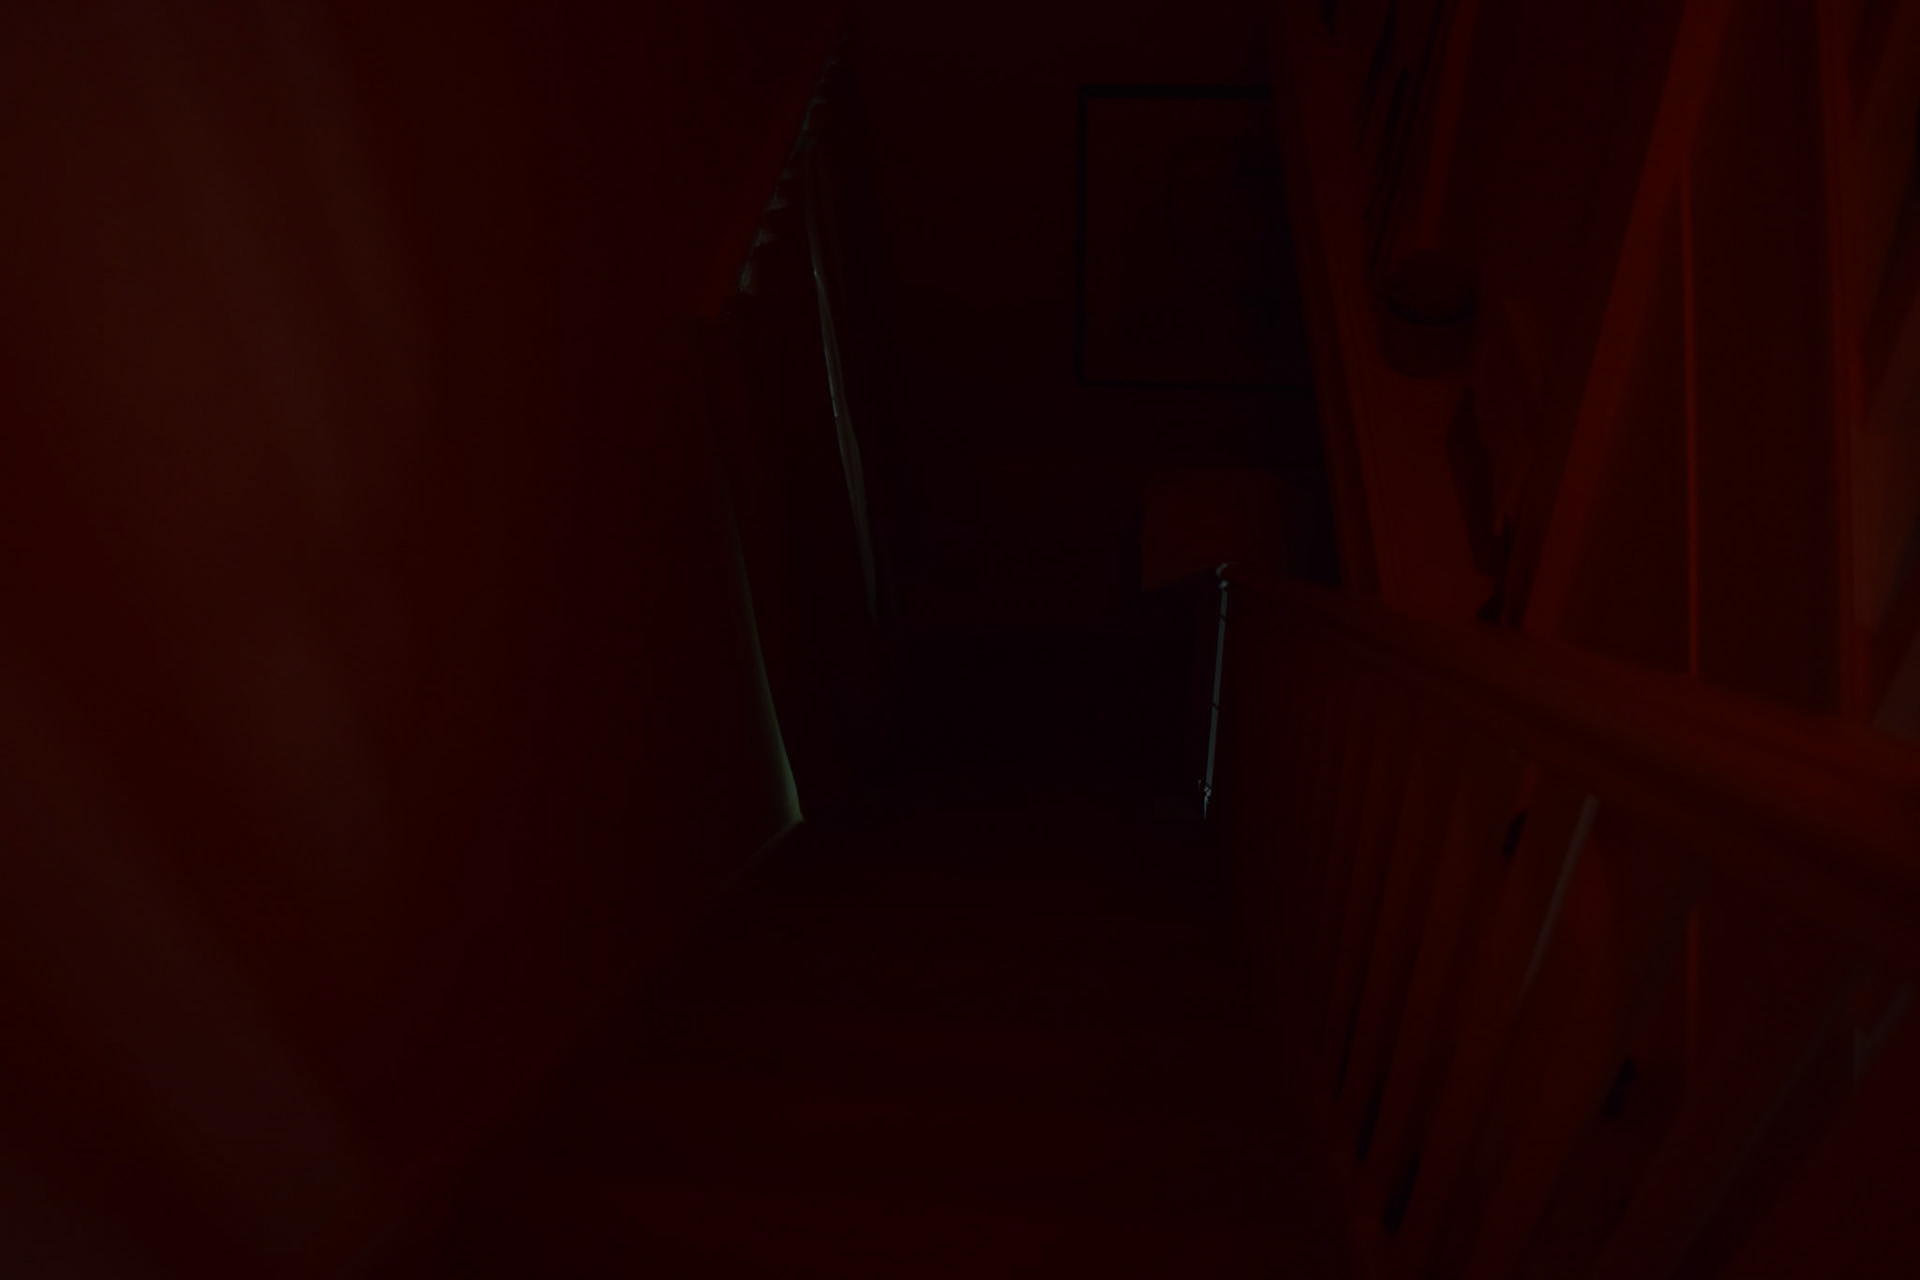
the video on the right is a brief comparison of the two images showing how they lay on top of each other. The positioning is not perfect as the starting point got moved around after the modelling was done, but all the objects still match.

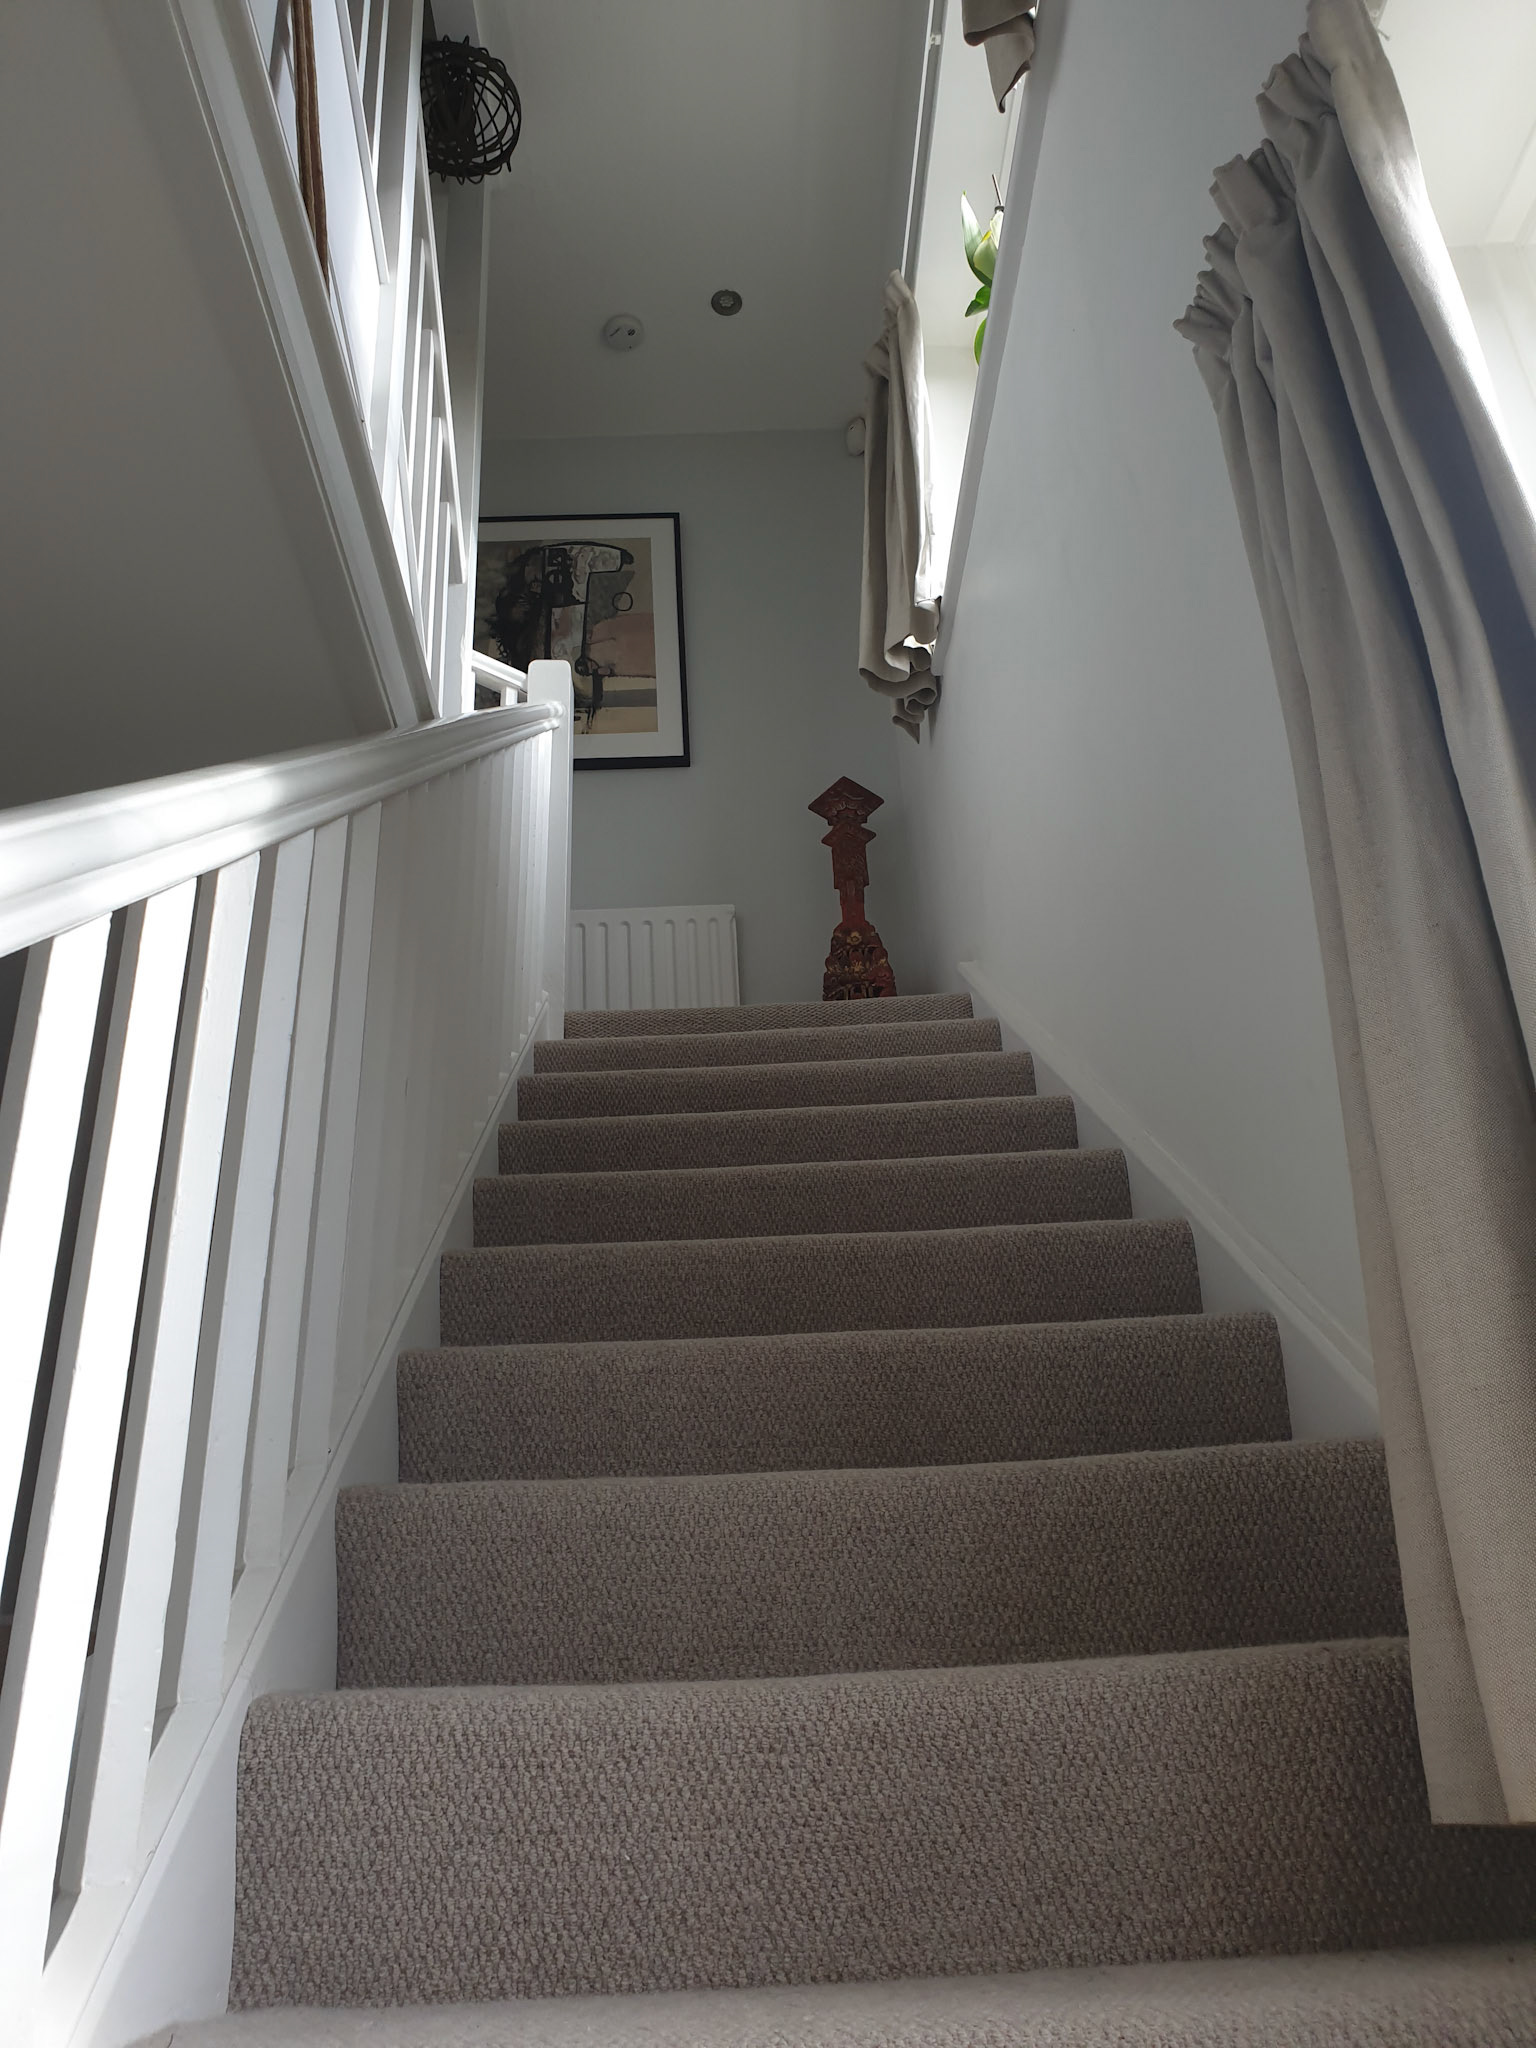
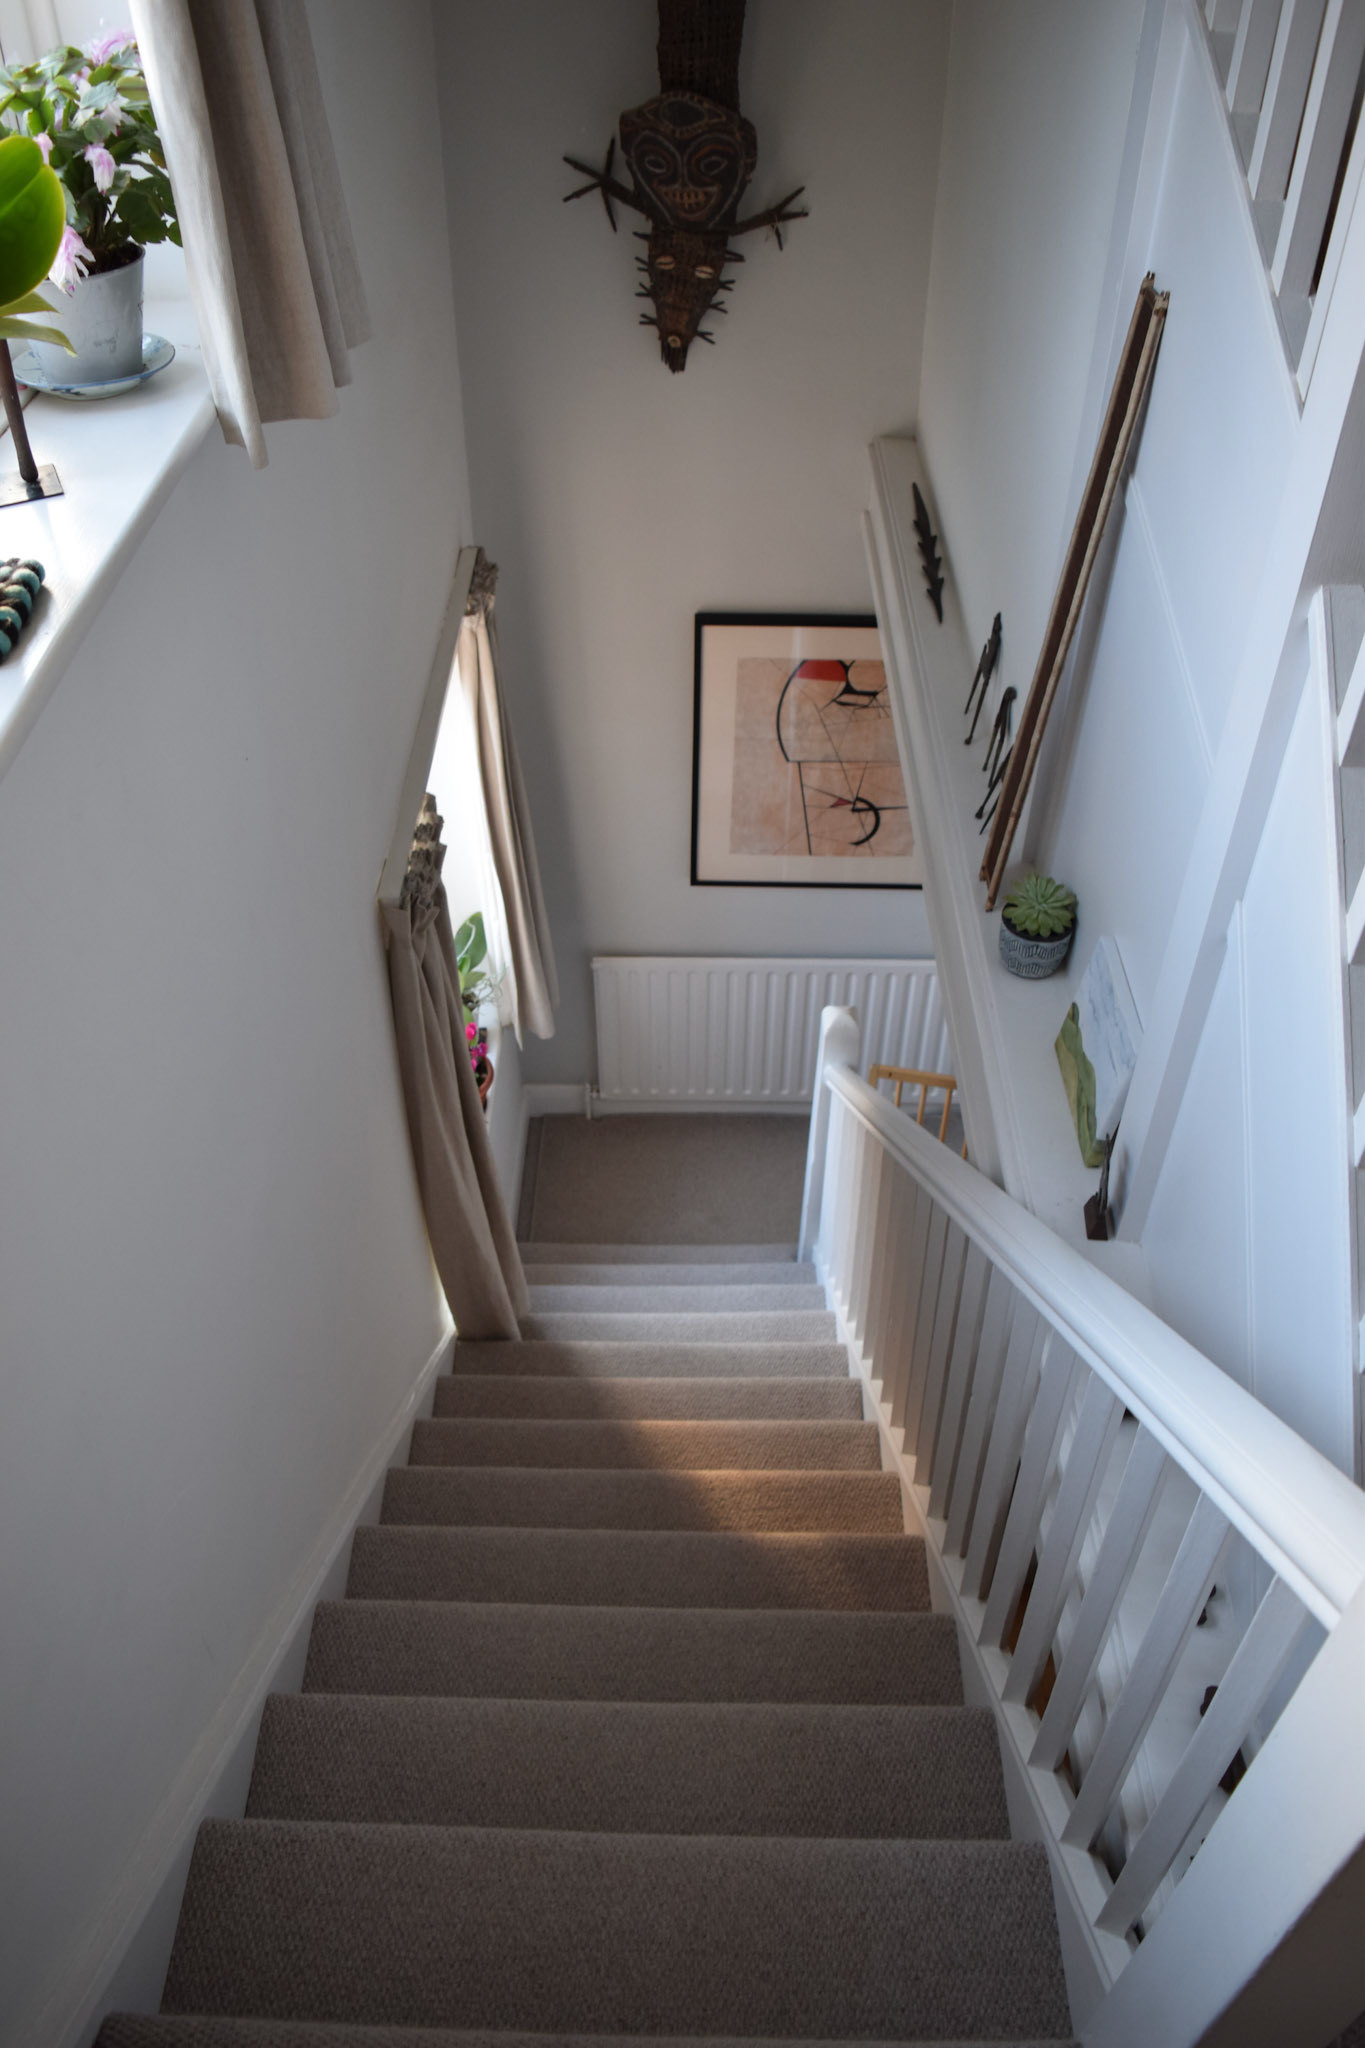
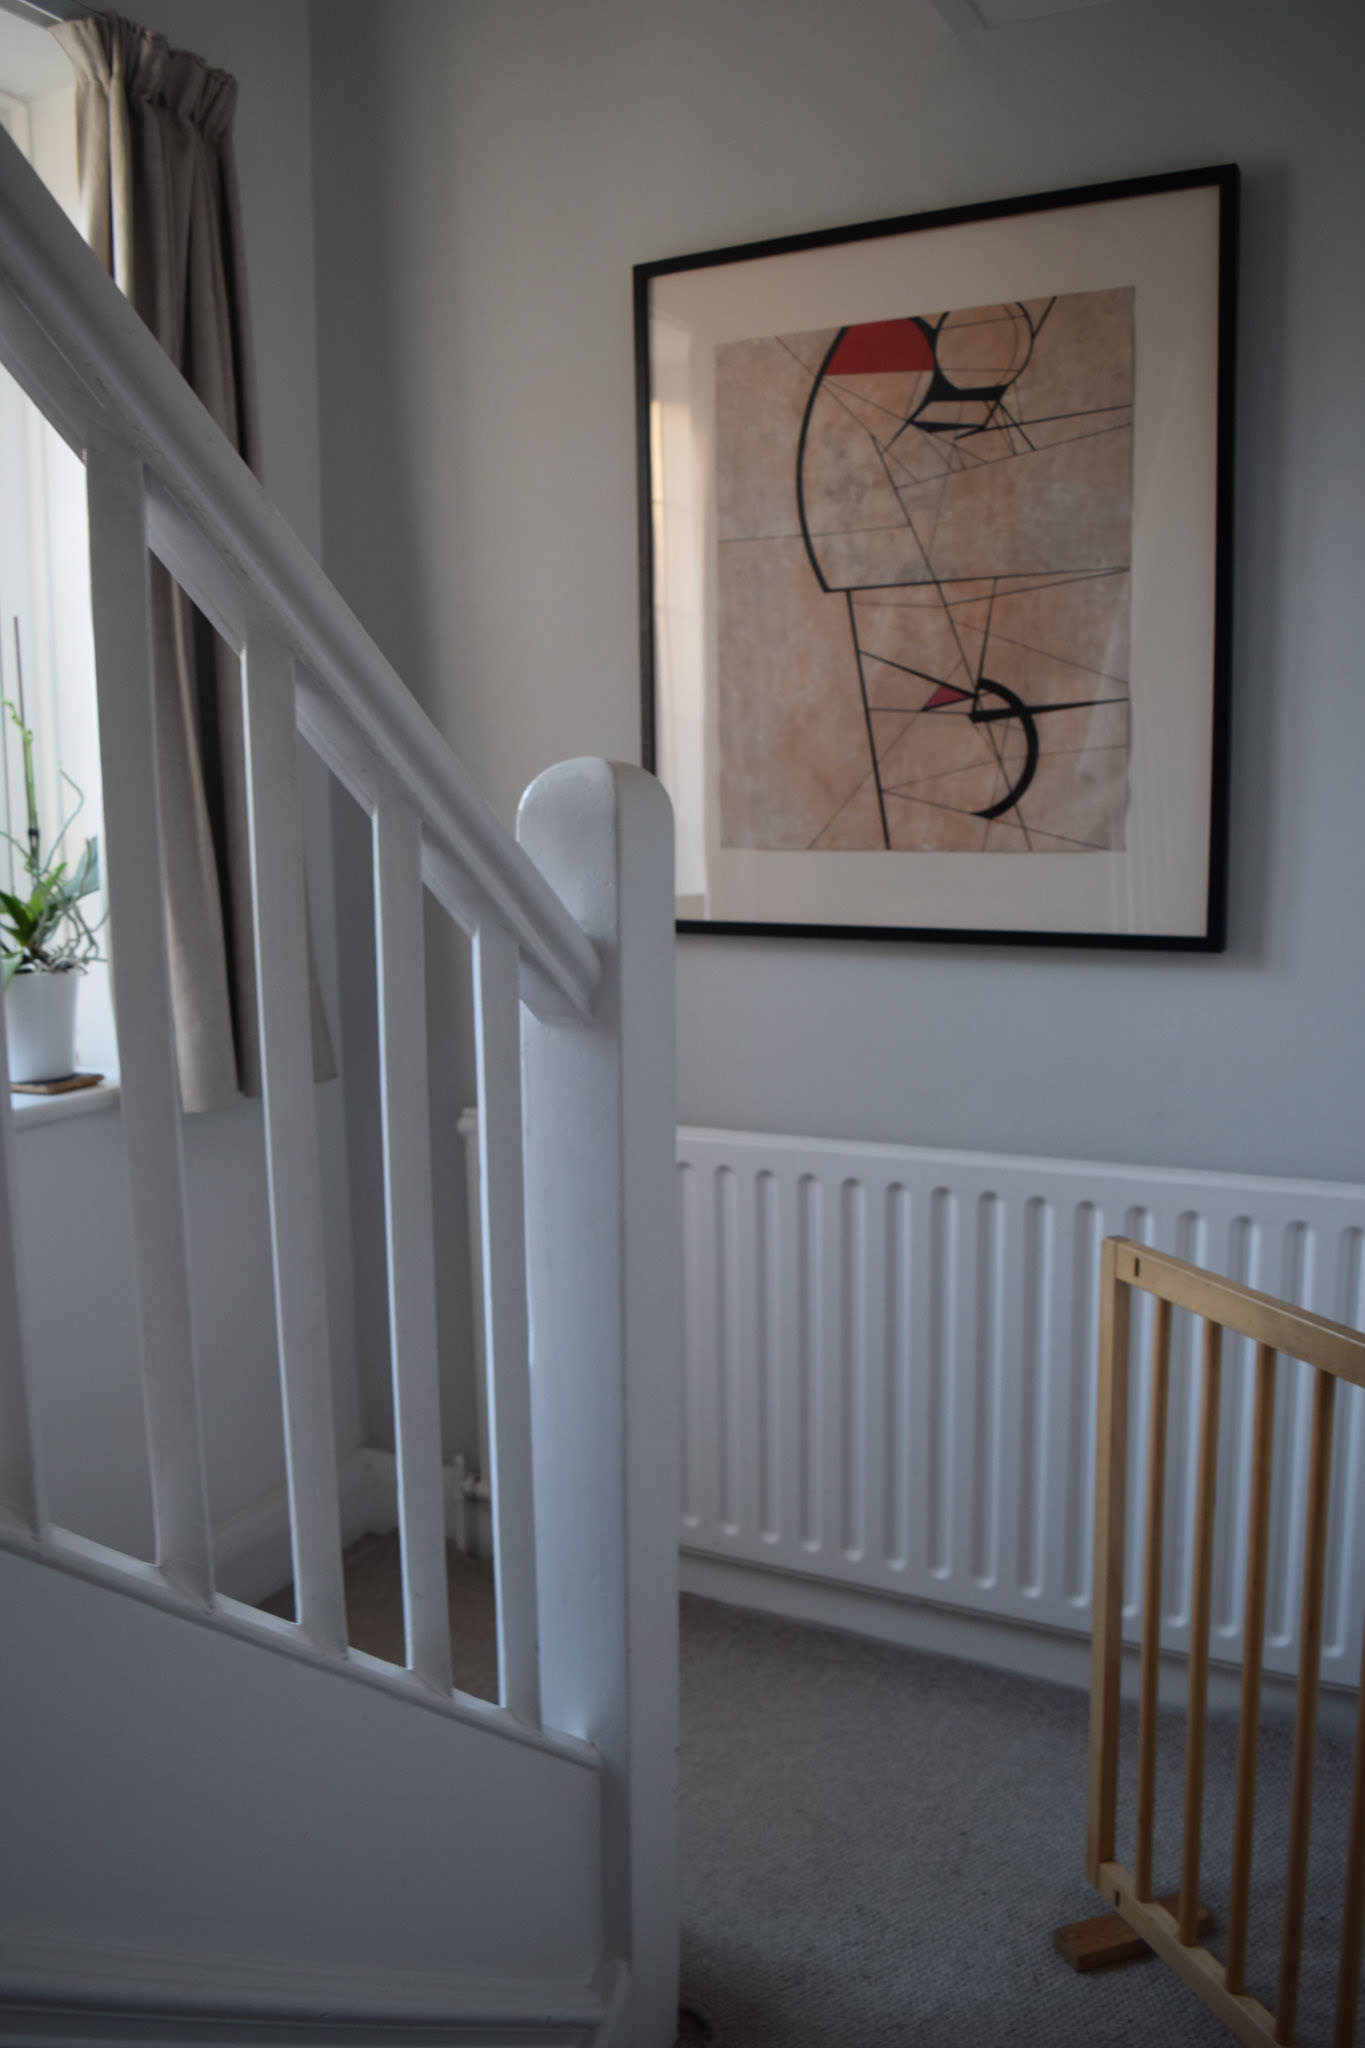
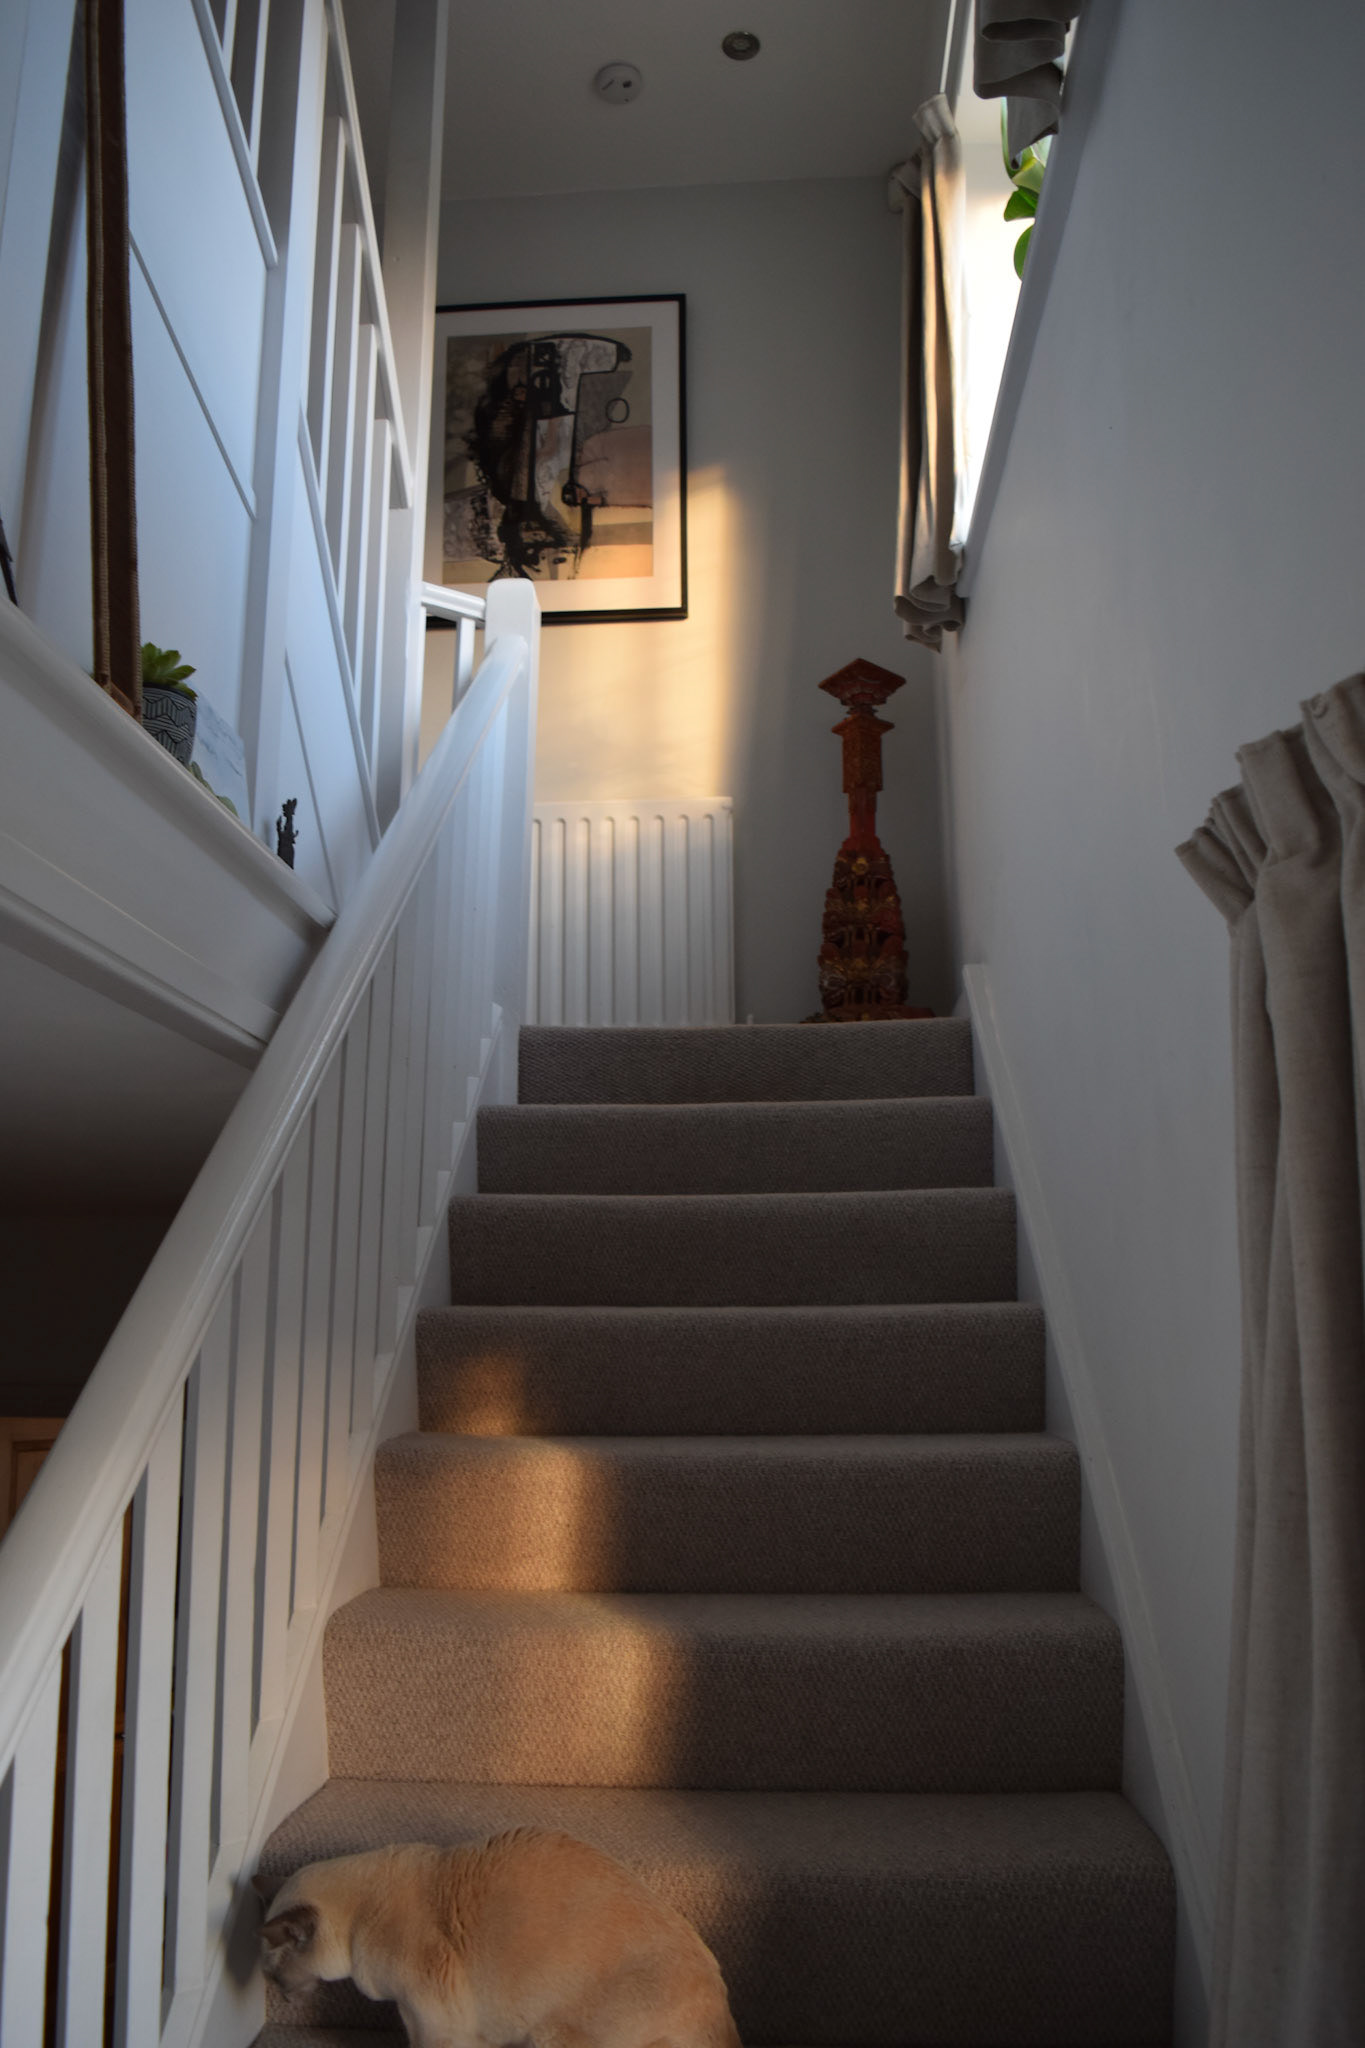
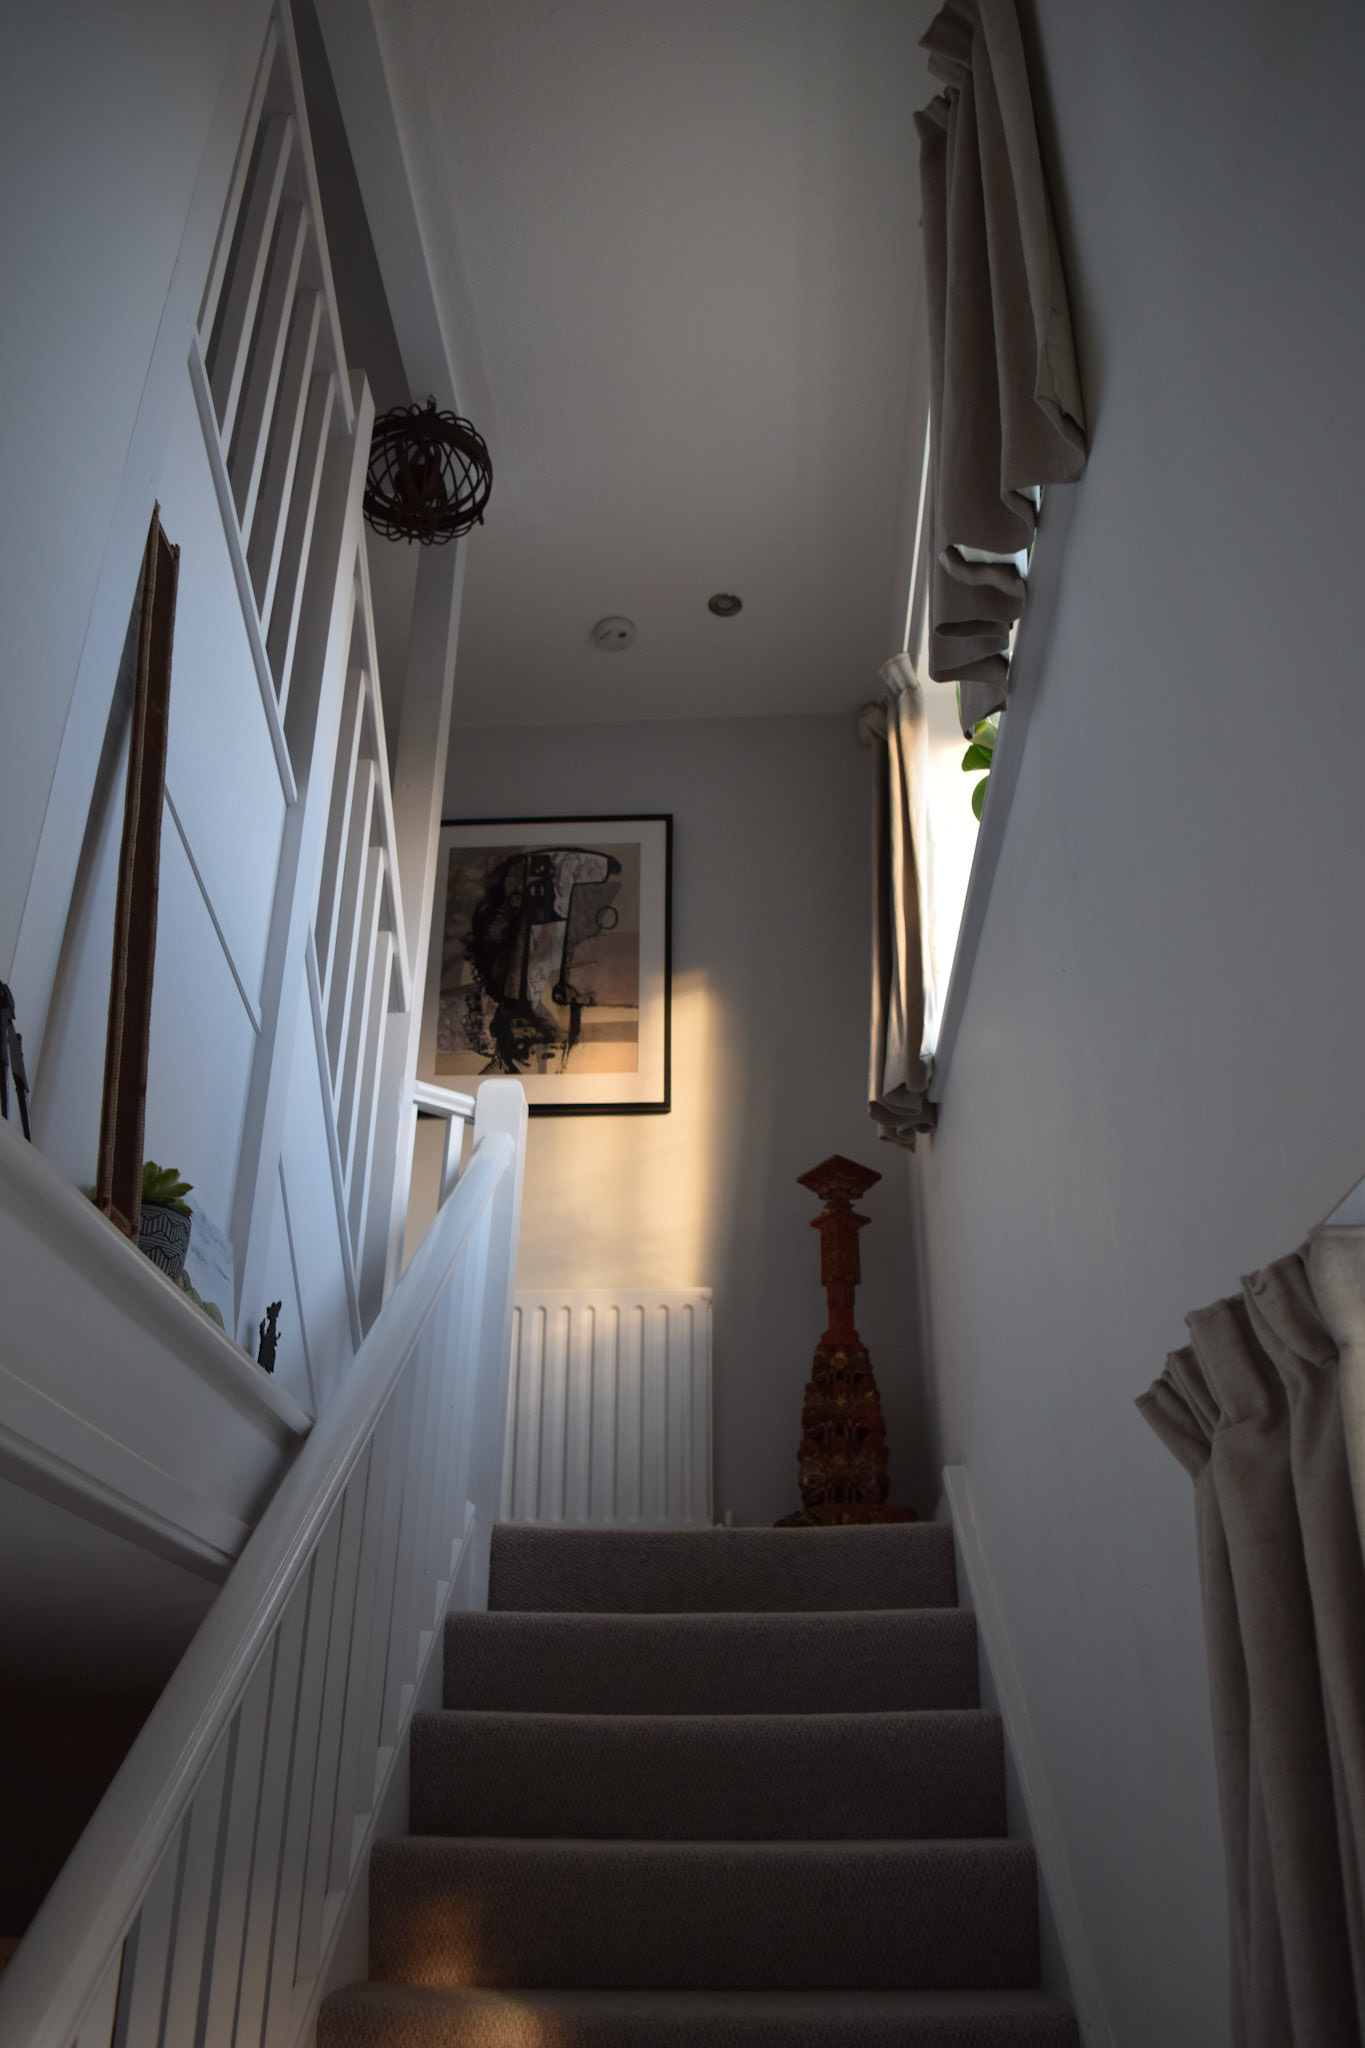
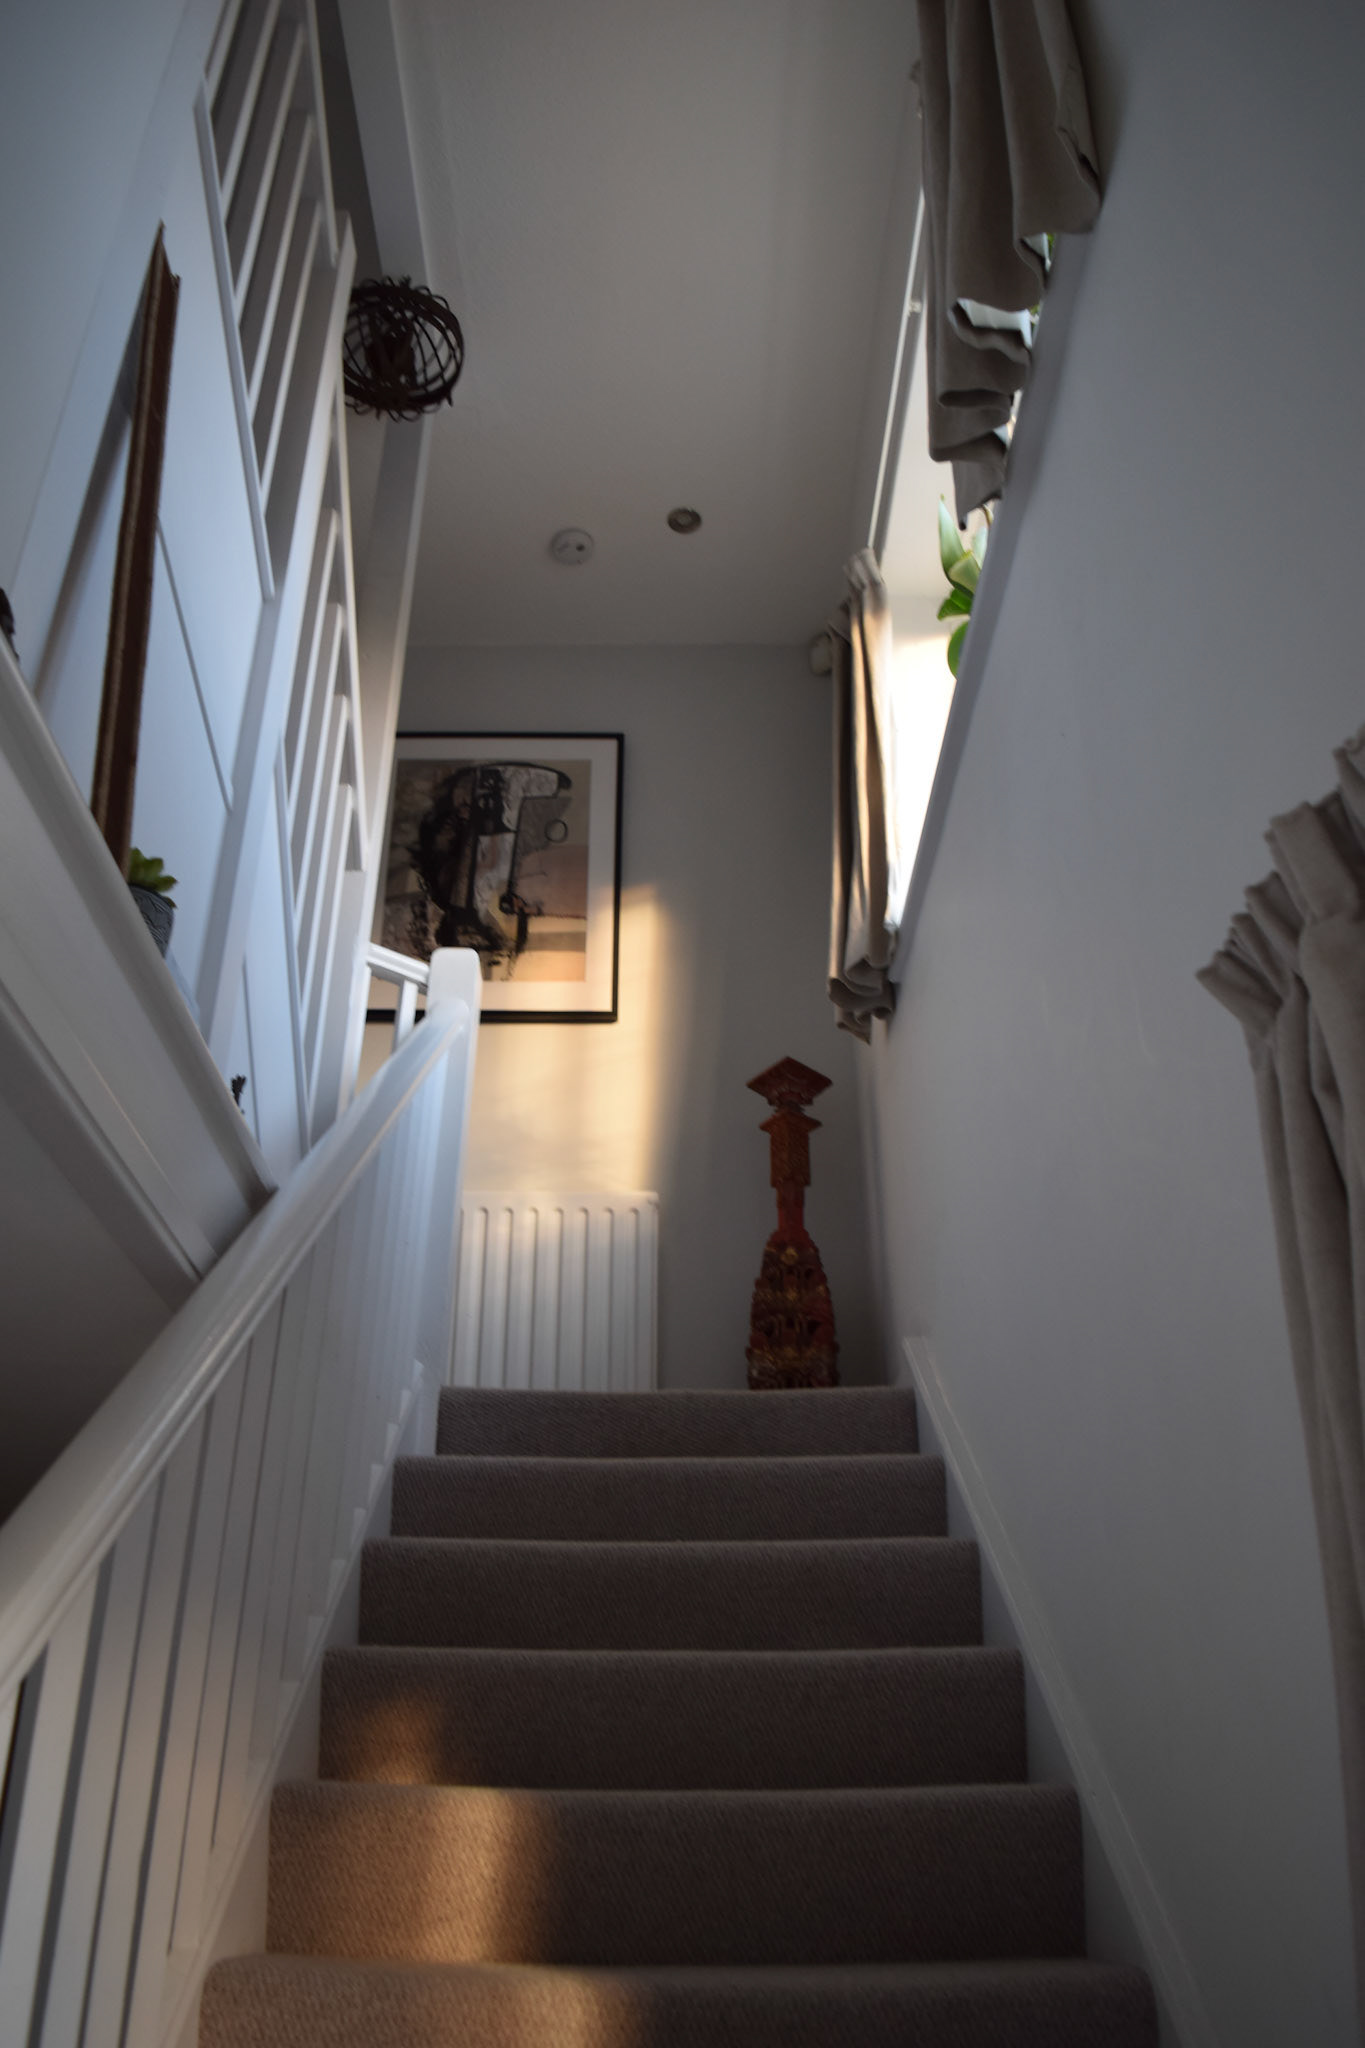
For this piece I took a large selection of photos of my house from different angles and different places, which gave me lots of room to create an animation and a sort of mini-movie. I chose the image above as I found it gave me the most freedom to work with the up stairs angle and a flat wall at the top worked really well. This allowed me to create the anticipation and tension build that leads the reveal and climax as you turn round the corner. The images i referenced are the ones below. I also did a couple with a similar lighting that I planned to use, I did this at night using a long shutter time, to get the red light in one of them i also used my phone light with my finger in front to create a very effect red light. However I didn't get them perfectly as the shutter time was too short, meaning too dark. Although, I had realised because I was going to be recreating the entire scene in 3D I could just take the pictures in the day time. This also made all the lines and details more clear and so easier to model from.


These images are some of the testing renders I did along the way, there are not nearly as many here, like there were in the launderette project, as I have sped up the process of making the materials and there are not as many reflections so I used the rendered view in the software to preview it, I didn't rely on rendering the frame in full as each one took 5-10mins later on in the project as more things got added and doing this took too long.
In the renders above the lighting is very different to the final piece as I just wanted to view the materials and walls clearly. to do this I used something called an HDRI, (high dynamic range image) which is an image that has lots of information data, giving light levels everywhere and shadows. this is a 360 photo of everything around a point, and then blender can turn this into the background of the world, and emit lighting globally from this image. It allows you to quickly light your scene with realistic lighting and shading as it is taken straight from real life. When it came to rendering the real thing, I removed this and relied on the lights that I put in the scene.
This piece also had very long render times like my last piece, I minimised this by mostly using procedural materials - ones that are created using data and mathematics, not using any images or data that cannot be changed - Everything apart from the dark rocky material around the orb are procedural and made by me.
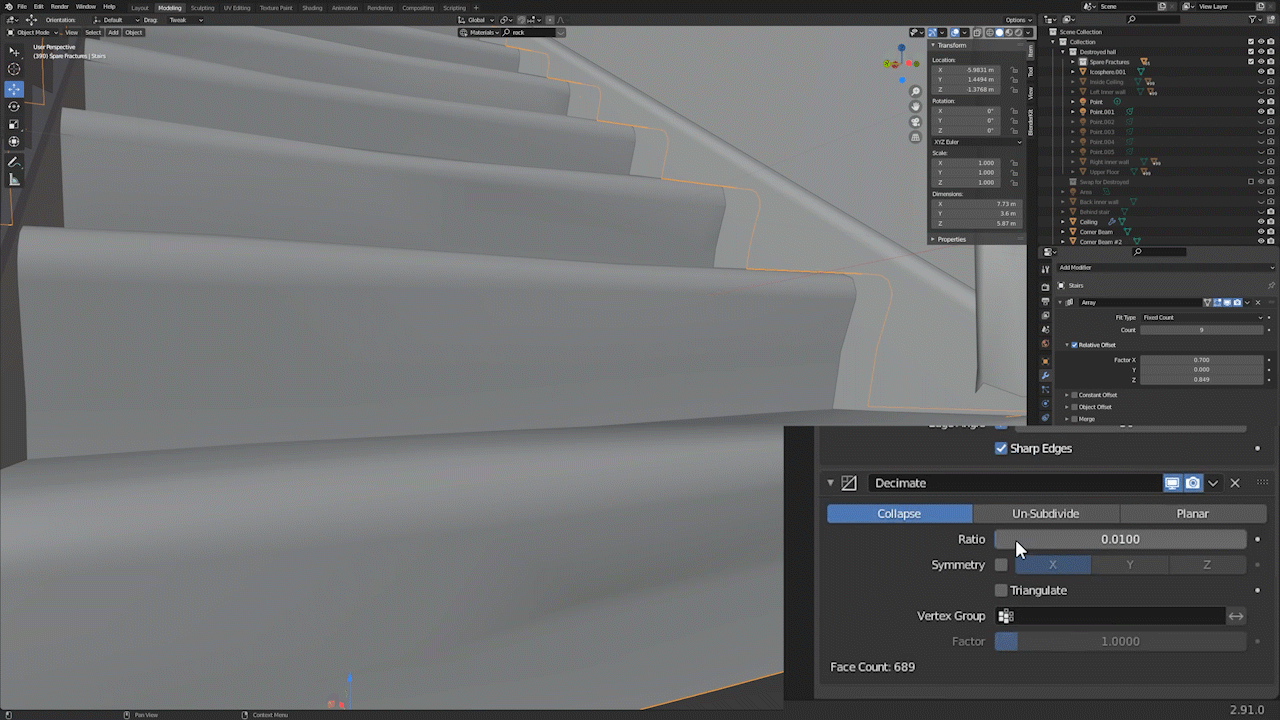
Another technique I used to minimise render times was a modifier called decimate, this in short takes an object and destroys a lot of the polygons that make it up, if you use it with a small factor it will remove a large chunk of polygons but (to the eye) keeping the exact same shape, decreasing the amount of unnecessary polygons that slow down renders. a lot of objects in this scene don't have many faces, like the walls as they are flat. However things like the radiator and the stairs have many faces to make it smooth. but this also created polygons on the other side of the object that don't need to exist, so Decimate drastically reduces polygon count and increases the render times. The effects of which can be seen above.

Cell fracture Settings
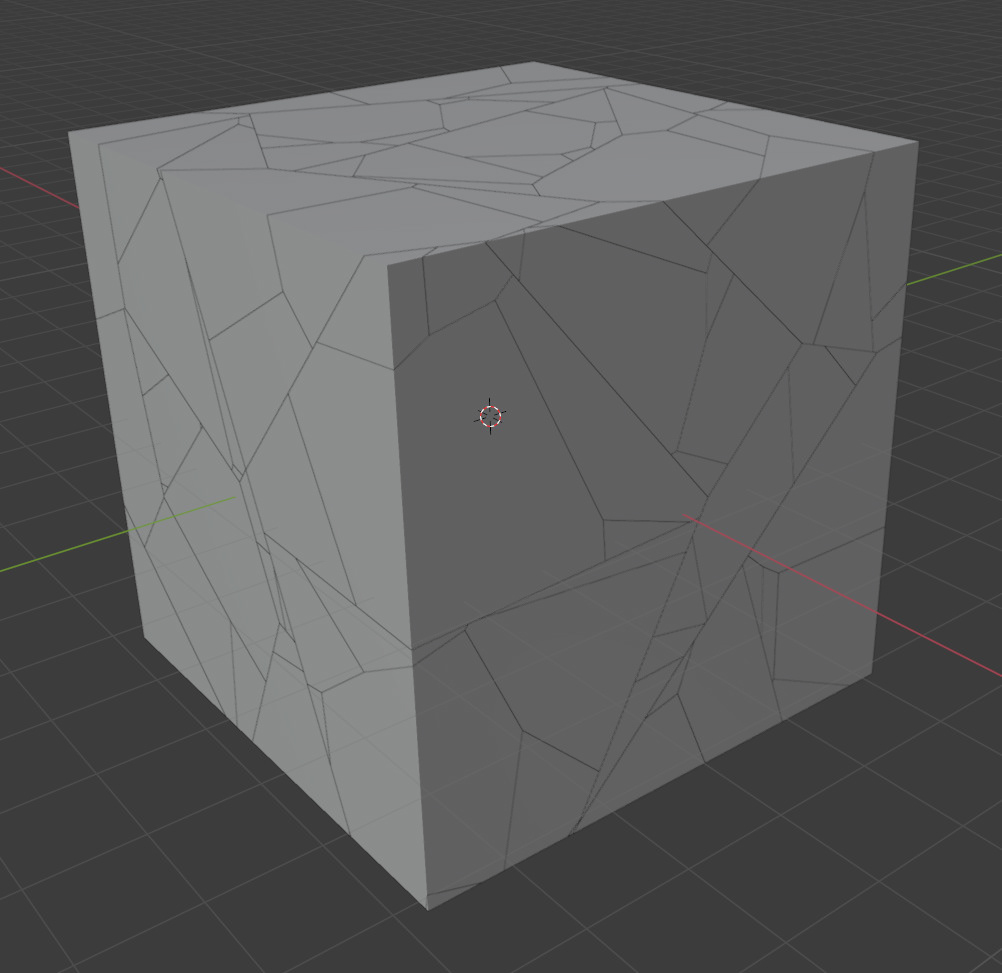
Cell Fracutre results
This piece used a lot of similar tools to the previous landerette scene so if you want more information on how I made this have a look at that page. however one tool I did use that was very important was the cell fracutre tool, this is an add-on to blender that allows a shape to be fractured into lots of smaller pieces. the shape and number of these can be changed with many settings.
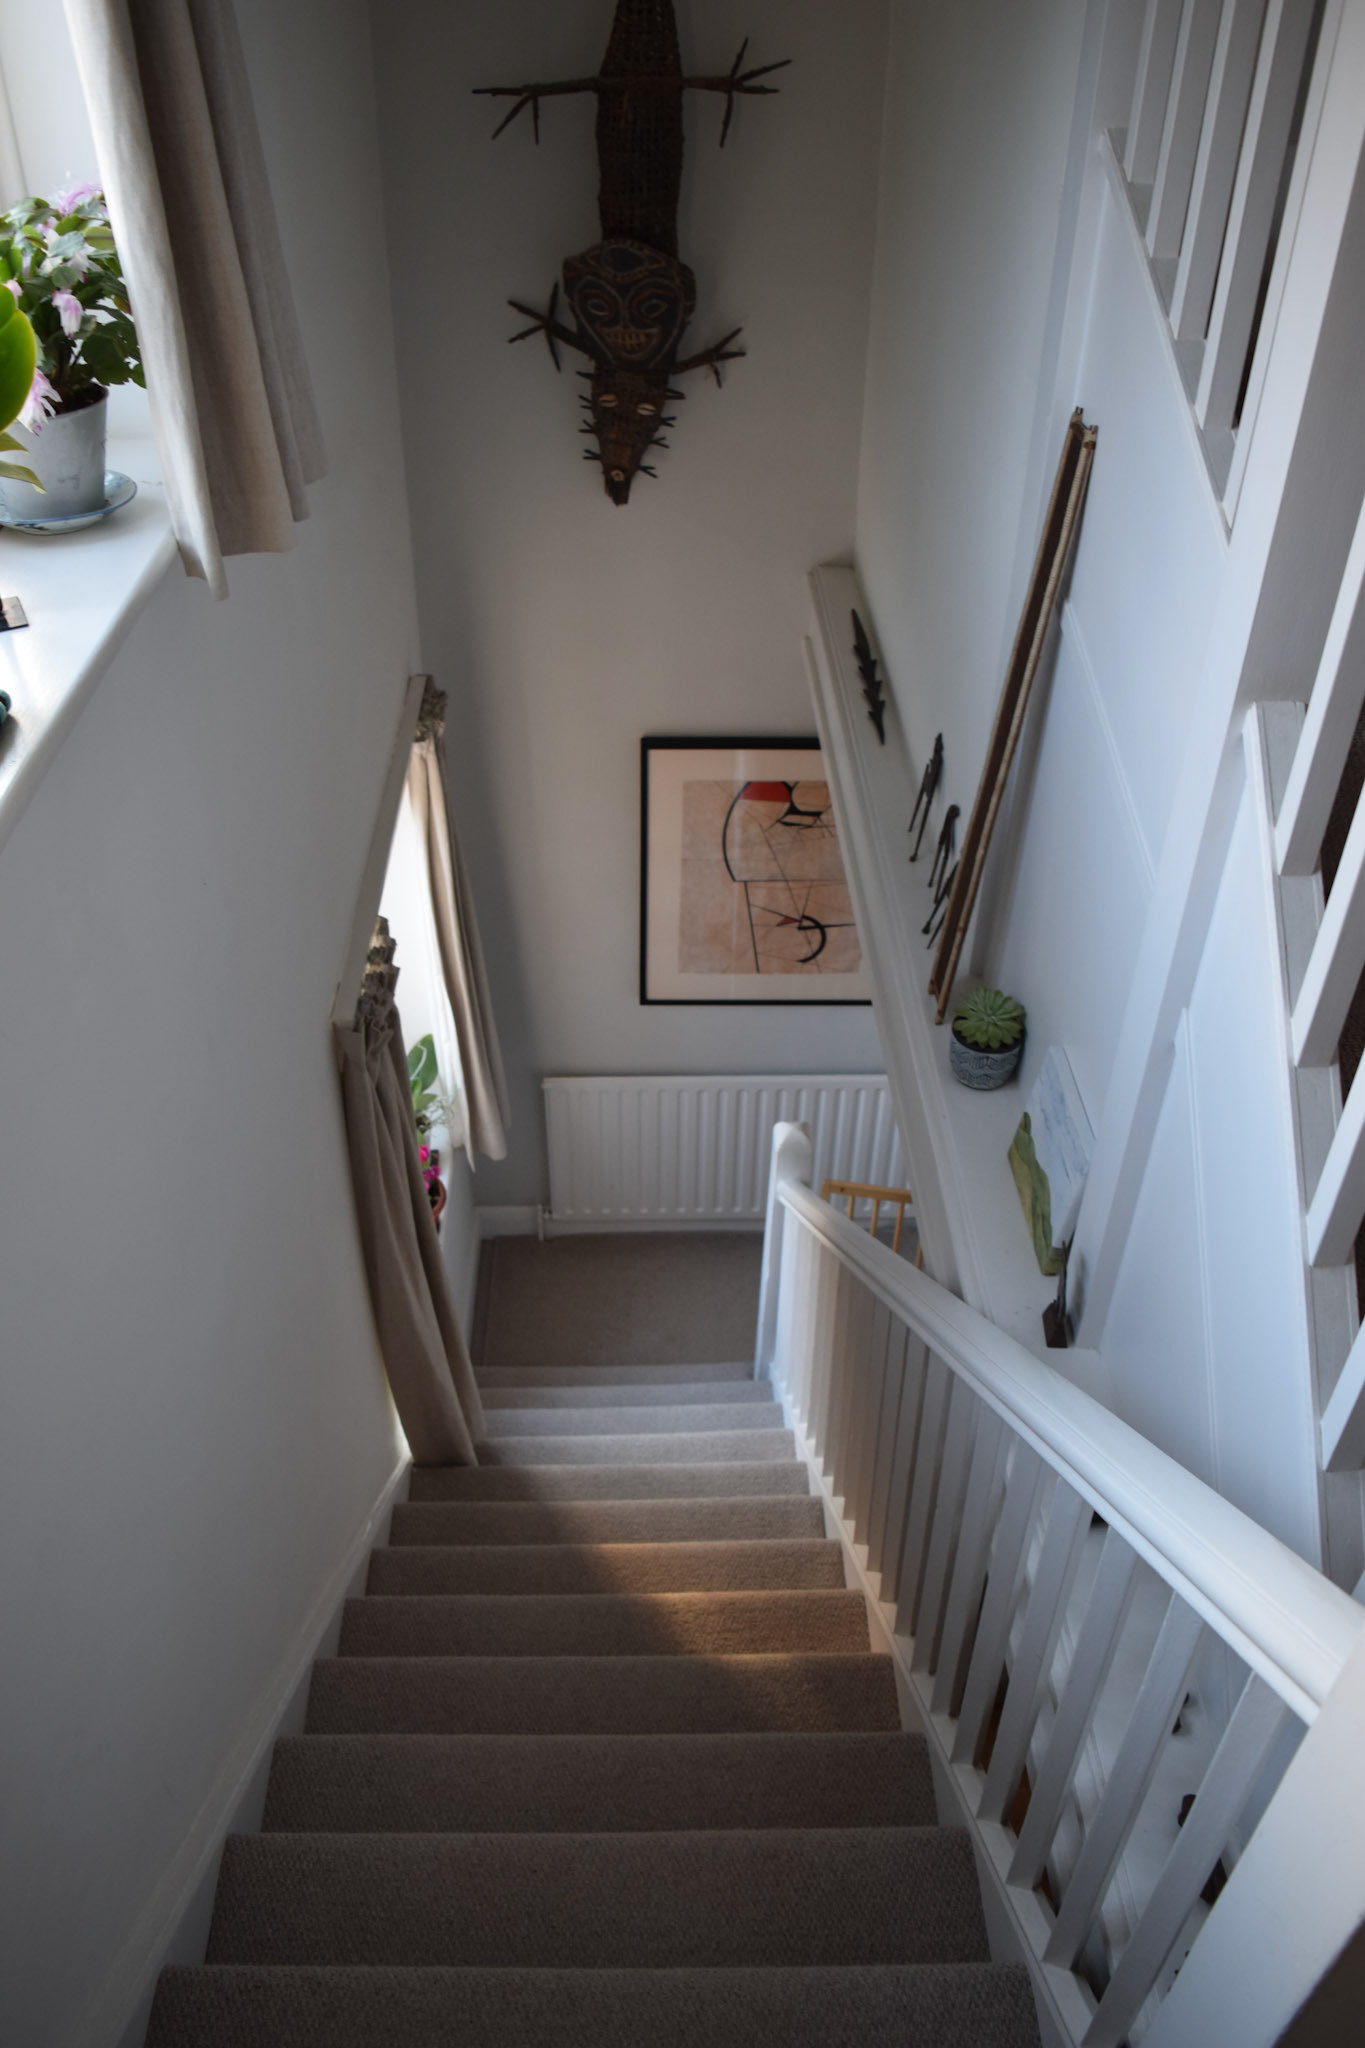
Camera and cone light on first frame
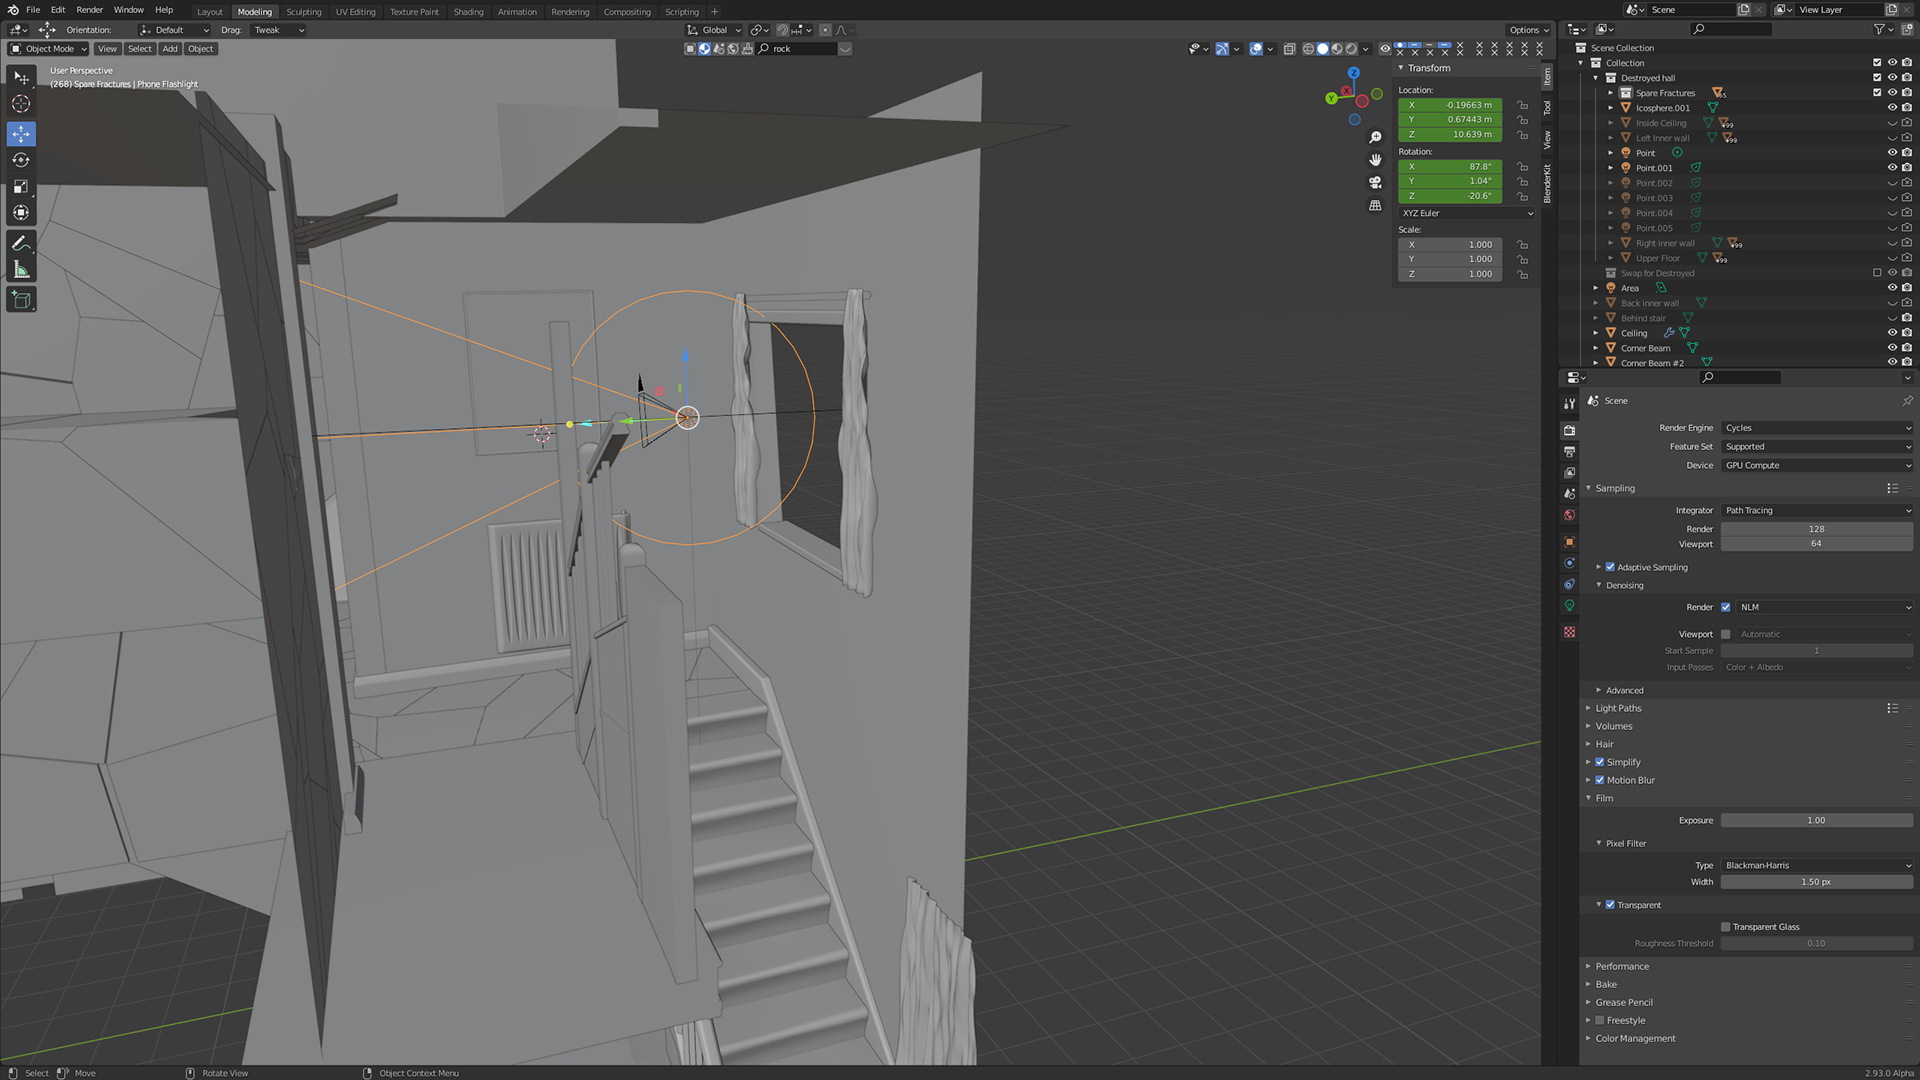
Camera and cone light on the last frame
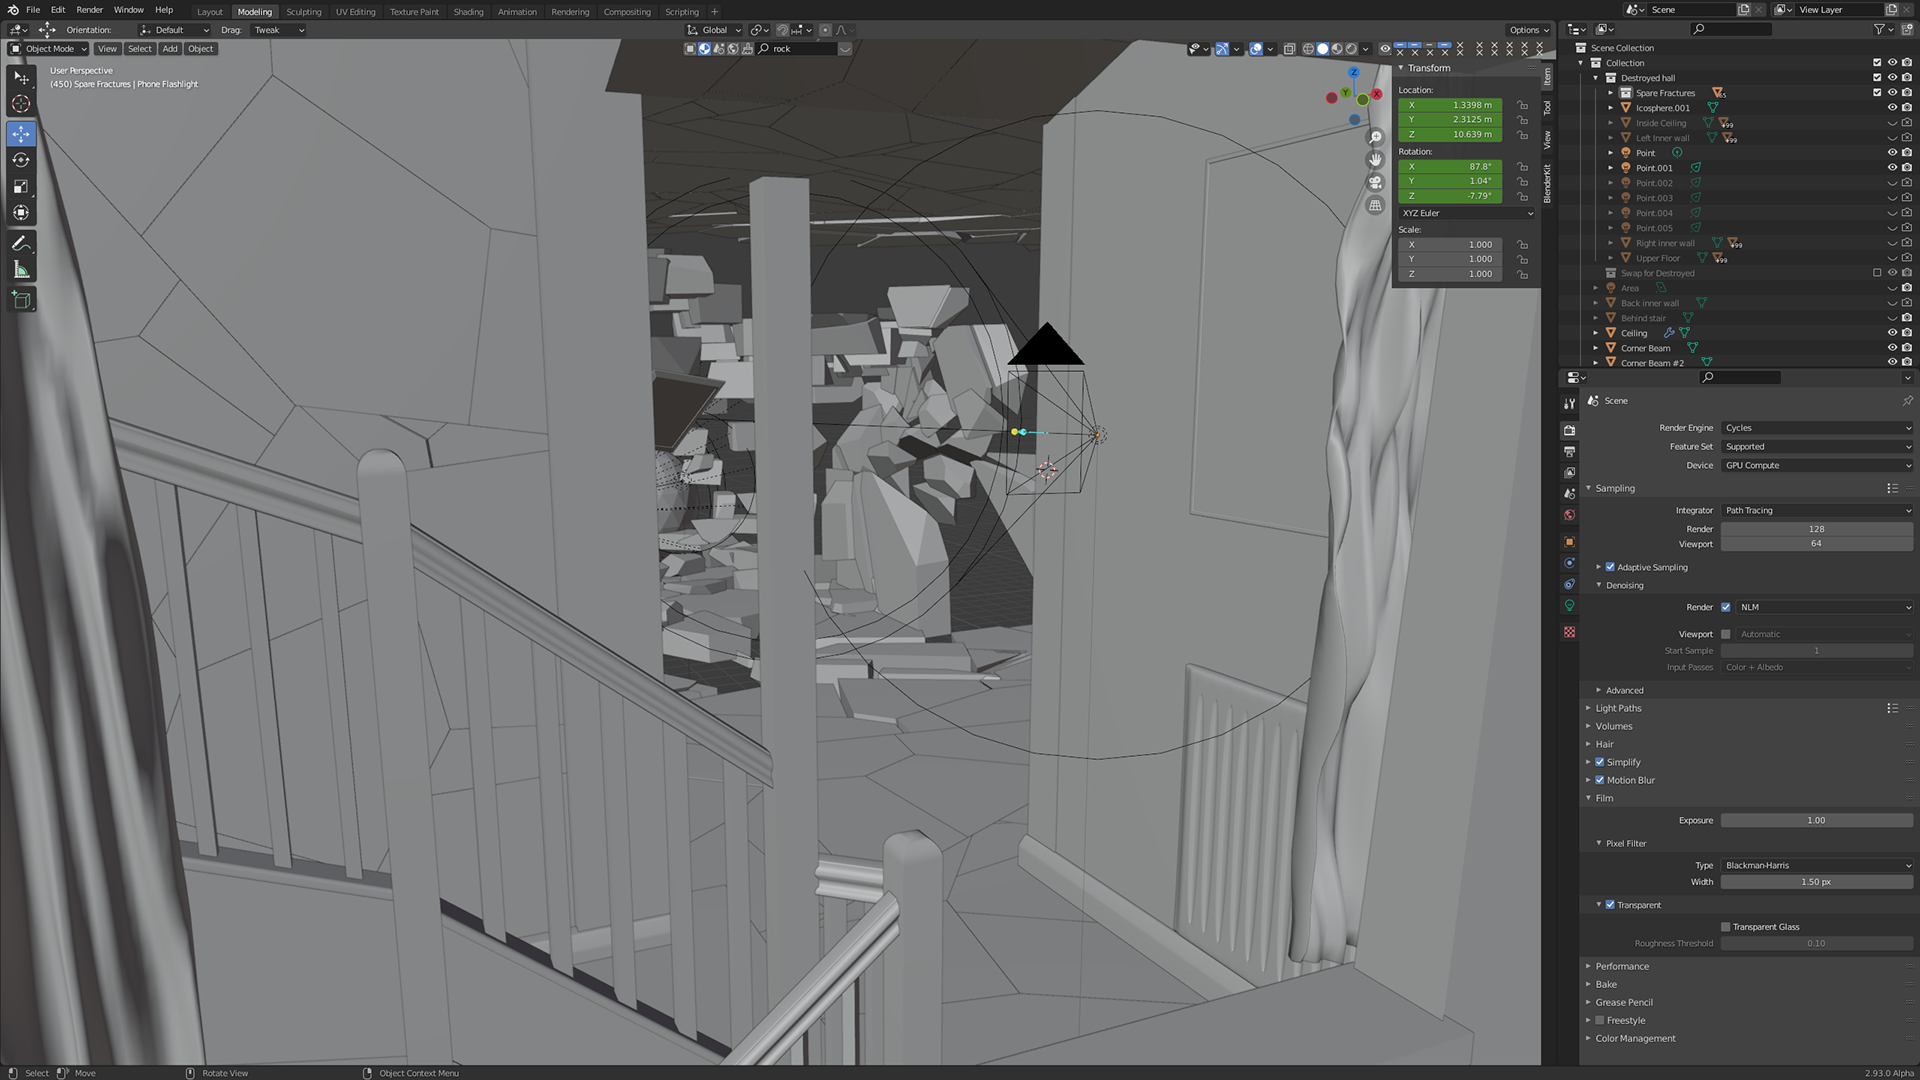
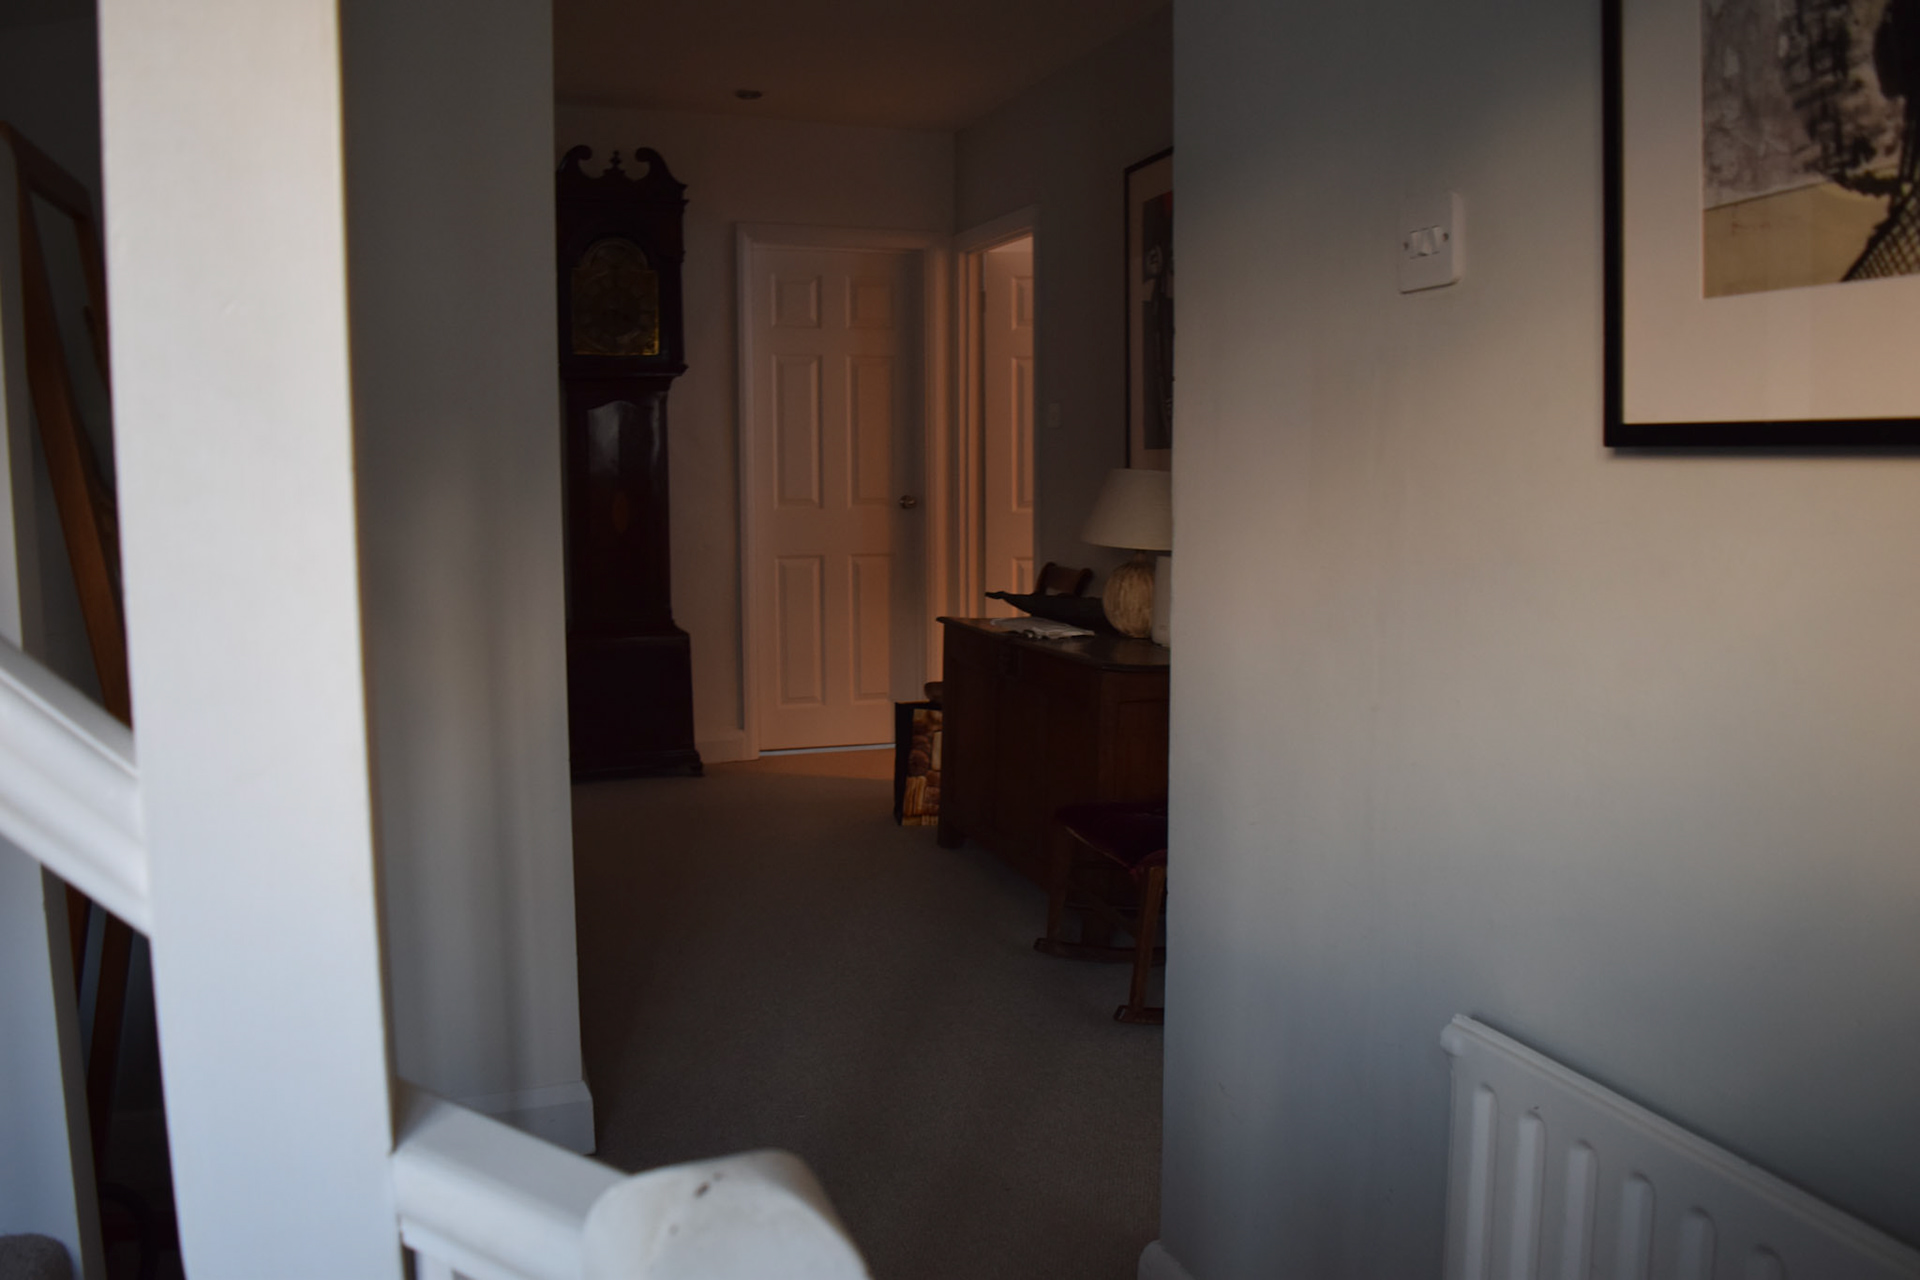
View through the window on the right
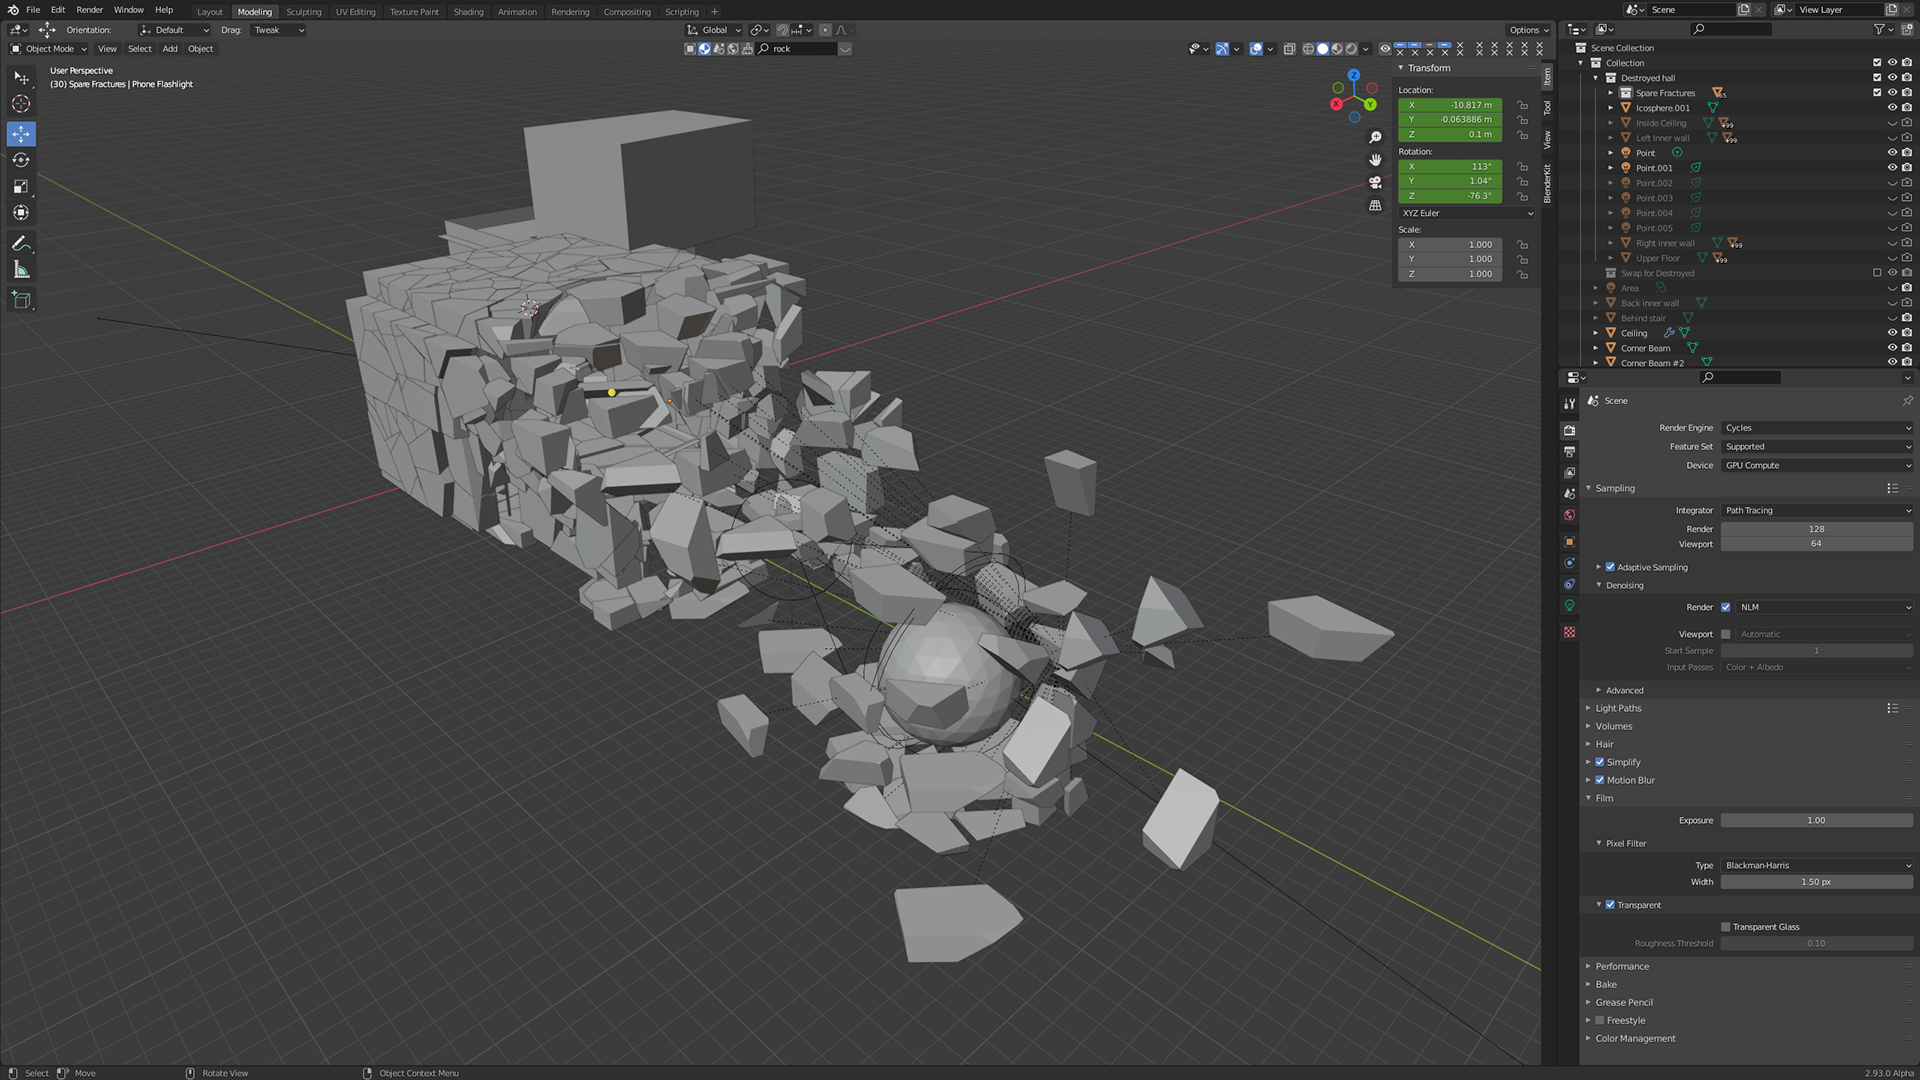
The fractured pieces around the sphere
Another technique I used for this piece that was incredibly important to the realism of the piece was copying the camera movements to the movements of a cone light, attaching the light to the camera and giving the idea of it being a flashlight on a phone. which helps the feeling of reallism along with the stepping camera movements up the stairs that give the feeling of someone carrying the phone. These two pieces joined together help create that real life feeling that emphasises the fear of the unknown that I wanted to achieve in this piece.
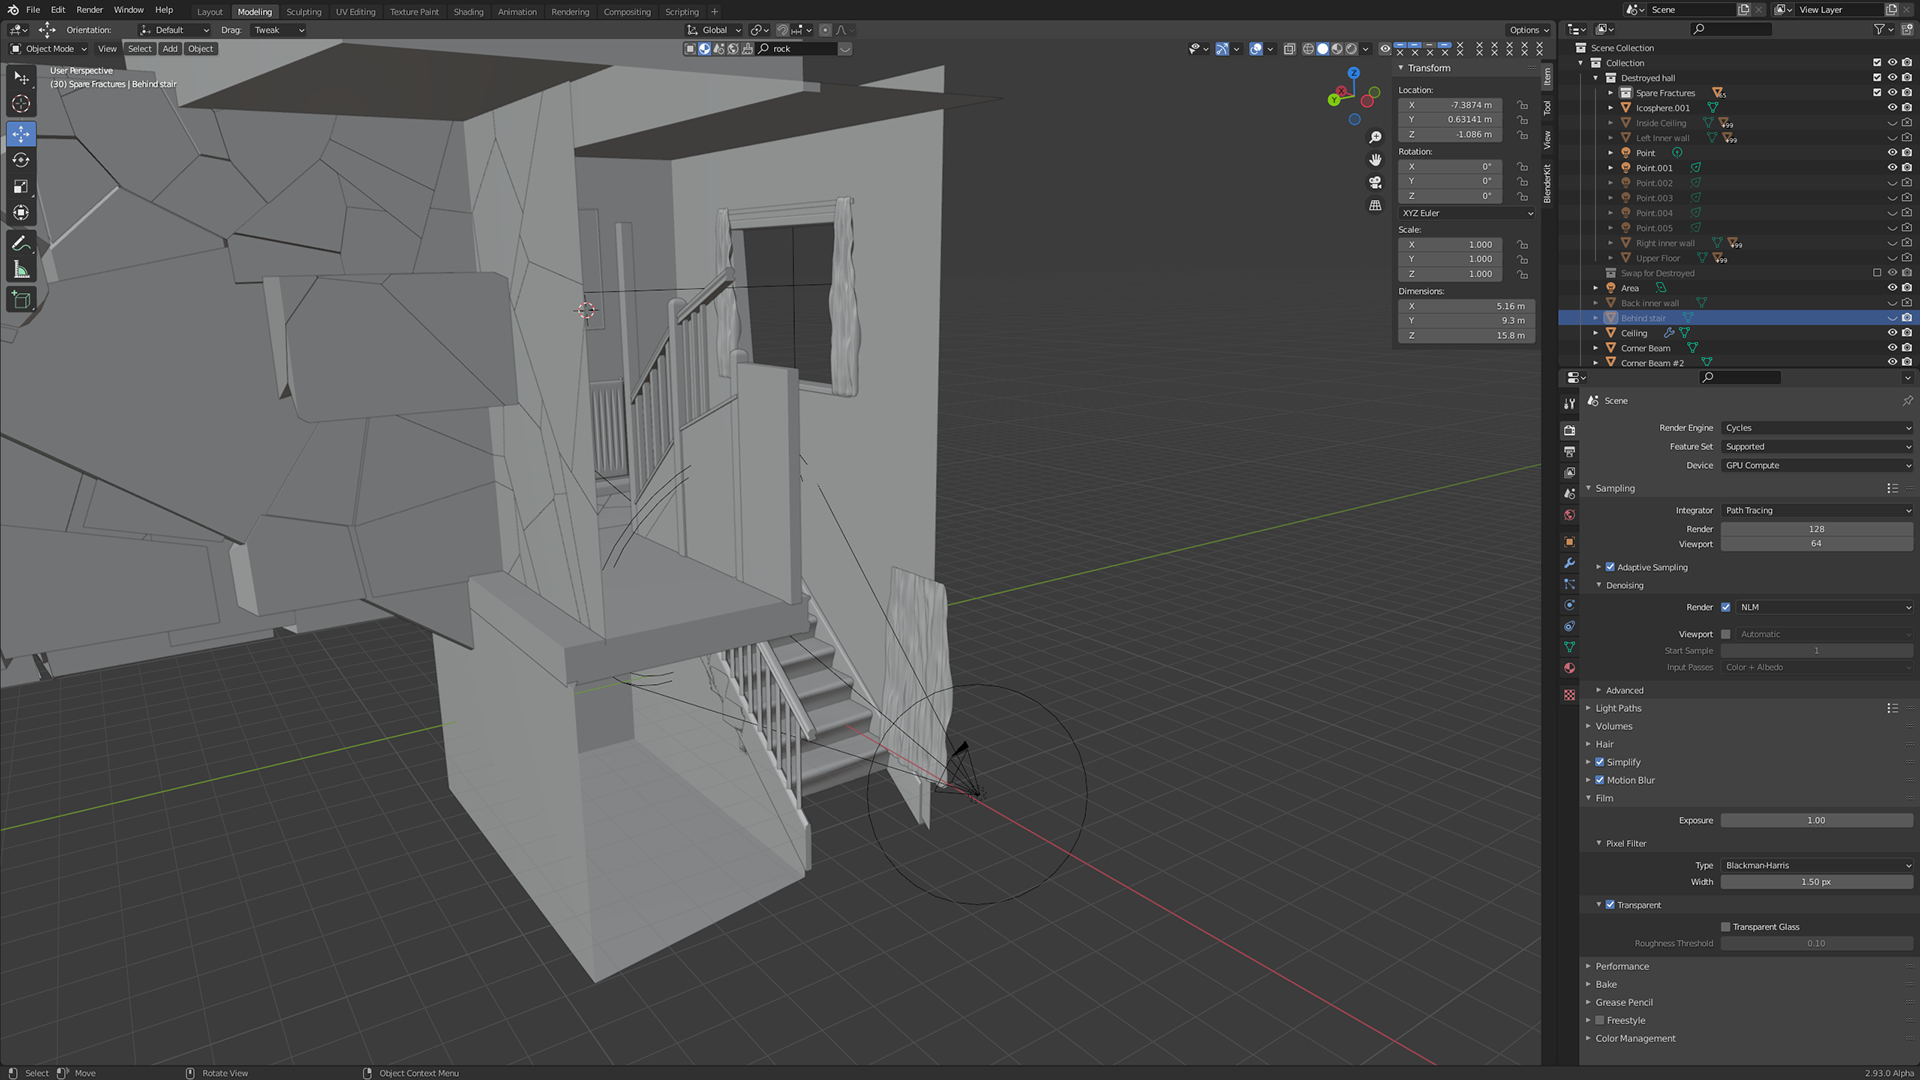
Above are also some other screenshots that of the overall scene, showing how all the parts fit together. The curtains on the right were a technique that I have not used before. To make it I used a displacement modifier and and based it on a texture image (as can be seen on the right). This maps a 2D image into a displacement, the Black gets displaced the most and White the least.
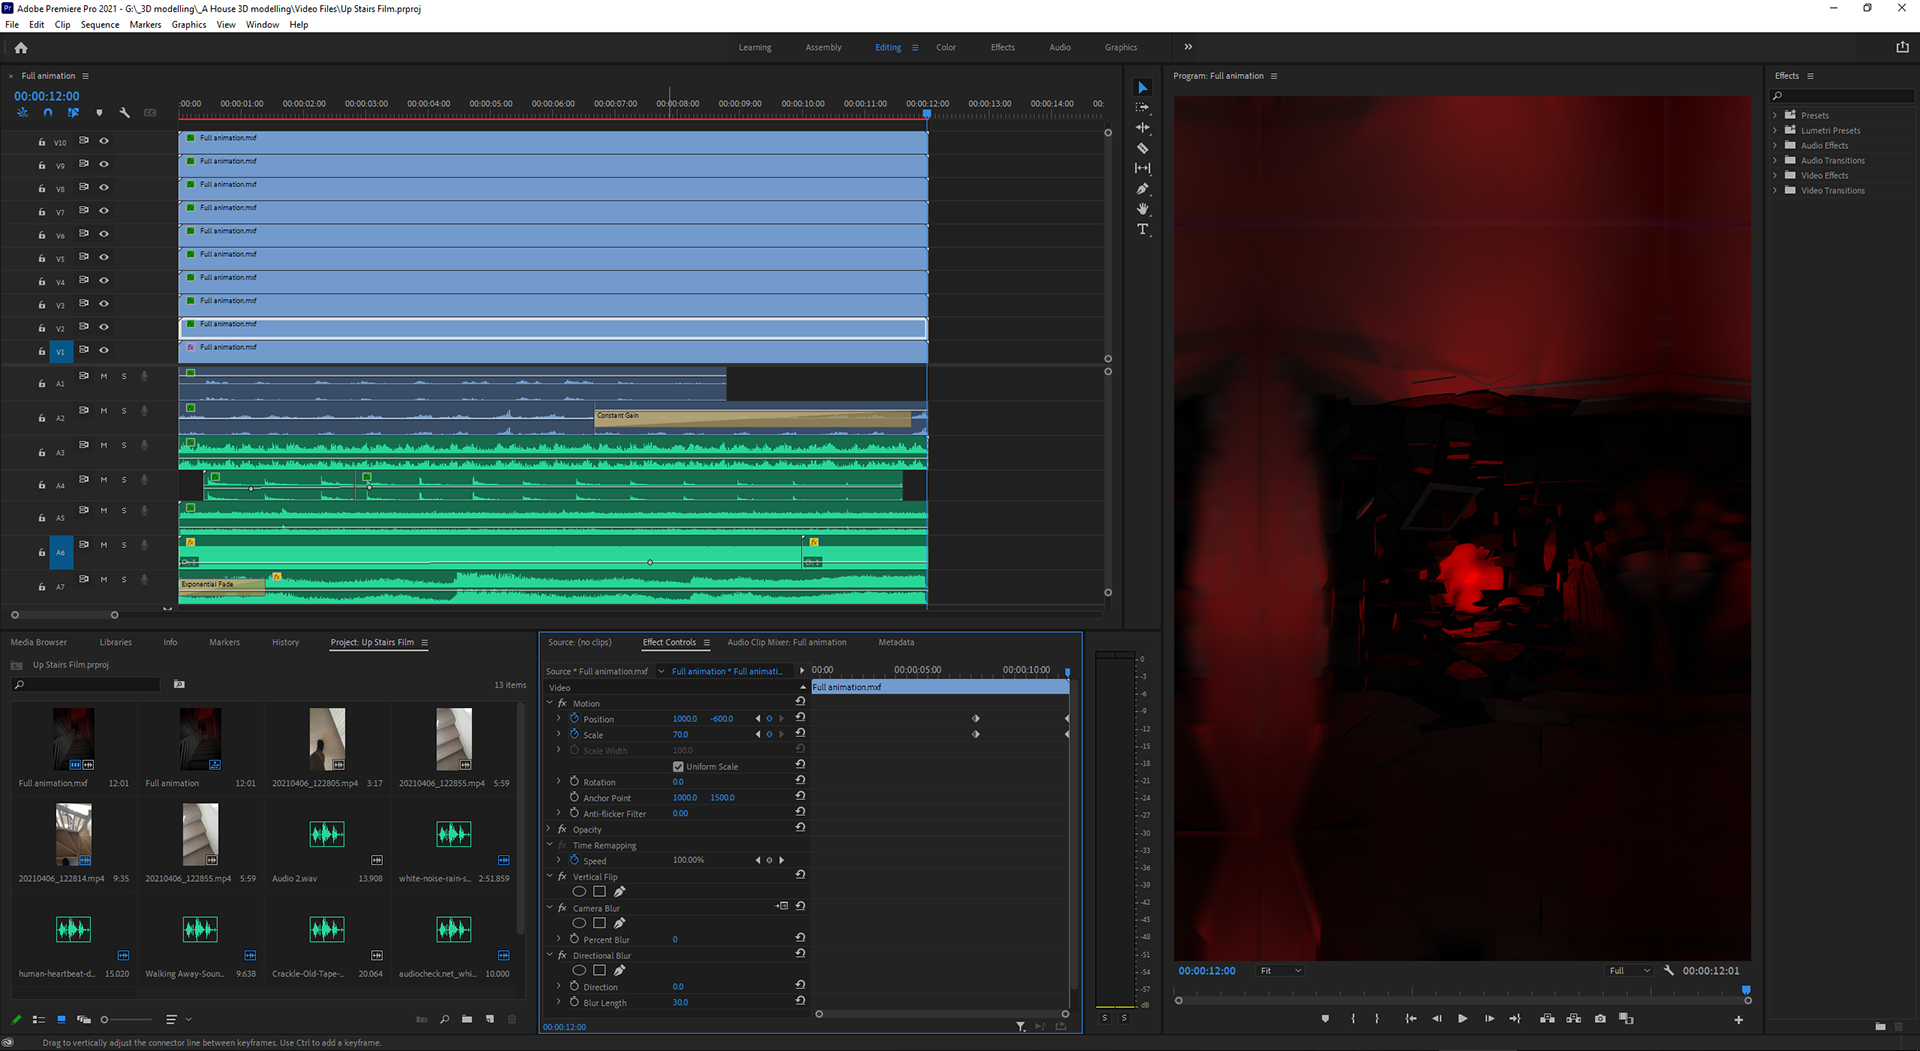
To Edit the video and add sound I used Adobe Premiere pro, it is a very good video editting software that I used many times before in almost all videos I have made. As can be seen above there are multpile sections that all have different functions, and there are many more behind the scenes as well, but I only needed the ones on the screen + a couple others.
There are two final videos that I made, one was just the original animation plus the sound. however, in the second one I did I used (which is shown above) I used multiple layers of the same video, but I offset them to each side and corner, flipping them so the sides fit together and there are no sharp edges. Doing this and adding a directional blur creates a false zoom out, which would not usually be possible as if you were to zoom out it would have a black outline. I thought this worked quite well in building up to the tension, the orb and lighting is getting darker, the sound is getting louder all leading to a climax, which then cuts right at the end.
For a few of the sounds I created my own, mainly just for the stepping sound of going upstairs. I just recoreded myself walking around the house, up and down the stairs and then added only the audio to the premiere pro porject, adjusted the sound with the basic settings and some audio effects that there are a library of on the right. Those included analogue delay (basically a delayed echo), bass boost and Surround reverb (a more complicated echo and spread of sound)I also used multiple keyframes, to change the volume over time to get an increase as you got up the stairs and to the end of the video. It took a lot of fiddling to get it how I wanted however I am happy with the final result. SOme of the other sounds were taken from a free audio library, like a heartbeat and some white noise with rain. The last sound I used was a short clip from a horror music piece, I just took a part from the middle as it builds up and stops when it hits a peak, leading to a good climax.
These are the audio clips I recorded, just simply walking around the house, up and down the stairs I actually modelled them off of. Which means the animation is quite reallistic to what it would be in that situation.