This is the basic version without any sound or editing, apart from joining the two parts together.
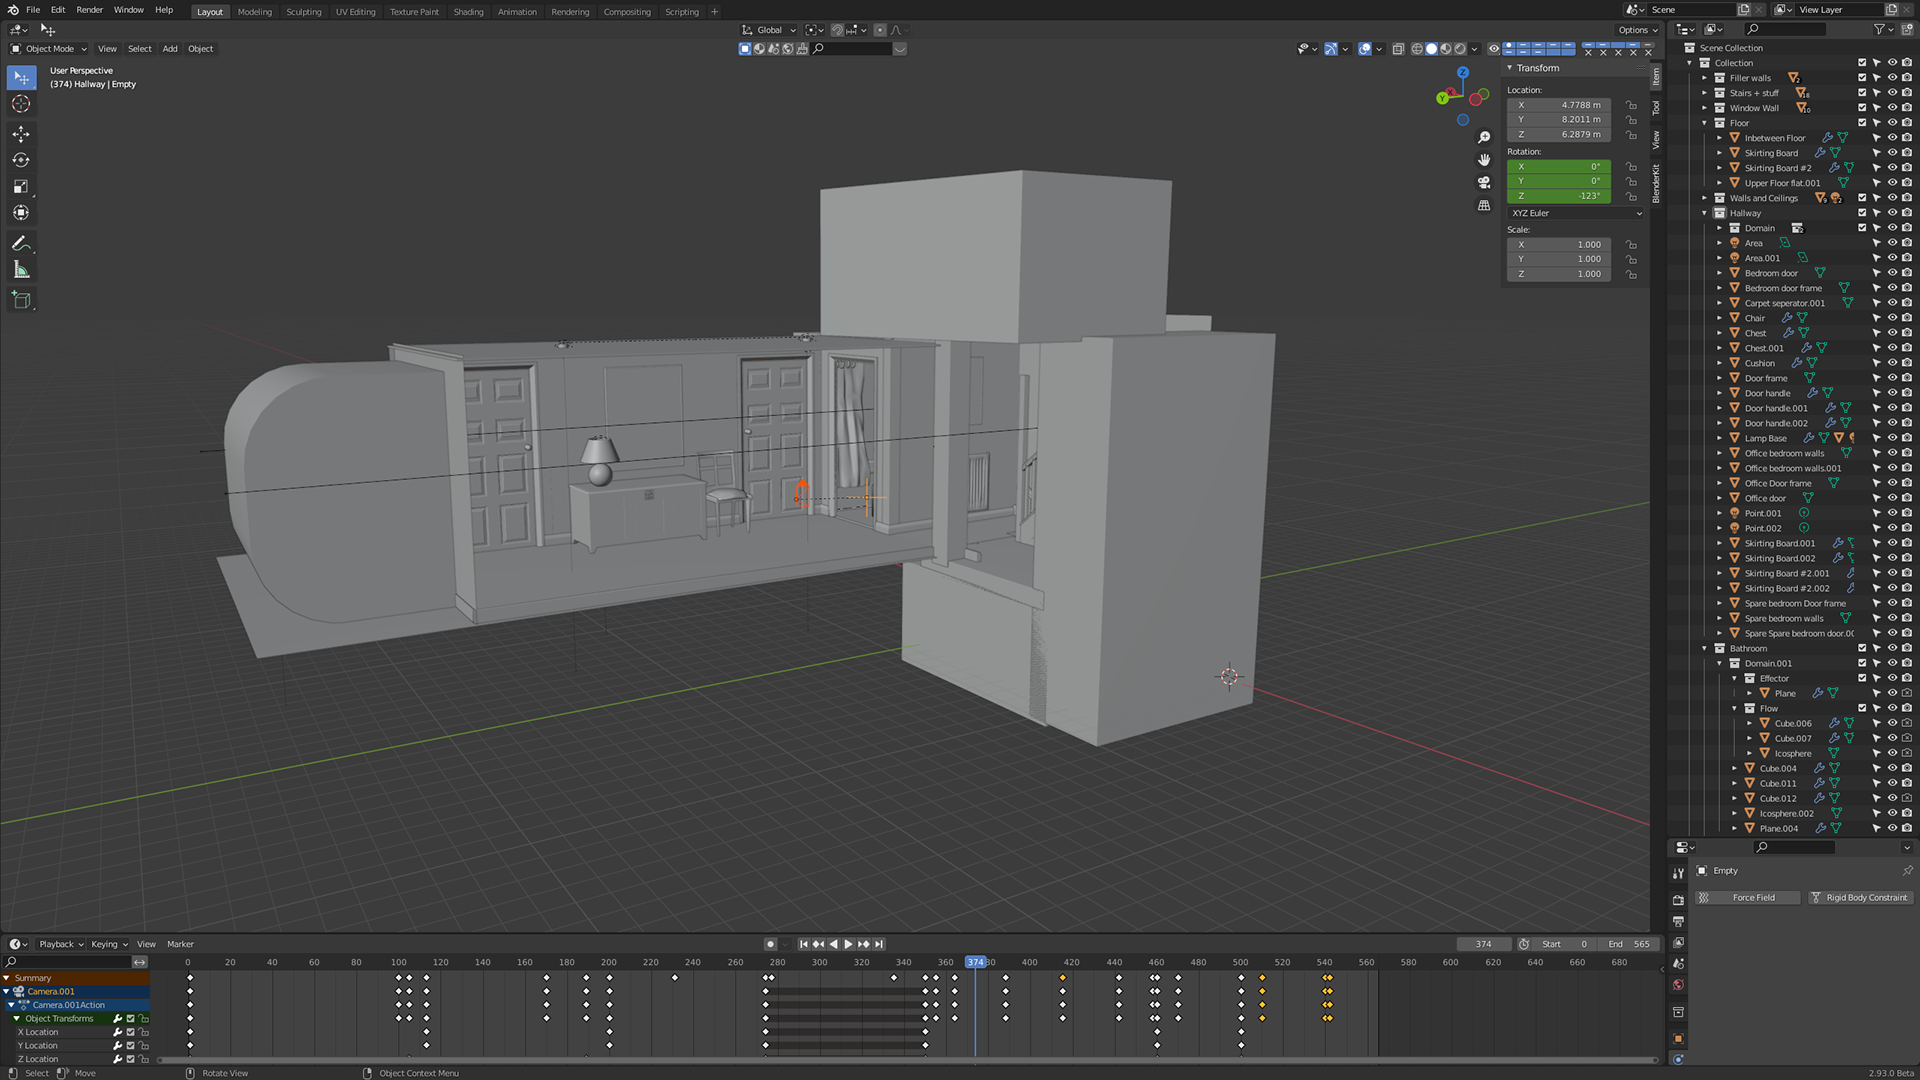
The two separate sections of my piece.
This project has been a huge process, the time spent on this is probably close to 40 house, excluding the time already spent creating the stair way for my last piece, which is probably around 20 hours. Along with this I had to render this scene, which has been a huge process, and has taken most likely over 100 hours, I left it to render while I was at school and at night with both my PC and my laptop rendering. I used my laptop to render the first section with my front door as that is an entirely different blender file and so can be done separately. Once the first section finished on my laptop as it is shorter I set my laptop to do some of the frames from the main scene, to get it done faster, but it still took around a week to finish.
This video is a video I recorded of my house, showing how I realistically recreated my house in 3D and turned it into a scene, morphing and changing it how I want. I uploaded this video to show how realistic it is to the real world, and also to give the sense of fear and unknown that i feel and those that know my house, to those that would not have seen my house.
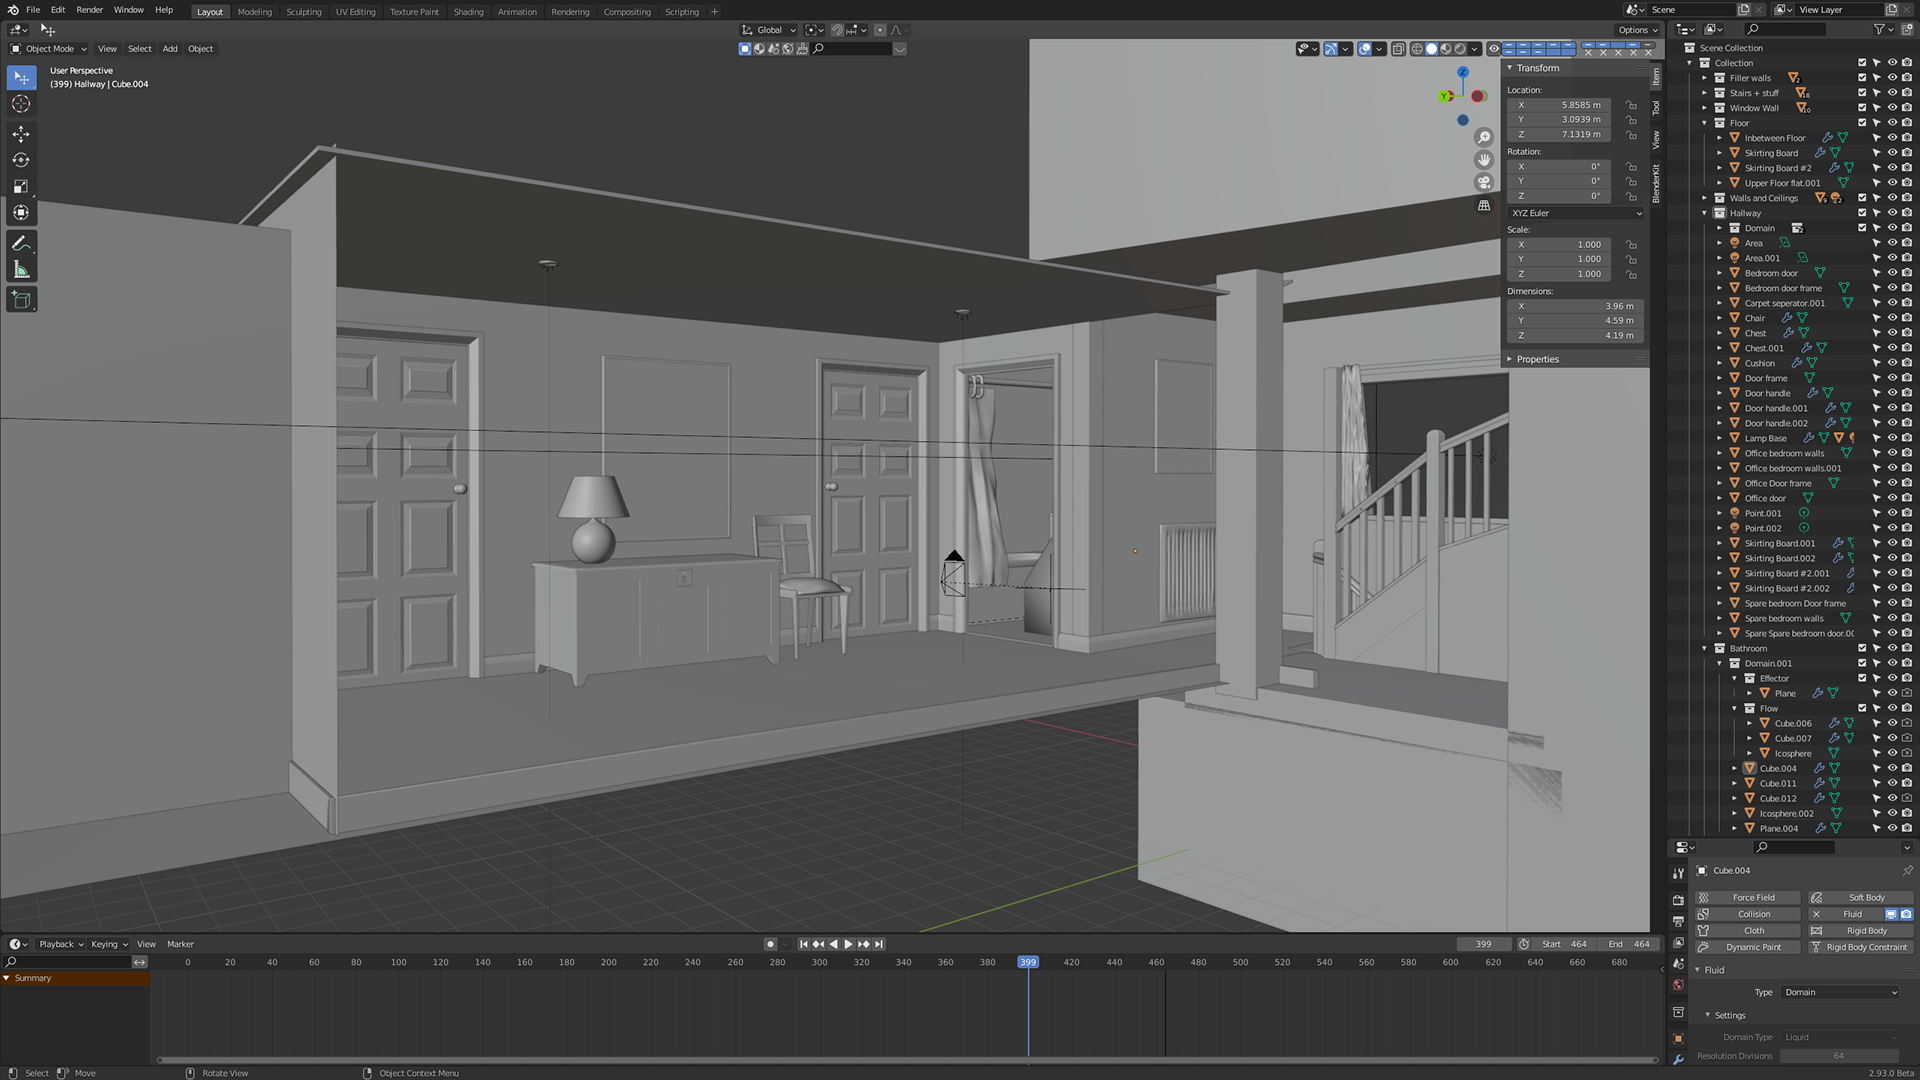
The Inside
This piece with everything combined has got a huge amount of techniques that I have built up through my last piece and many that I learnt just for this piece. The first section of my scene with the front door used many more complicated features that I had yet to use, it was fun pushing what I knew and I am happy to say this piece is the culmination of every technique I have learnt over the last 6 months of teaching myself blender and 3D modelling; and I am happy to say it was a success. This final piece had some problems that I could have been solved if I had more time, but still the outcome is what I wanted it to be and I am proud of it.
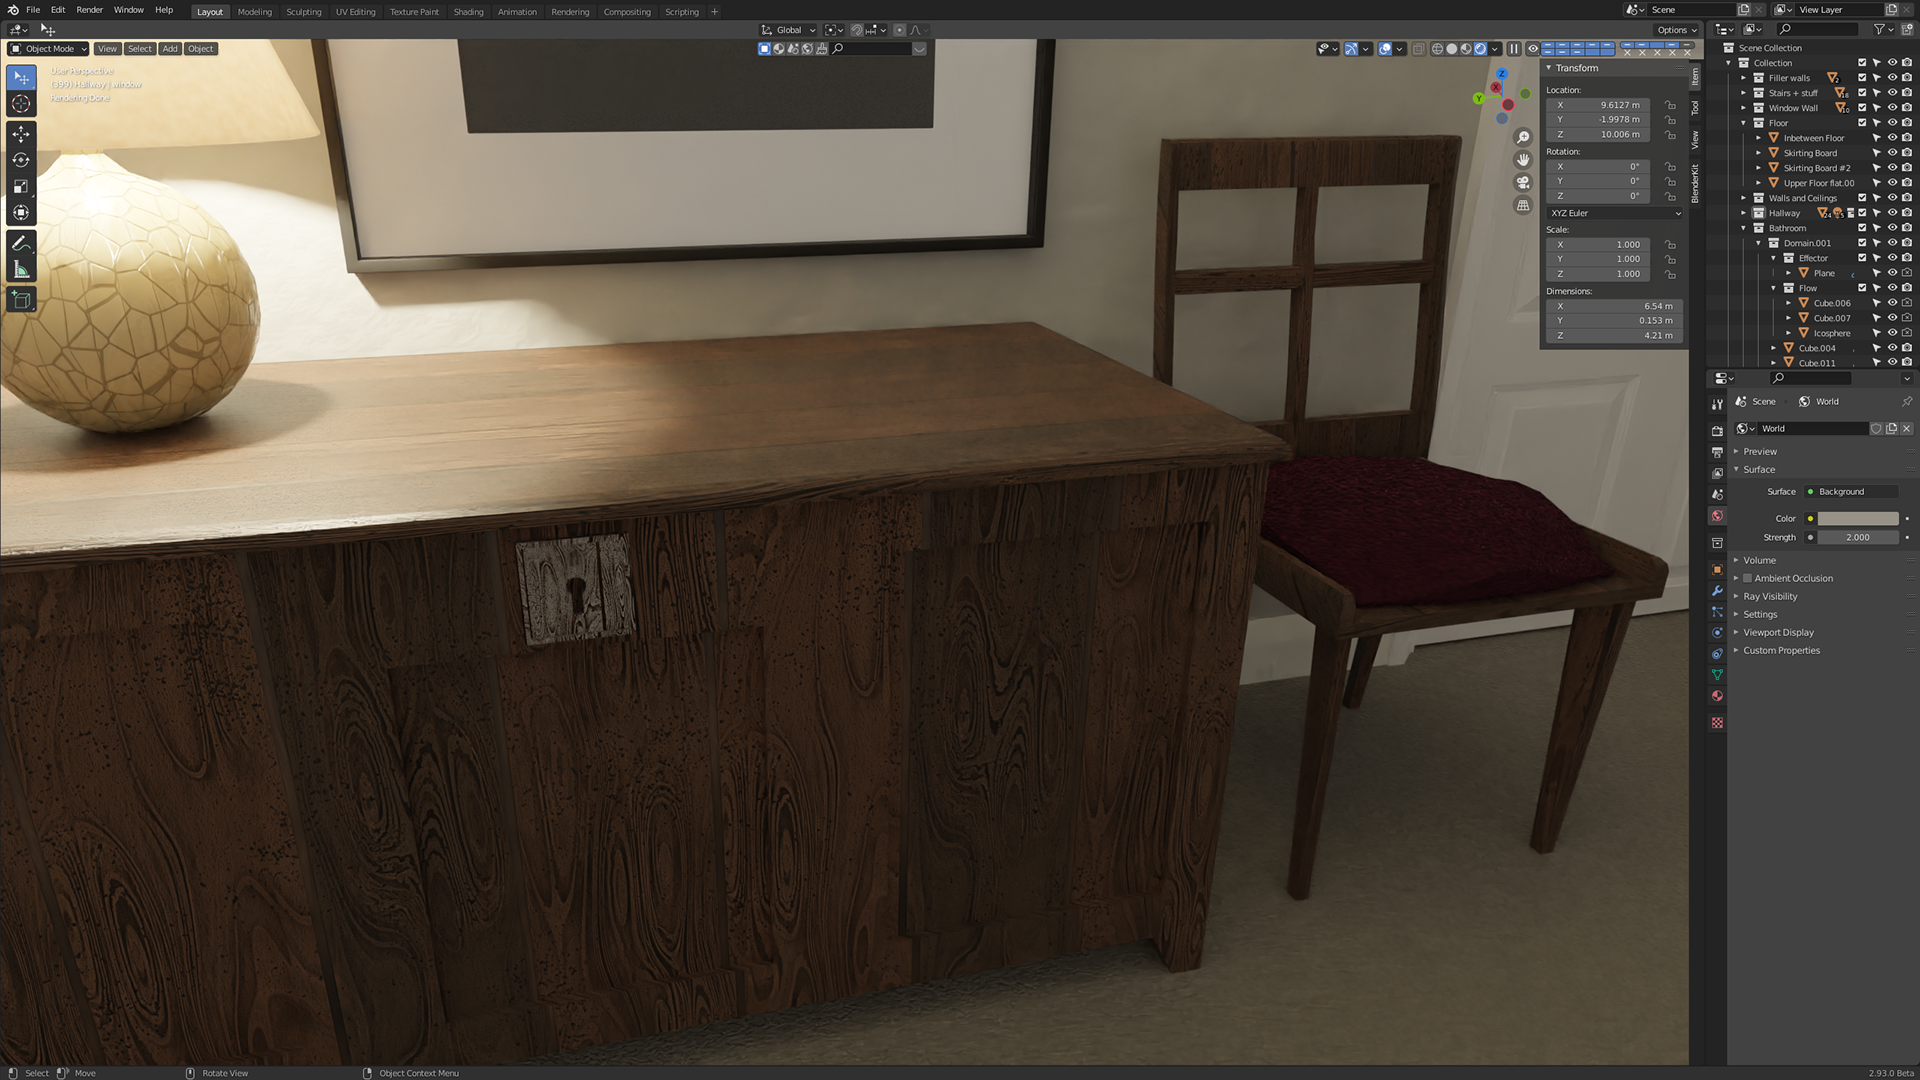
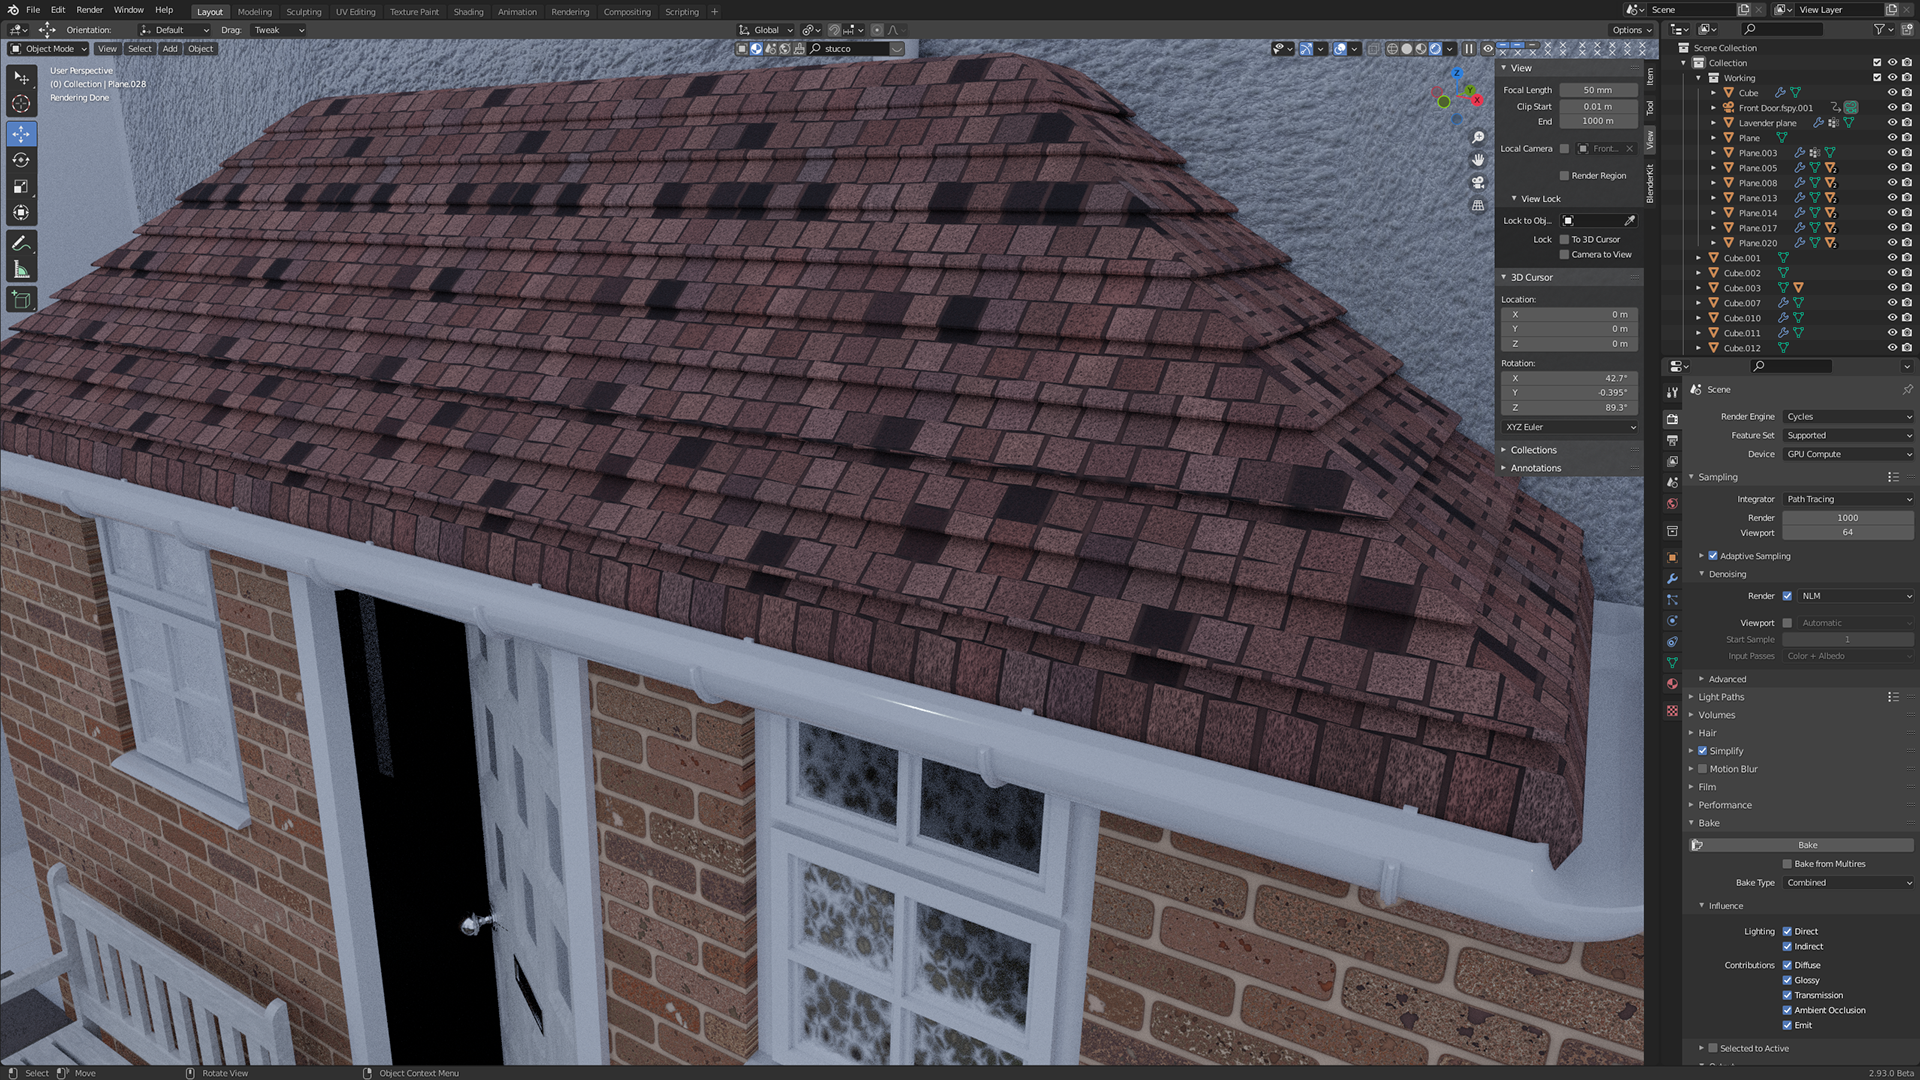
One of these techniques are the materials that I used for multiple different areas. These include: The brown chest, the chair, the bathroom lower walls, the bathroom tiles, the bricks on the front door, the roof tiles. What's special about these materials is that I used a software called substance designer; this is a professional level material designer that I got a student license to, I've had access to it for a while, but was too scared to get into it and learn how to do materials, but I thought now would be a good time. So I followed a tutorial for how to make a wood like material, which is quite a complicated material, this gave me a lot of the basics i would need to make lots of other materials like bricks and tiles that are much simpler in complexion. All the other materials were also made by me, but I made those directly in blender as they were simpler and easy enough to do. Witht the material I used for roof tiles that I made, it was slightly rushed as I was lacking in time, and also matching up a very uneven surface to a material was very hard, so I did what I could to make it look good, and as it was so dark and not the focus, I decided to not put its importance too high.

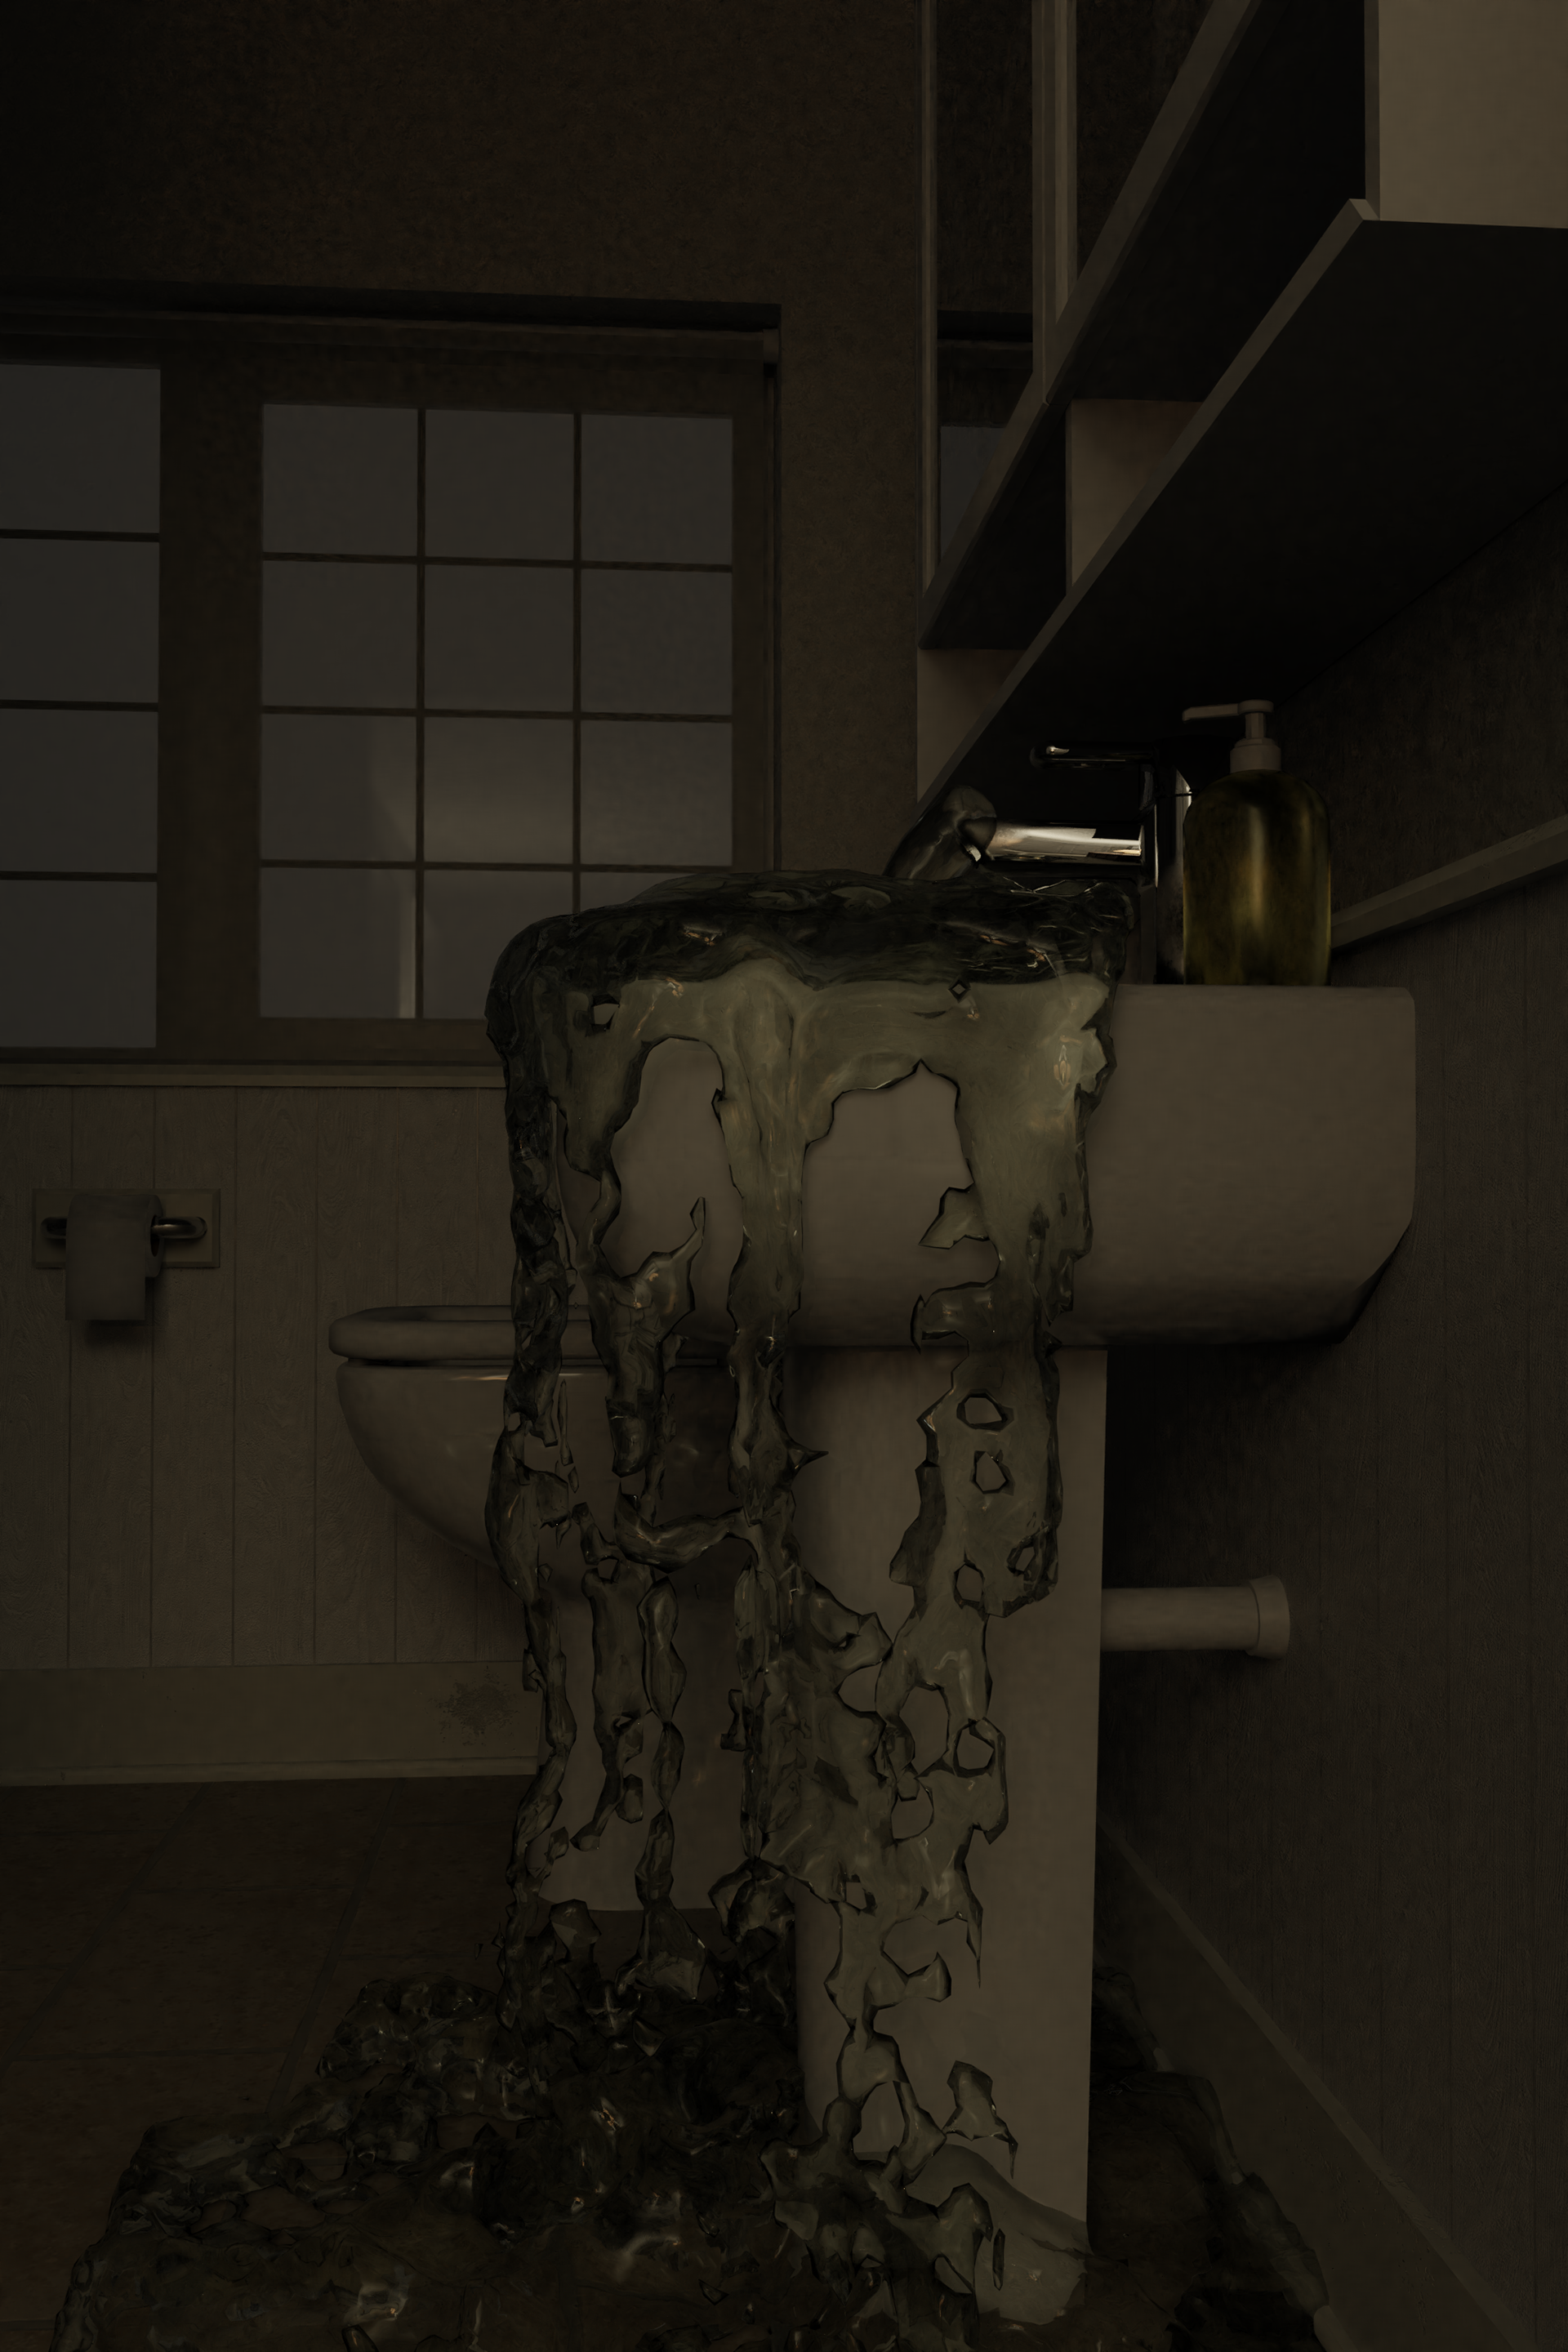
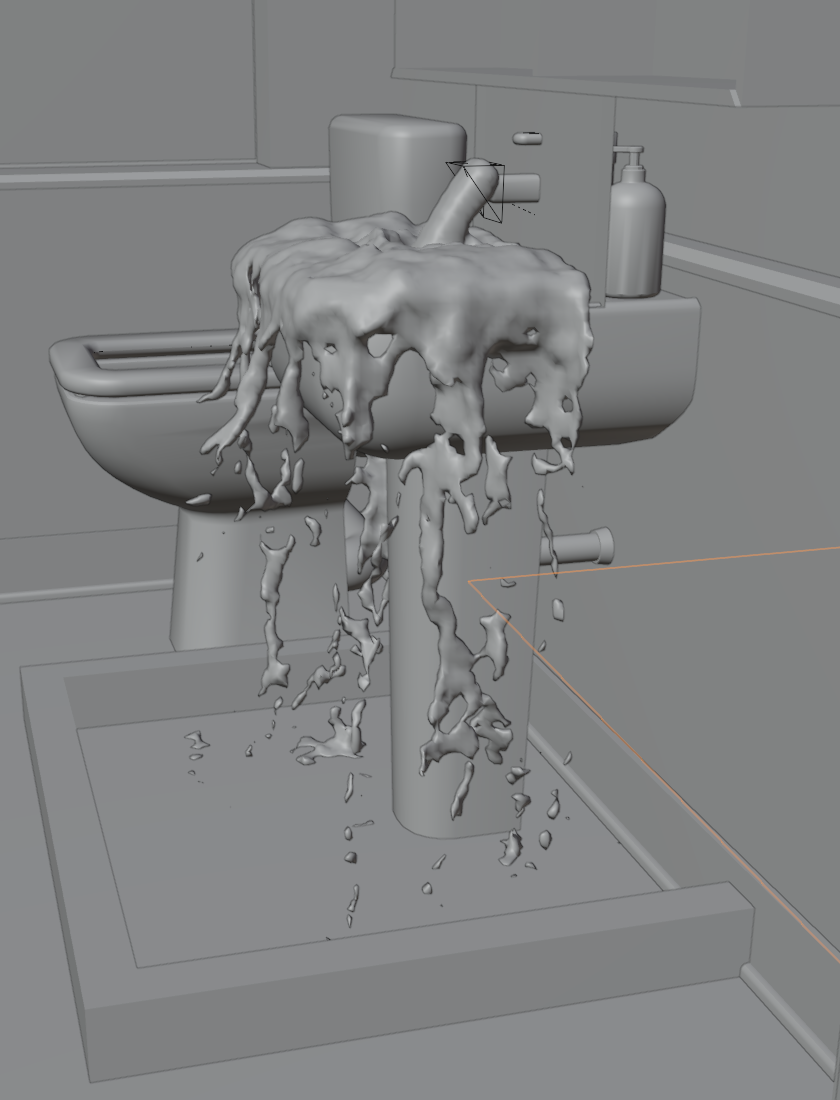
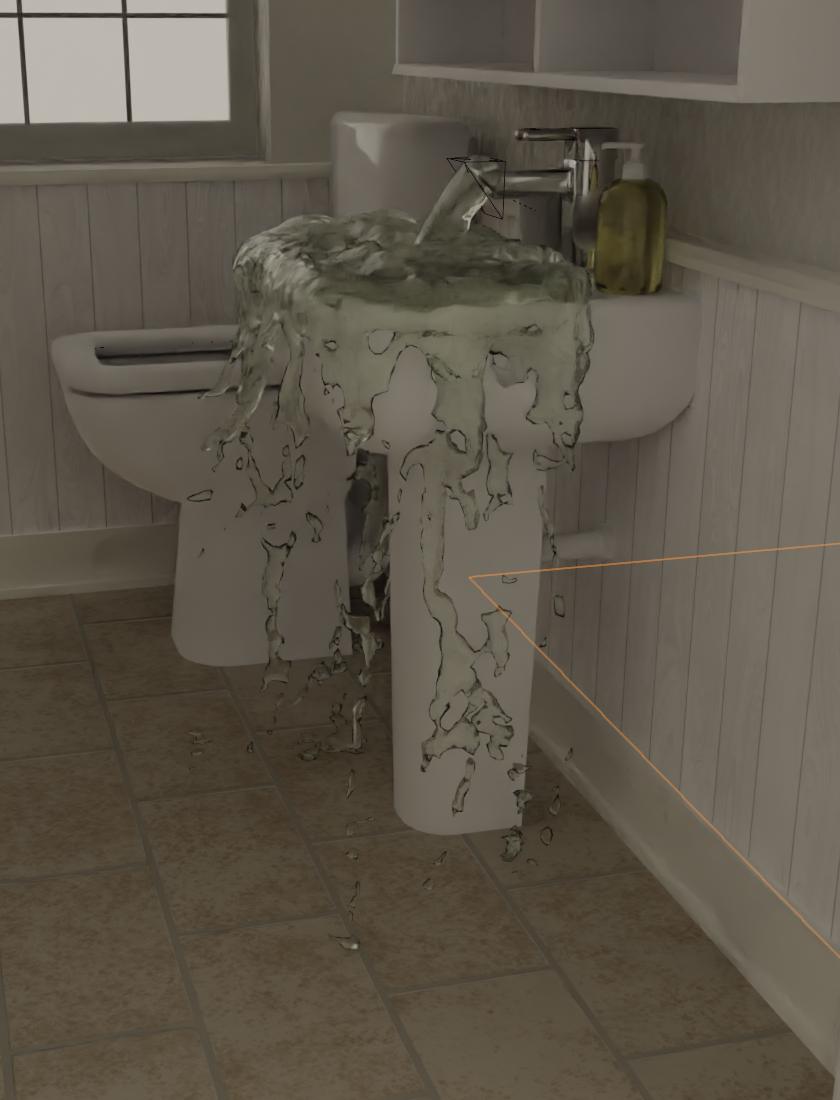
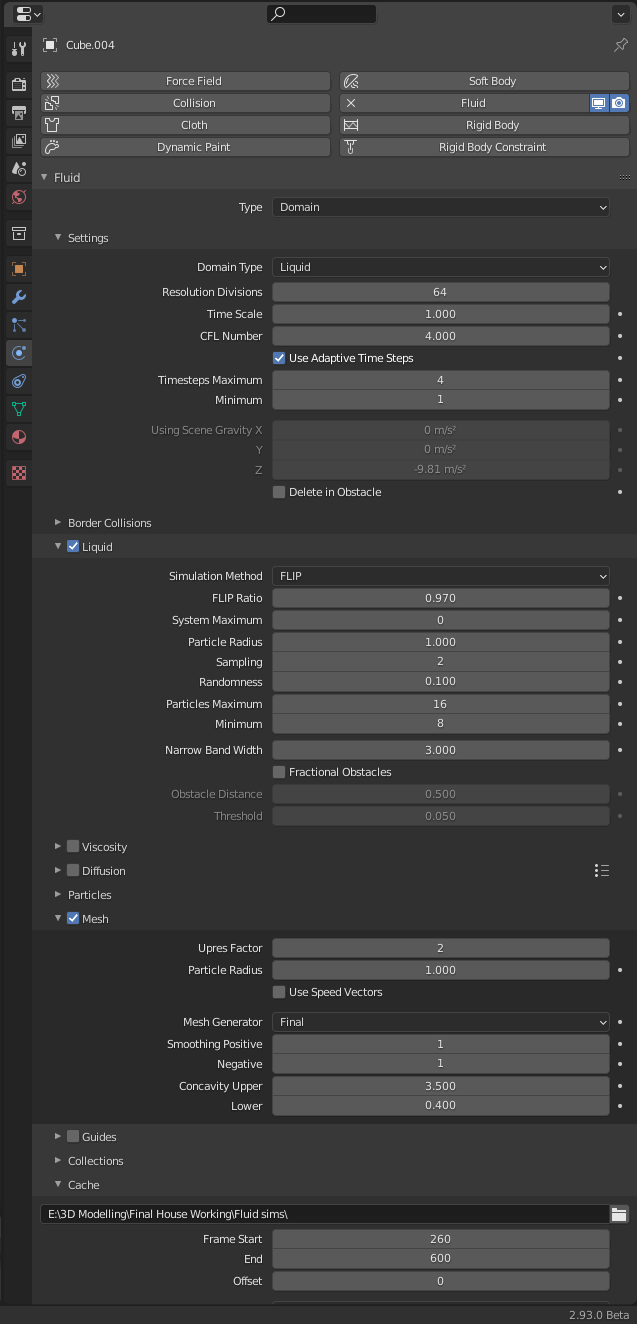
Another technique that I used that is probably one of the most important to my outcome is the fluid dynamics/physics. Doing this allowed me to create a realistic water flow that can pour out from the sink, This was incredibly important to get the anxious tension building scene I was looking for. To get the water simulation working was a large process and took quite a lot of time; this is due to the unpredictable nature of it, the difficulty of the settings and the slow nature of the calculations. In short the water is a particle system that calculates the position of hundreds of particles interacting with each other. at first these are just shown as glowing dots, but with another set of calculations you can add a mesh that surrounds each group of particles that then merges into other groups like surface tension in actual water.
When editing the settings of the water simulation every time something is changed you have to recalculate - otherwise known as baking - the entire simulation again, so adjusting a tiny setting means you have to wait a few minutes just to see the change, paired with the unpredictability of the settings, where one small change could cause the entire simulation to break and disappear, it took quite a long time to get it how I wanted. The documentation for how it works was also partially out of date, due to the rapid changes and updates blender have been doing recently, so finding out how things work and what I need to do to fix it was quite hard. However, I am very pleased with the final result, originally I added some spray and bubble particles, which give a more realistic water as they give the idea that there are smaller bit splashing off of the main chunk, as it is quite a viscous looking animation. However, these turned a 1 hour per frame, for the scenes with it in, into a 1.5 hour per frame, I thought that this was not worth, due to the dark and tense situation I thought the unusuality of the viscous water and how hard it would be to see the spray I just put it to the side. I would have liked to add it, but my time was limited and so I needed to get it done as fast as possible.
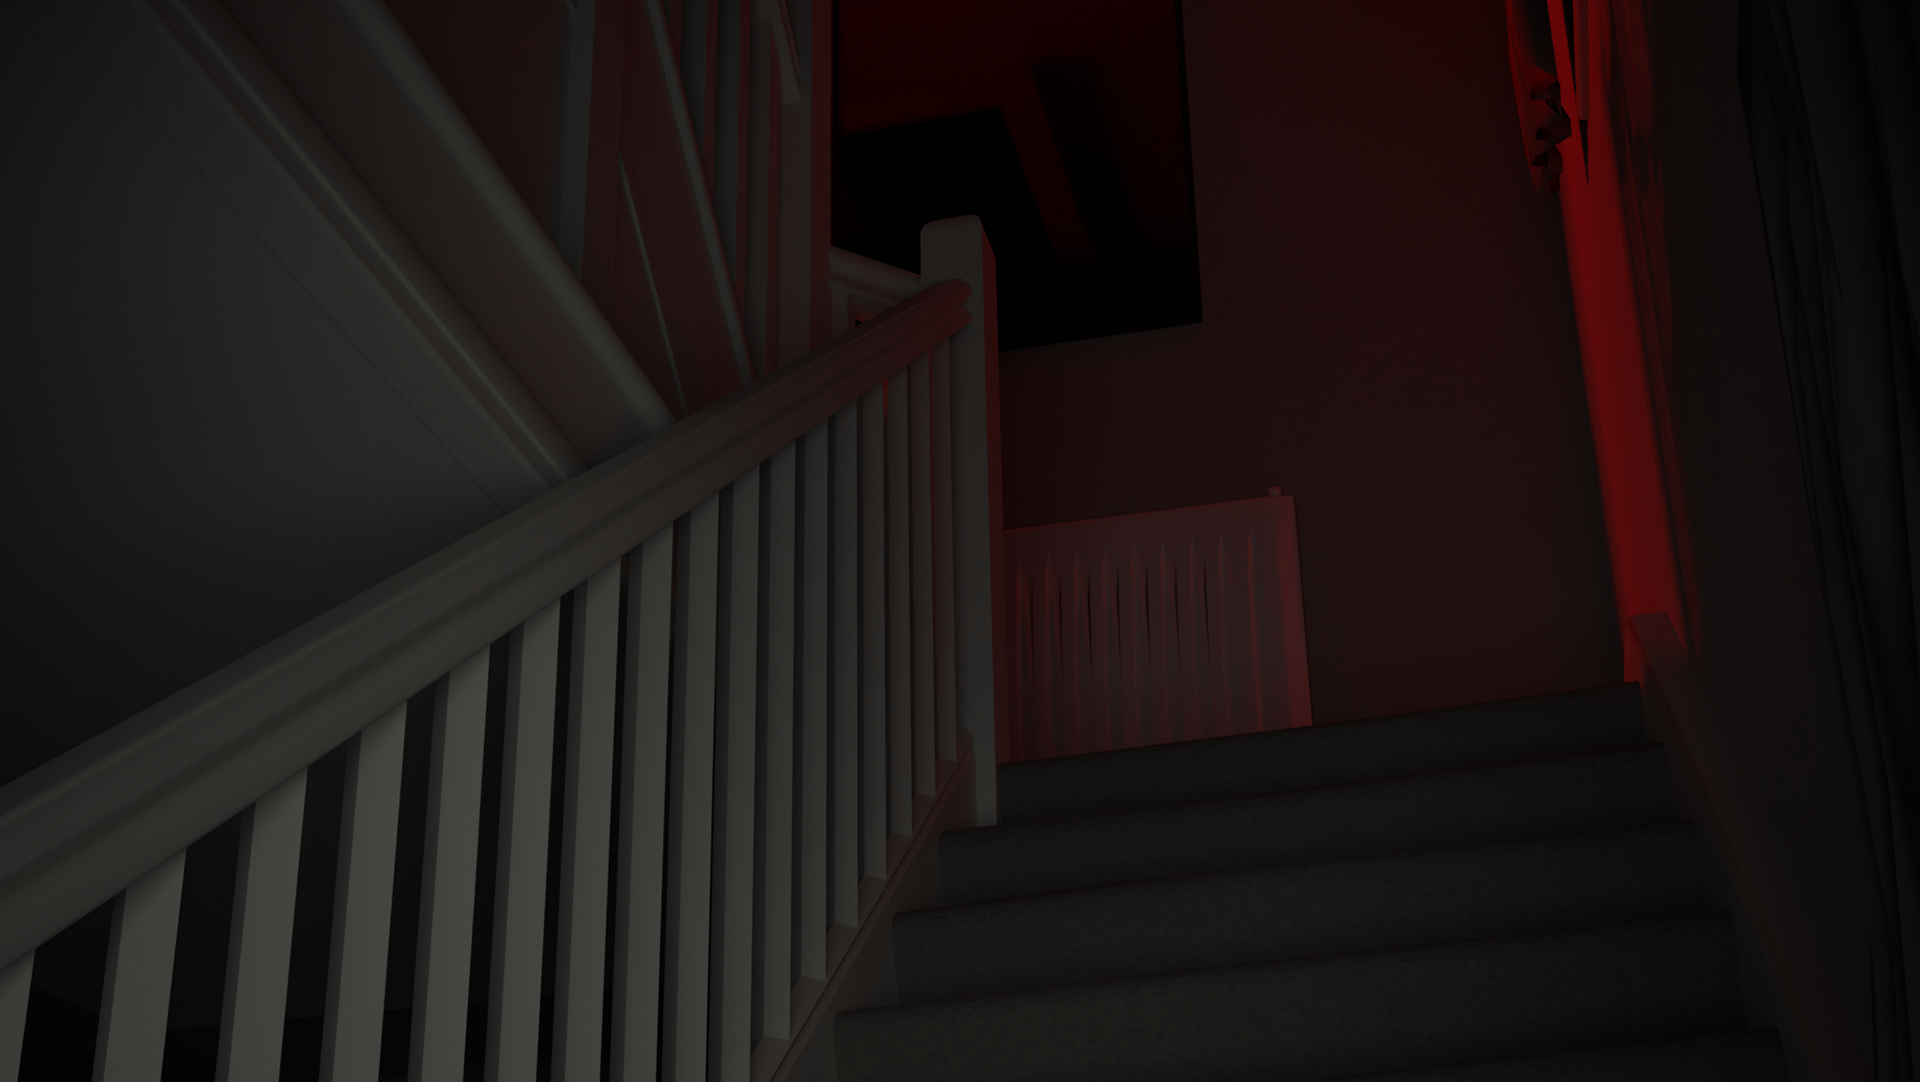
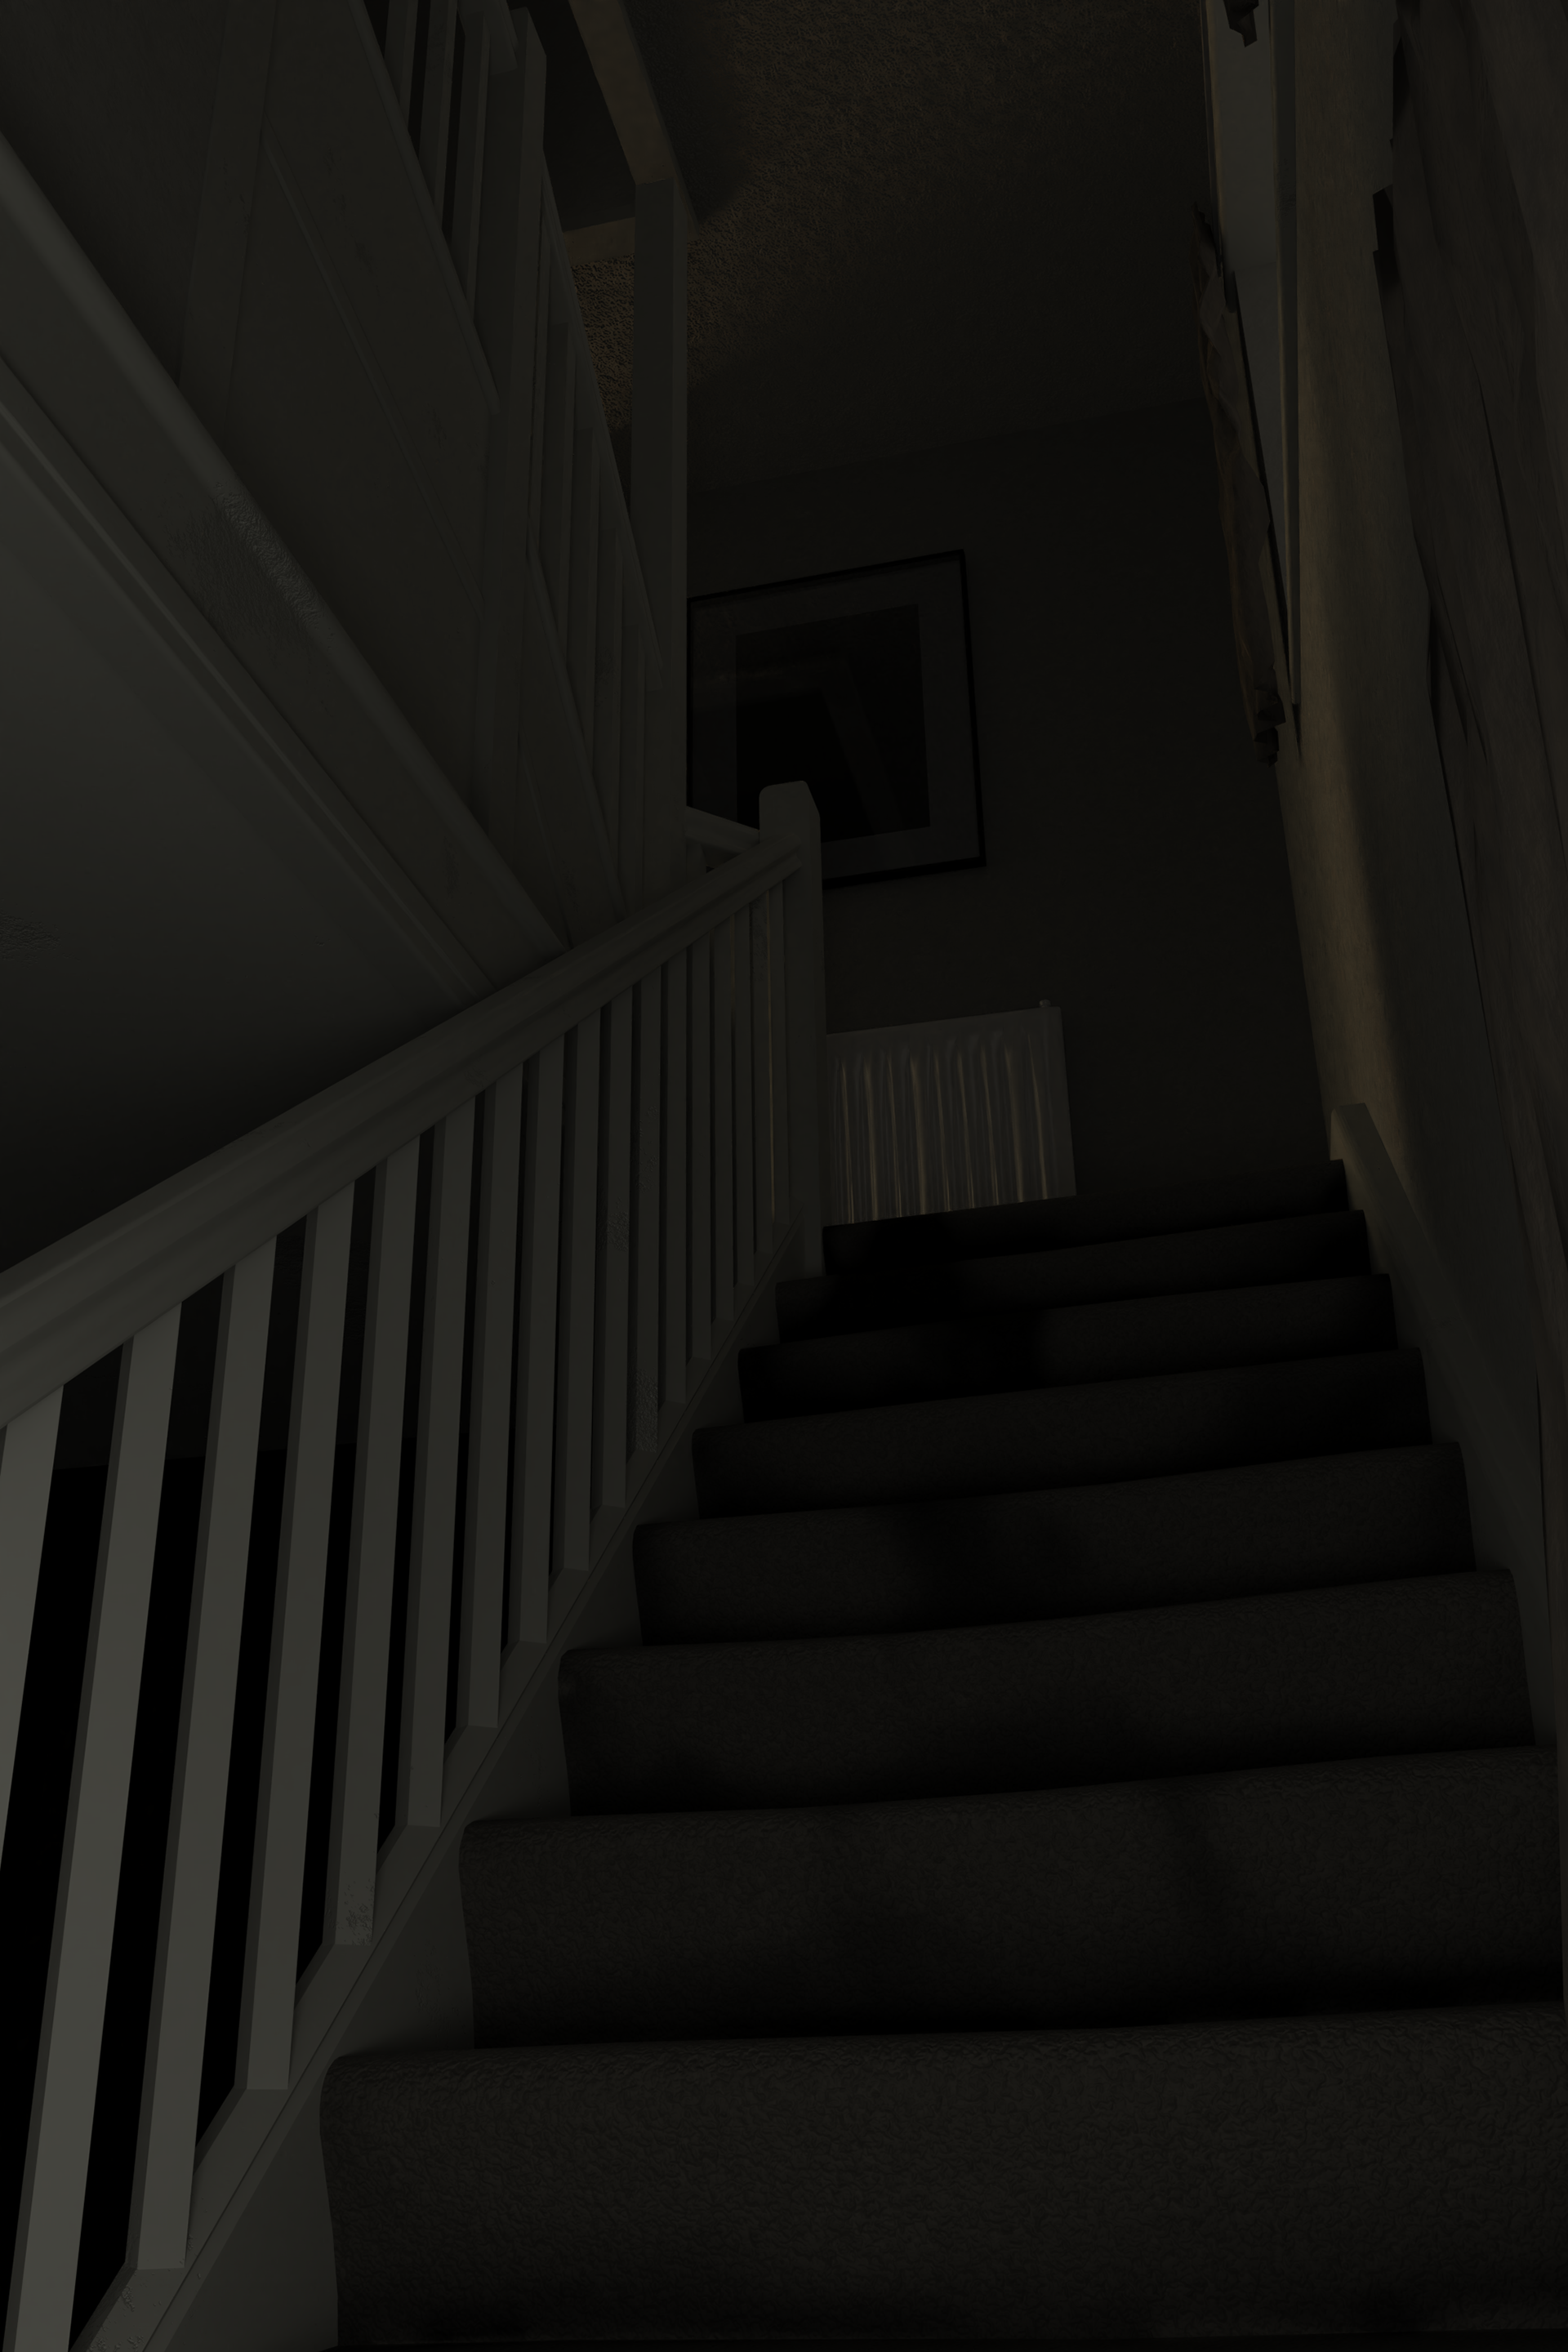
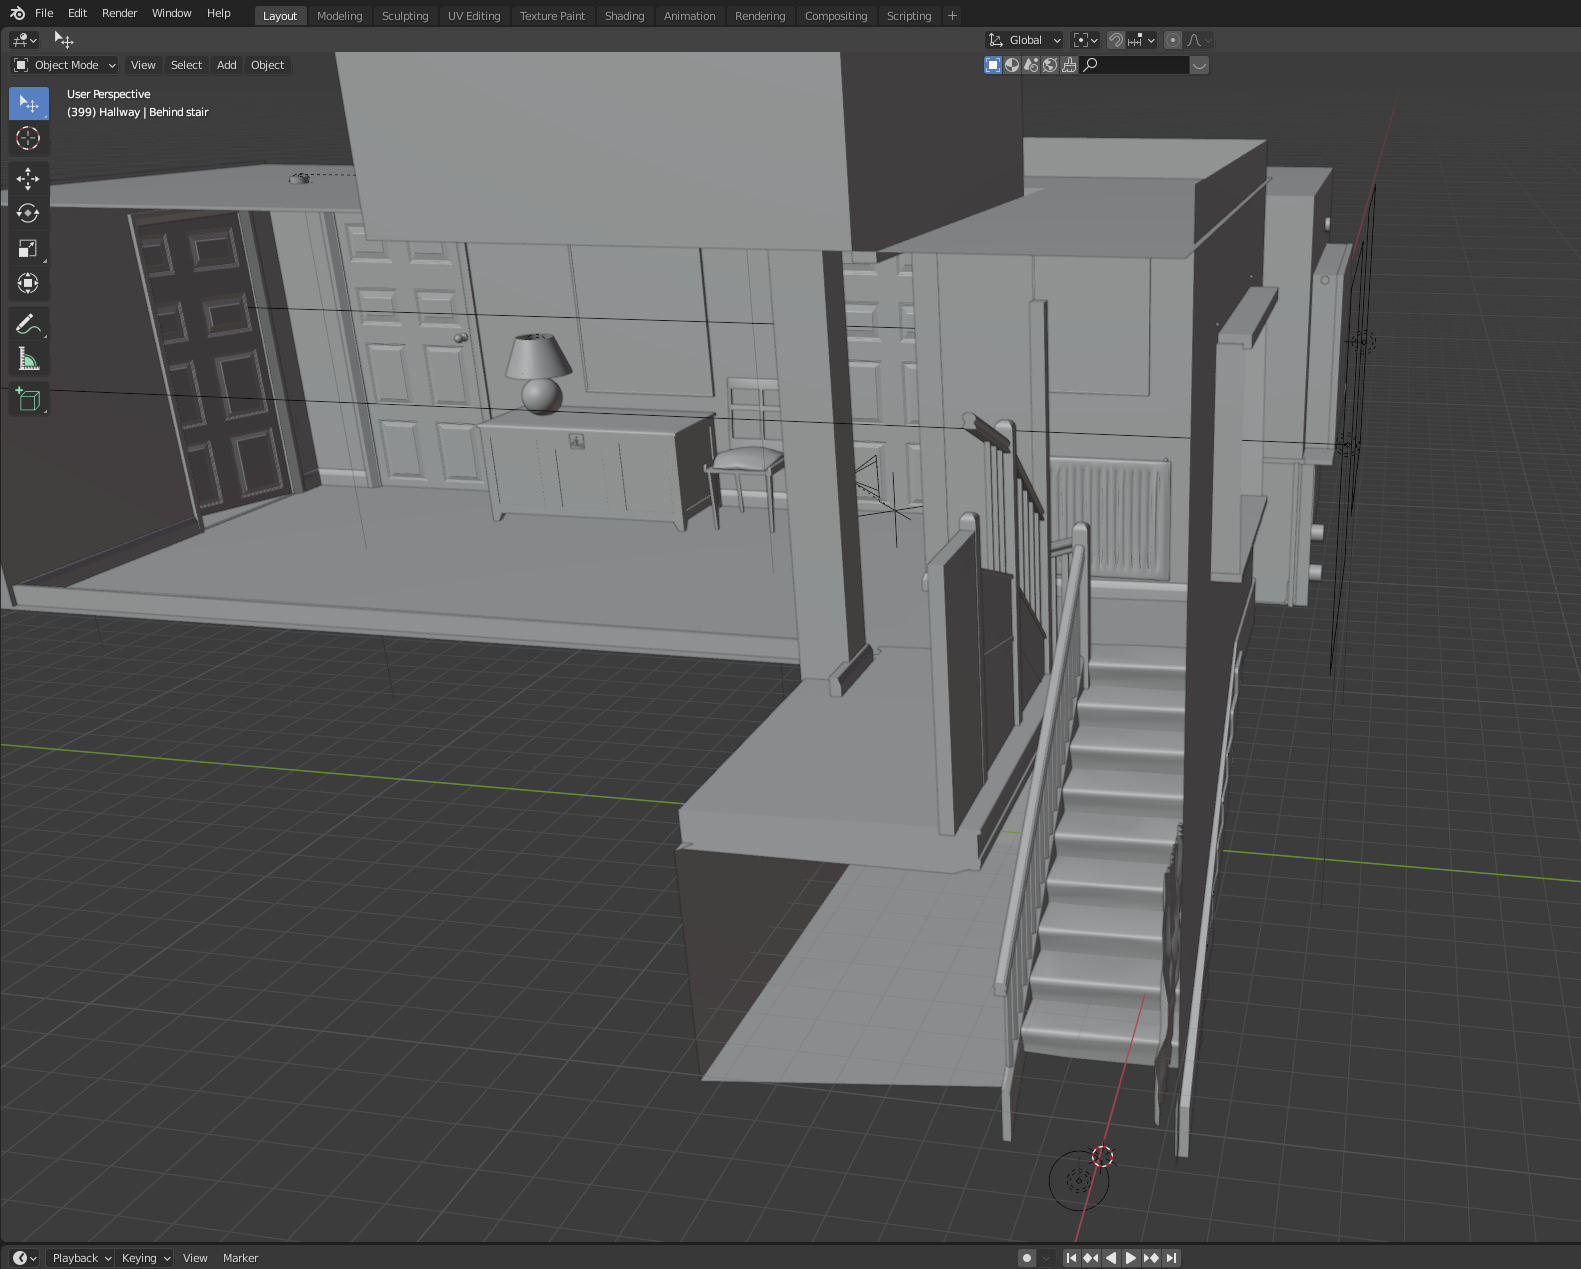
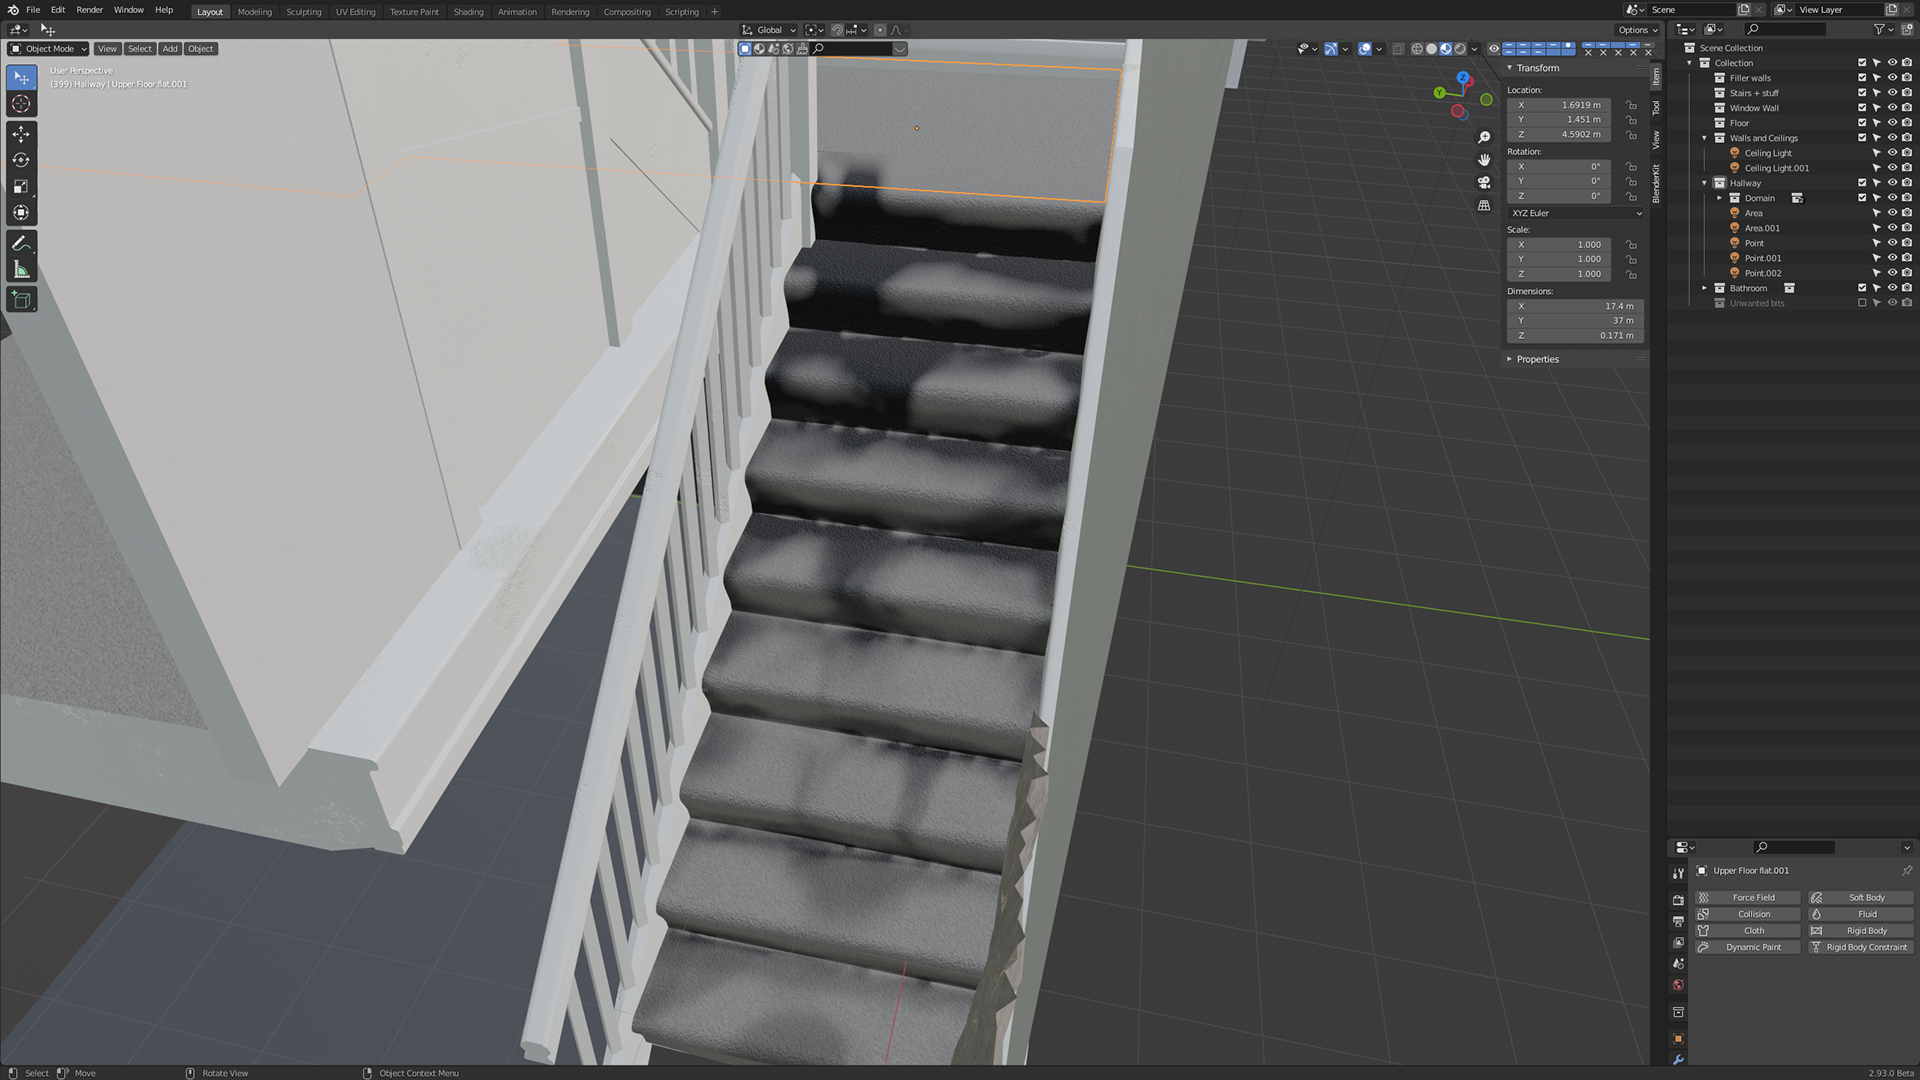
Although the beginning of this scene is the same as my previous piece of work, I decided to redo the camera movements as I didn't think they worked for this scene and opinions on my previous scene. In the last scene I did I used a camera movement that mimicked large steps up the stairs as well as a cone light locked to the camera movements to mimic someone recording from their phone as they went up the stairs. However, because of the lighting and the limitations of the stepping animation I decided against using this again. For a more sinister and tension building atmosphere I decided to go for a smooth glide up the stairs, stays low, gliding across the floor as this gives an unusual angle that is not usually seen by us - building tension and suspense. To make the camera turn slowly around the corner of the upstairs to look into the bathroom, I had to use something that I hadn't used before. To do this I locked the camera to an invisible axis called an empty, and then I rotated the empty so the camera had a smooth rotation.

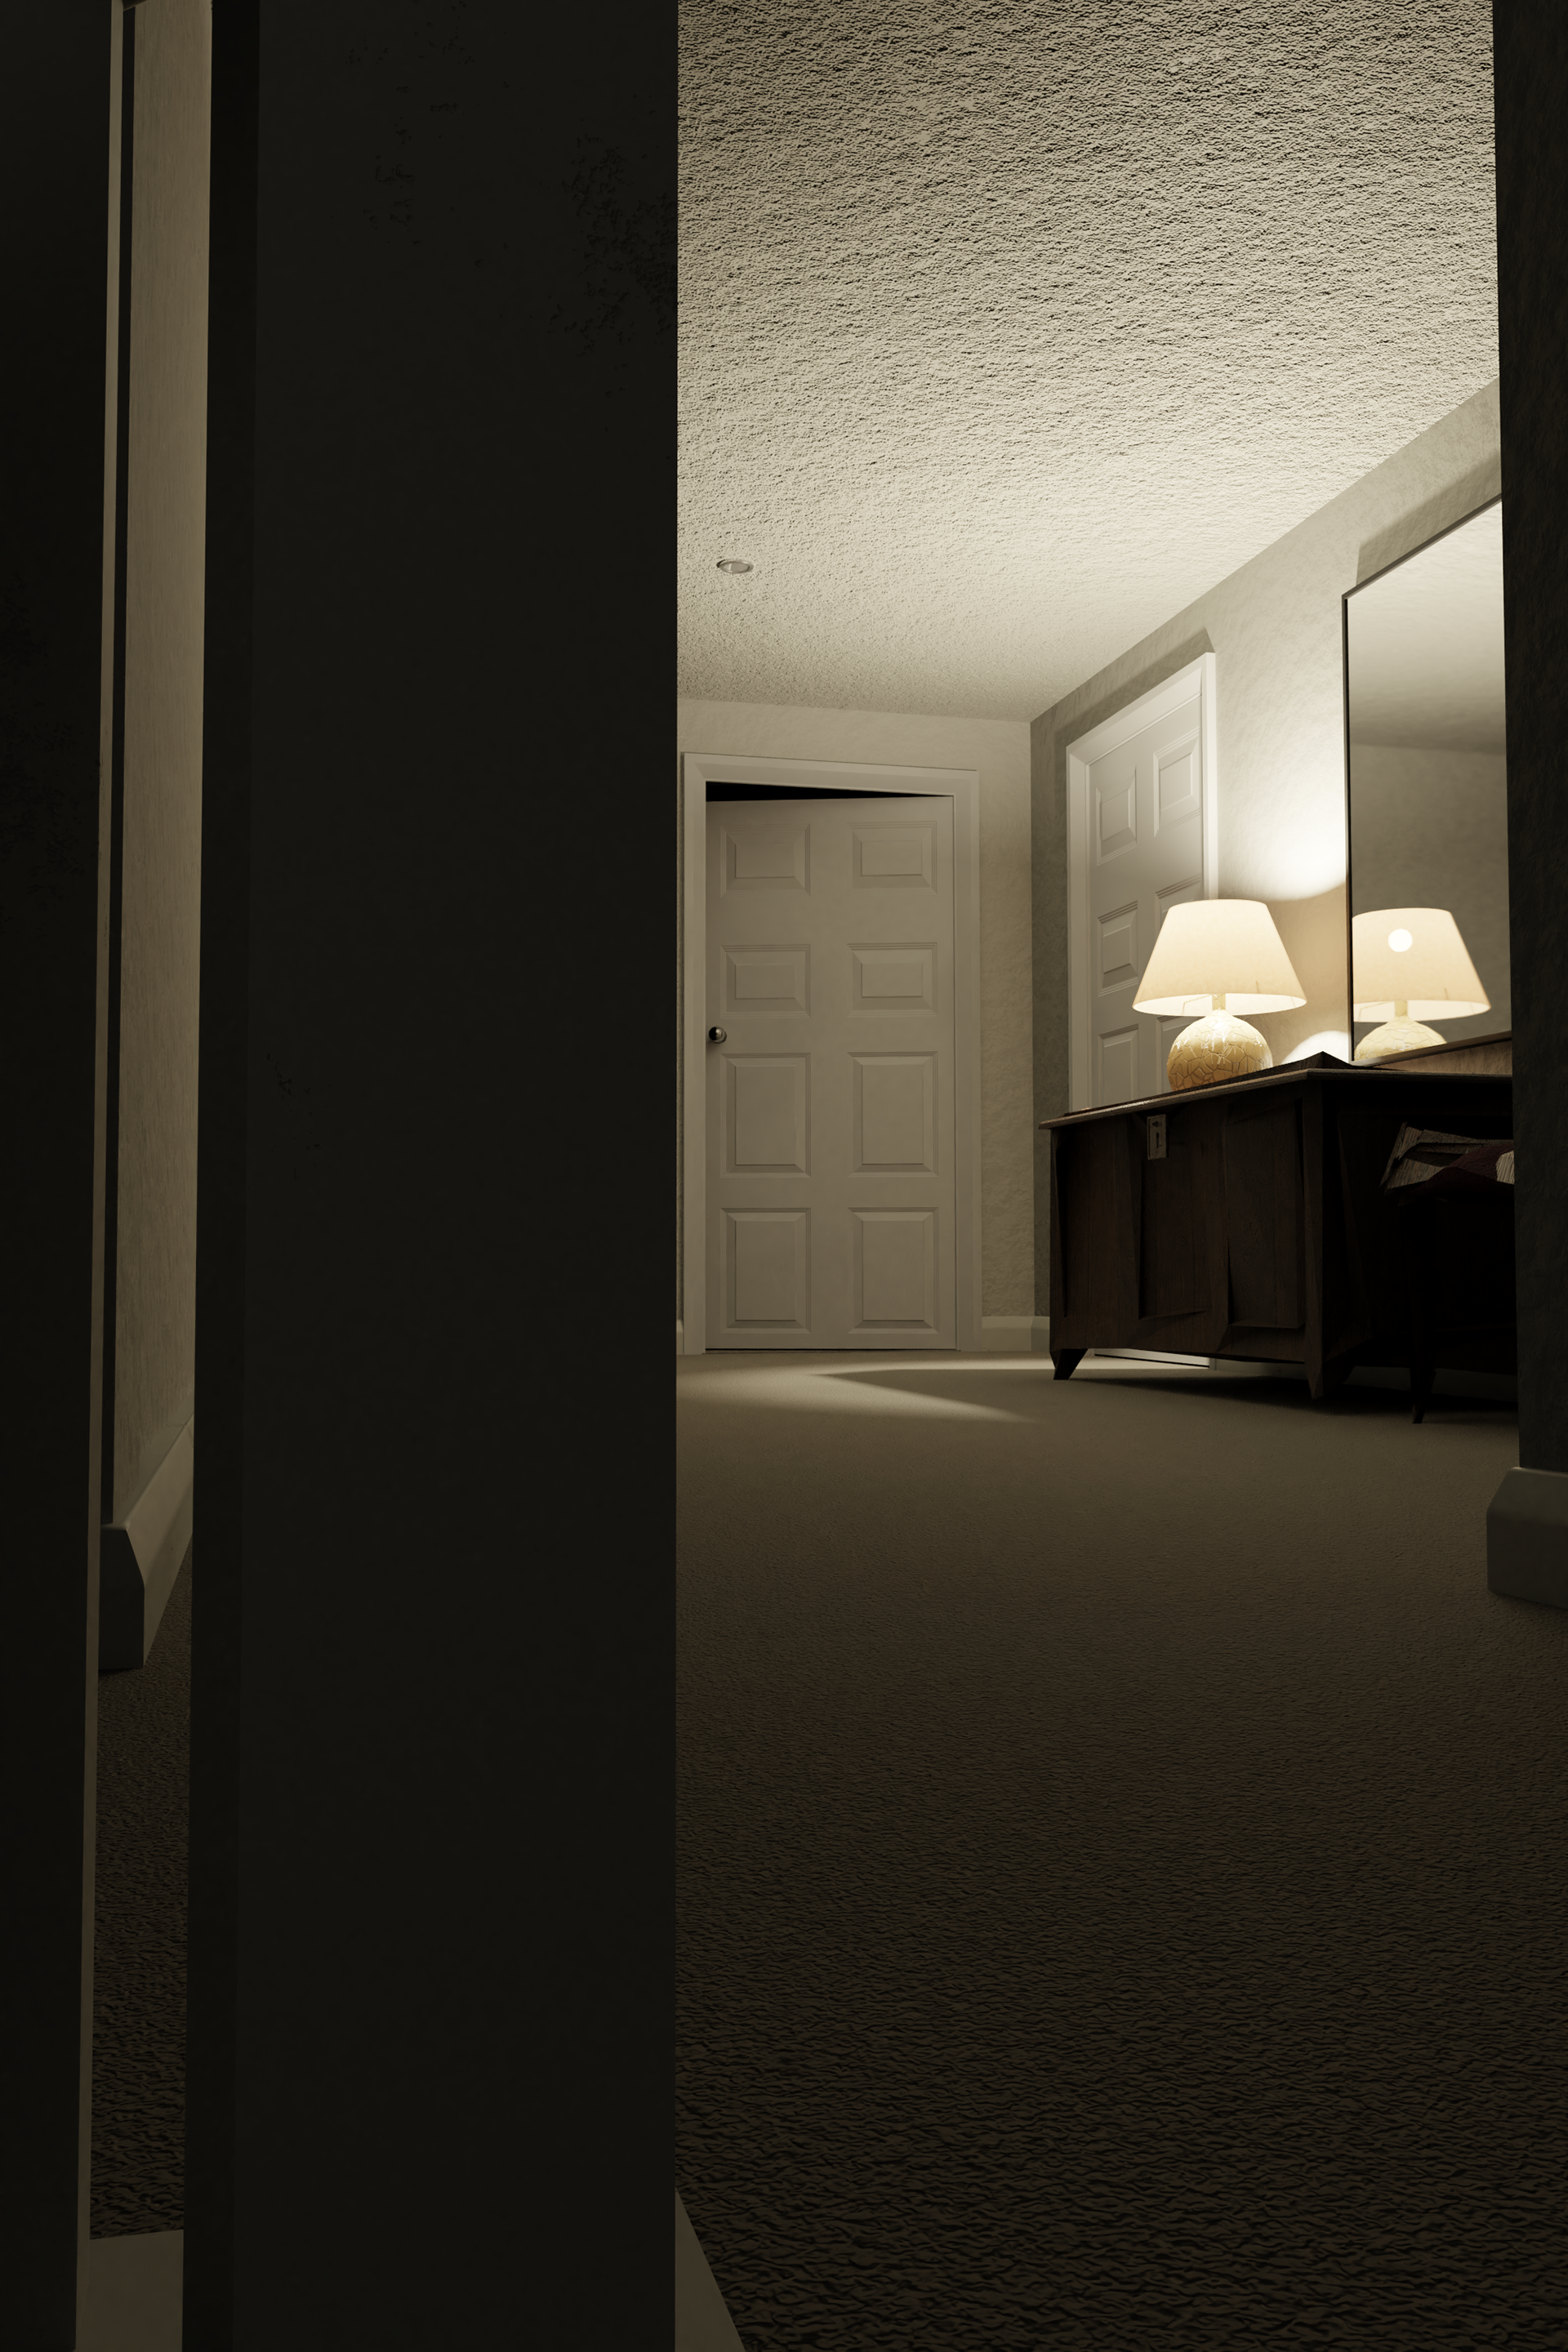
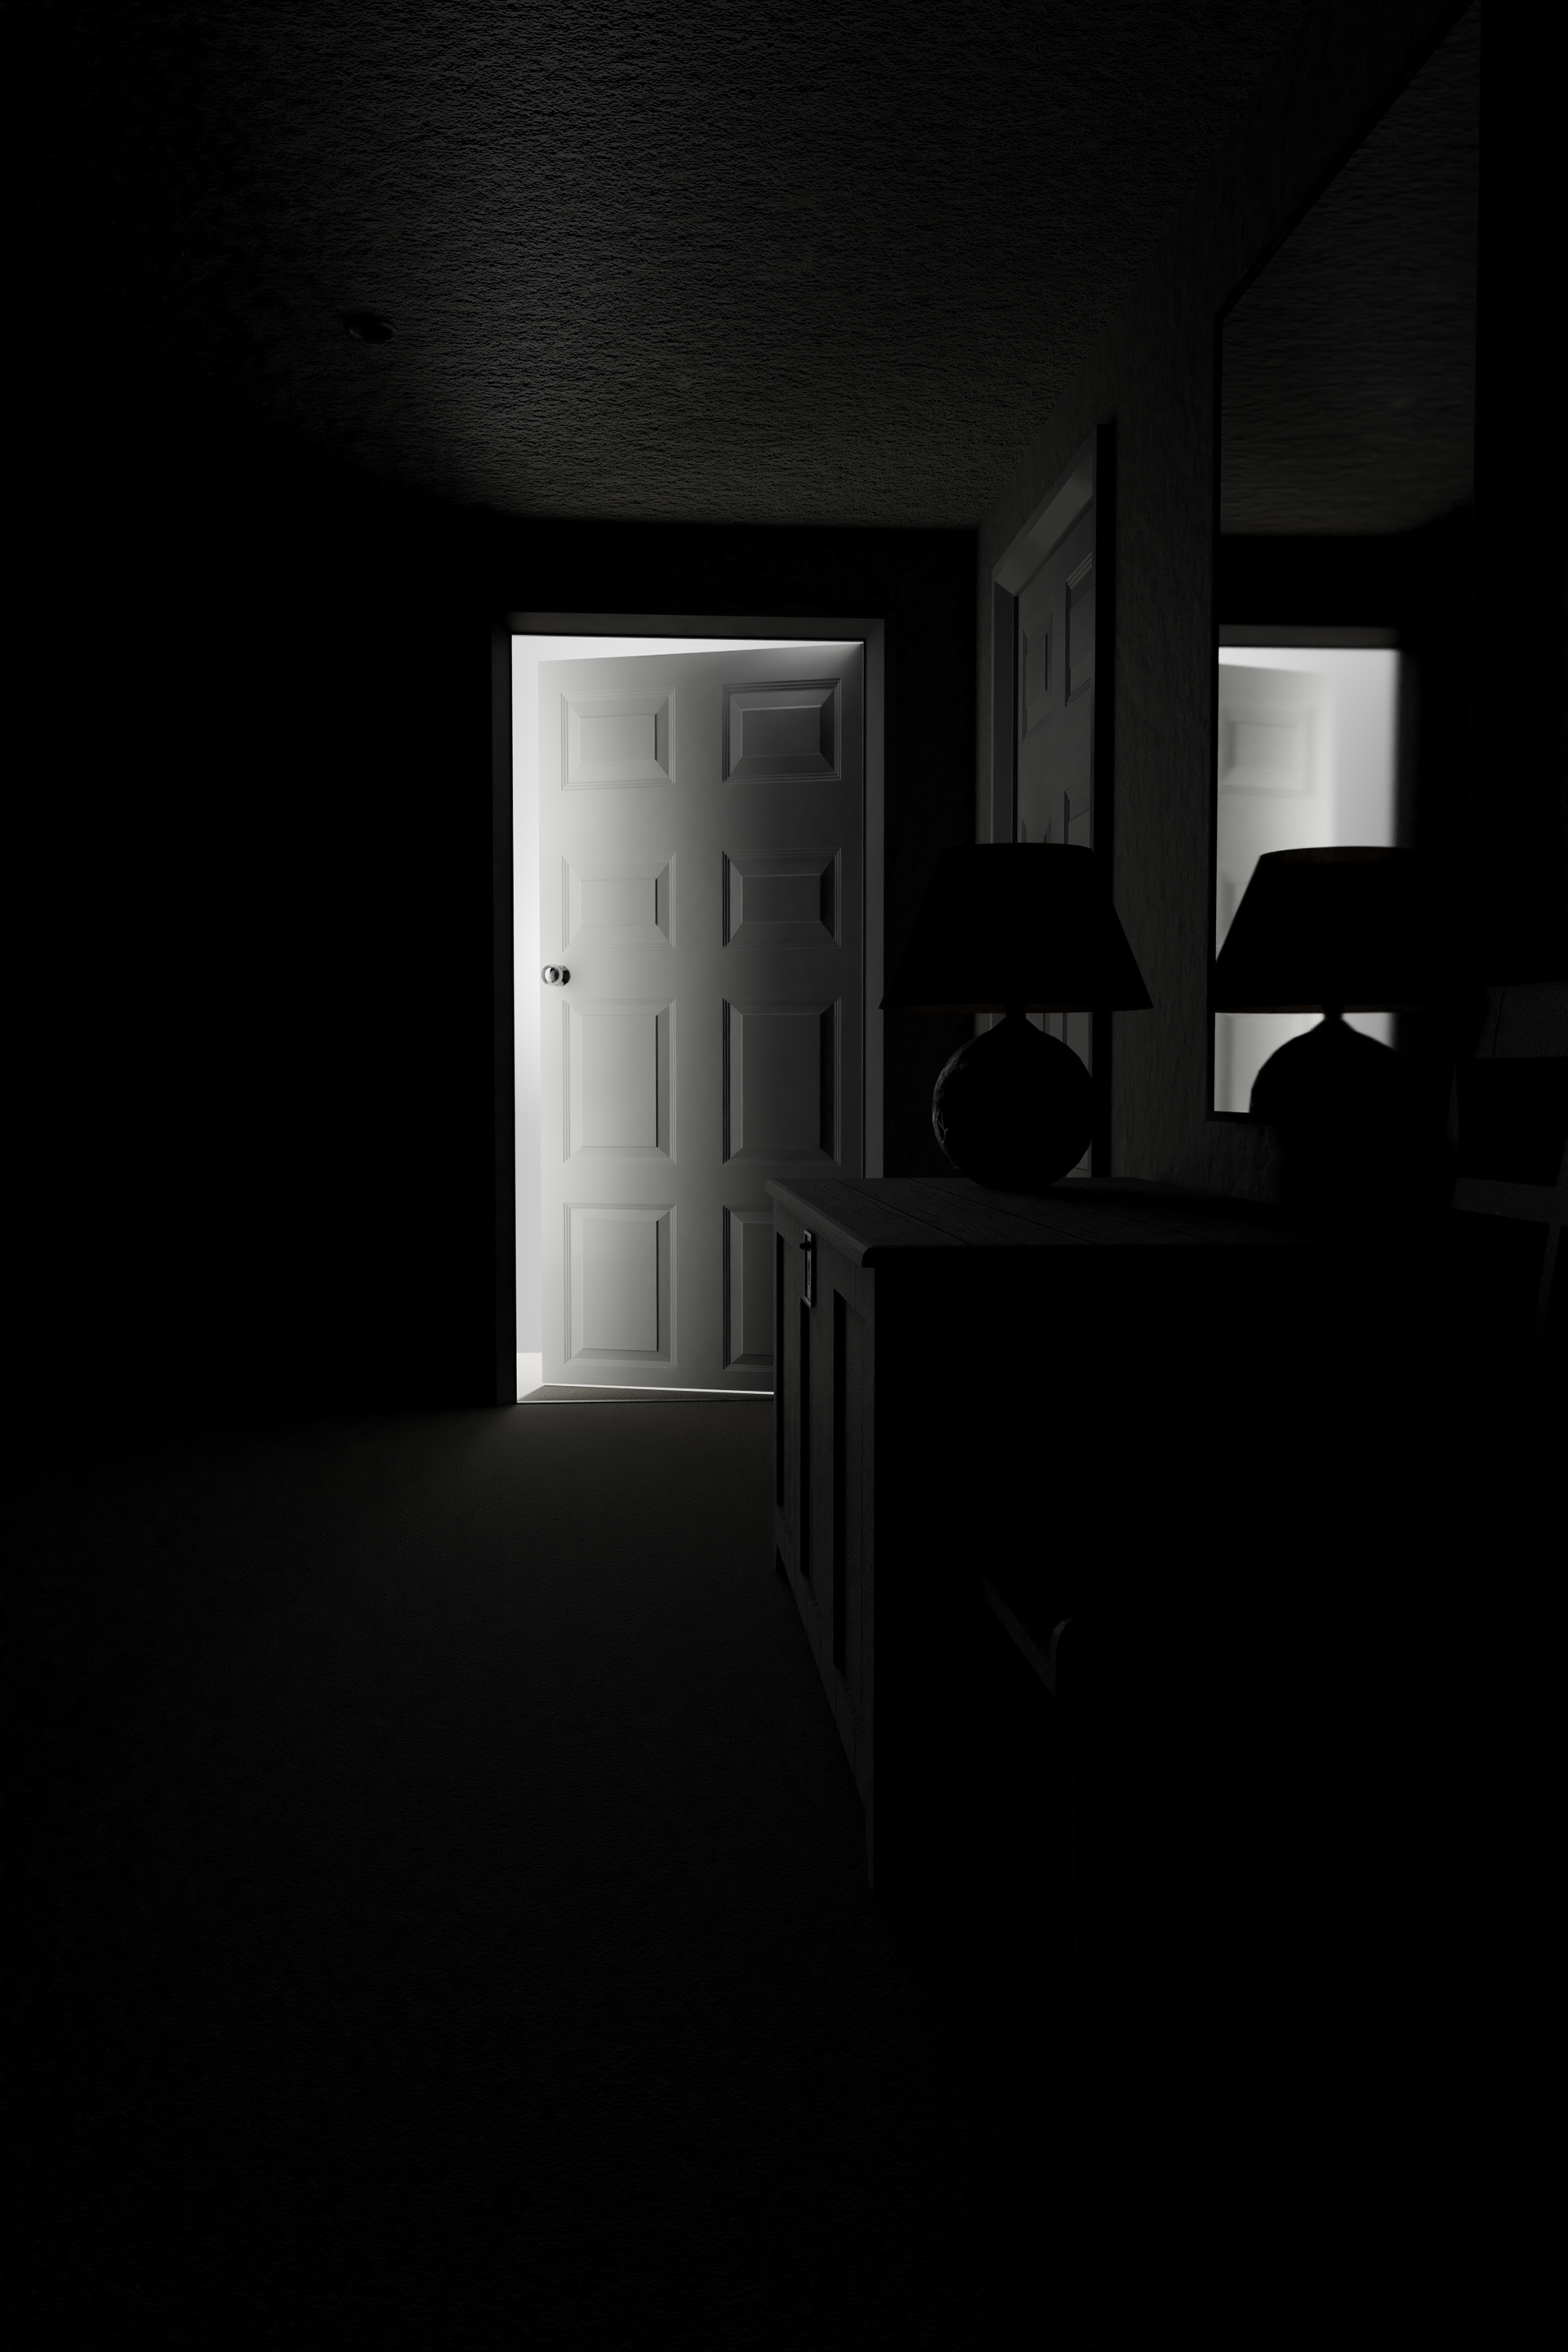
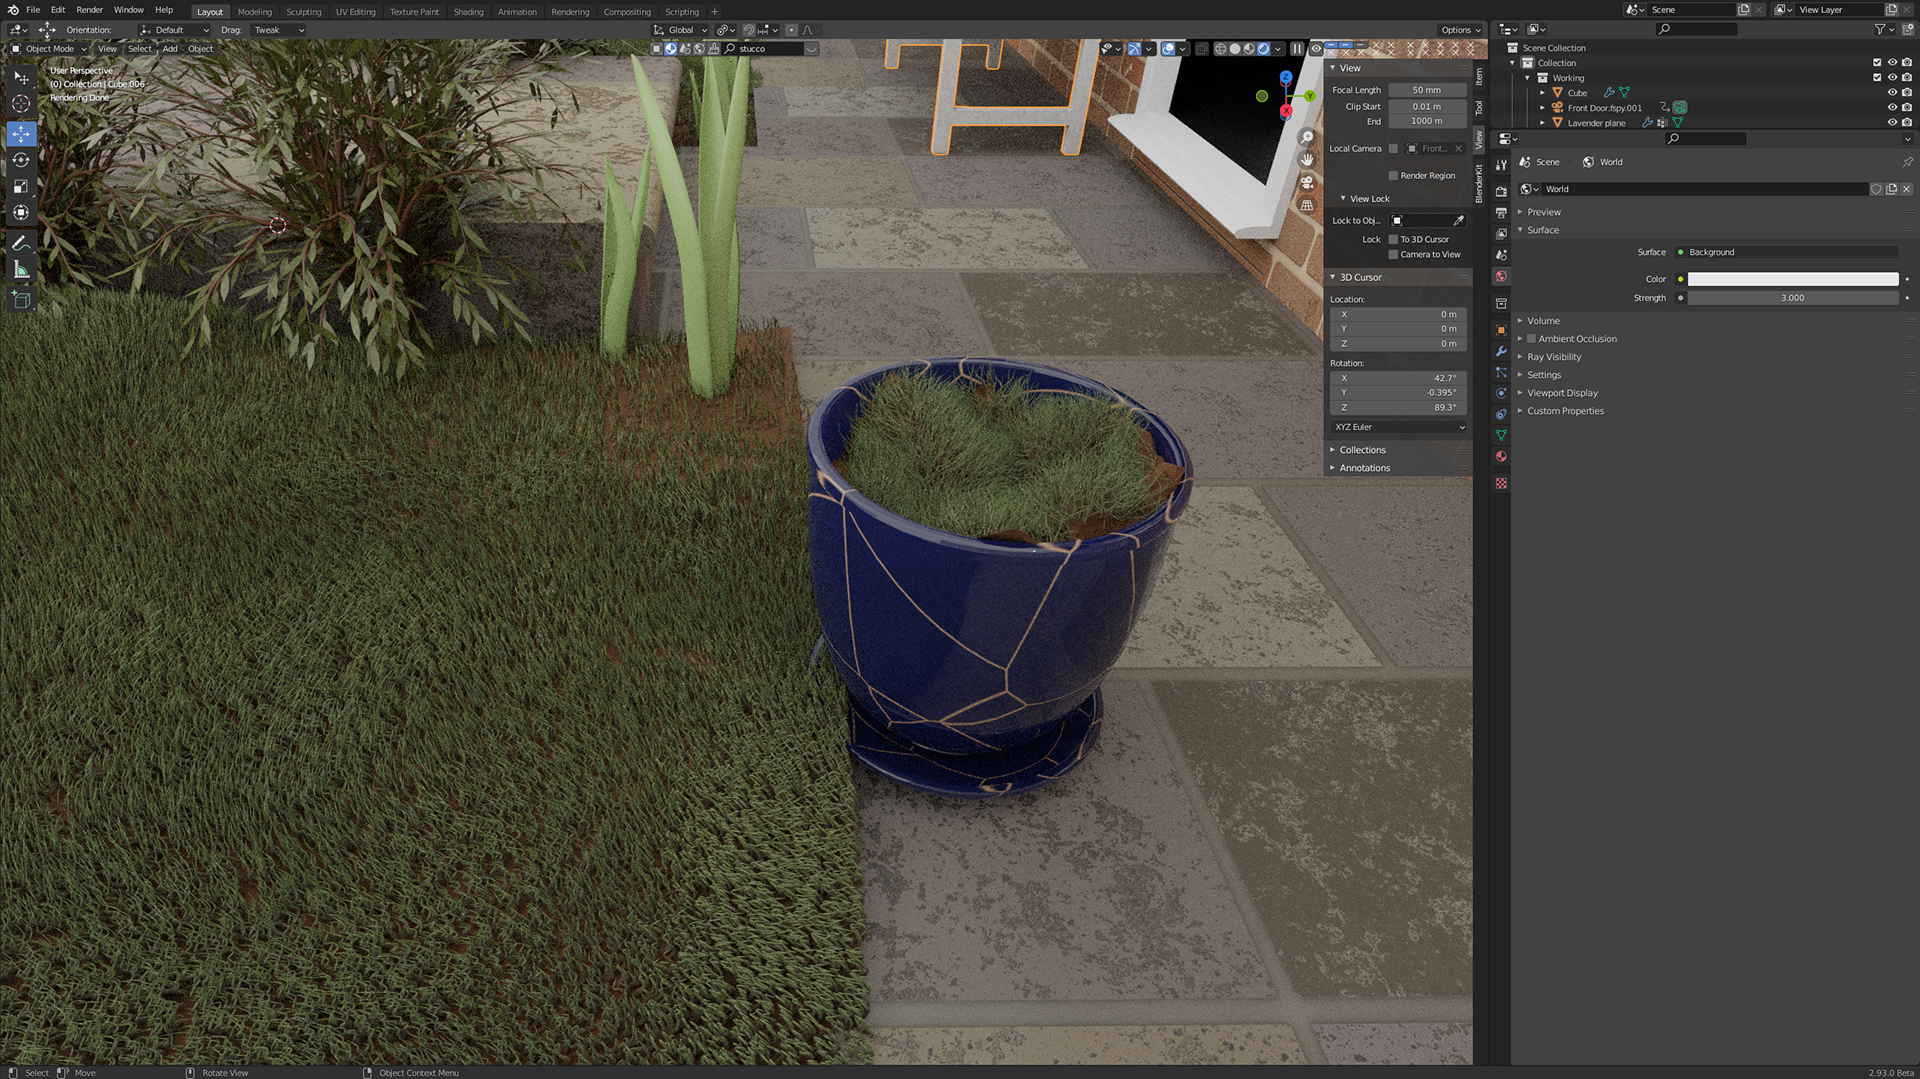
The lighting in this scene is also very important, and for it I decided to go back to my original creation of the launderette. With the red orb in my last piece, the lighting and theme was too extreme, and it was more of an experiment of what works well in the theme that I have set. In doing that I have realised that the strong scary scenes are the more realistic ones, and so I have gone back to a realistic scene of my house, again using flashing lights. The flashing light works really well as it provokes the feeling of some form of unknown external force, that uncertainty builds tension. I also had more lights that I decided not to use, as having just one flashing light worked the best.
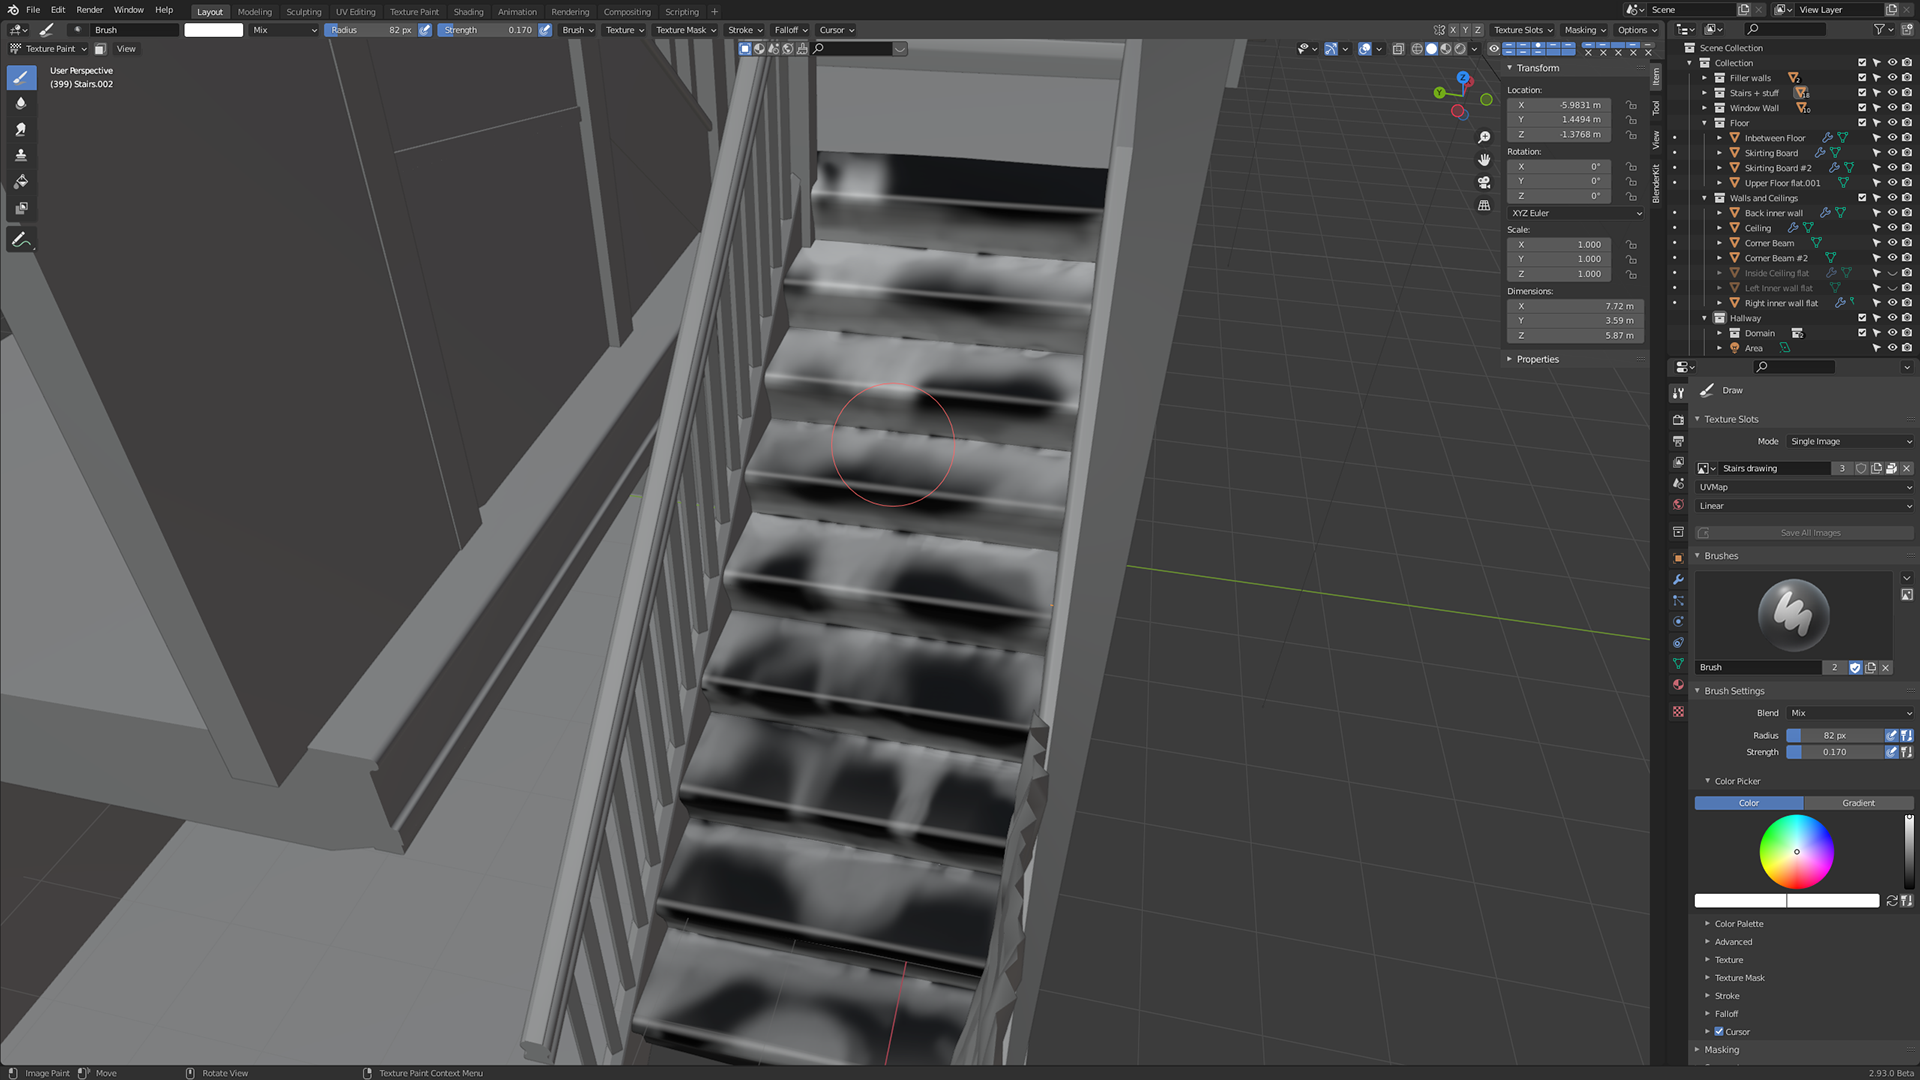
One technique I used that I have mentioned before, but I couldn't get to work was texture painting. This allows me to draw onto an object with either a simple white pen to create a UV map that can map certain aspects to that black and white image, or I can use it to draw another material on top of the one below. I used this to create dark patches in the carpet with the idea of the water soaking into the carpet and down the stairs, this worked well to show the water running down the stairs, at first it is not hugely noticeable, but it still adds that aspect of something being amiss. There was also meant to be dark patches at the top of the stairs running from the bathroom, however it broke just before I went to render it, and I didn't notice till it was too late and there wasn't enough time to fix it. It was irritating as it adds to the atmosphere and suspension, but it didn't ruin the video so I had to let it slide.
The OUtside
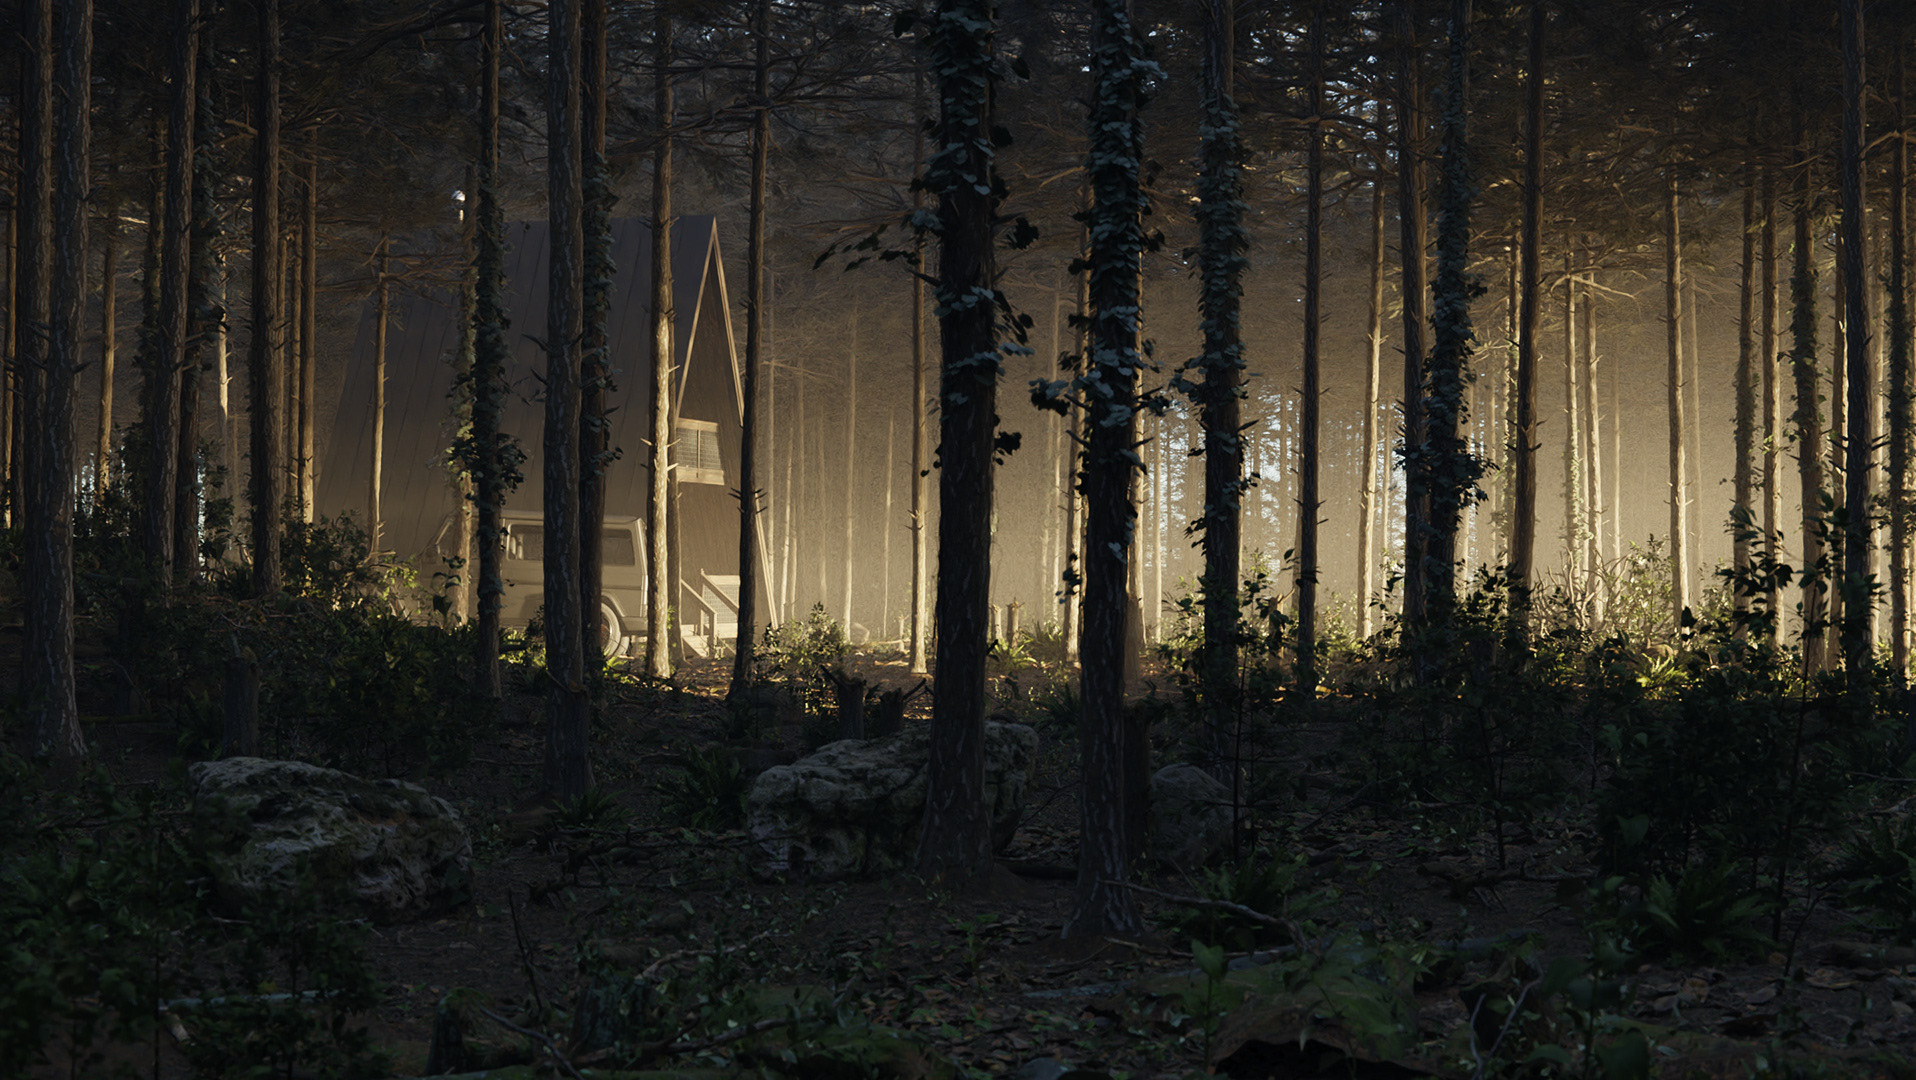
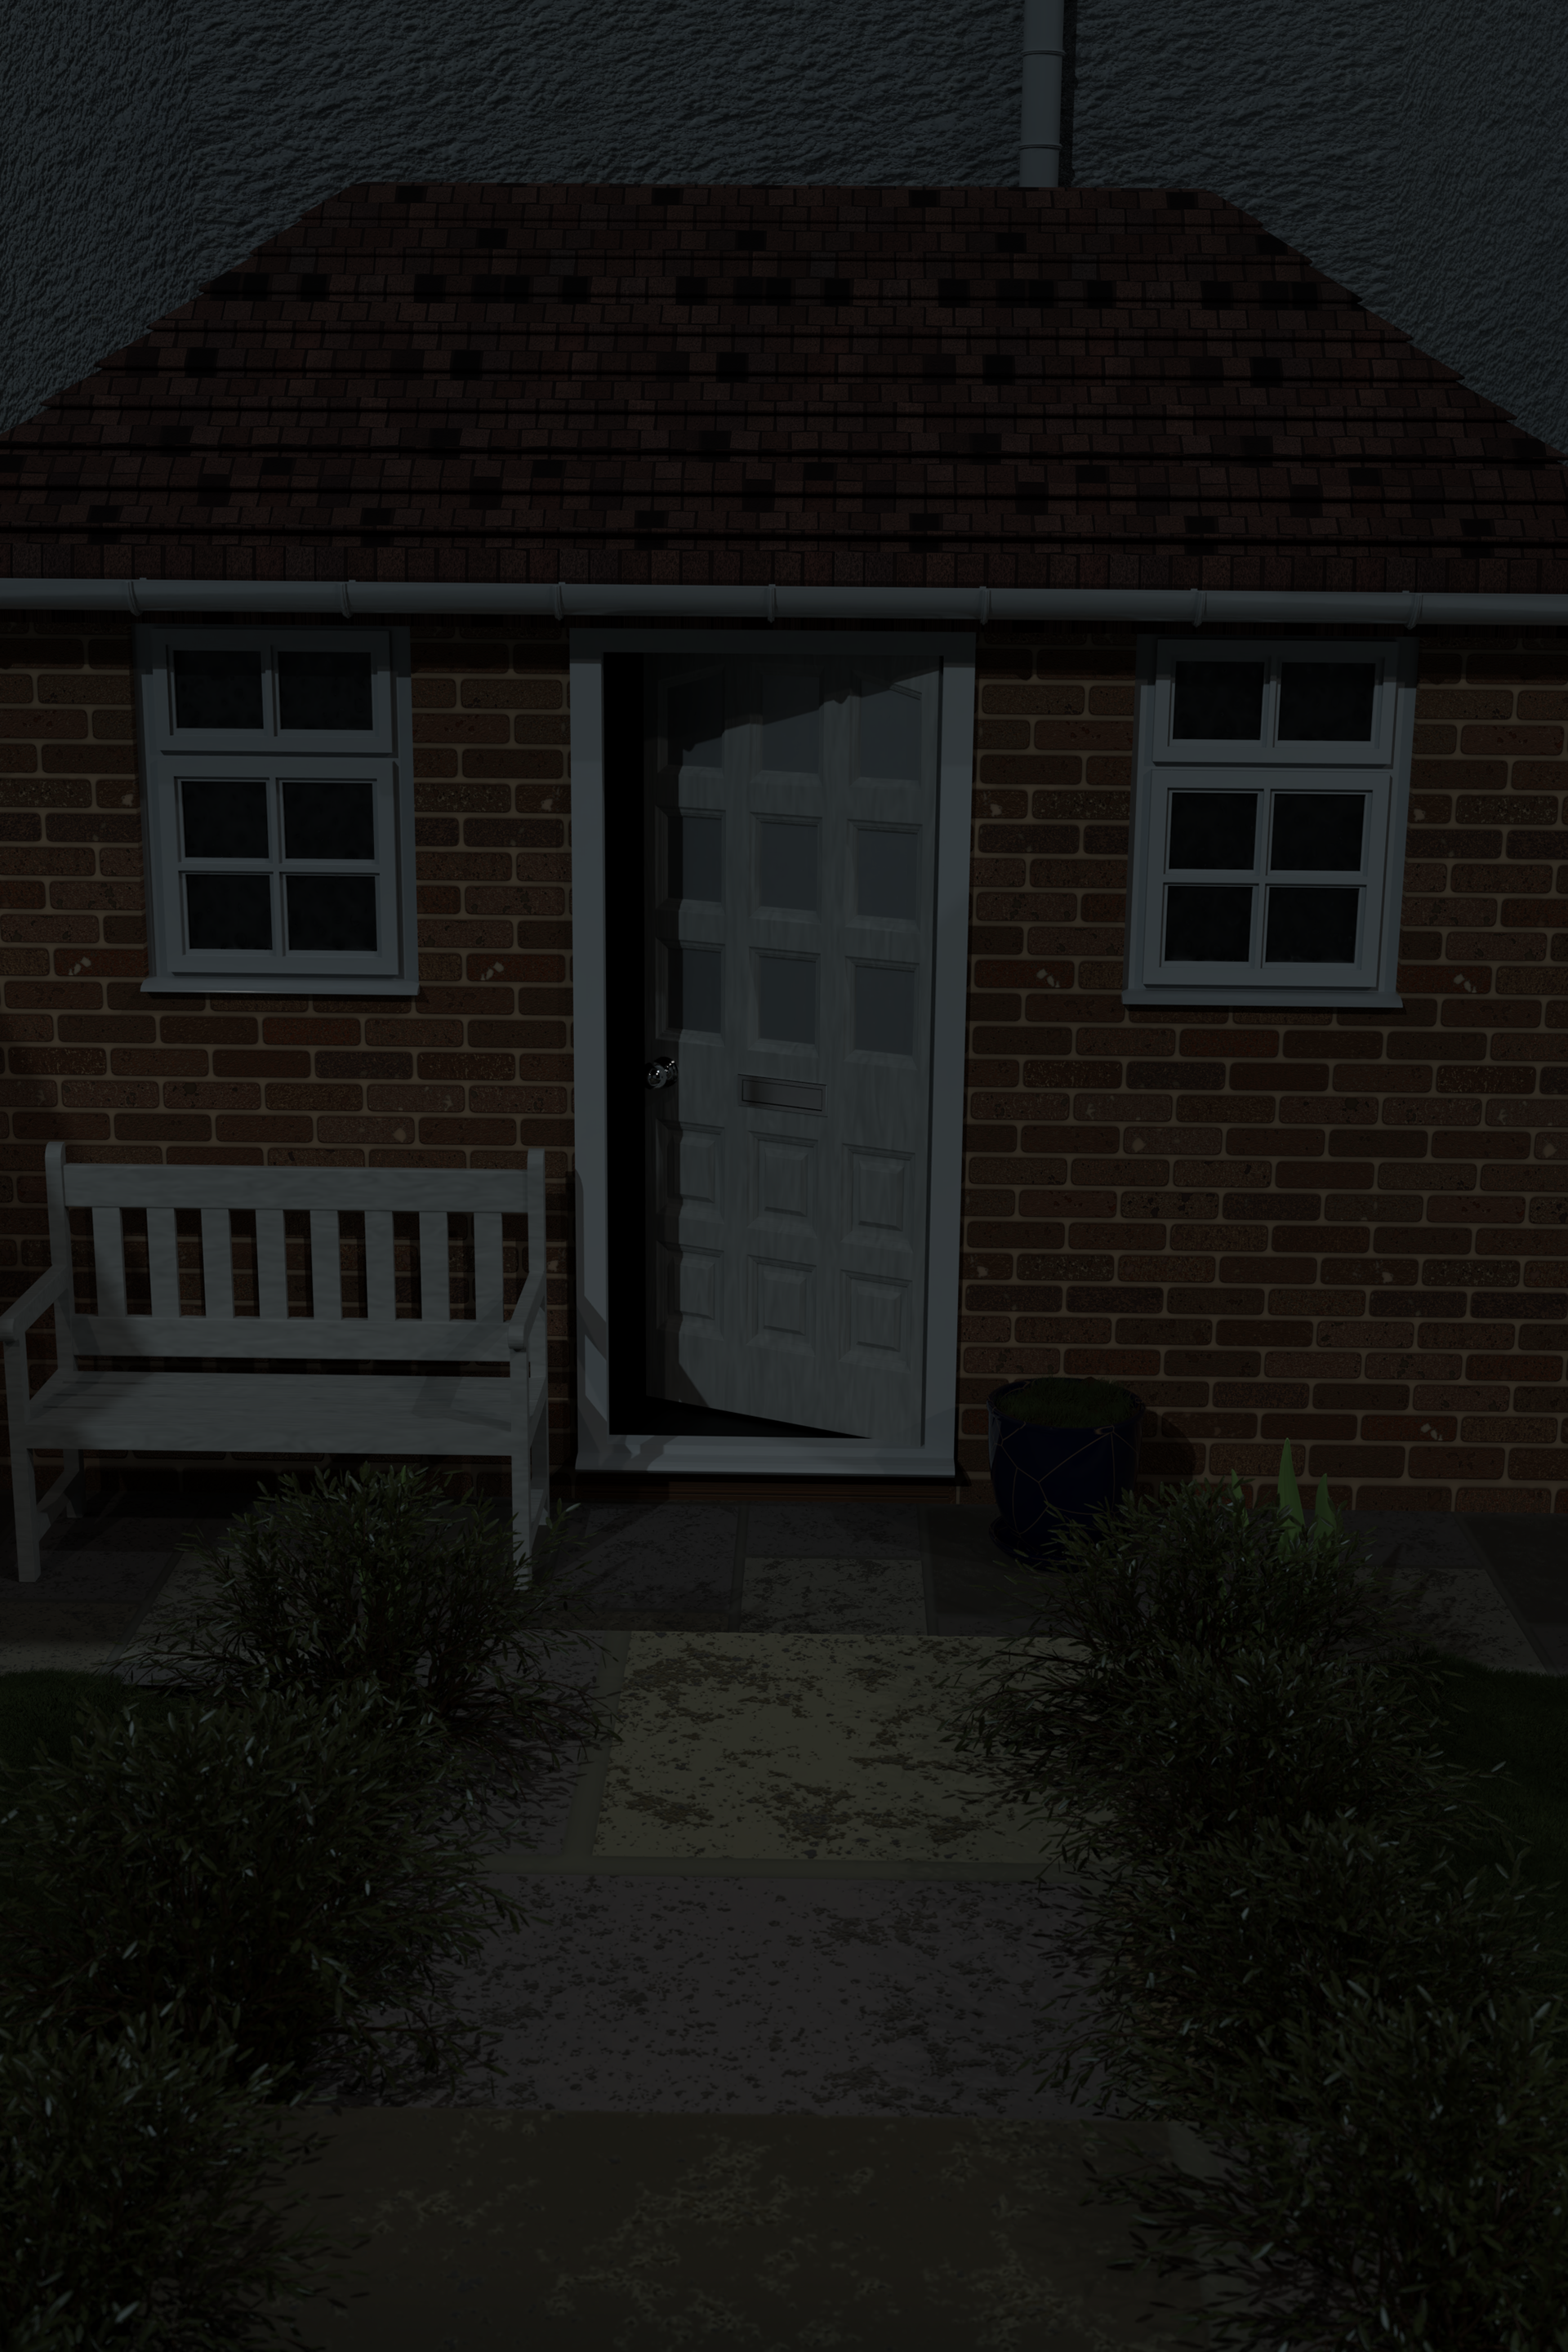
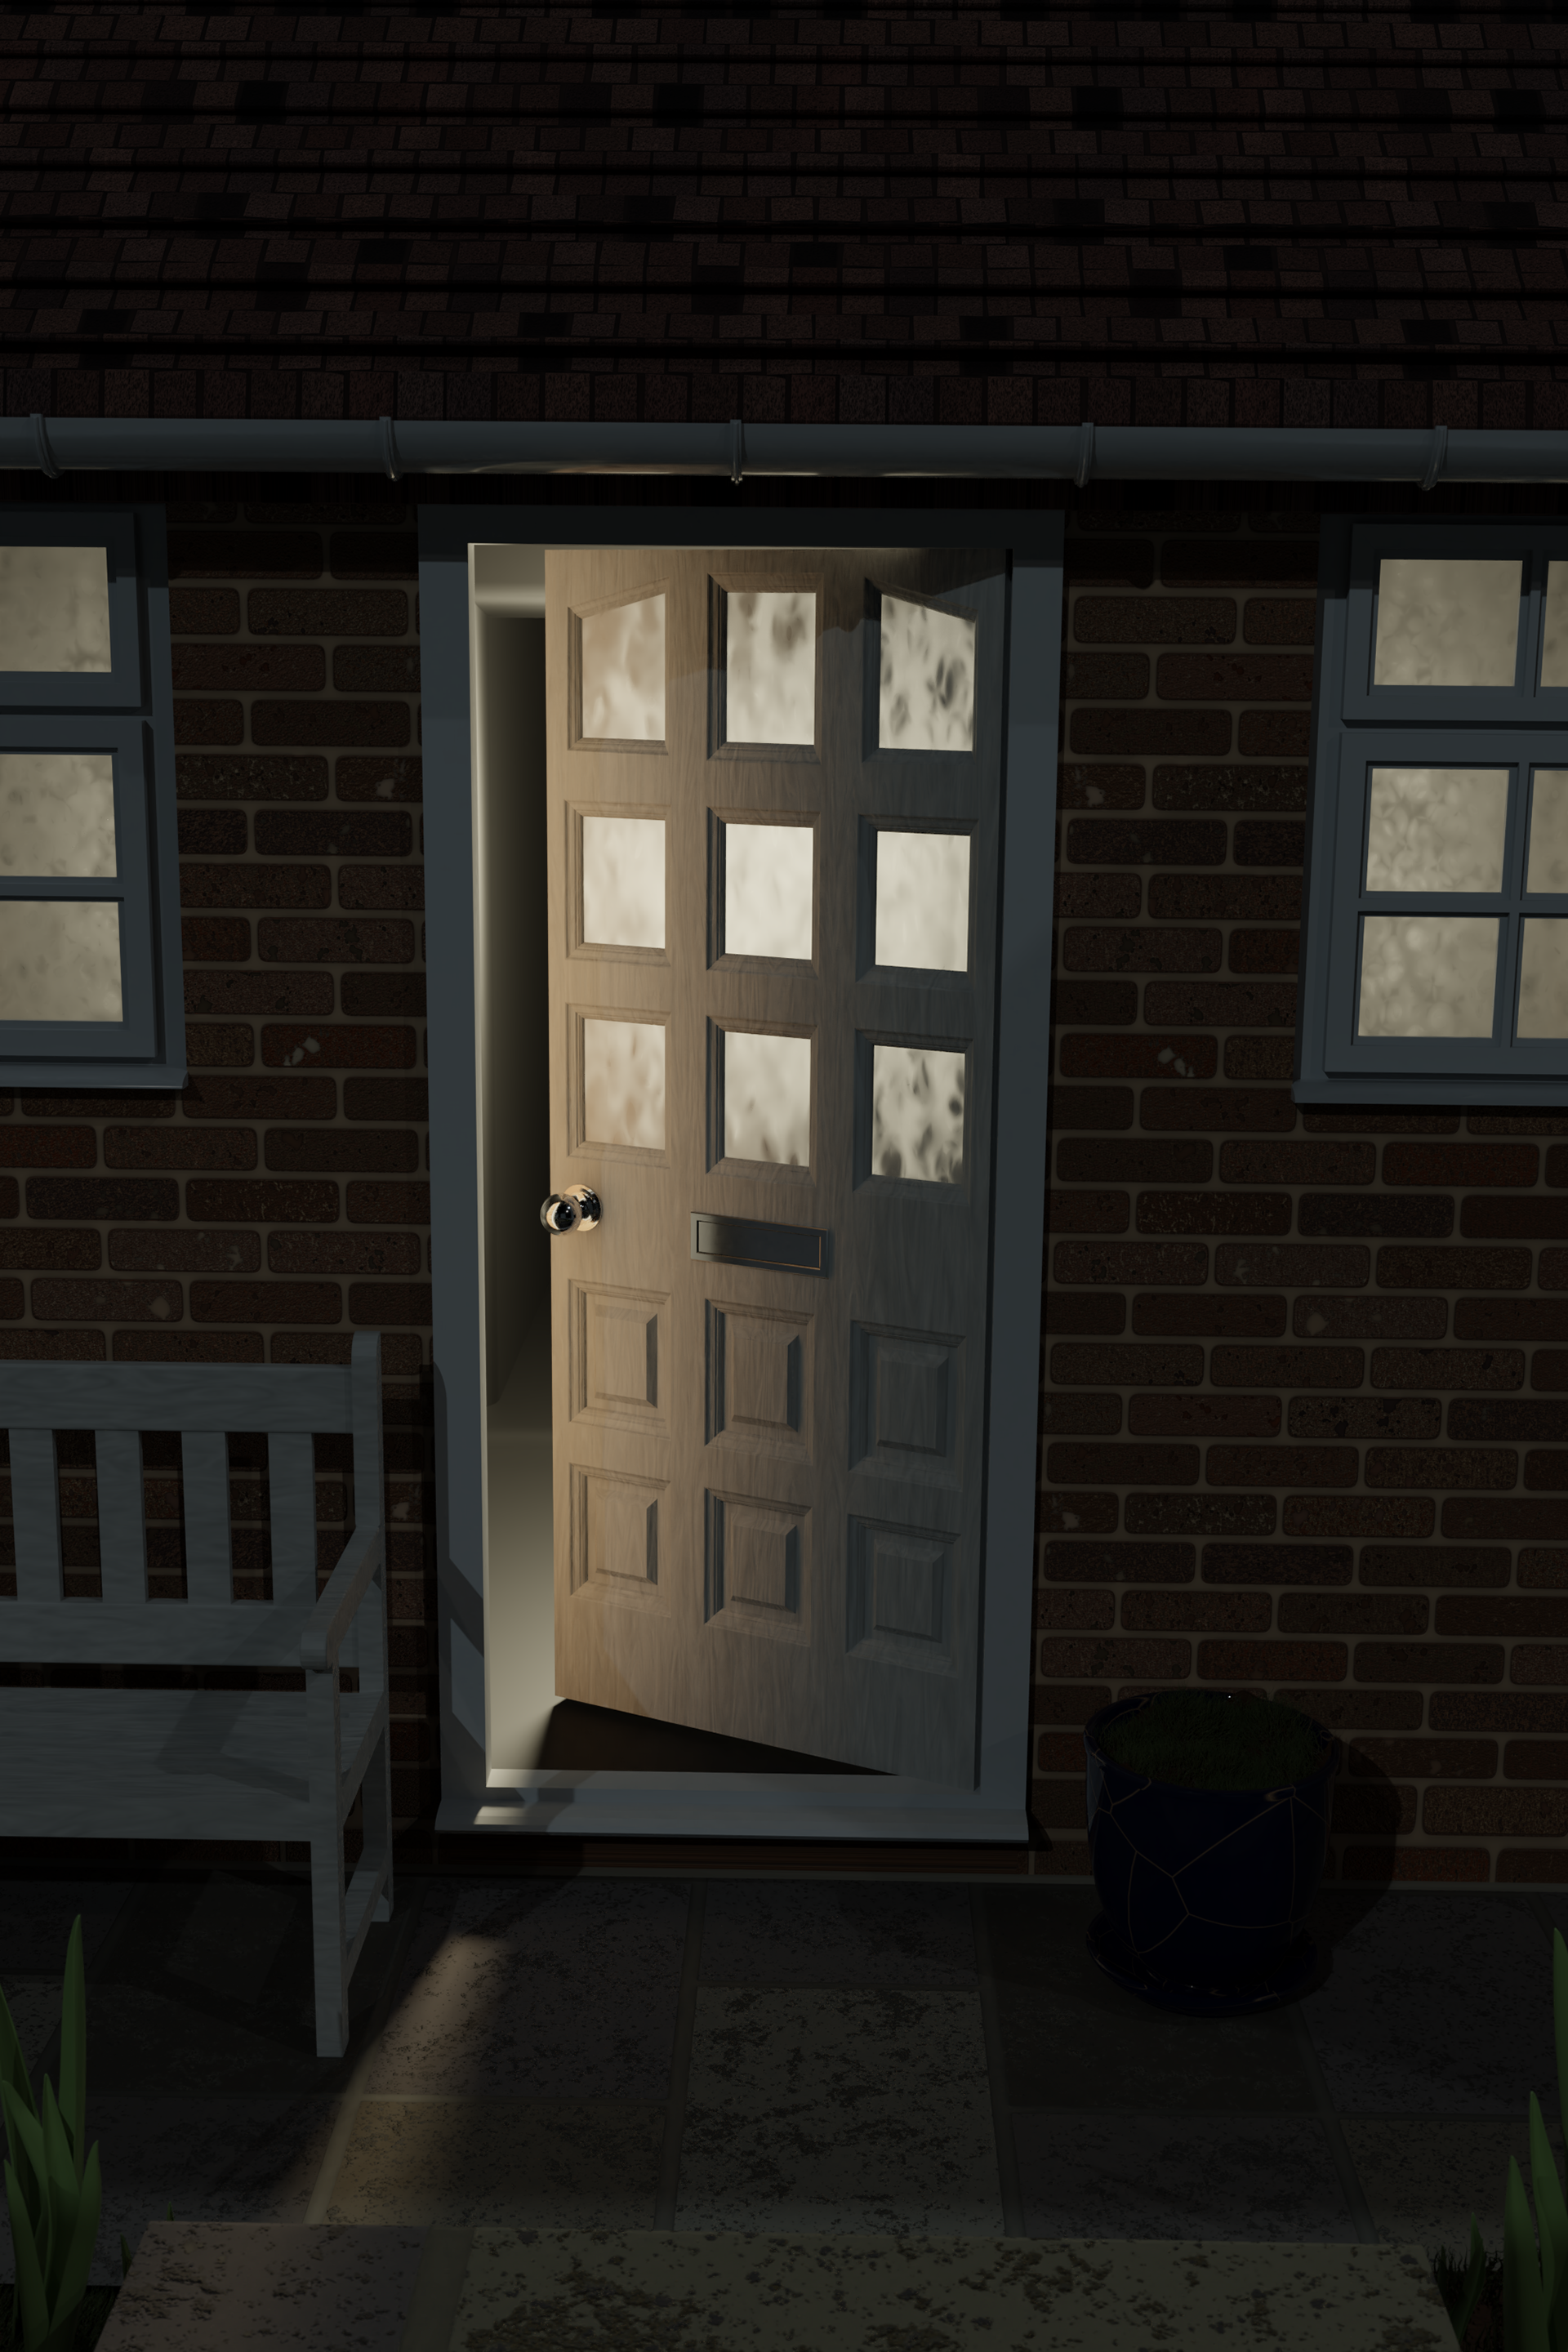
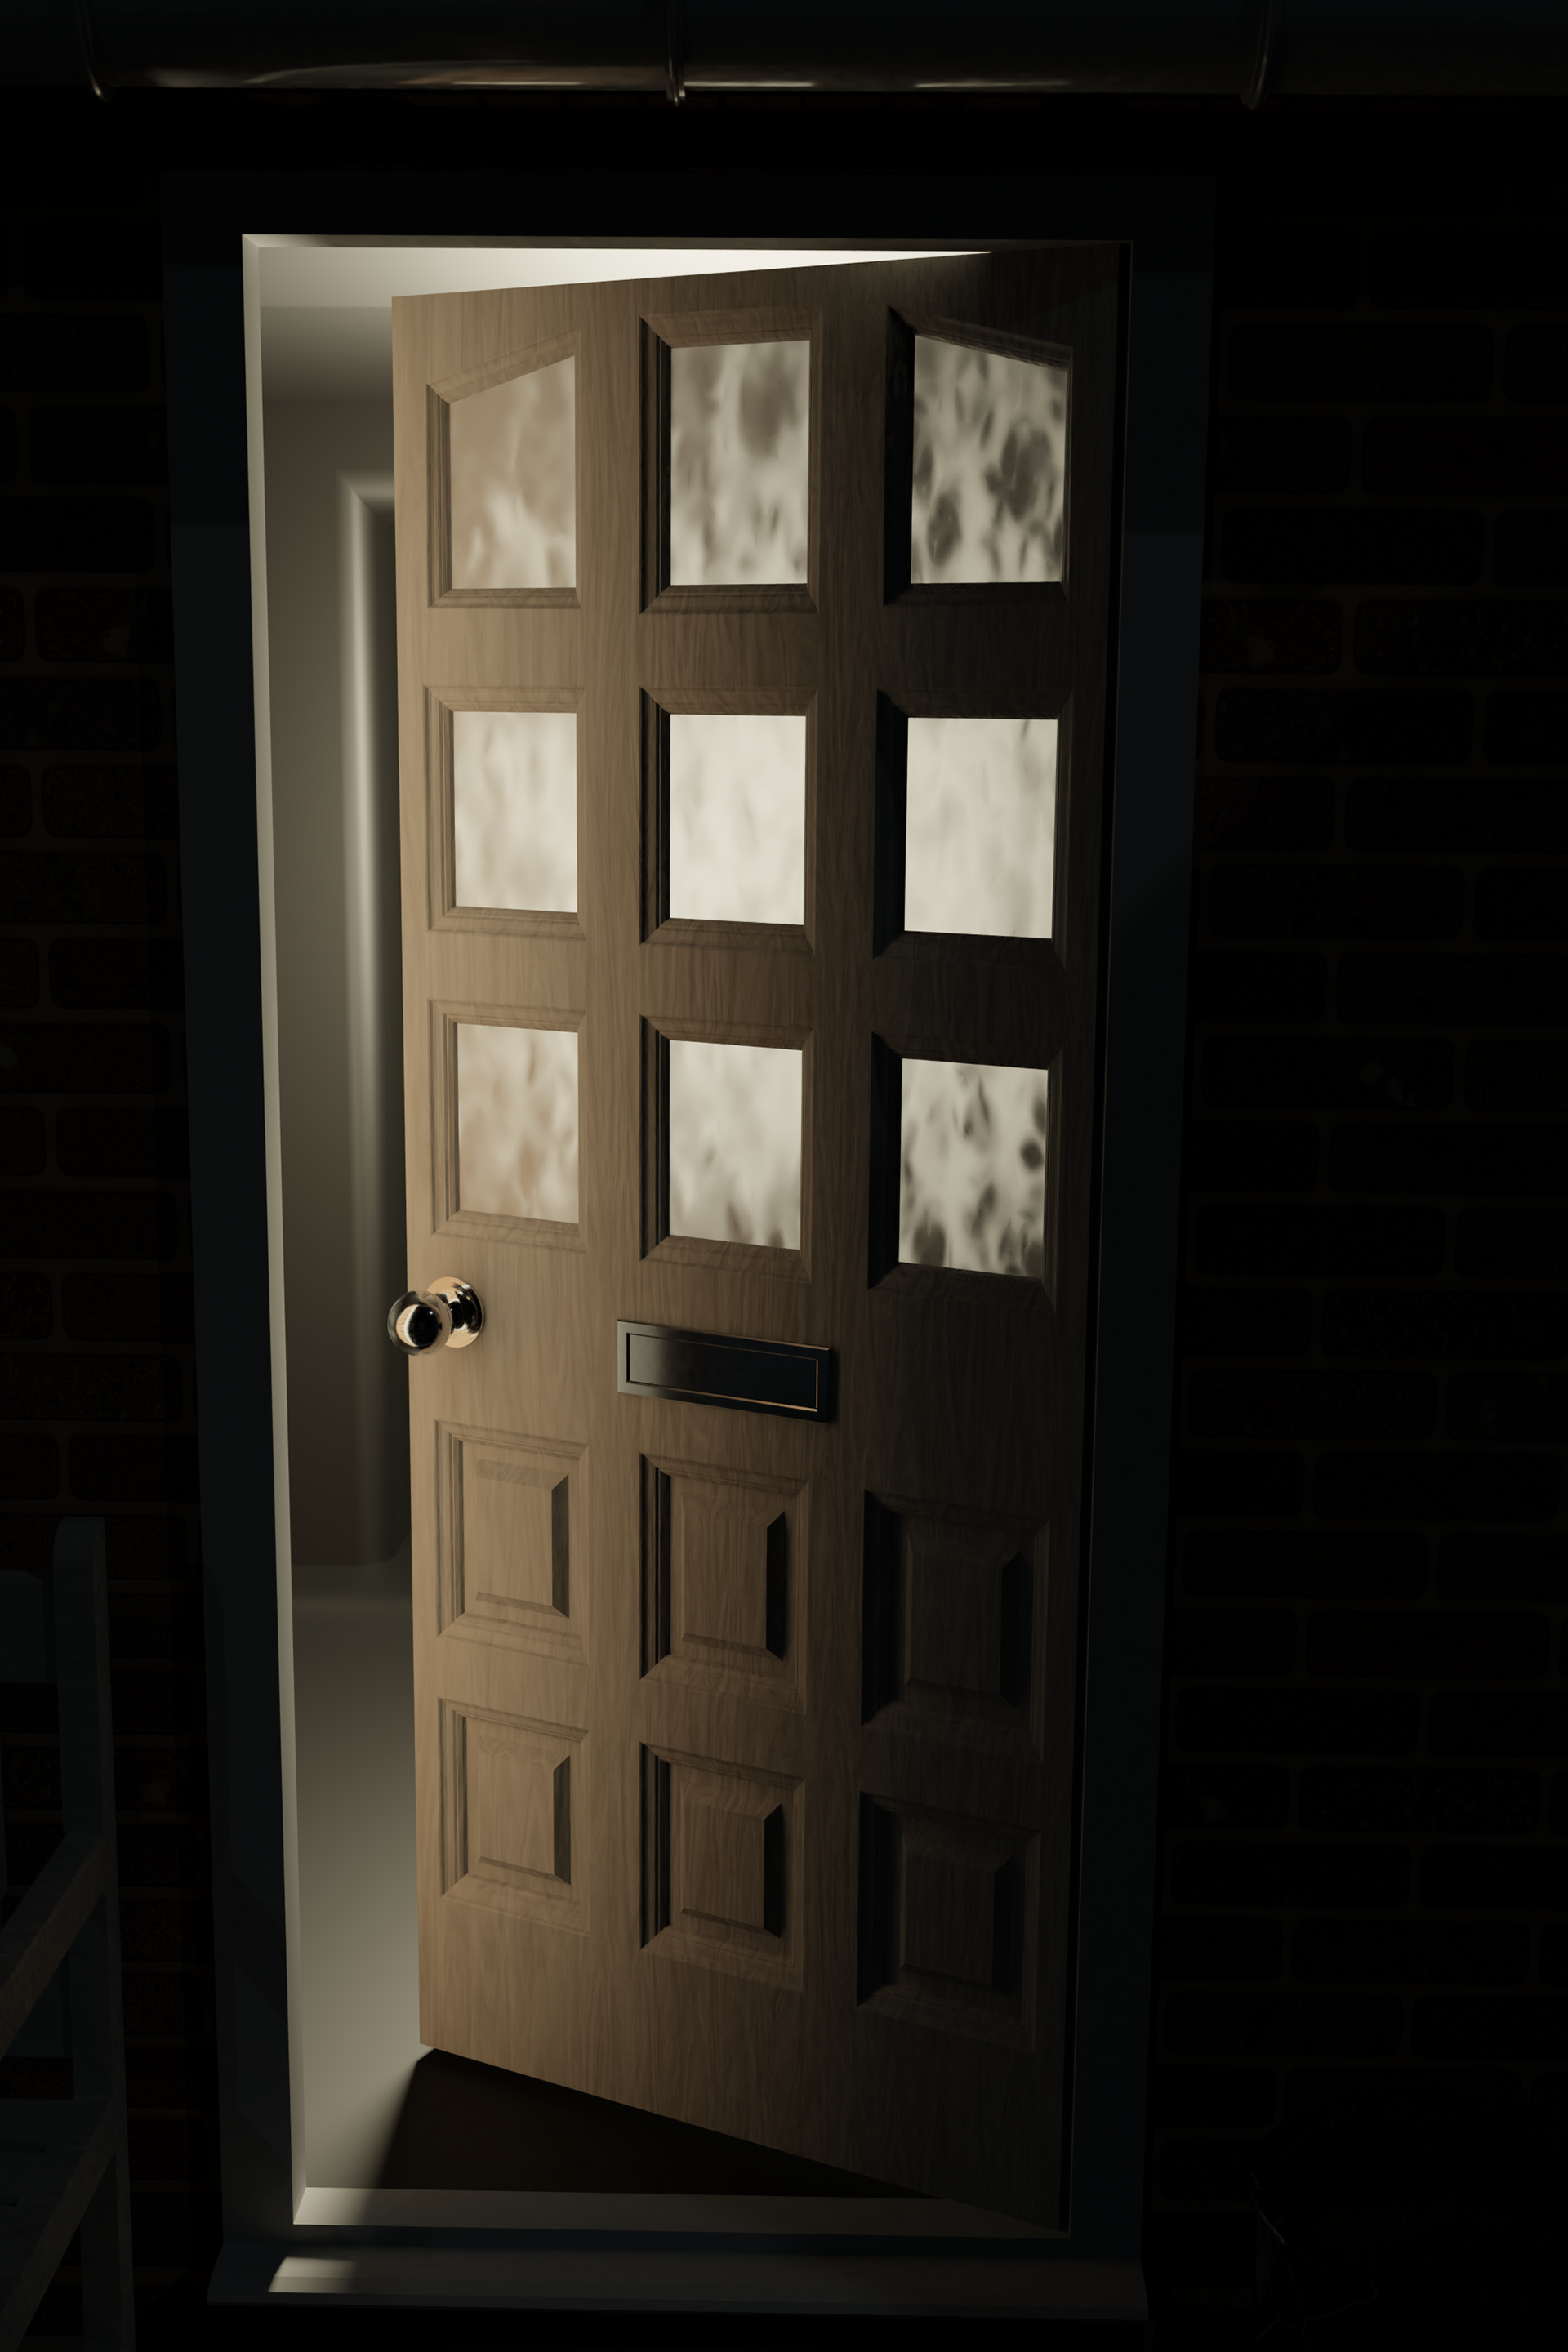
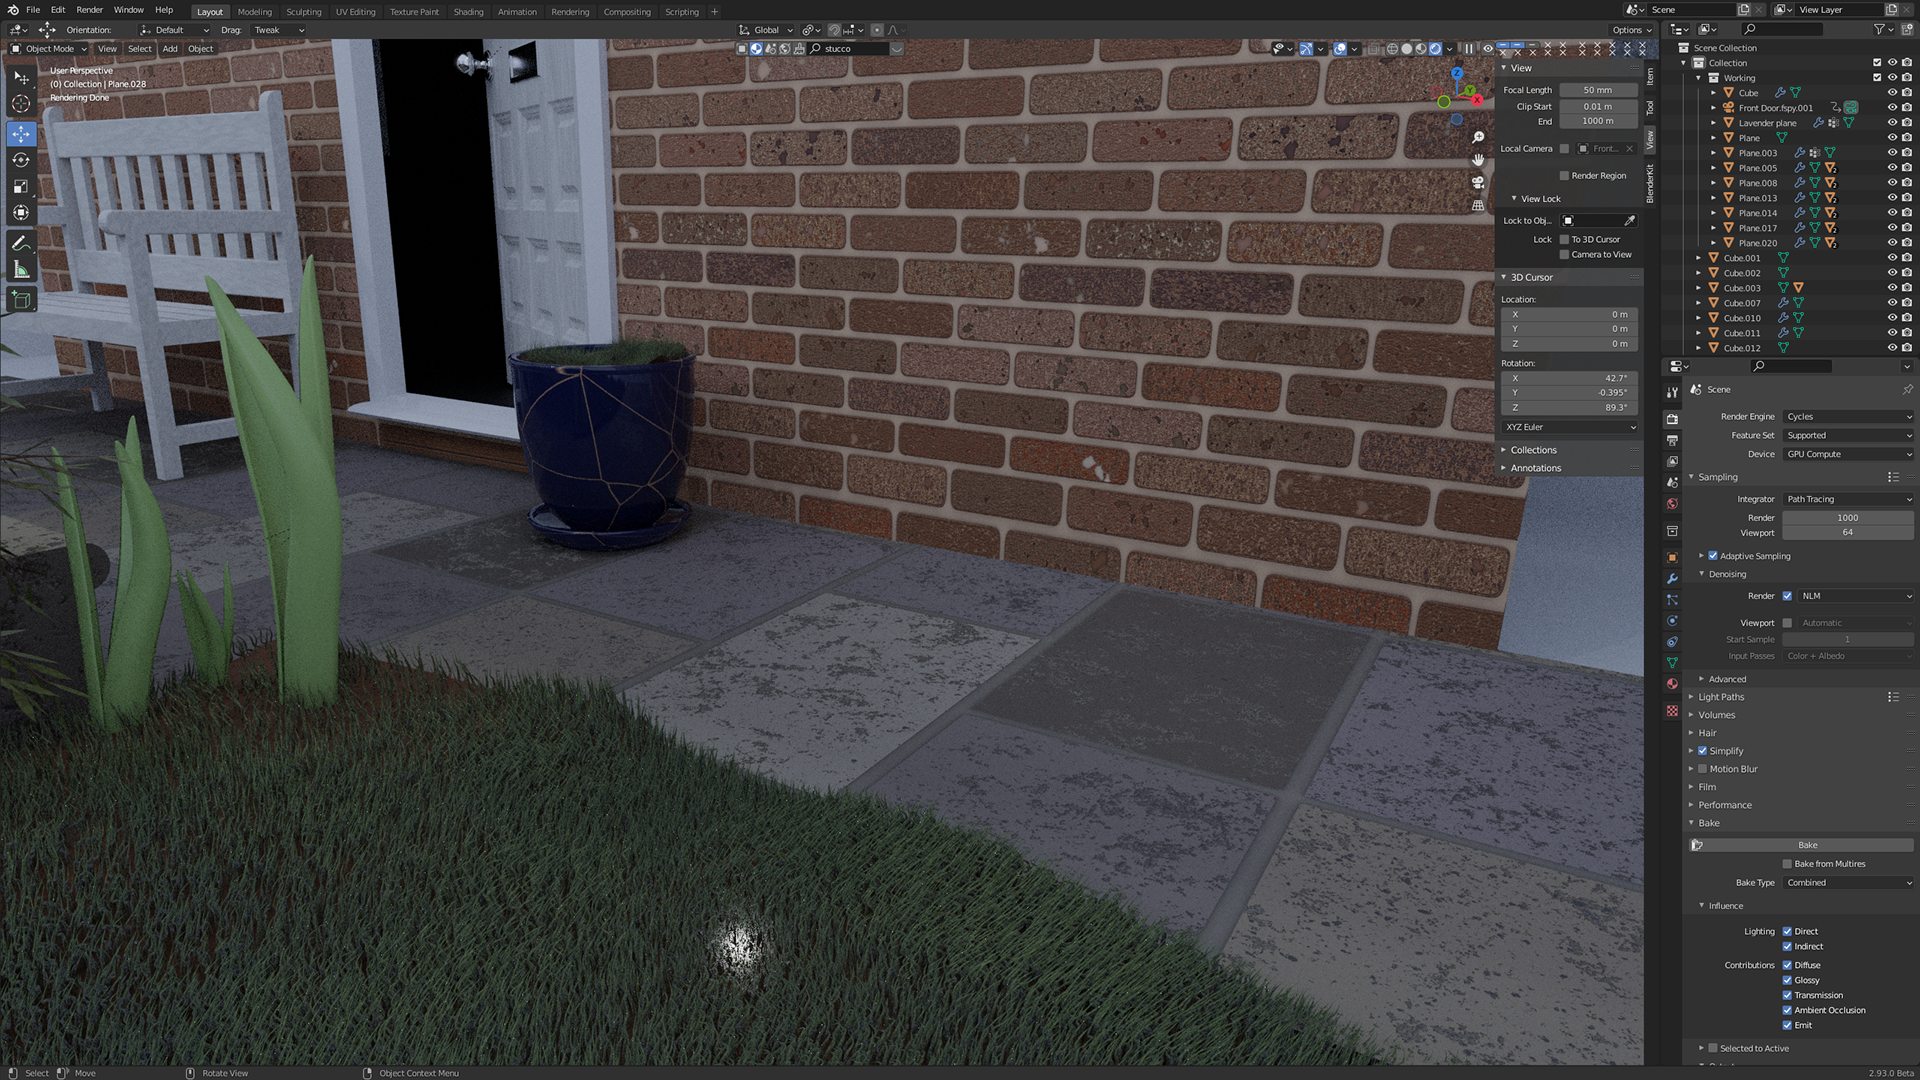
As this scene consists of my front door and the outside there is a reasonable amount of natural objects that I have not used before. This meant I had to learn some new techniques to create these, as natural objects are quite random and complicated with many pieces.
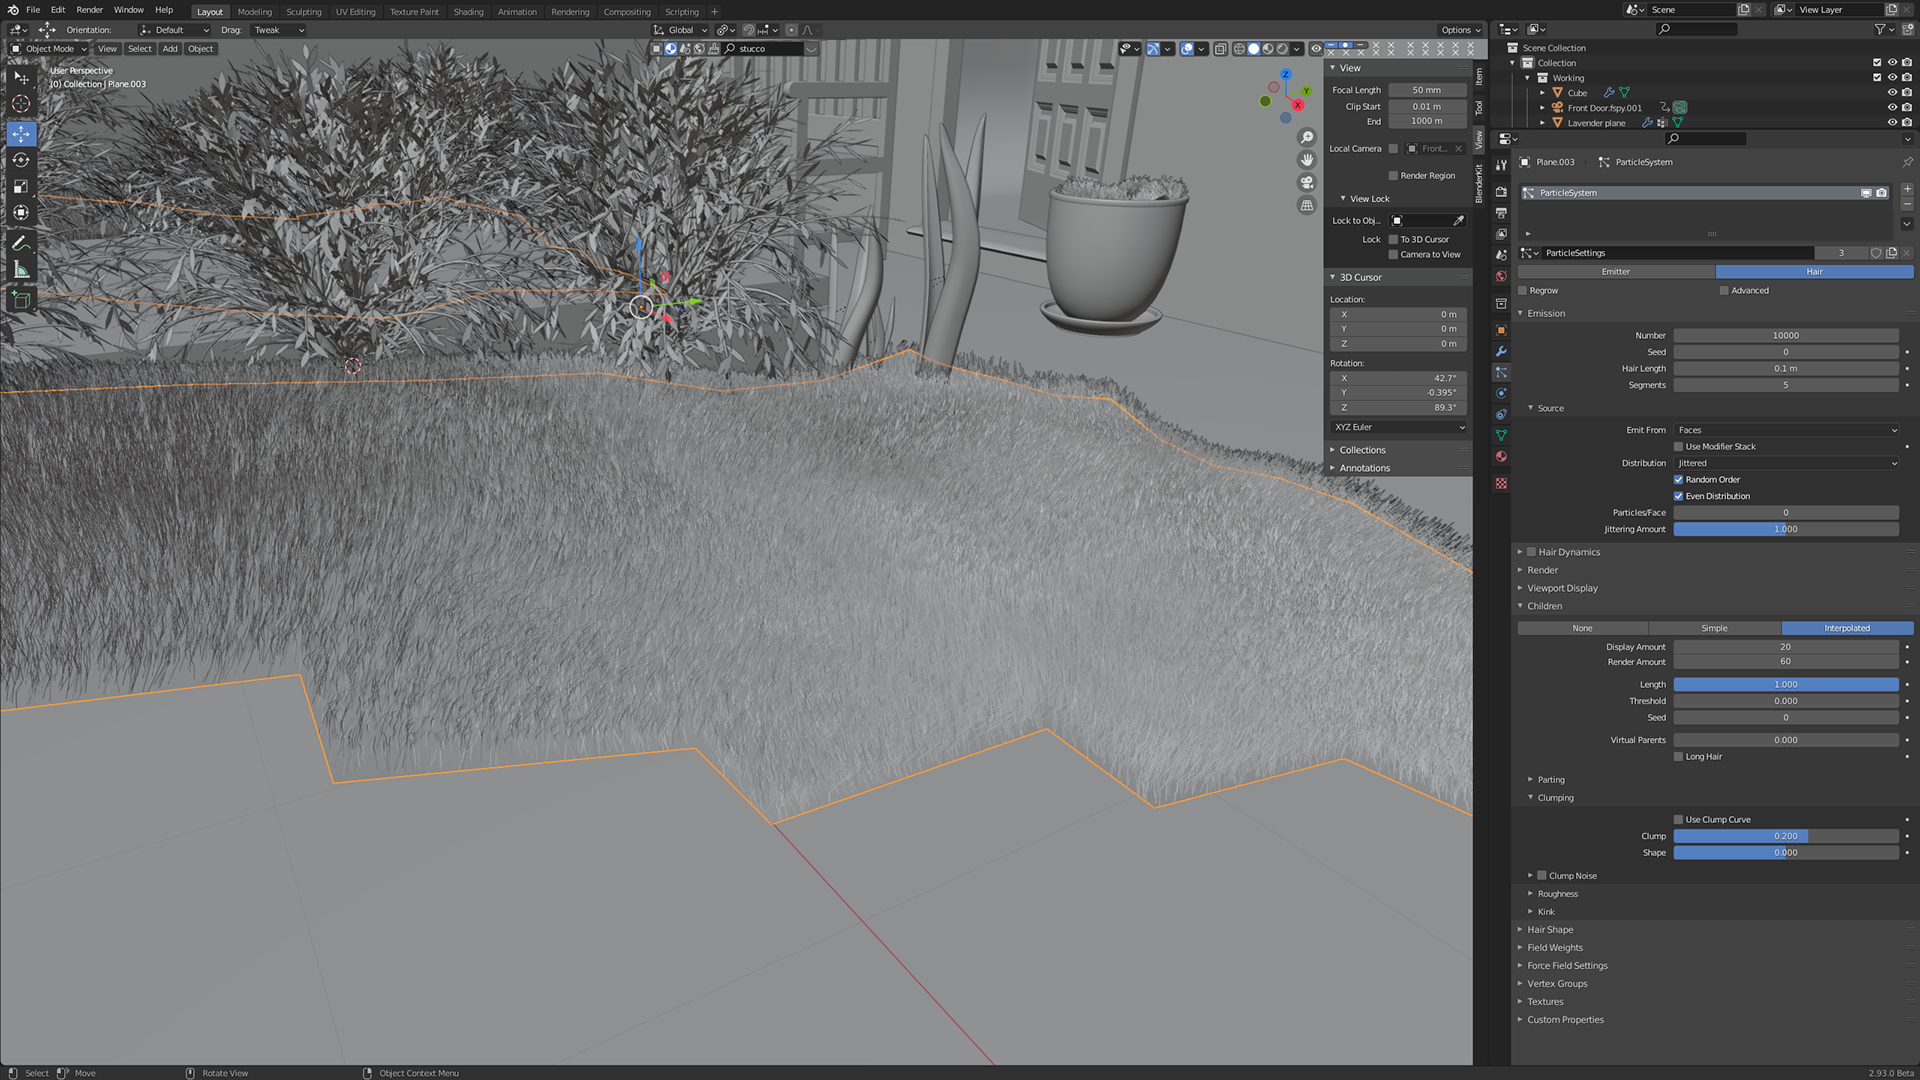
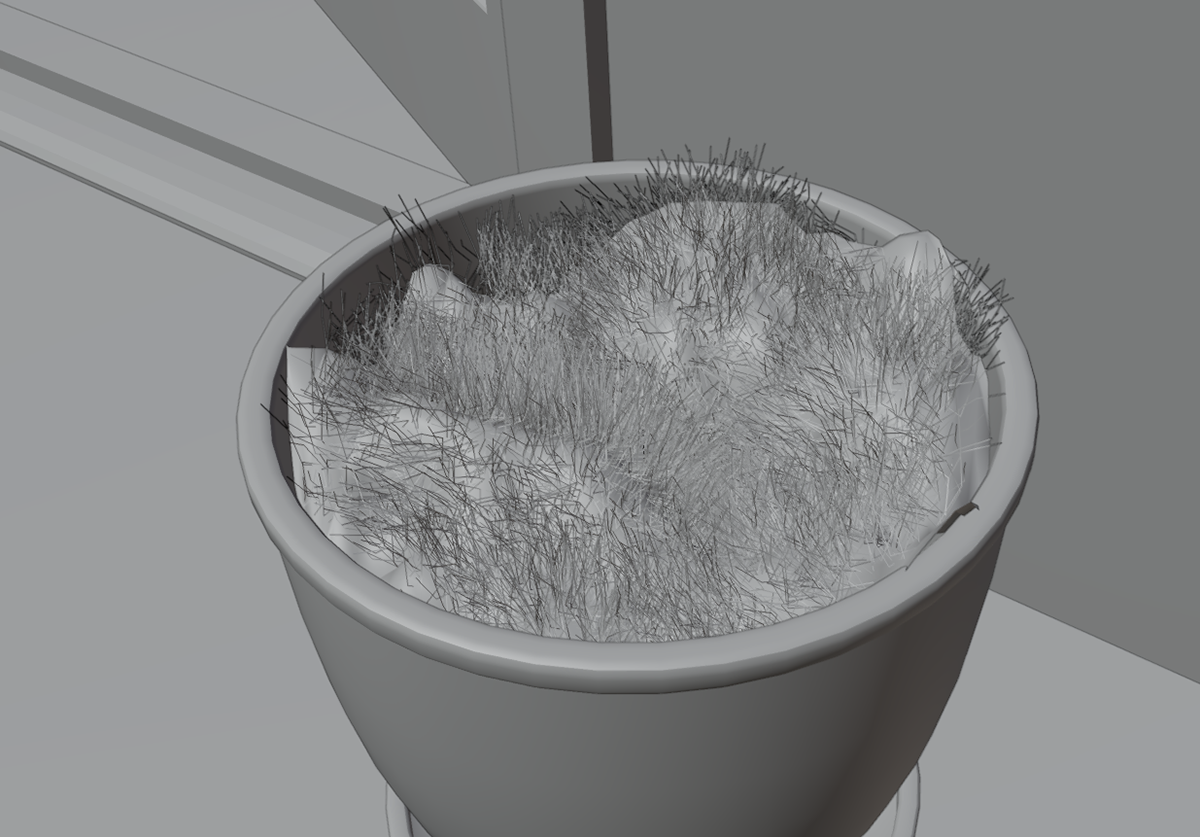
The first technique I learnt for this was particle hair systems, this is a system that allows you to create huge areas of "hair", which in this case is grass. In short this creates thin paths that all stick up from the normals of the surface (points perpendicular to the surface). these paths can then be made into a parent particle, that produce say 10 hairs for every parent particle, the number of child particles can be changed between what is seen in the viewport when you work on it and the final render, so it doesn't lag too much. With these child particles you can add randomness and clumping, this randomness is called roughness, allowing you to change shape, size and a form of waves across the surface, mimicking areas all pointing one direction and others pushing to another. The clumping pulls the neighboring hairs towards a central one, giving a more realistic look than all hairs point straight up or all in the same direction. The material for the grass was quite interesting as well, the grass itself is the same object as the plane it is growing out of, and so to separate them into different parts there is a node that either separates them entirely or creates a gradient from the base up to the hairs. The separation works to make the bottom dirt and the top grass, however the gradient works the best as the bottom of the grass blending into the dirt, gives a more realistic style.
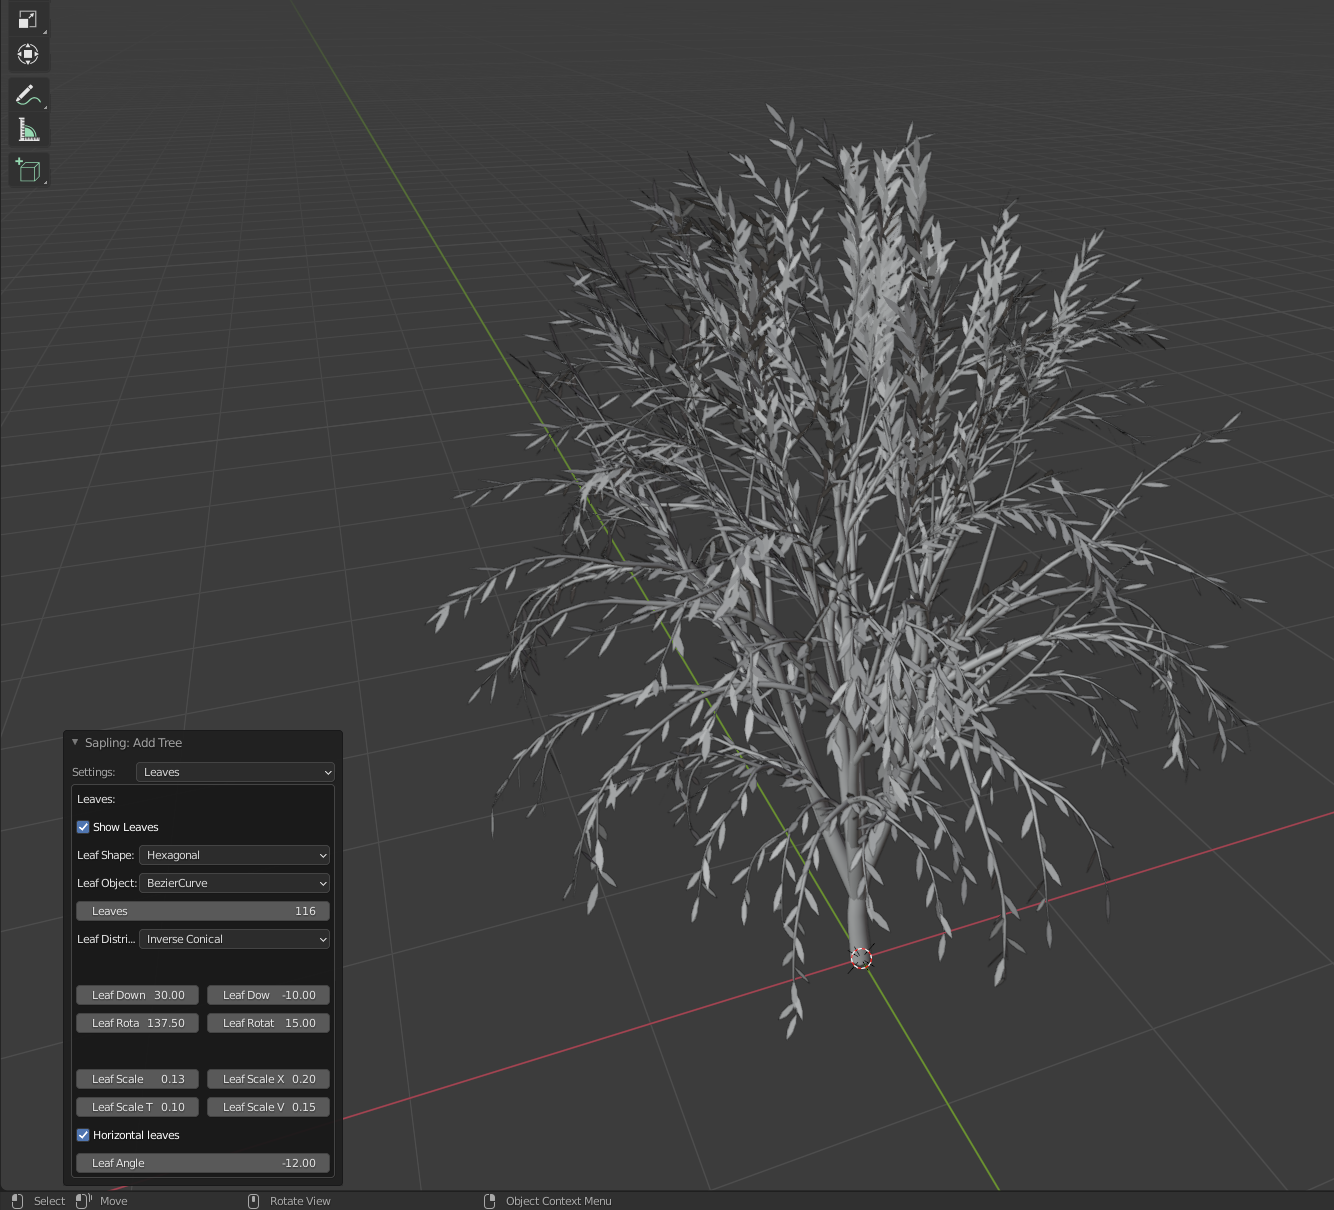
Another skill I learnt was the use of tree sapling gen, this gives you many controls on how to create a tree of any size with leaves and branches with any distribution and angle. There are many settings that took a while to understand and find the way to make the best small bush. The leaves were easy enough as the default hexagonal setting worked well. With these bushes I needed to copy multiple into different positions with different rotations and scales, however to simplify the file and computation, I decided to go with geometry nodes to do this. Geometry nodes took a while to understand however it is a very valuable skill in 3D modelling to have and one of the new features in blender. It allows you to take an object and then distribute another object around that either at the vertices or randomised anywhere across it. For this I created a plane with some loop cuts across the centre to create 4 points on either side of the path for the bushes. With geometry nodes I can randomise the rotation and scale, meaning the bushes don't seem regular.
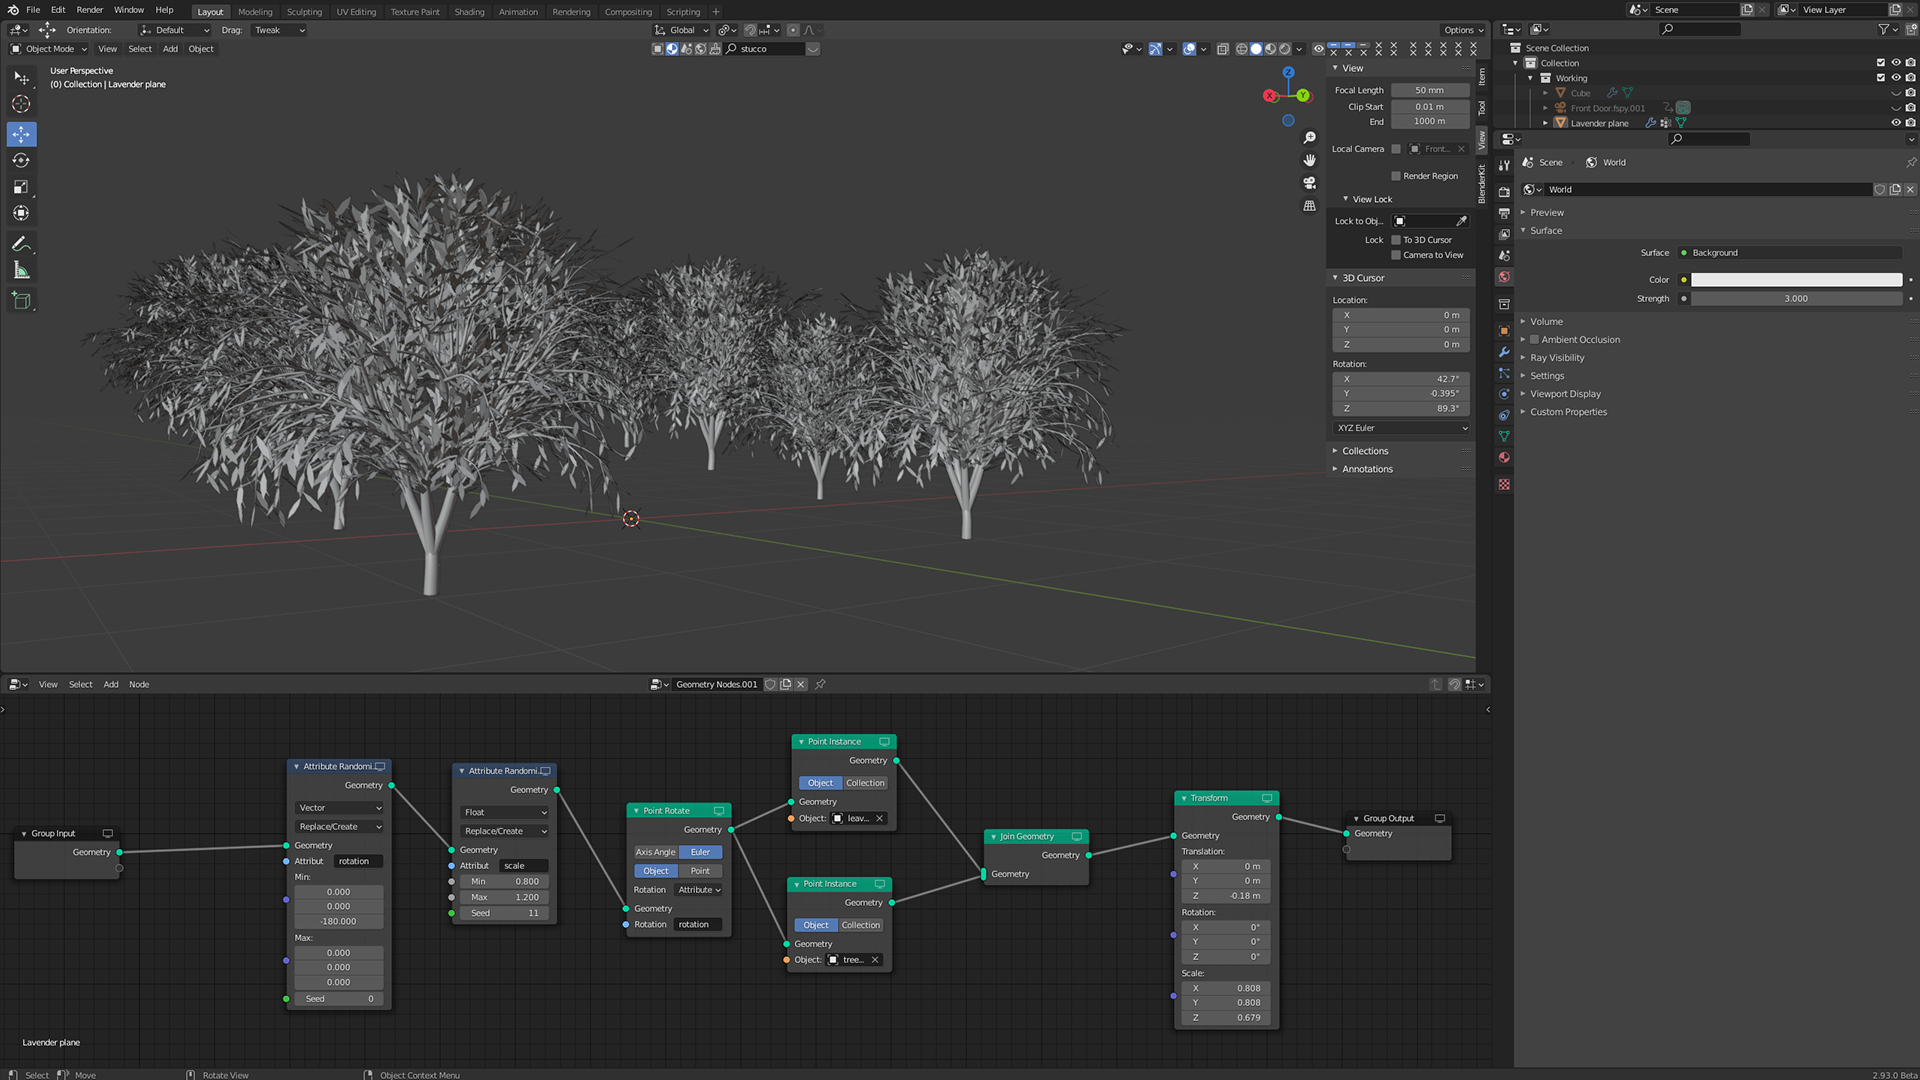
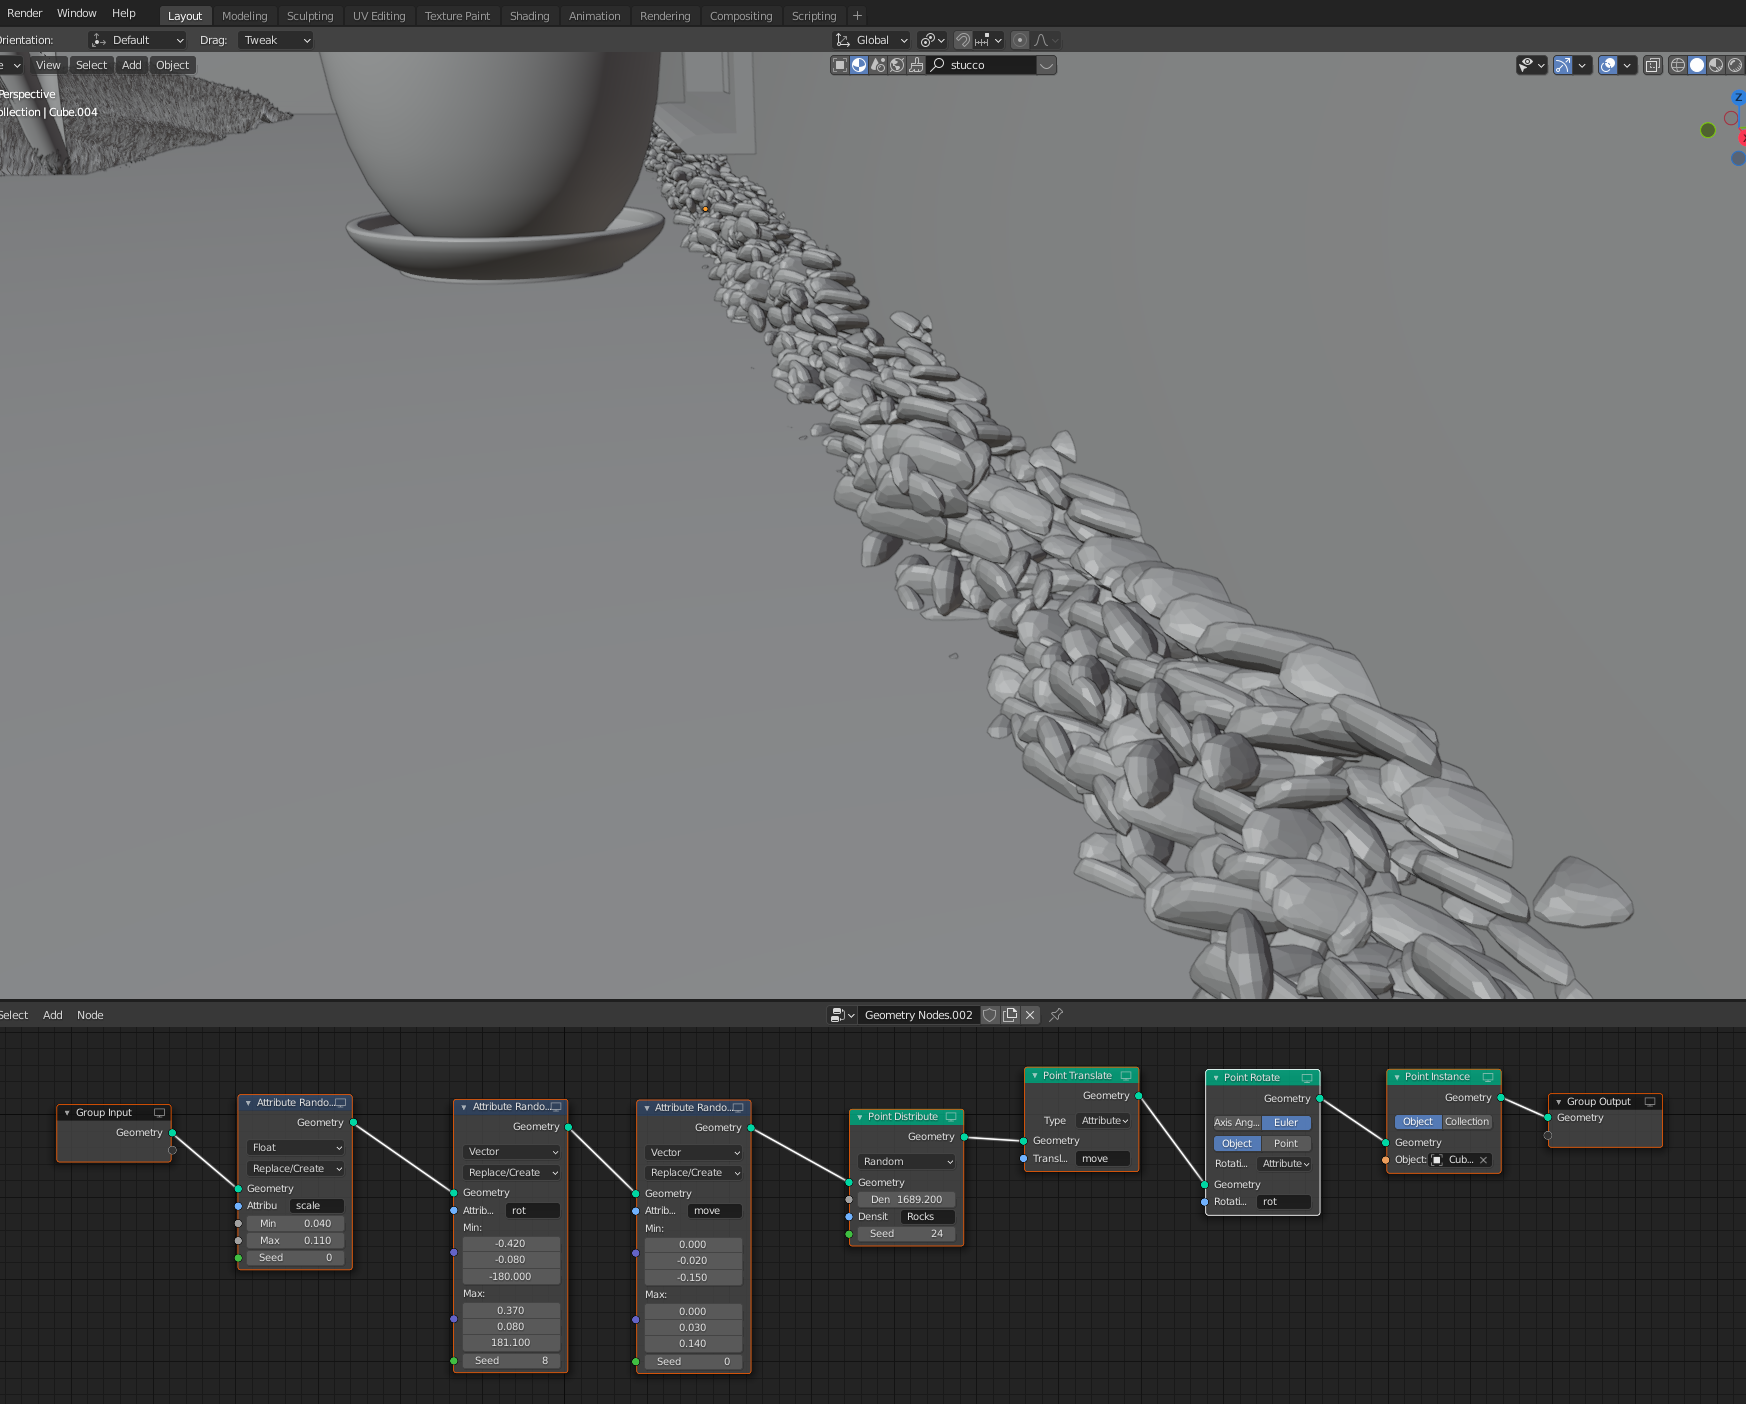
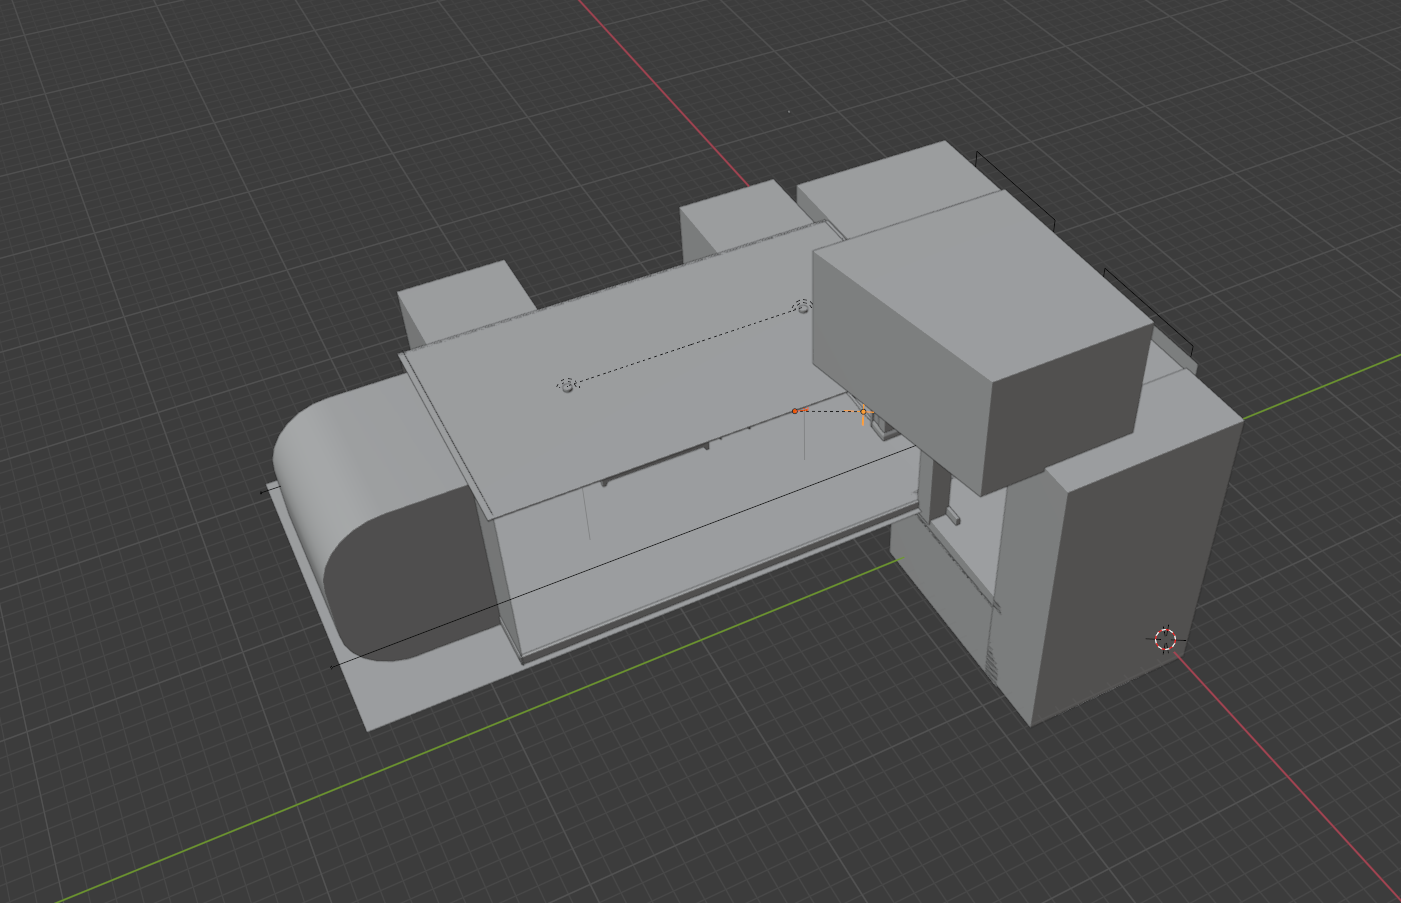
I also used these geometry nodes to create a small strip of rocks under the base of the door. I initially created a simple small rock that I can then instance to a distribution across a plane under the door, then randomising the z location to create a stack of rocks. Using the same scale and rotation I used on the bush I made it look like a natural pile of rocks. These rocks were meant to be in the final render, but due to a mistake they were missing. an example of the geometry nodes can be seen above to the left.